
This post may contain affiliate links. Please read my disclosure policy.
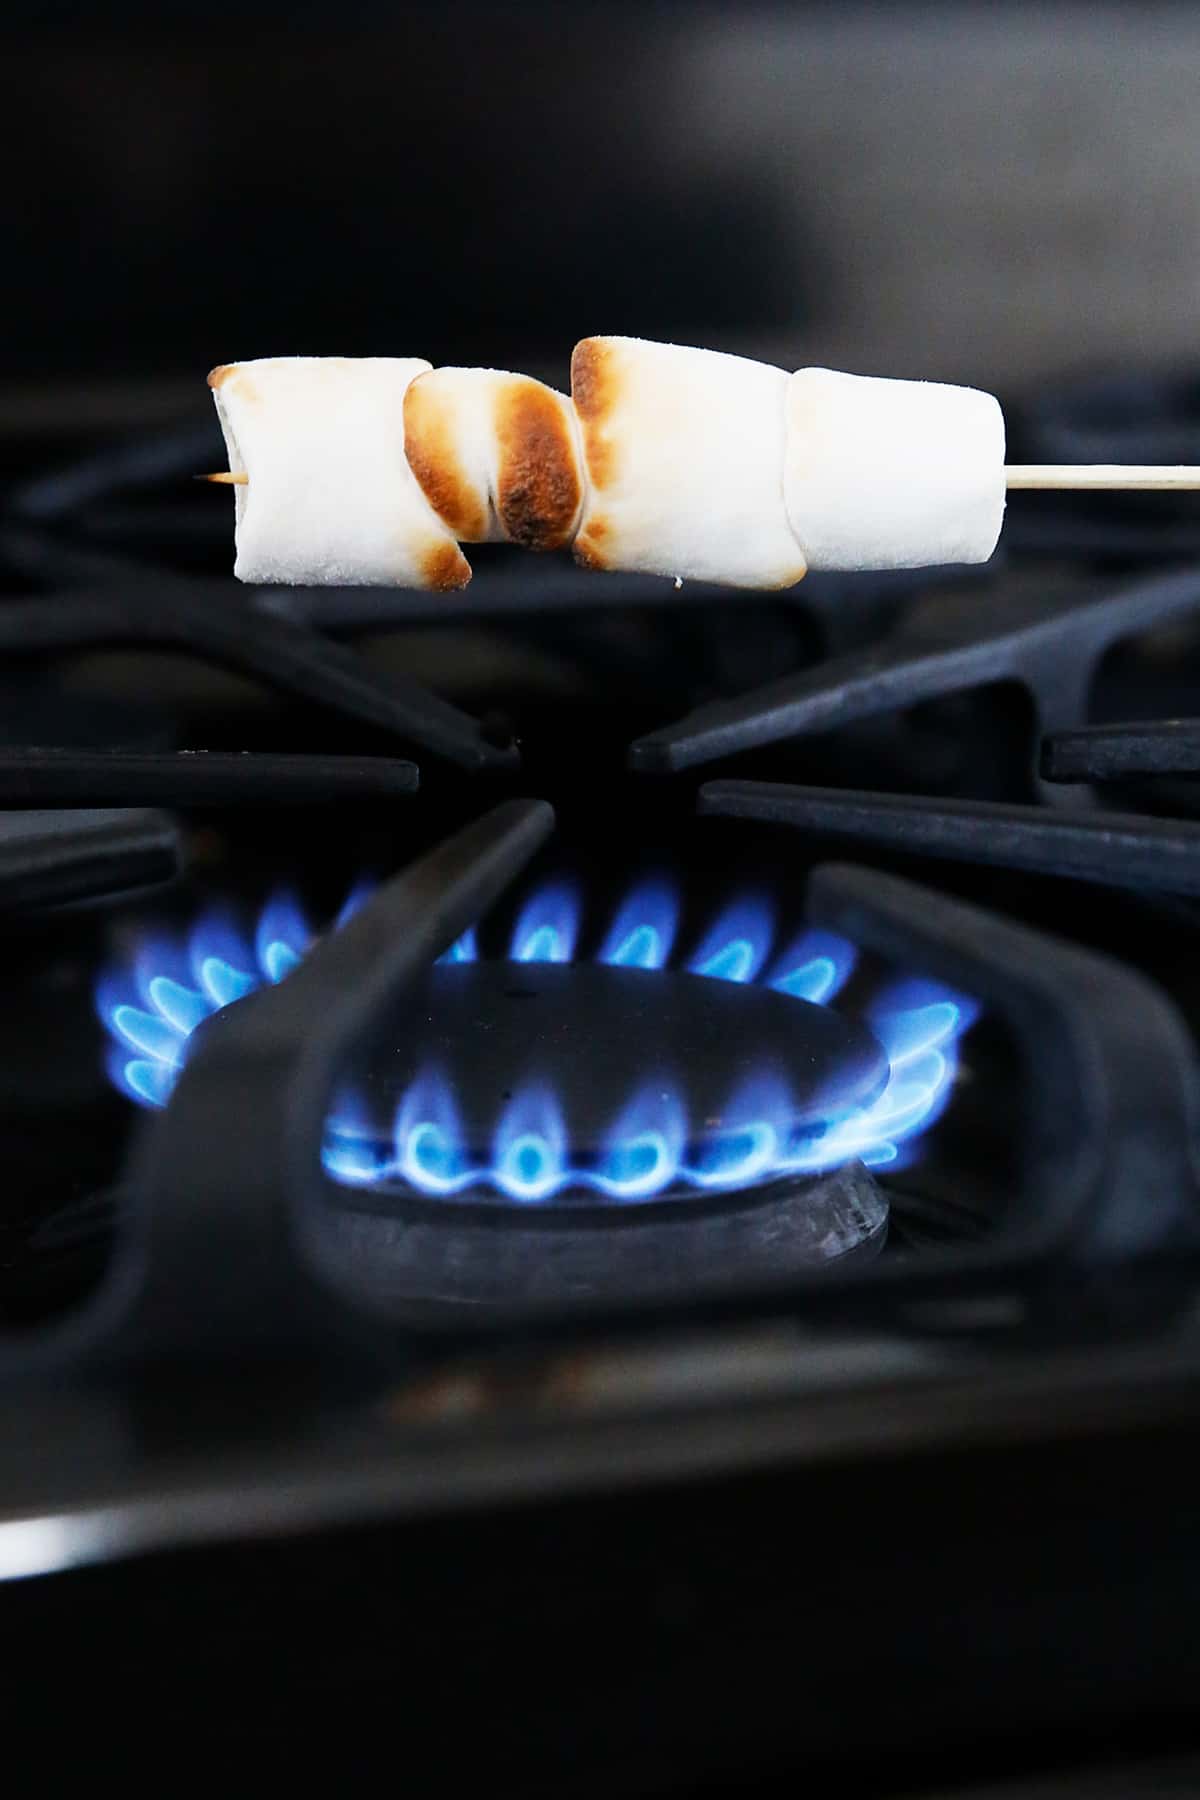
These Paleo Marshmallows, made with honey and maple syrup, are a surprisingly easy (and impressive) project, and also the very best tasting marshmallows you’re likely to ever eat. Below we offer so many tips on successfully making them, as well as options to flavor them!
 Paleo Marshmallow Recipe
After so many of you successfully made our Homemade Marshmallow Fluff and loved it we knew it was time to get testing to make Paleo Marshmallows! It may seems a little daunting to think about making something like marshmallows, but truly it isn’t that hard. Making these marshmallows is not only a fun activity with impressive results, but seriously they are the BEST marshmallows you’ll ever have tasted–we promise.
What makes this gelatin marshmallow recipe different?
Our recipe is a little different than a lot of marshmallows out there. Aside from being made without any corn syrup and using only unrefined sugars to sweeten the marshmallows, our recipe is different because it includes egg whites, which is a classic French style. The addition of egg whites makes for a fluffier marshmallow that is easier to handle while you are making them. But don’t worry, the egg whites are cooked by the hot sugar syrup to a safe temperature. These fluffy marshmallows are melt-in-your-mouth delicious and are worth the (small) effort to make homemade.
Here are the Tools You Need for Homemade Marshmallows
- Essentials: 1 Medium to Large Heavy Bottomed Pot, spatulas and small bowl
- Thermapen or candy thermometer
- Electric Stand Mixer
- Dish (for setting the marshmallows)
- Parchment Paper
- Pizza Wheel (for cutting marshmallows)
Tips for Making Homemade Marshmallows
The first thing you need to know about making marshmallows is that you are making candy! You’ll be cooking up a very hot sugary syrup and then pouring it into beaten egg whites and softened gelatin and whipping them up until the whole mixture has transformed into a glossy stiff peaks. Then you place it in a starch dusted container and let it set before cutting.
- The size of the pan you use to make the square marshmallows depends on how big you would like your square marshmallows. For a smaller marshmallow squares use a half sheet pan, or a 9×13 pan. For larger marshmallows use an 8″x8″ or a 9″x9″ pan. Or alternatively you can make cylindrical marshmallows, which will need a sheet pan to hold the piped mixture.
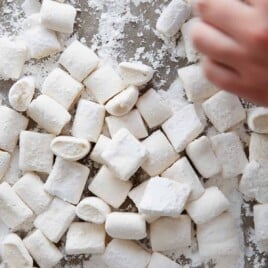
- Prep your containers that you will be setting the marshmallows in ahead of time. You want to line them with parchment and vigorously dust with arrowroot or a combination of arrowroot/ powdered sugar. Don’t worry you won’t be eating all of this but it is merely to coat the sticky part of the marshmallow and you shake off any excess starch.
- The bowl and whisk attachment of your electric mixer must be cleaned well because if there is any grease in it, it will prevent the egg whites from whipping up properly.
- Use a mild flavored honey. A strong flavored honey, or raw honey will shine through more with a honey flavor (of course). We use a mixture of honey and maple syrup so that one flavor isn’t more dominate and the two together works more as a sweetener as opposed to be a flavor component.
- The added water in the sugar mixture helps the sugar come to a boil without burning. Put the water in the pot first, then the other two sweeteners. Do not stir the pot. Do not move the pot. You run the risk of crystallizing the sugar, especially because we aren’t using corn syrup.
- Make sure you handle the gelatin properly. You’ll want to let it bloom, or hydrate properly as the instructions indicate. The hot sugar syrup acts as the means to melt it so that it can fully incorporate in the marshmallow cream. It will set up after the mixture cools.
- You want your sugar mixture to reach the “soft ball” stage or 235ºF-240ºF. This stage gets it’s name from the fact that if you put a droplet of cold water into the boiling sugar, it will turn into a soft ball. This hot sugar mixture is what cooks the egg whites and turns it into marshmallows. If you didn’t have a thermometer you could theoretically test the doneness of the sugar by dropping it in water and watching the reaction, as described above.
Troubleshooting Tips for Paleo Marshmallows
- There are lumps in the bloomed gelatin: It wasn’t bloomed properly. You can try to remove the lumps of the gelatin, or if there are too many you should start over with the gelatin process.
- If the egg white mixture hasn’t thickened up: Either the sugar syrup was not the proper temperature, or you haven’t whipped the egg whites long enough, or possibly the bowl had some grease in it. So If it isn’t looking thick and glossy, try whipping longer. And of course use a thermometer to make sure the sweetener has boiled enough! U
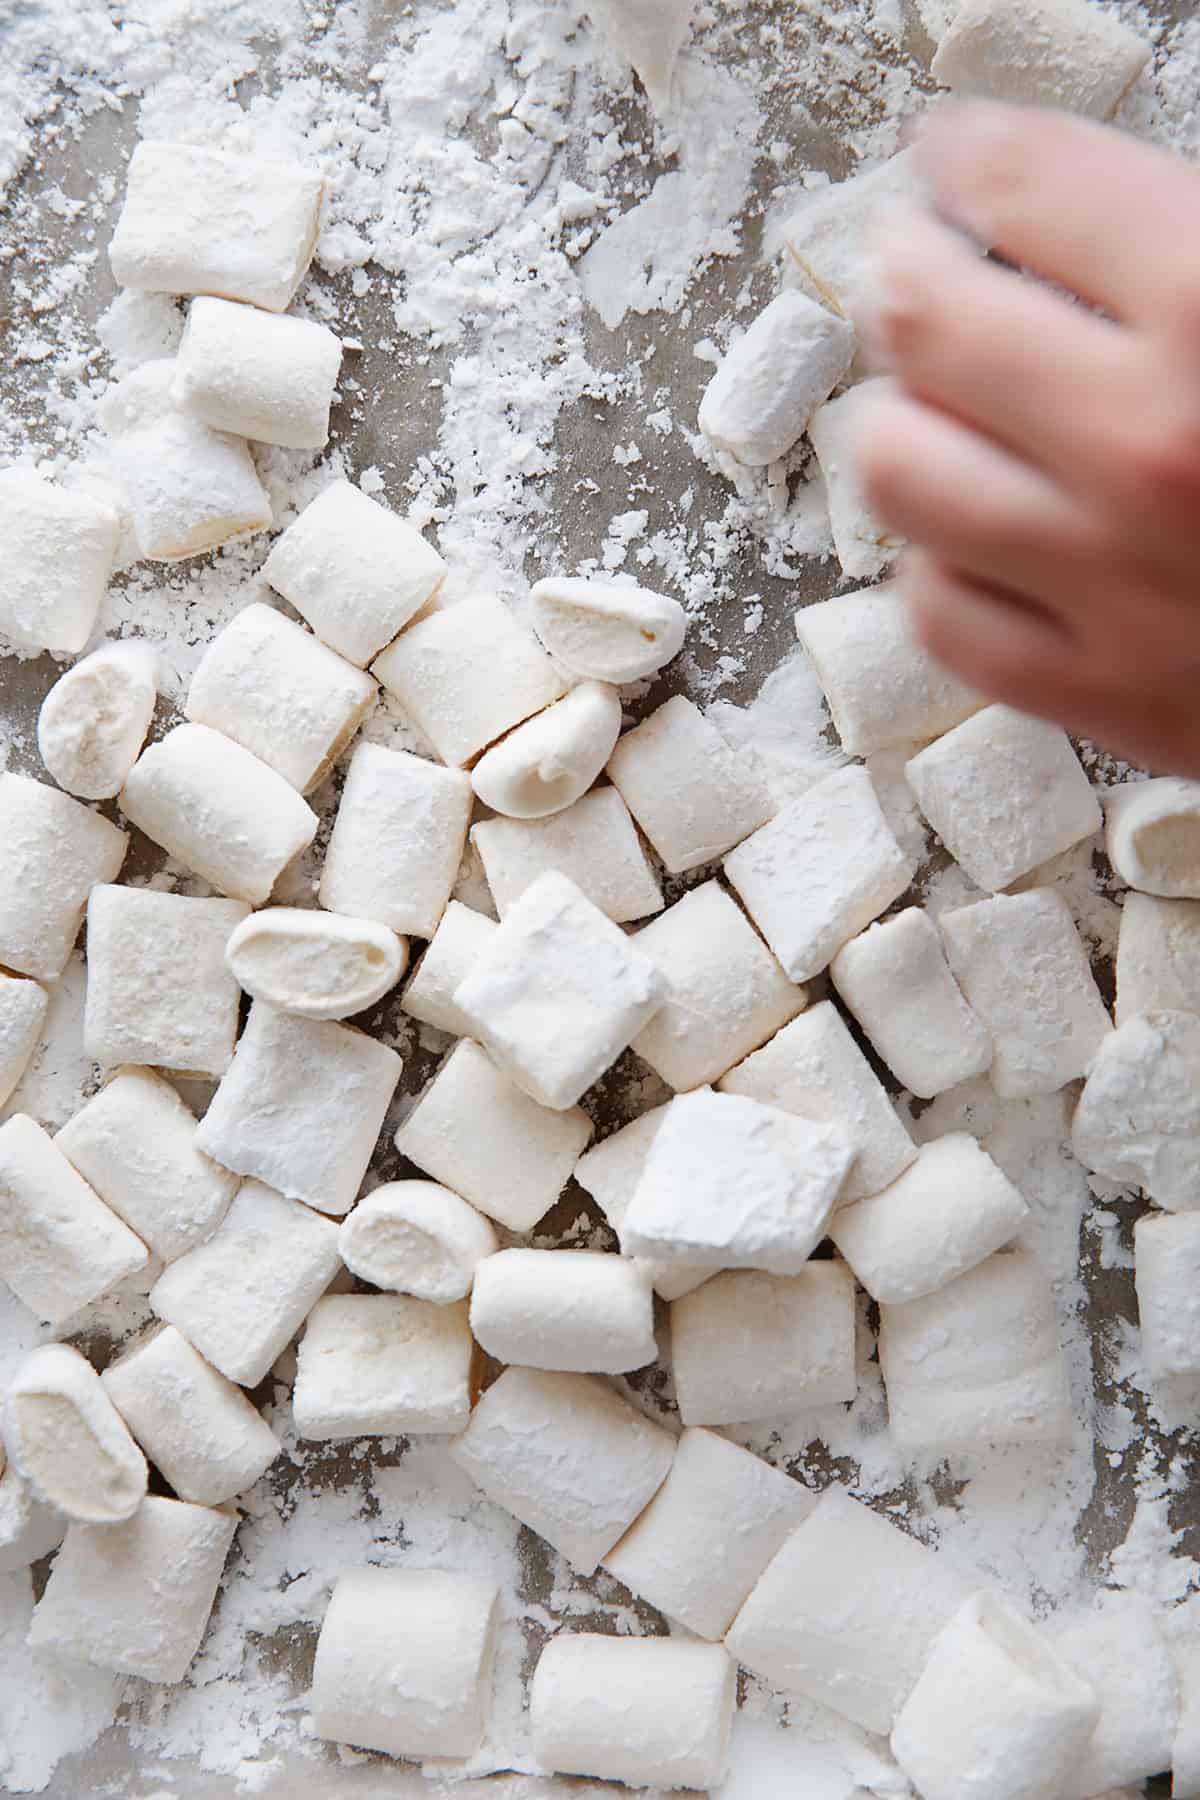
- The marshmallows are too sticky to work with: Use more starch! Marshmallows are super sticky and you need to coat them in enough starch in order to handle them. You can always dust off the starch after you have finished cutting them, but know that if there isn’t enough starch on them before you go to store them they could end up a sticky mess, so go heavy handed with the starch.
- The marshmallows are very wet: The batter was likely under whipped.
How to Store Paleo Marshmallows Made with Egg Whites?
Since there are egg whites in this recipes, this marshmallows cannot be stored indefinitely like marshmallows made with only sugar / corn syrup. Before storing, let the cut marshmallows “dry out” for at least 6 hours, or overnight. Store the well dusted marshmallows in an airtight bag / container for up to 1 week at room temperature. We doubt they will last that long anyways! If you find that the marshmallows have started to let out some moisture (which can happen naturally with homemade marshmallows, or sometimes the cause is under whipping the batter) take the marshmallows out of the bag and sift again with arrowroot and powdered sugar mixture and let dry before placing in another clean, dry container.
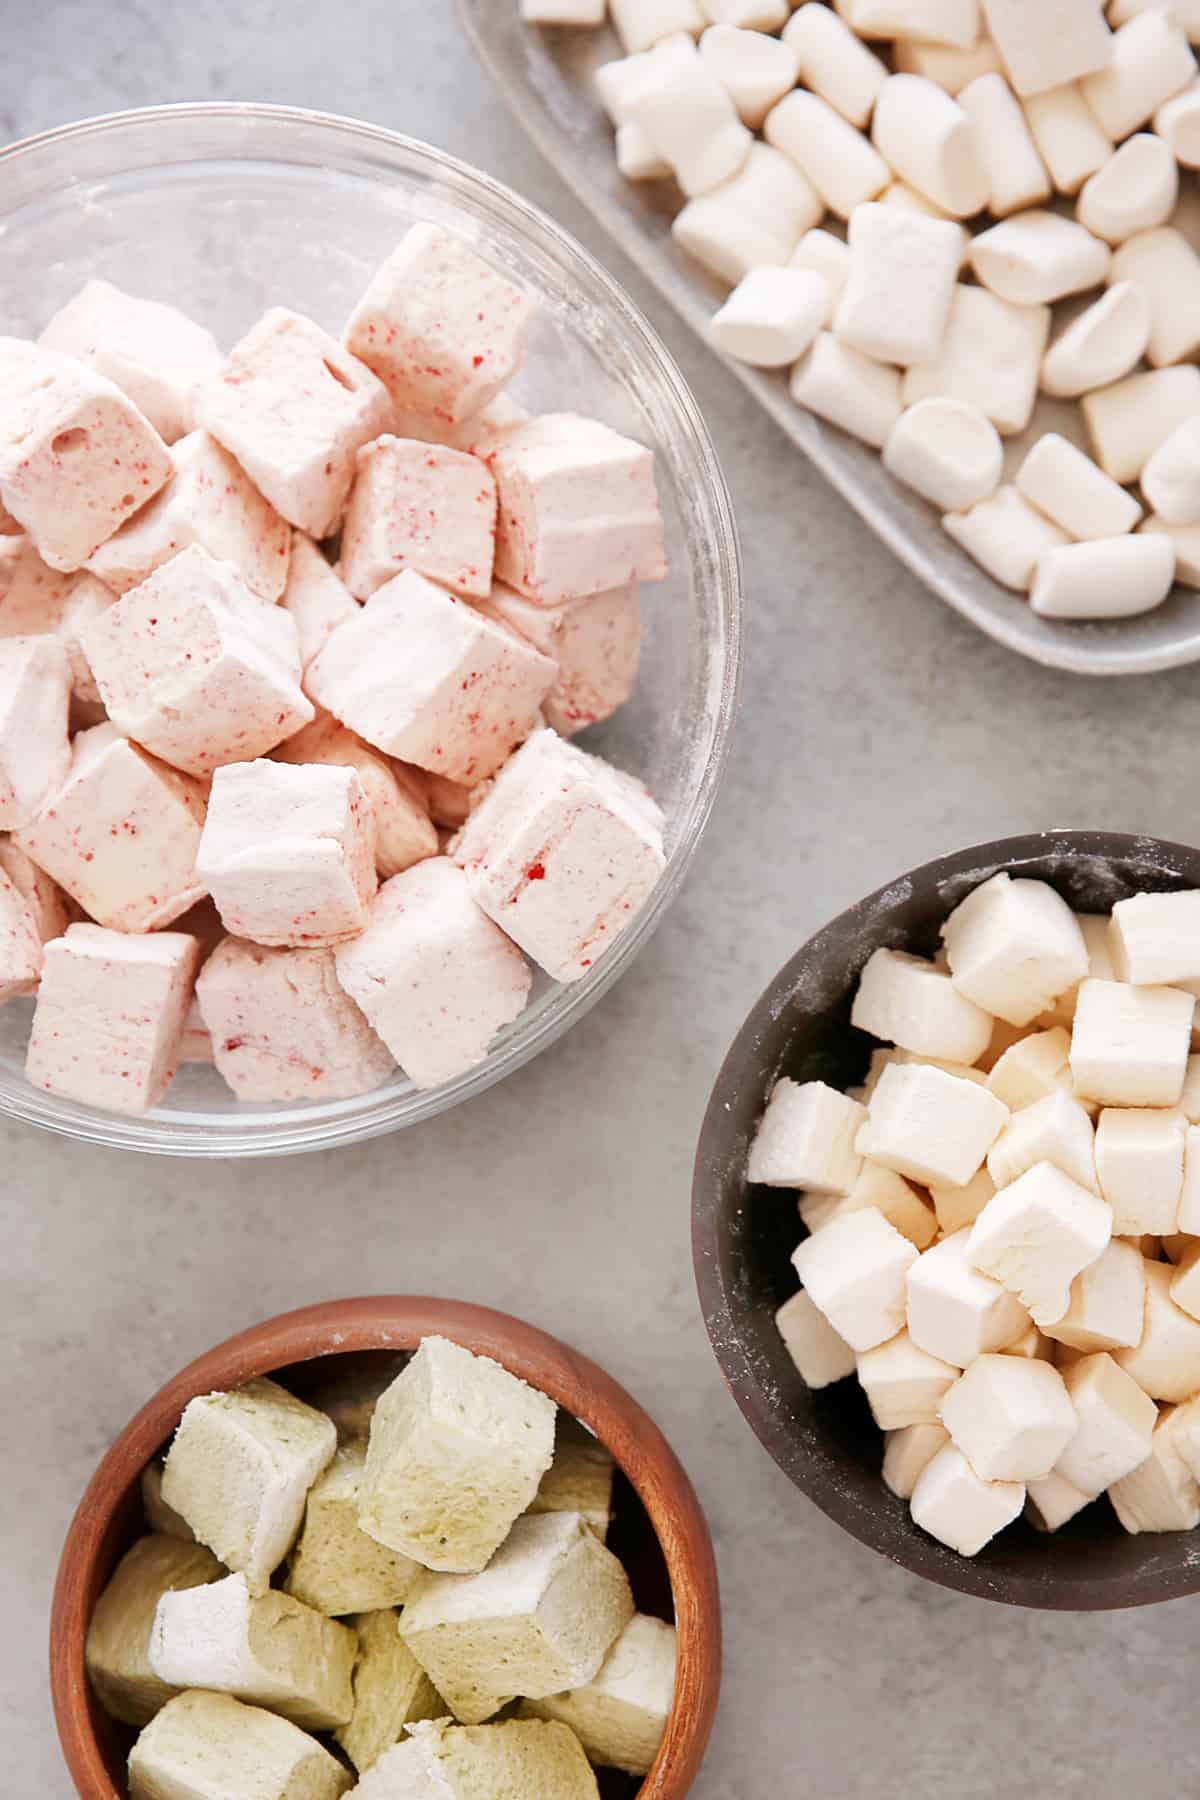
Options for Flavored Marshmallows
The possibilities are endless as to what you can add to the marshmallow cream mixture before you set, or even what you coat the marshmallows in at the end to flavor them. We tried out a few different add-in’s to flavor the marshmallows. Choose your add-in and fold them after the egg whites have thickened up. You can also divide the marshmallow mixture and make multiple flavors with one batch of marshmallows. You have to work quickly though because ones the marshmallow cream cools down it will set.
- Freeze Dried Fruit: We tried strawberries but bet any freeze dried fruit will work well here. Start with 1/4 cup crushed freeze dried fruit.
- Matcha Powder: About 1-2 tablespoons
- Espresso Powder: Start with a teaspoon and add more if needed
- Cinnamon: Start with 2 teaspoons and add more if needed)
- Cocoa: Add about 1-2 tablespoons
- Dried Ginger or Turmeric: Start with a 2 teaspoons for a batch
- Mint Extract (a few drops) and Chocolate Chips
Instead of coating with arrowroot, try coating with:
- Shredded Coconut
- Crushed Nuts
- Cocoa
If you like this HOW TO recipe, check out these others:
- How to Make Maple Kettle Corn
- How to Make Coconut Milk Yogurt in the Instant Pot (Dairy Free)
- How to Make Homemade Vanilla Extract
- How to Make Oatmeal (The BEST Method!)
How to Make Marshmallows (Paleo)
Ingredients
- Coconut oil spray or equivalent
- Arrowroot starch or a combination of arrowroot and organic powdered sugar if not strict paleo
- 2 egg whites 60g
- ⅓ cup + ½ cup water divided
- 3/4 cup honey
- 3/4 cup maple syrup
- pinch fine sea salt
- 2 tablepoons gelatin
- 2 teaspoon vanilla extract
- Optional add-ins see post
Instructions
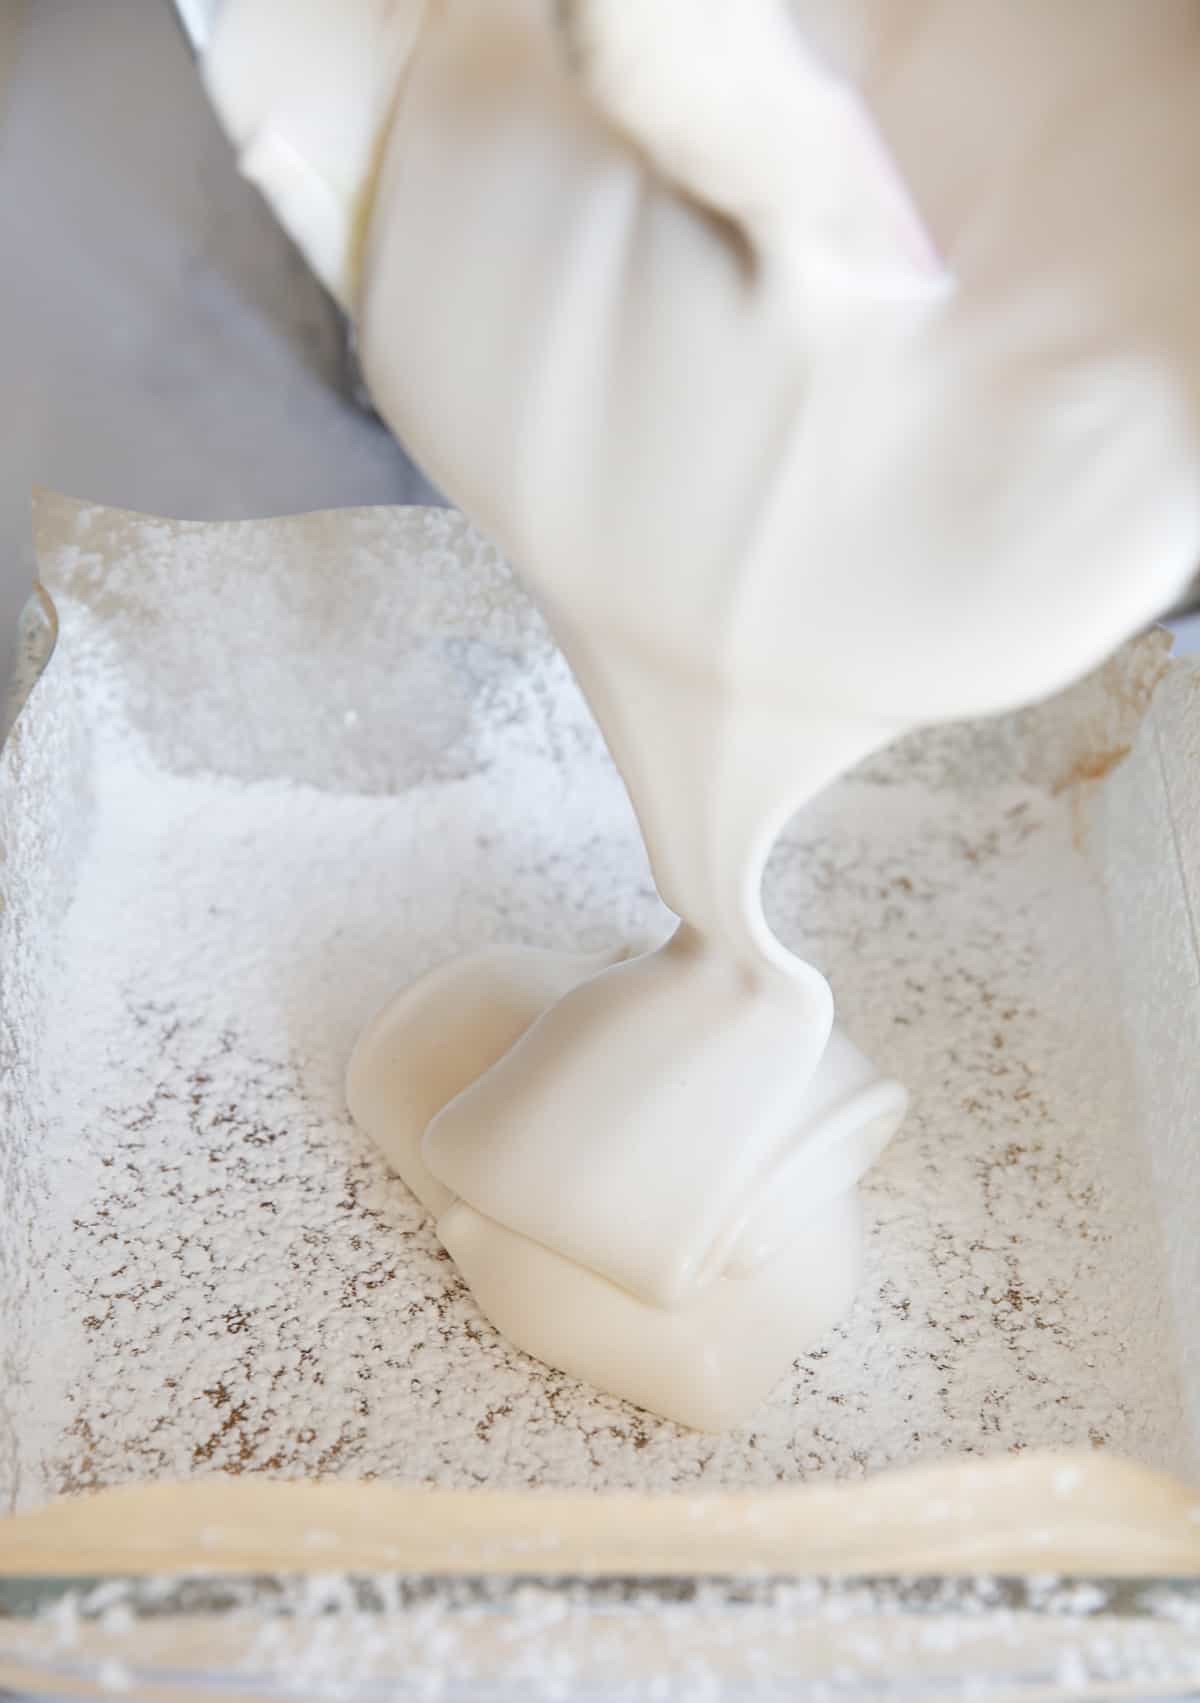
- To make square marshmallows: prepare a container for the marshmallows (see note). Lightly spray the container and then line it with two strips of parchment that fit the container to create a sling. Generously dust the container with arrowroot (or combo arrowroot and powdered sugar). Alternatively, to make traditional cylindrical marshmallows: line a sheet tray with parchment and generously dust with arrowroot. Set aside.
- In a clean mixing bowl for an electric mixer with a whisk attachment, add egg whites.
- In a large pot add ⅓ cup water, honey and maple syrup, in that order, being careful not to get any of the mixture on the sides of the pot. Turn the heat to medium and let the sugar mixture cook undisturbed.
- Meanwhile prepare gelatin: Add ½ cup water to a small bowl. Sprinkle gelatin over the water and mix to moisten the gelatin. Let bloom (or hydrate) for at least 5 minutes. Once bloomed, add to the egg white mixture and briefly whip until the mixture is homogenized and fluffy, about 2 minutes.
- When the the sugar syrup has reached 240°F, remove from the heat and let cool slightly, or until it has stopped bubbling, about 1 minute.
- Then very slowly and carefully pour the sugar syrup into the egg whites bowl, hitting the side of the bowl if possible, in a thin, steady stream.
- Once all of the syrup is in, increase the speed and continue to whip for 10-12 minutes, or until the mixture is thick and glossy and the mixing bowl is mostly cooled.
- Add in vanilla extract and whip for one one more minute. If you are adding in any optional add-ins, add them now.
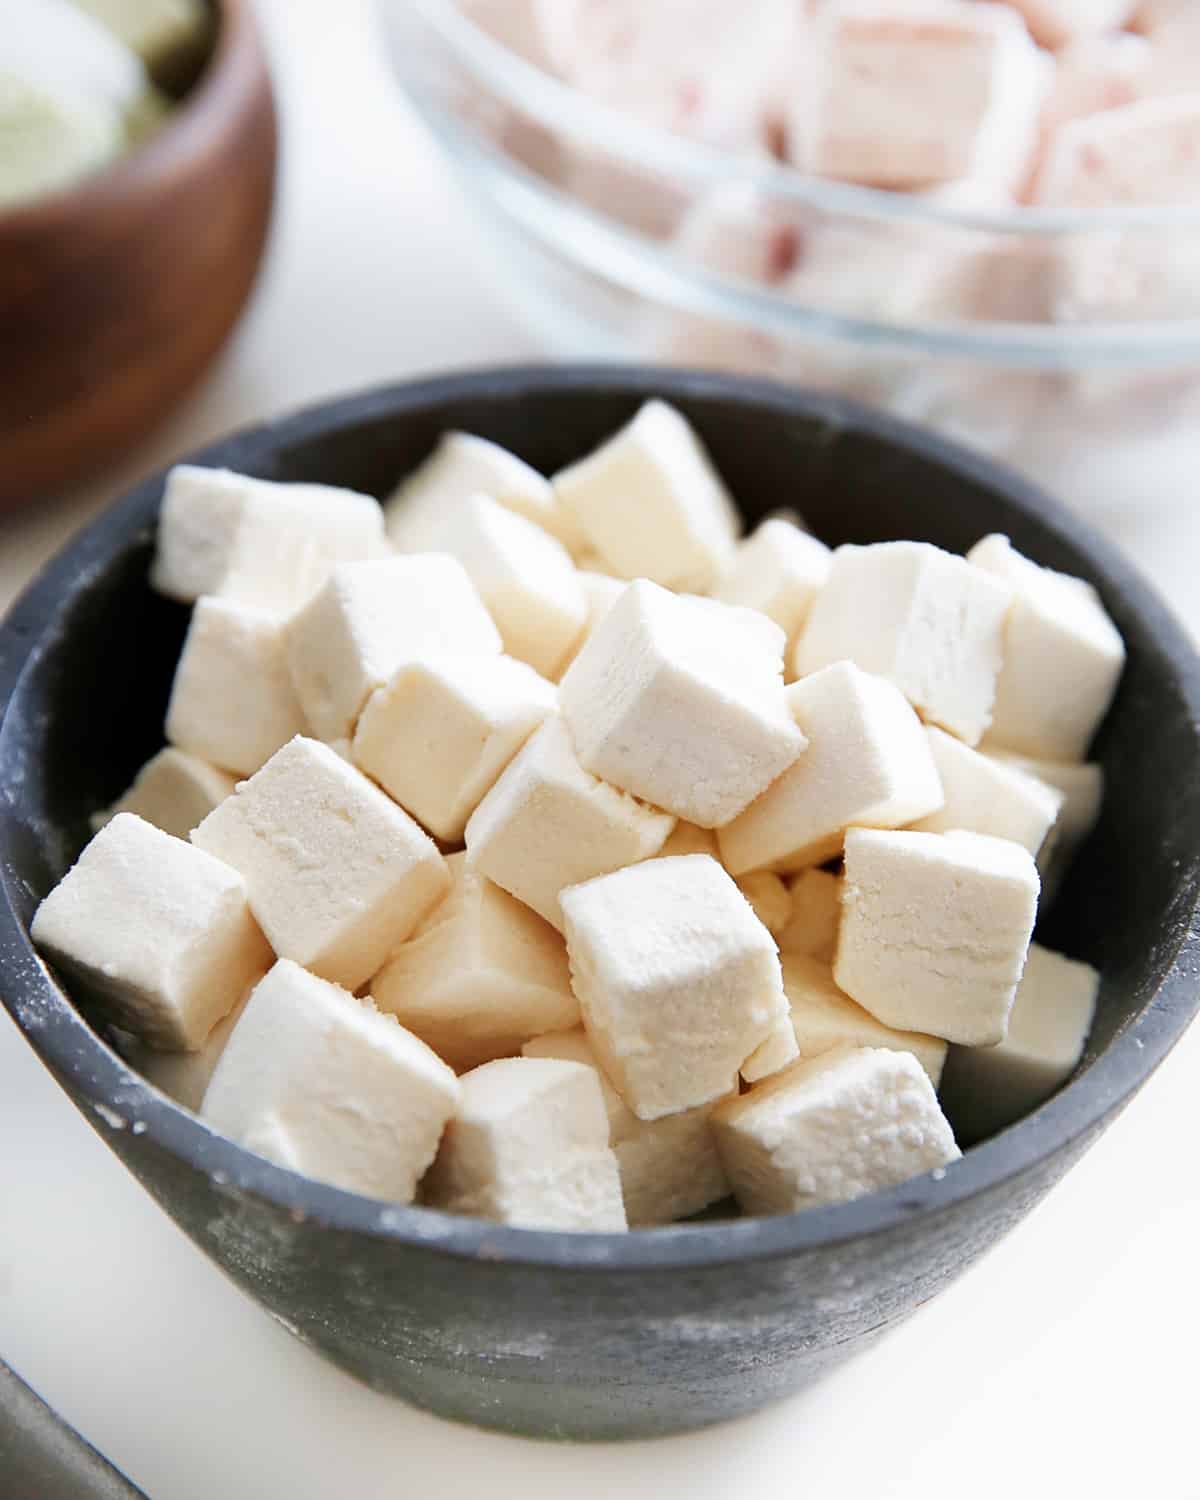
- For square marshmallows: Working quickly pour mixture into the prepared container and smooth over. Dust generously with more arrowroot and let set for at least 4 hours until cutting. To cut remove from the container and cut with a pizza cutter that is greased with coconut oil. Dust again all the cut sides with more arrowroot, shaking off excess. For cylindrical marshmallows: Fill a piping bag with a large circular tip (or simply cut a piping bag) with the marshmallow mixture and pipe it in lines the length of the sheet tray until all the mixture is gone. Dust generously with arrowroot. Let set for 4 hours at room temperature. Cut with a pizza cutter that is greased with coconut oil into cyridrical shapes. Dust more with arrowroot, shaking off the excess before storing.
- Let the cut marshmallows dry out for at least 6 hours before storing in an air tight container or bag. Store for up to 1 week.

Where do you add the pinch of salt?
Can you use all maple syrup instead of honey/ maple combo? Thanks!
OK These are AMAZING!!!! Mine are still setting but I can’t stop sneaking bites. Taste so much better than store-bought and no high fructose corn syrup or carrageenan!! Thanks so much for sharing.
What brand of gelatin do you use?
Vital Proteins!!