This post may contain affiliate links. Please read my disclosure policy.
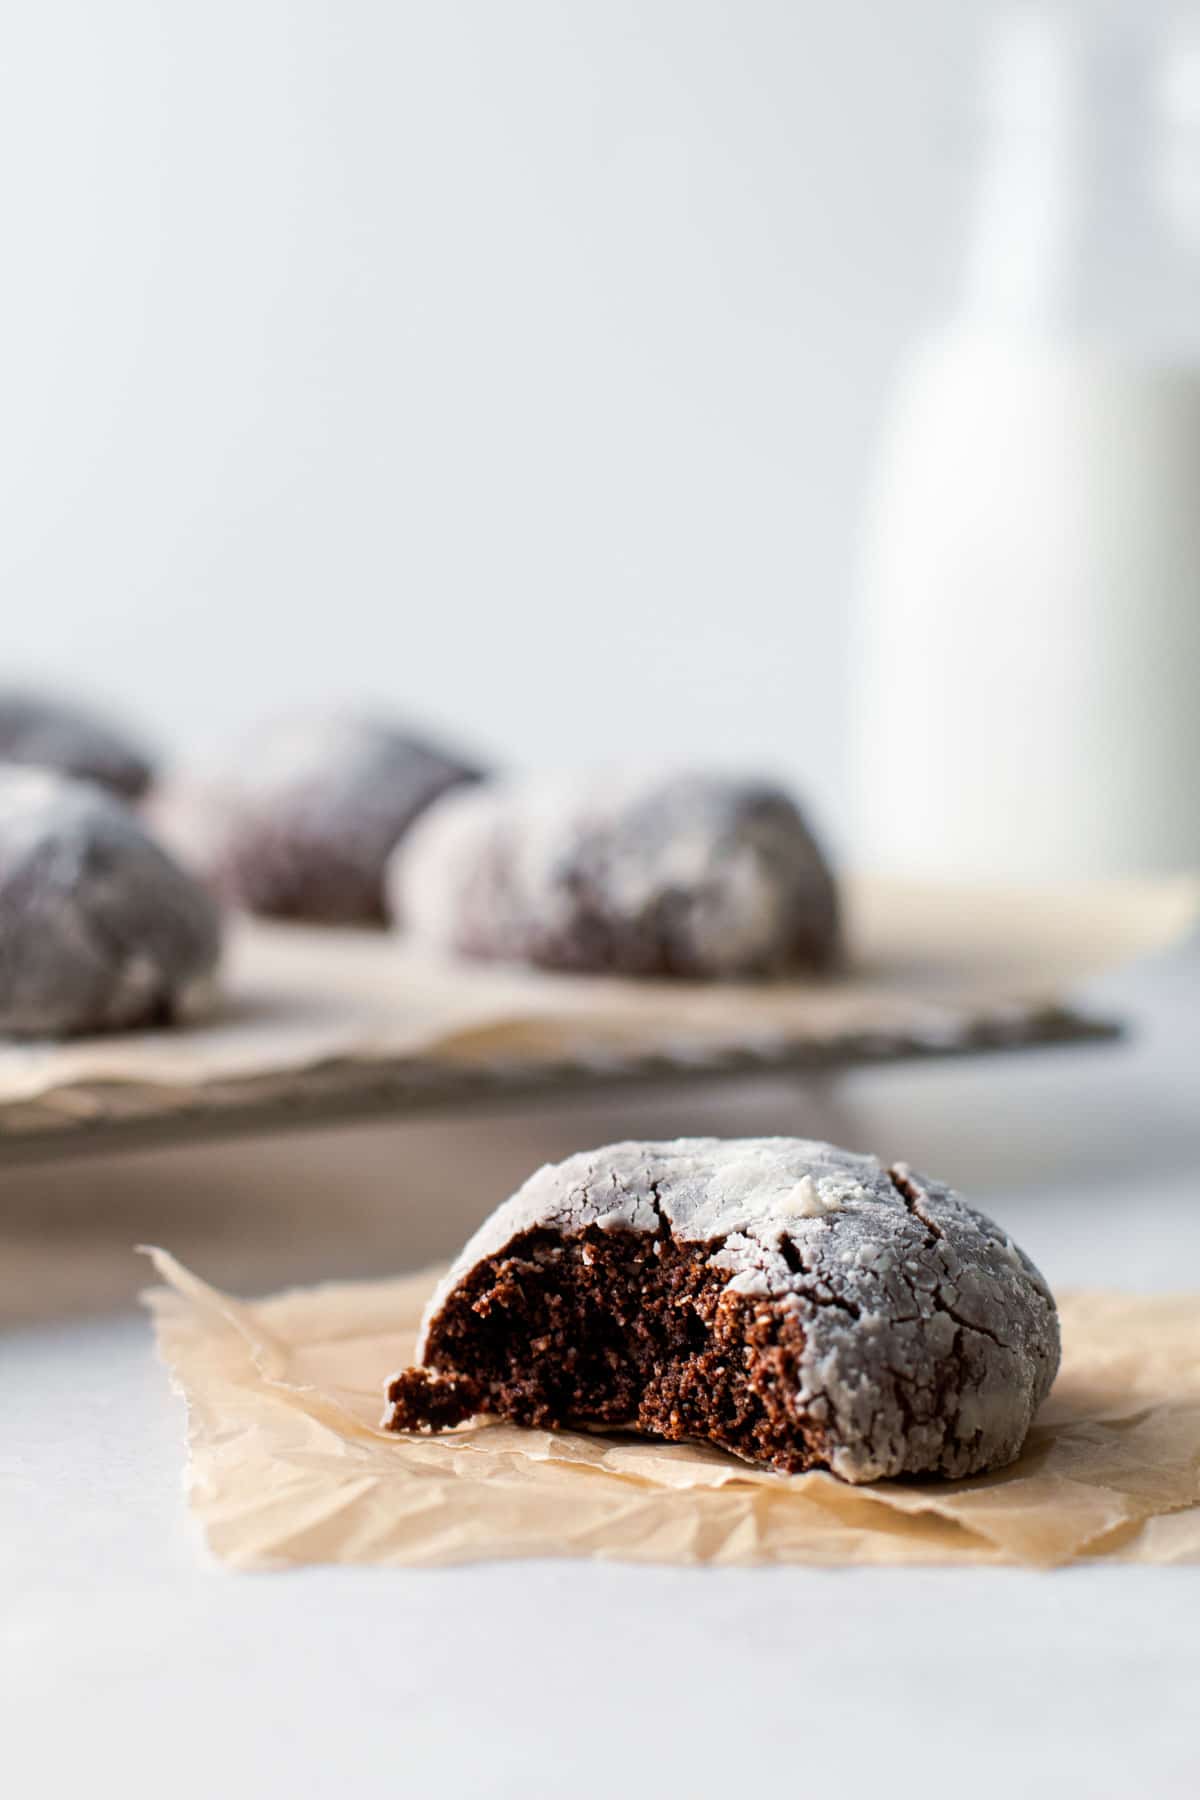
With deep chocolate flavor and a stark white crackly exterior, these Gluten-Free Chocolate Crinkle are destined to be your new favorite holiday cookie. Or anytime-of-year cookie! They are simple to prepare, using only a handful of ingredients and no fancy equipment.
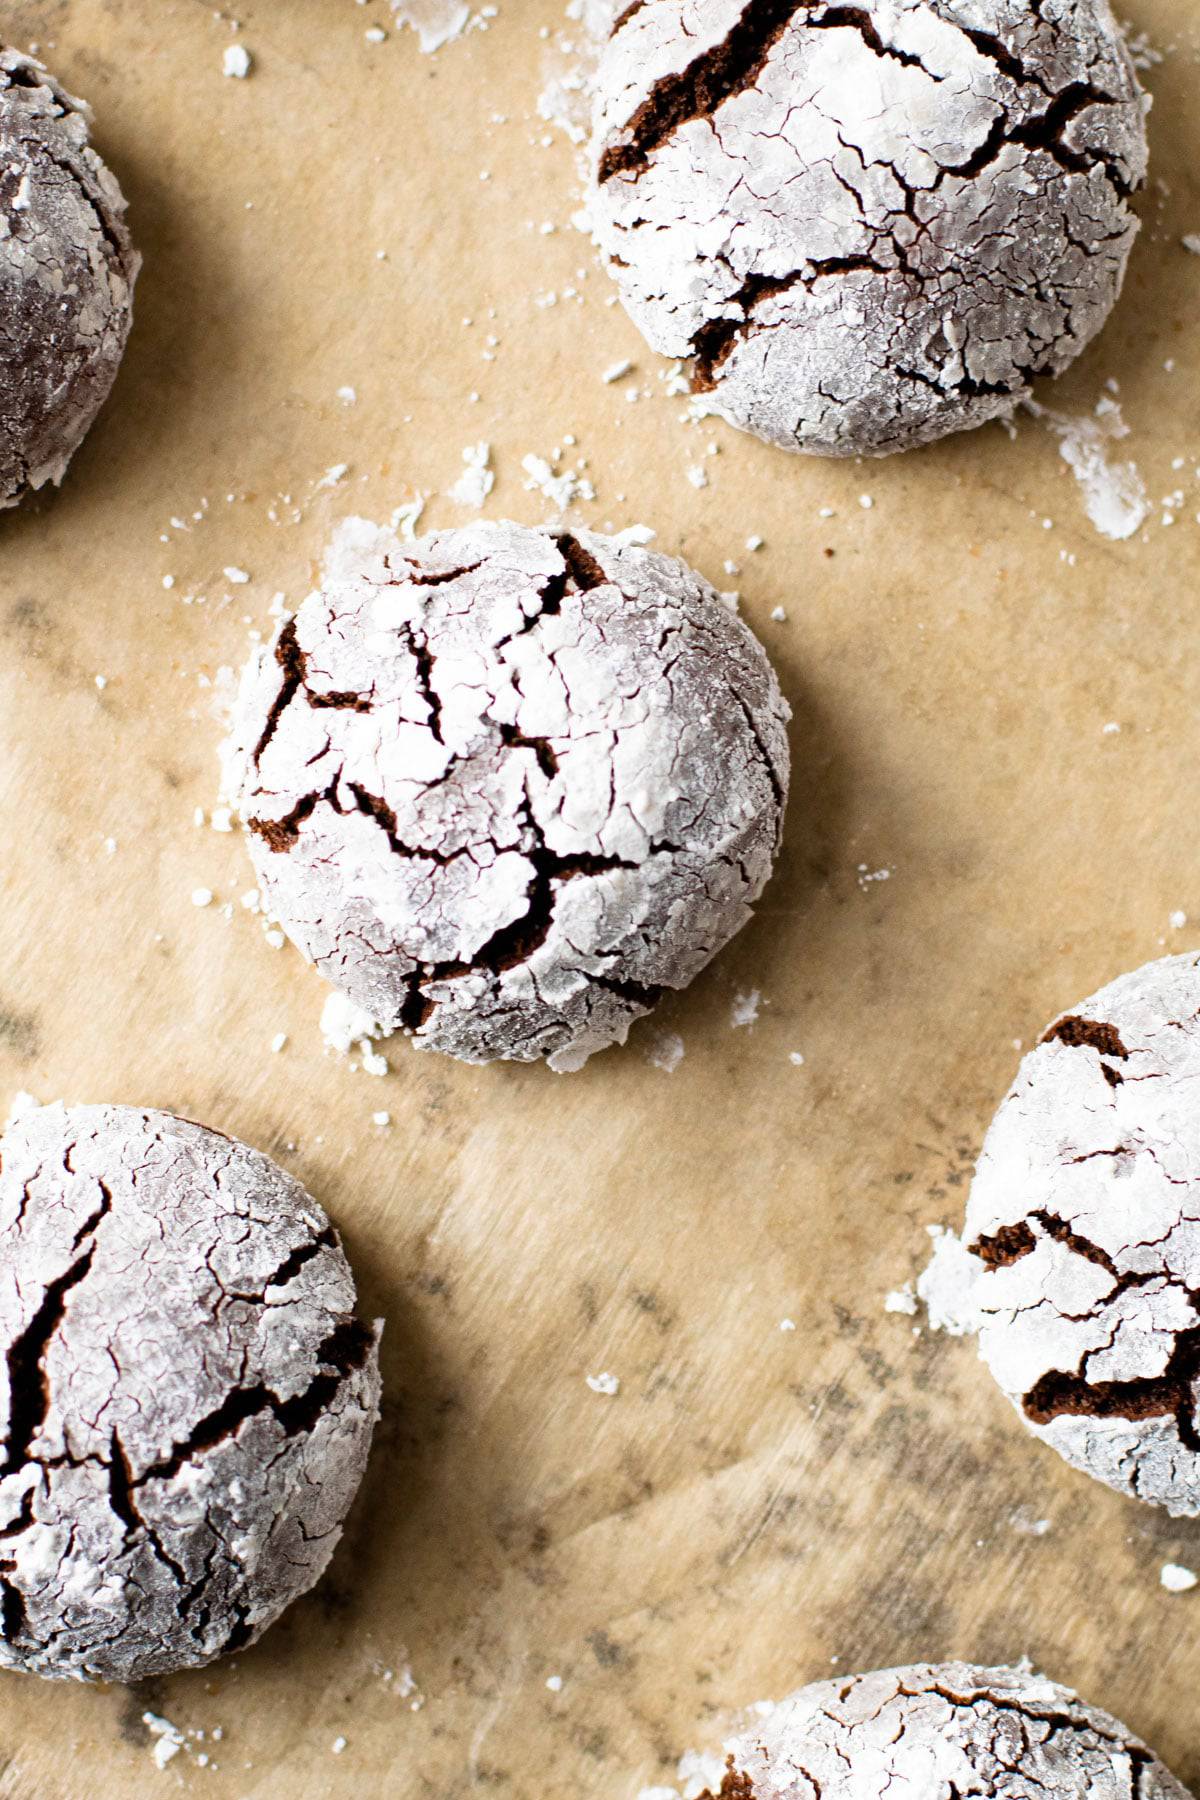 Healthy Chocolate Crinkle Cookies
This Gluten-Free Crinkle Cookie recipe is a drop-everything-and-make-these-because they’re-so-good recipe. They have a slight delicate crispness to them on the outside and a deeply chocolatey, bordering on fudgy, middle. They’re made with a mix of almond flour, tapioca flour, and cocoa for the perfect texture. They are also dairy-free! These cookies live on the border of indulgent yet nutrient-dense thanks to the added protein (thanks almond flour) and anti-oxidants (thanks chocolate).
But what we really love is that the steps to make this are simplified by skipping the use of any special equipment and just mixing the dough by hand. This means you can have fresh, hot cookies on your table quickly. This is also a great recipe to make with the kids for the holiday baking season.
Ingredients Needed
- Almond Flour
- Tapioca Flour
- Natural Cocoa Powder
- Coconut Oil
- Semi-Sweet Chocolate Chips
- Coconut Sugar
- Maple Syrup
- Egg
- Vanilla Extract
- Baking Soda + Salt
- Powdered sugar
Substitutions
Here are some suggestions for substitutions in this recipe.
Flours: We can’t recommend any alternatives to the flours listed above. This recipe was developed specifically for them, and swapping out any other flours will not have the same results. Though if you do experiment with substitutions, let us know how it goes!
Cocoa: Don’t swap this out with dutch cocoa powder, as this recipe was developed for natural cocoa. If you are curious if your cocoa is natural or dutch and it doesn’t say anything on the label, it is likely natural cocoa powder. To be sure, check the ingredients list. If it lists “processed with alkali” or alkalized that means it is dutch cocoa powder, and not the one this recipe is called for.
Coconut Oil: This can be swapped out with melted butter, if desired, with similar results.
Coconut Sugar: This can be swapped out with brown sugar with similar results.
Egg: We haven’t tested an egg substitute but suspect that a flax egg might work! If you try, let us know!
Powdered Sugar: If you wanted to avoid processed sugars, you could substitute this with coconut flakes that have been processed to a fine powder. It doesn’t work exactly the same, but it’s definitely a delicious substitition. We liked the taste of it a lot!
How to Make Them
We love how easy these are to make! Here is an overview of the steps needed to make this recipe:
- Melt the chocolate and coconut oil together over a pot of simmering water.
- Let the chocolate mixture cool slightly and then add in the wet ingredients, until really smooth.
- Whisk together the dry ingredients until no lumps remain.
- Fold the dry mixture into the wet mixture until fully combined.
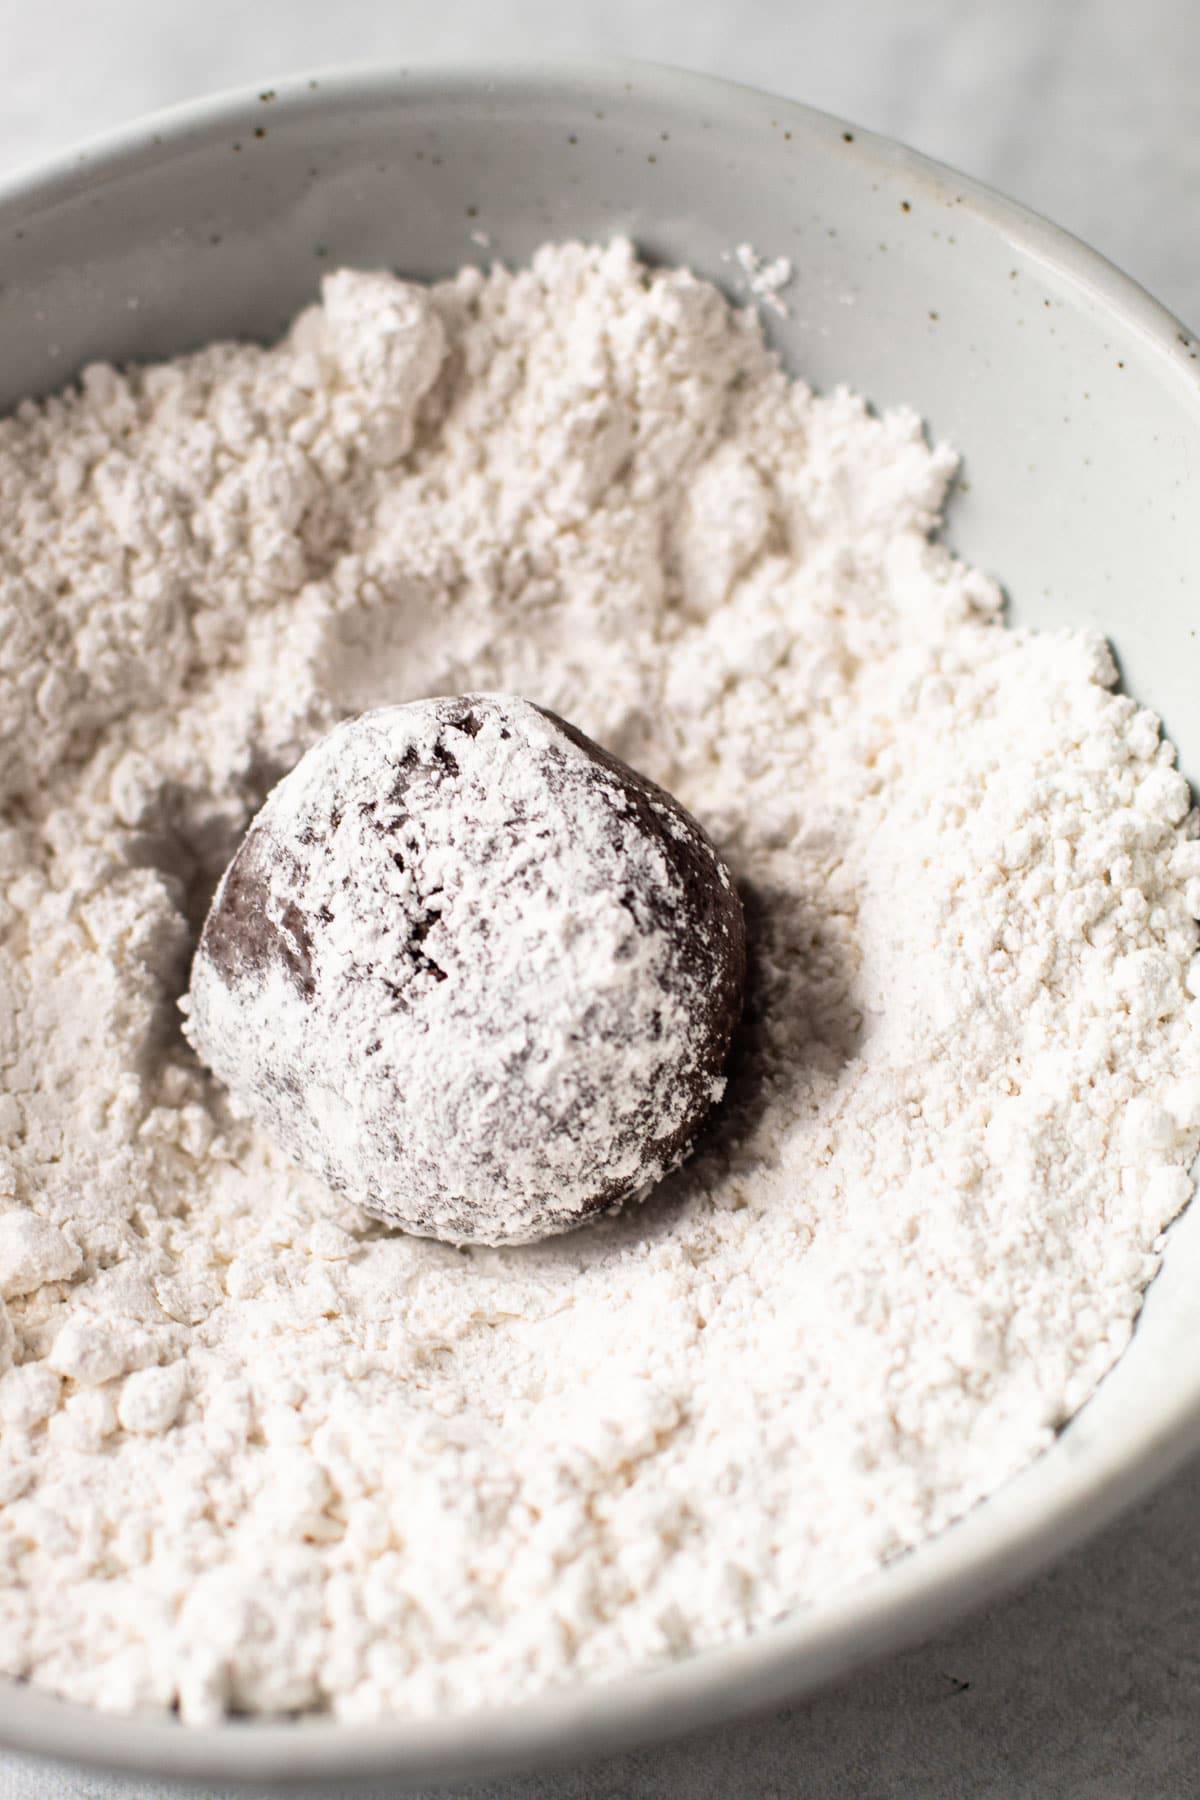
- Scoop, roll and coat the cookie dough in powdered sugar.
- Bake!
Our Best Tip for Making Chocolate Crinkle Cookies
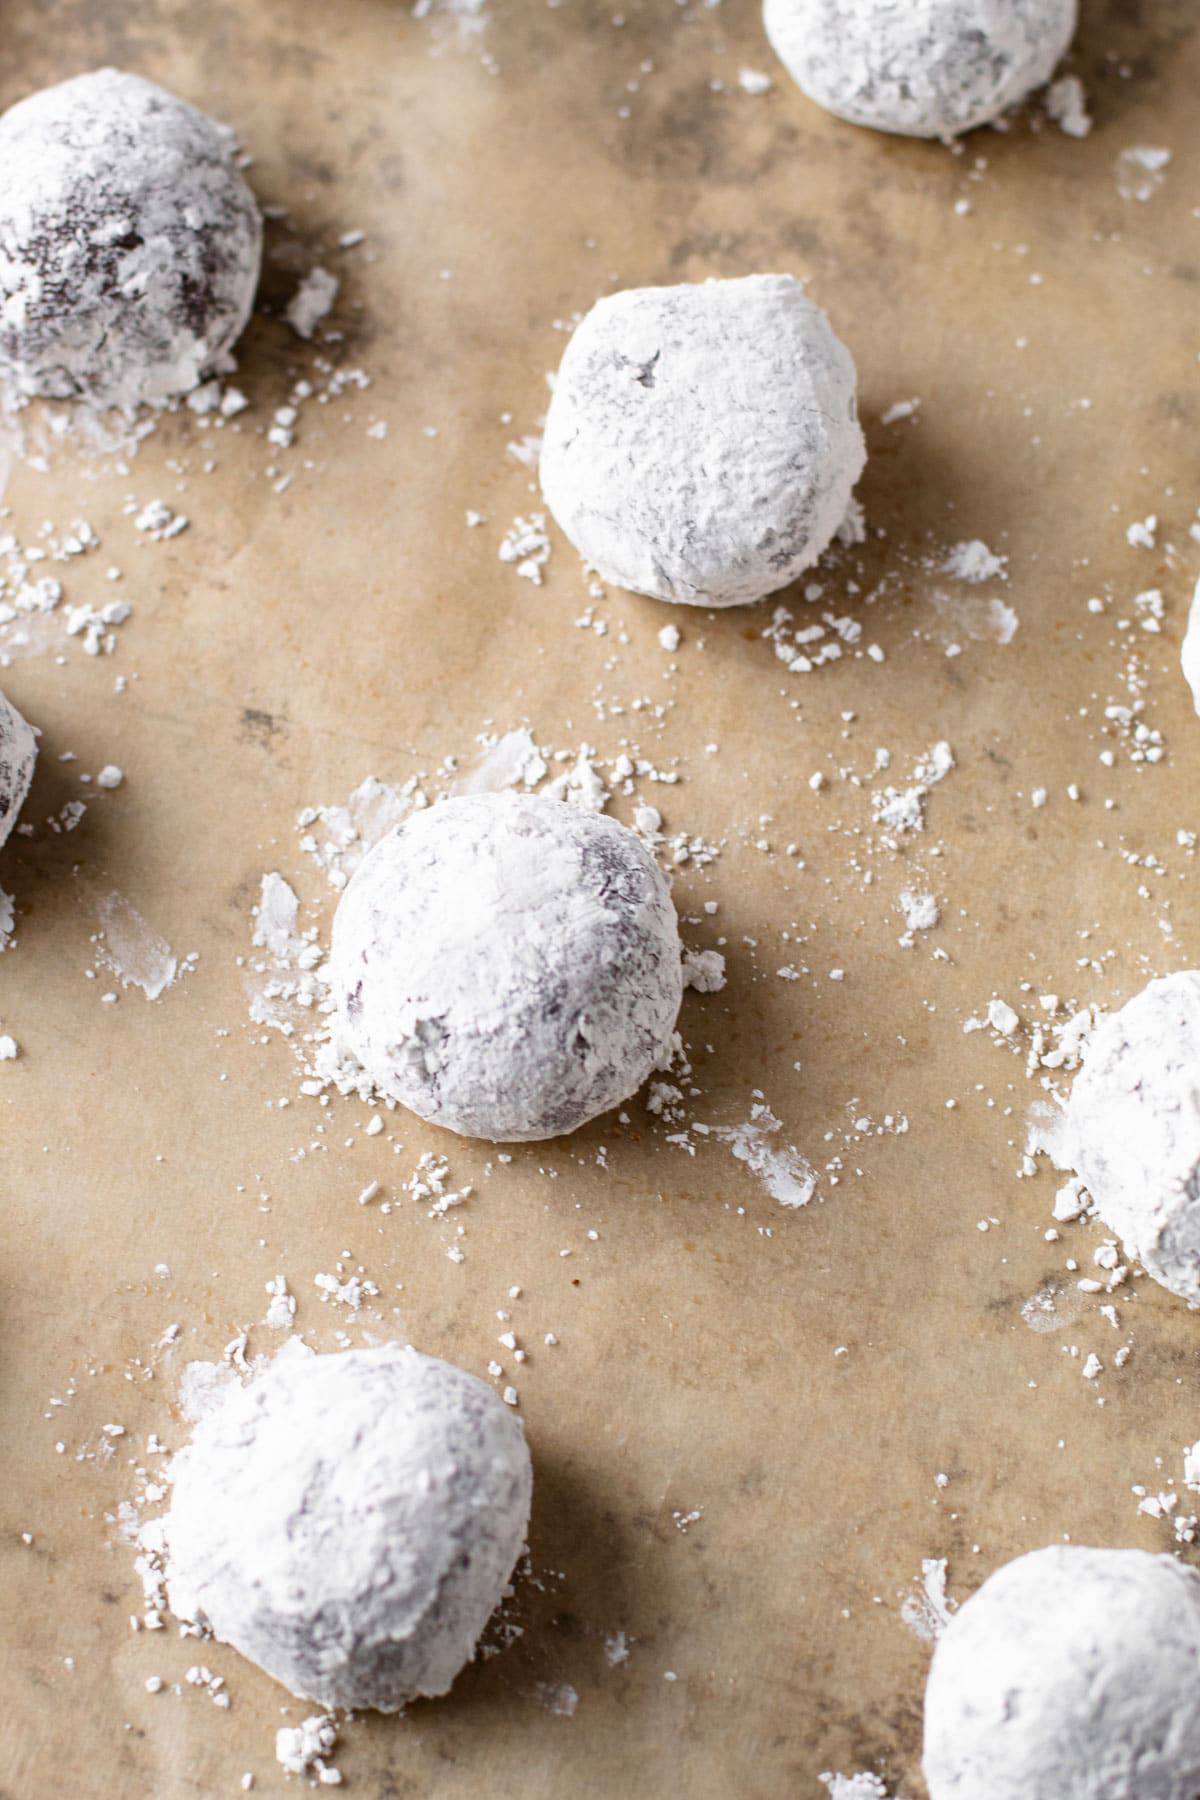
It’s all about the double dip! We recommend double coating the cookie dough balls in powdered sugar. The reason for that is the first time you coat the balls, the moisture in the dough will dissolve some of the sugar. But the second coat will adhere better, thus resulting in a more defined white exterior. That means coating all the dough balls once with powdered sugar, and then going back and coating them again.
We also really recommend packing on the powdered sugar as best as you can, so take your time rolling the balls in the powdered sugar.
How to Tell When They’re Done
Chocolate cookies are a bit tricky to tell when they’re done, especially when they’re coated with powdered sugar! You’ll know these cookies are done when they’ve puffed up and cracked. We have found that 9 minutes is the perfect time in our oven, but that may be a minute more or a minute less in yours. We want them to be slightly “underdone” in the middle and set on the exterior. Slightly underbaking these cookies leaves for a super fudgy middle that is just so good.
Storing Gluten-Free Cookies
These cookies keep incredibly well, at room temperature for 2-3 days. The texture holds up well, but to keep the integrity of the crinkle coating, store them in one layer. The cookies can be stored in a bag or container at room temperature for up to 3 days.
Freezing Cookie Dough
The cookie dough can be rolled into balls and frozen for up to 3 months. To freeze, place the portioned cookie dough balls (without the powdered sugar coating) on a baking sheet and freeze until solid. Move cookie dough in a freezer bag.
When ready to bake, follow the instructions to double coat the cookies in the powdered sugar, and then bake as instructed, adding an extra 2-3 minutes of bake time as needed. Look for the cookies to be puffed up and cracked.
Watch the video:
If you like this cookie recipe, check out these others:
- 3-Ingredient Almond Butter Cookies
- Gluten Free Thumbprint Cookies
- Gluten Free Sugar Cookies
- Gluten Free Chocolate Chip Cookies

Gluten-Free Chocolate Crinkle Cookies
Ingredients
- ½ cup coconut oil
- ⅓ cup semi-sweet chocolate chips
- 1/2 cup coconut sugar
- 2 tablespoons maple syrup
- 1 egg
- 1 teaspoon vanilla extract
- 1 cup 96 grams almond flour
- 1 cup 120 grams tapioca flour
- ½ cup 40 grams natural cocoa powder
- ½ teaspoon baking soda
- Pinch salt
- 1 cup organic powdered sugar see alternatives
Instructions
- Preheat oven to 350ºF and line a baking sheet with parchment paper.
- Bring a medium saucepan of water to a boil on the stove. Add coconut oil and chocolate chips to a large heat proof bowl and then set the bowl over the sauce pan. Stir the oil and chocolate with a rubber spatula until all of the mixture is melted.
- Remove the bowl from the pot. Let the mixture cool slightly, about 3 minutes.
- Add coconut sugar and maple syrup to the bowl and whisk together. Add in the egg and vanilla extract, and whisk vigorously until the mixture has thinned out and is shiny and smooth.
- In a separate bowl, either sift or whisk together almond flour, tapioca flour, cocoa powder, baking soda and pinch of salt until no lumps remain.
- Fold the dry mixture into the wet mixture until fully combined.
- Place powdered sugar in a bowl.
- Scoop and roll dough into balls about 2 tablespoons in size and then coat in powdered sugar. Place the coated dough on a baking sheet evenly spaced apart (these do not spread much). Once all the dough balls have been rolled in powdered sugar, repeat the process, by rolling them all again in the powdered sugar.
- Bake in the preheated oven for 9 minutes. Let cool at least 1 hour before touching, as they’ll be quite soft at first.
- Cookies will keep, covered in an air-tight container at room temperature, for 2-3 days.



Year after year these are my family’s favourite Christmas cookie!
Looks so good- going to make these for Santa! Wondering what I can use instead of tapioca flou?
One more thing! I chilled the dough in the fridge for 20 minutes as it was pretty sticky once it was all mixed. I also used butter instead of coconut oil.
Can you substitute the coconut oil?
Butter – we mention in the post!
These turned out looking fantastic! I find them to have more of a coconut taste than chocolate because of the coconut oil. Can I substitute butter for the coconut oil?
The ingredients list shows semi-sweet chocolate chips however the instructions #2 state to use dark chocolate. Which is correct? I think either would be delicious. Just wondering how you originally made these.
It’s semi sweet—though dark chocolate would work just fine too. I updated that typo!
I am going to try and make these soon! If I wanted to add peppermint extract, how much would you suggest adding? Thanks!
Oh what a great idea! I’d do 1/4 to 1/2 teaspoon since this only makes 12 cookies. Start with 1/4 teaspoon and if it already smells pretty minty, stop there. If the smell is on the weaker side, go ahead and add in a bit more. Enjoy!
These cookies are delicious. I had a really hard time getting the powdered sugar to stick despite double coating them. Tasted great still.
Can you describe more about what you mean when you say stick? You mean when you are coating them, or after they’re baked?