This post may contain affiliate links. Please read my disclosure policy.
Did you know in my former life I was an elementary art teacher? I taught students ages K-4 and it was truly an amazing season of my life. With many at home right now trying to manage their kiddos, working, and staying sane, I was asked to share some of my favorite art projects/lessons that were also most loved by students. Specifically ones you could easily do at home and this foreshortening art project is one fo them!
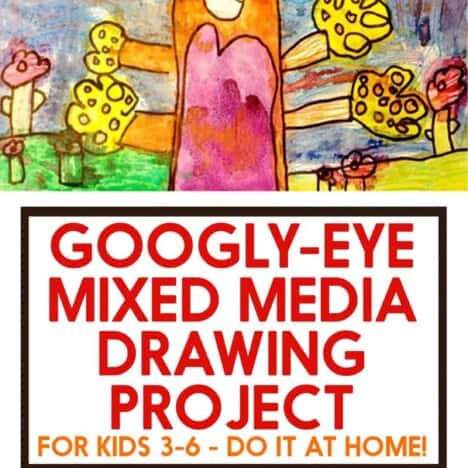
Last week we had our Googly-Eye Mixed Media Drawings for kids ages roughly 3-6 years old, and this week we’re moving to a project I did with my 4th graders, but honestly, with some good prompting, your second or third graders could totally do great with this!
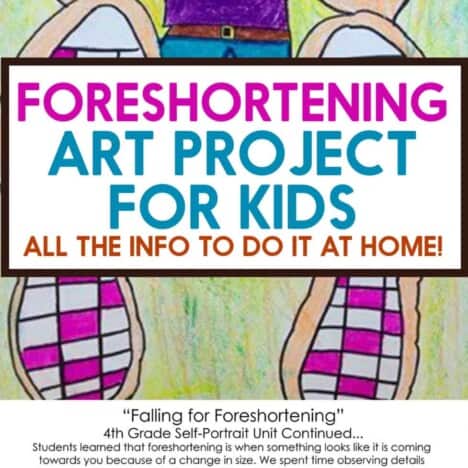
Foreshortening Art Project for Kids
This was always a beloved project in class as the kids were super excited to be asked to bring in their favorite pair of shoes and then have to take them off to trace them! Not to mention, once the pictures are finished, they are so impressive!
First, what is foreshortening?
Foreshortening is when an object or view is closer than it is or as having less depth or distance, as an effect of perspective or the angle of vision.
What you need:
- Long Paper – We used 11 x 17.
- Pencils
- Permanent Markers (thin ideally or regular sharpies will work)
- Markers or Crayons
Linking to my favorite non-toxic art supplies here.
The process:
- First, discuss what is foreshortening, and then ask your child to look at you while you put your feet in front and hands out in front of your body. Ask them: What looks the biggest? Ideally they notice your feet and hands look bigger than your head which is further back. You can also pull up images of other things that have foreshortening.
- Then, ask them do to the same: Lay back and put your feet in front of you and your hands. If someone is looking at you from the front, your shoes and hands would look bigger than your head, right? Since your head is now further away.
- Then, have your kids pick a pair of shoes that have an interesting bottom. Observe the detail in the bottom of our shoes. Ask: What do you notice (lines, dots, etc.) ?
- Next, ask them to look at the INSIDE of their hands: lots of detailed lines, right? How many are on each finger, etc.
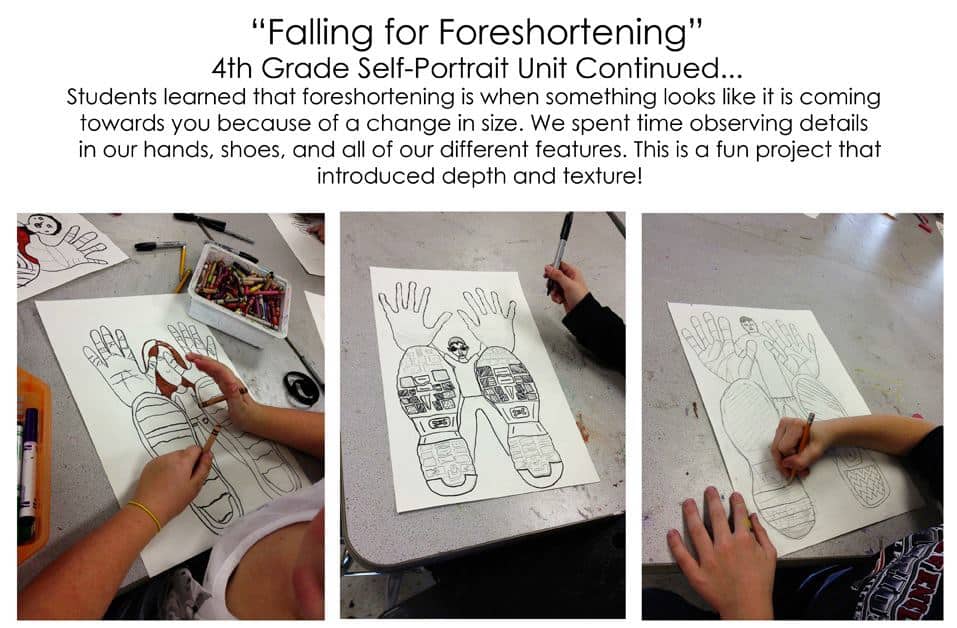
- Then start the project: Take your shoes off and trace them on the paper in pencil. Draw in the details you see!
- Trace your hands above the shoe – it looks extra cool when your hand gets cut off by the top of the shoe (hands are overlapping the tops of the shoes). Show them my examples! Add in details you see in the inside of your hand. Remember: no nails!
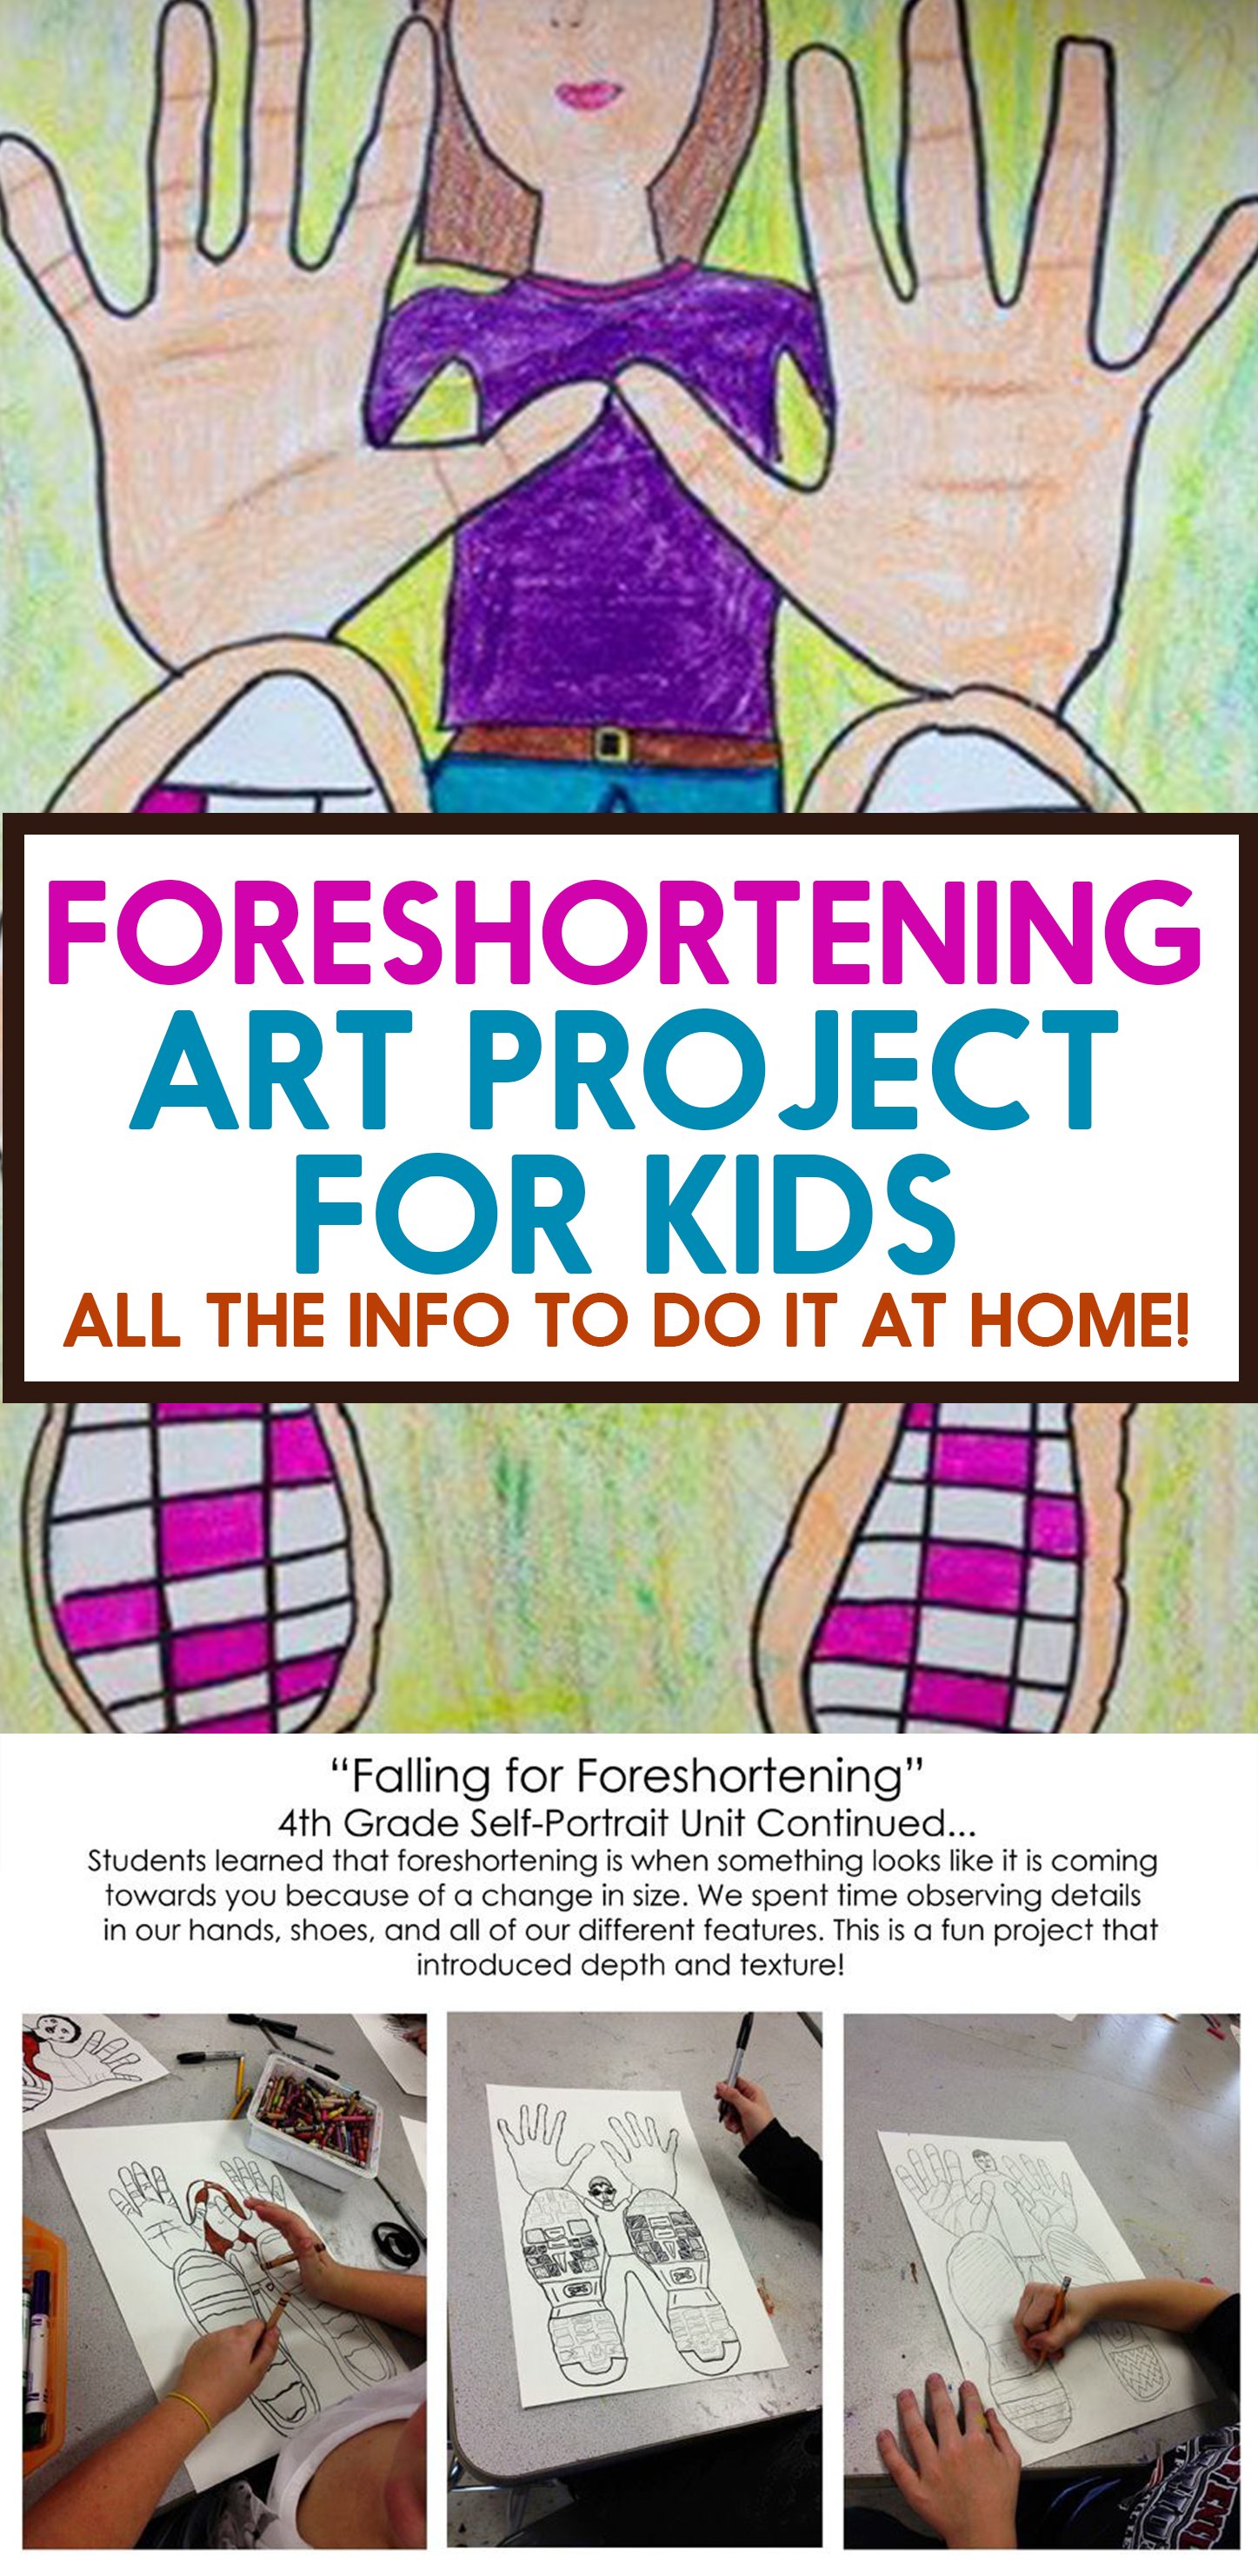
- Now, smaller, draw in your legs, shirt, and head! If the kids need it, show them position again and see that your legs go BACK! Prompt them to get as detailed. Grab a mirror if you’d like! Remember: eye brows, eye lashes, the shape of your eyes, freckles, glasses, etc. Draw your head smaller in between the hands, and add your body. The arms need to be drawn directly to the hands, and the legs have to be drawn to the bottoms of the shoes!
- Outline everything in thin sharpie once done putting in your details and drawing in pencil!Fill in with color!
The learning objectives:
- Learn about distance and foreshortening.
- Observational drawing: what are you observing? Putting that on paper.
- Mixed media with pencil, sharpie, and coloring!
Happy art making! More to come for other age groups!
Lexi
Pin it for later:

I LOVE this!! Thank you for the idea!!