This post may contain affiliate links. Please read my disclosure policy.
This holiday season it is time to get fancy because we’re showing you How to Make Creme Brulee! This dairy-free and refined-sugar free version is just as decadent as the classic version but lightened up with a secret healthy ingredient! It’s perfectly sweetened with a blend of honey and maple sugar and despite it feeling fancy it is really easy to make! We’re showing you all the tips and tricks to place this spectacular dessert on your table this holiday season! Made in partnership with my friends at Vital Proteins!
How to Make Creme Brûlée (Dairy-Free)
Today we’re talking about How to Make Creme Brûlée because holidays are made for this special treat! But I’m here to let you in on a little secret: it’s really easy to make! Creme Brulee is just simply a custard baked in the oven and topped with caramelized sugar. See? When you spell it out that way, it sounds so SIMPLE (it is)! We made our lightened up version a little extra special with the addition of my favorite Vital Proteins Collagen Peptides. Nobody will know it’s there but it gives your dessert a little extra boost of health benefits! Great for your hair, nails, skin, gut, and so much more- it’s the perfect sneaky addition!
Making the Custard
Let’s talk about custard. Custard is essentially just a liquid mixture that uses eggs to set up that is baked slowly and gently in the oven. Traditionally custard uses dairy milk and heavy cream as it’s base, but we’re using a mixture of almond milk and coconut cream. We didn’t want the Creme Brûlée to take on too much of the taste of coconut so we found the balance of those two really allowed the vanilla flavor to shine through without any coconut interferrence. Similarly we used a blend of maple sugar and honey as a sweetener for the same reason, using only one ran the risk of taking on too much of that flavor. You’ll need the maple sugar for the caramelized sugar on the top too at the end! Our Creme Brûlée is JUST sweet enough, but if you prefer your desserts on the sweeter side you can add an extra 2 tablespoons of honey.
To make the custard you must first temper the eggs. All this means is that you are going to gently warm up the liquid and slowly ladle and whisk it into the eggs. The reason for doing all of this is so that the custard bakes evenly in the oven. You want to make sure you do not scramble your eggs, so do not boil the liquid mixture and then dump it all in to the egg mixture all at once–you’ll end up with cooked eggs!
If your mixture has a lot of froth (from over-mixing) a great trick is to use your kitchen torch and very quickly turn it on and burn off the bubbles. It takes just one second or so and they pop and disappear making for a smooth custard (and it is kind of fun)!
Baking the Custard
After you’ve tempered the eggs and added in all the ingredients you’re going to cook these custards slowly and gently in the oven. This means using a water bath! You’ll want divide the custard mixture into 4-6-ounce ramekins that are placed in a roasting pan. In the roasting pan you’ll pour in hot water to come up the sides of the ramekins by about half way.
Bake in the oven until the custard is just set! This means the outside edges are set but the middle part is still a little wobbly. Once they’re cooked through let them cool down slightly and then let them chill in the refrigerator until they’re just set. You can do this 1-2 days ahead of time.
The fun part… Caramelizing the sugar:
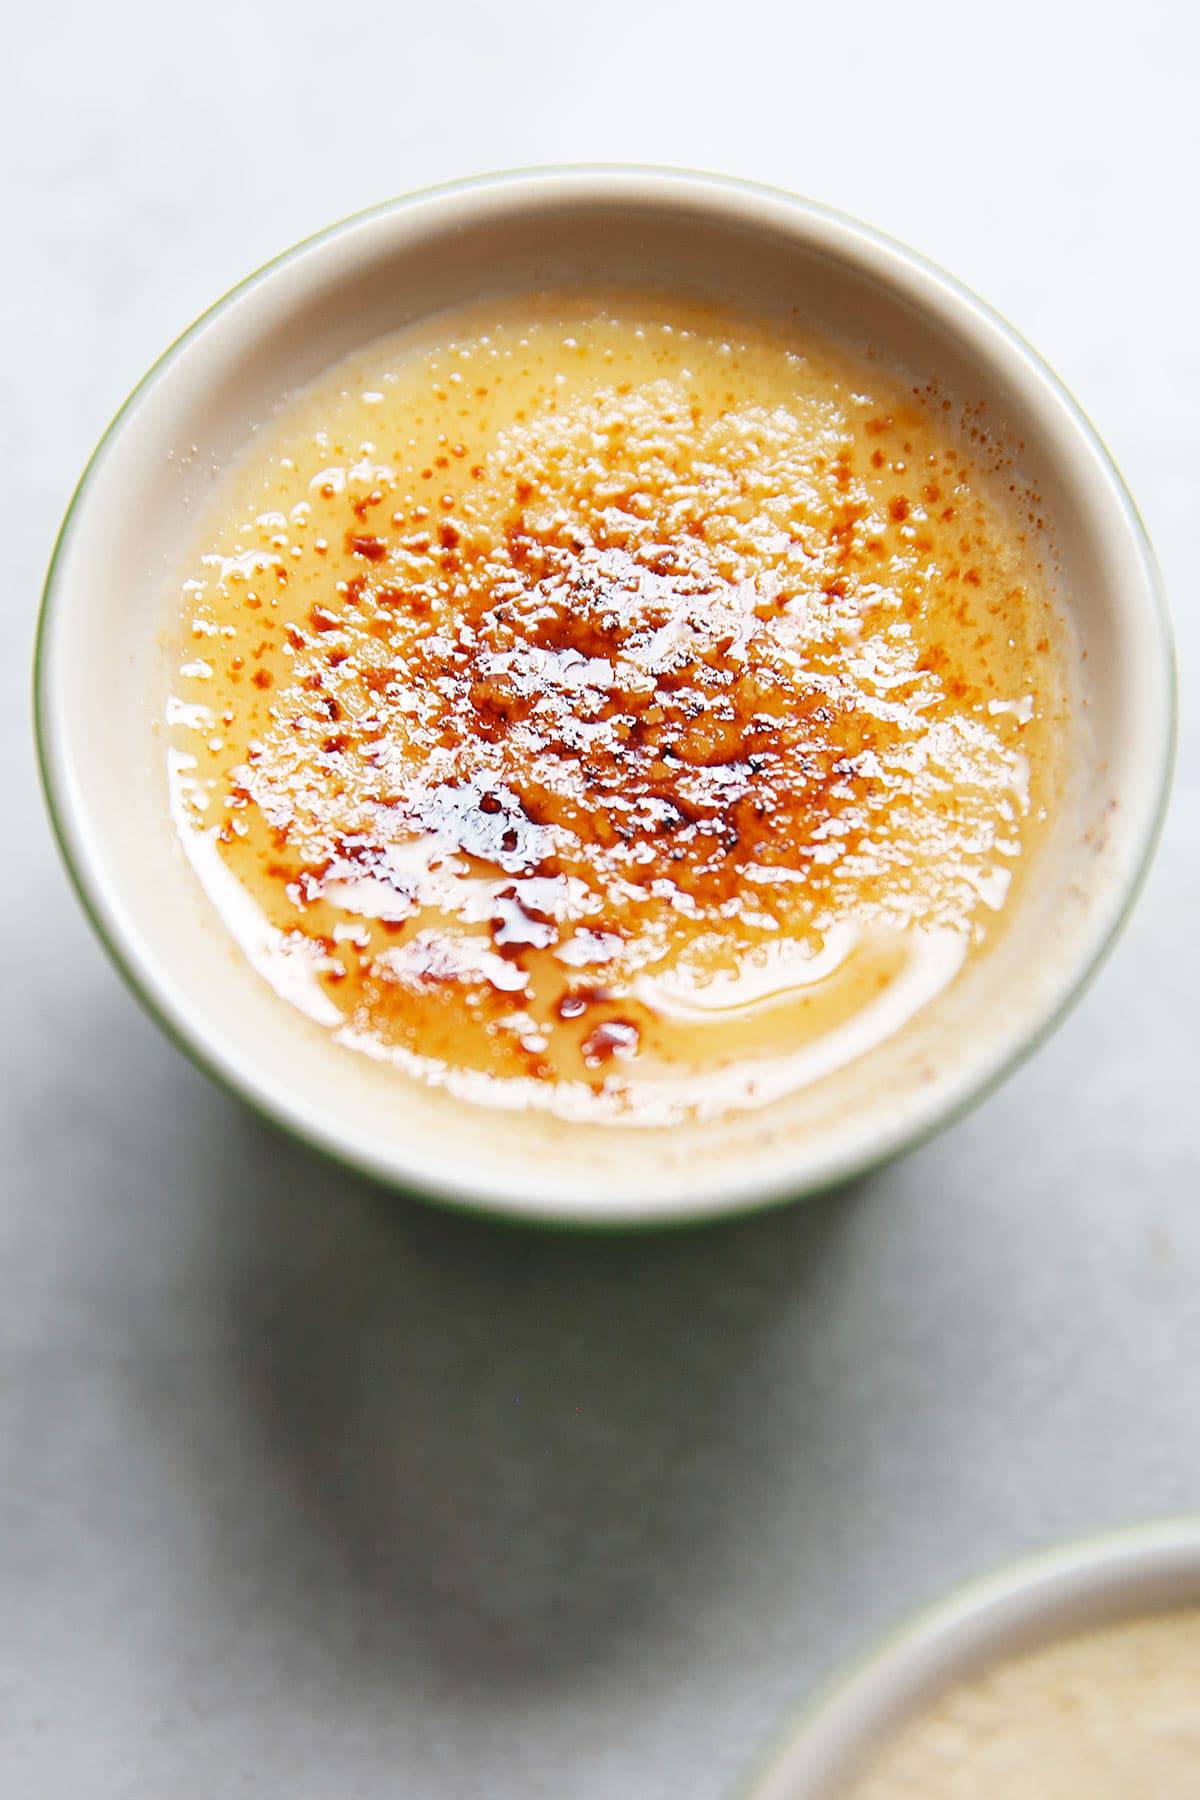
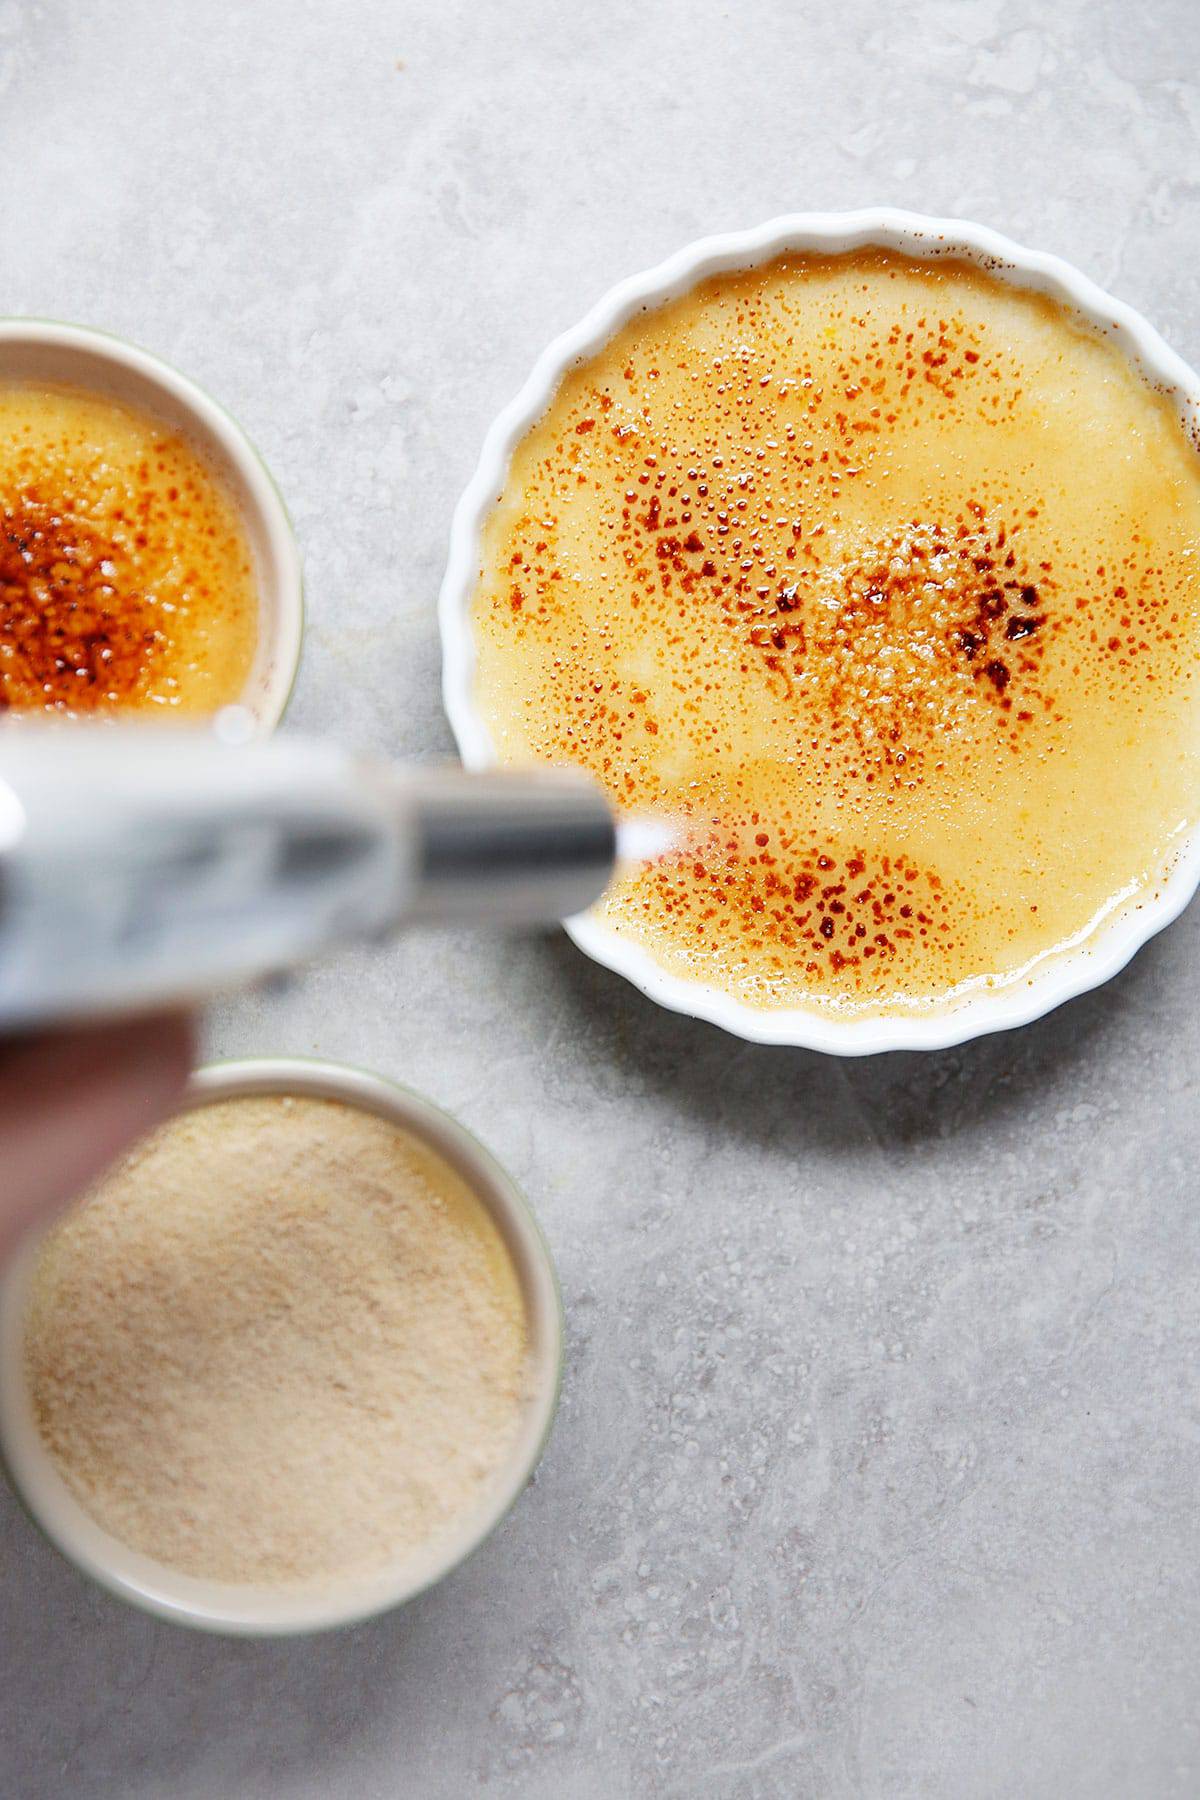
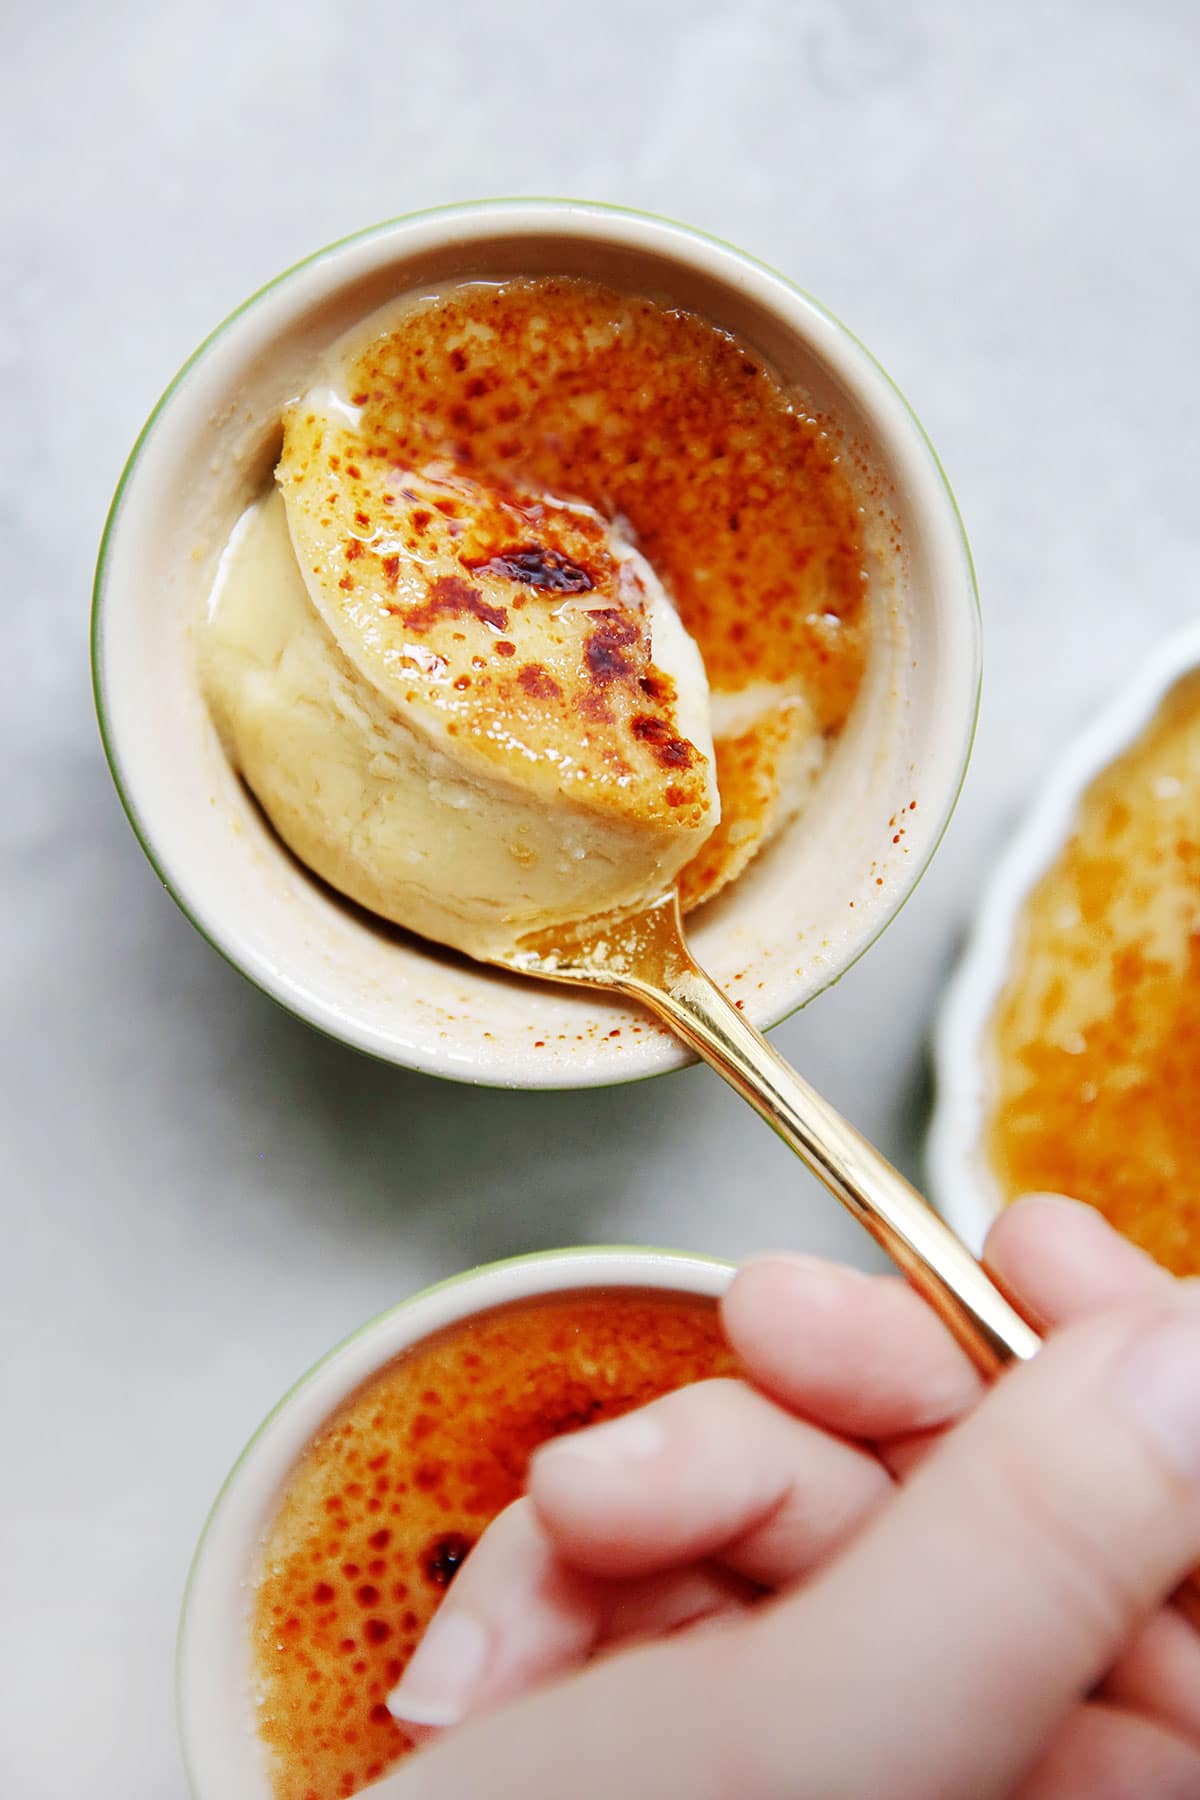
Once your custards are completely set and you are ready to serve the creme brûlée you’ll want to put about 1 scant teaspoon of maple sugar on top and shake it gently until the sugar is even. Light up your kitchen torch and begin to caramelize the sugar! Set the flame a few inches from the sugar and let it slowly go from light brown to darker brown, but do not let it go so long that it turns black. The sugar will harden once it cools after a minute or two. Serve right away so there is still that nice crunch on top!
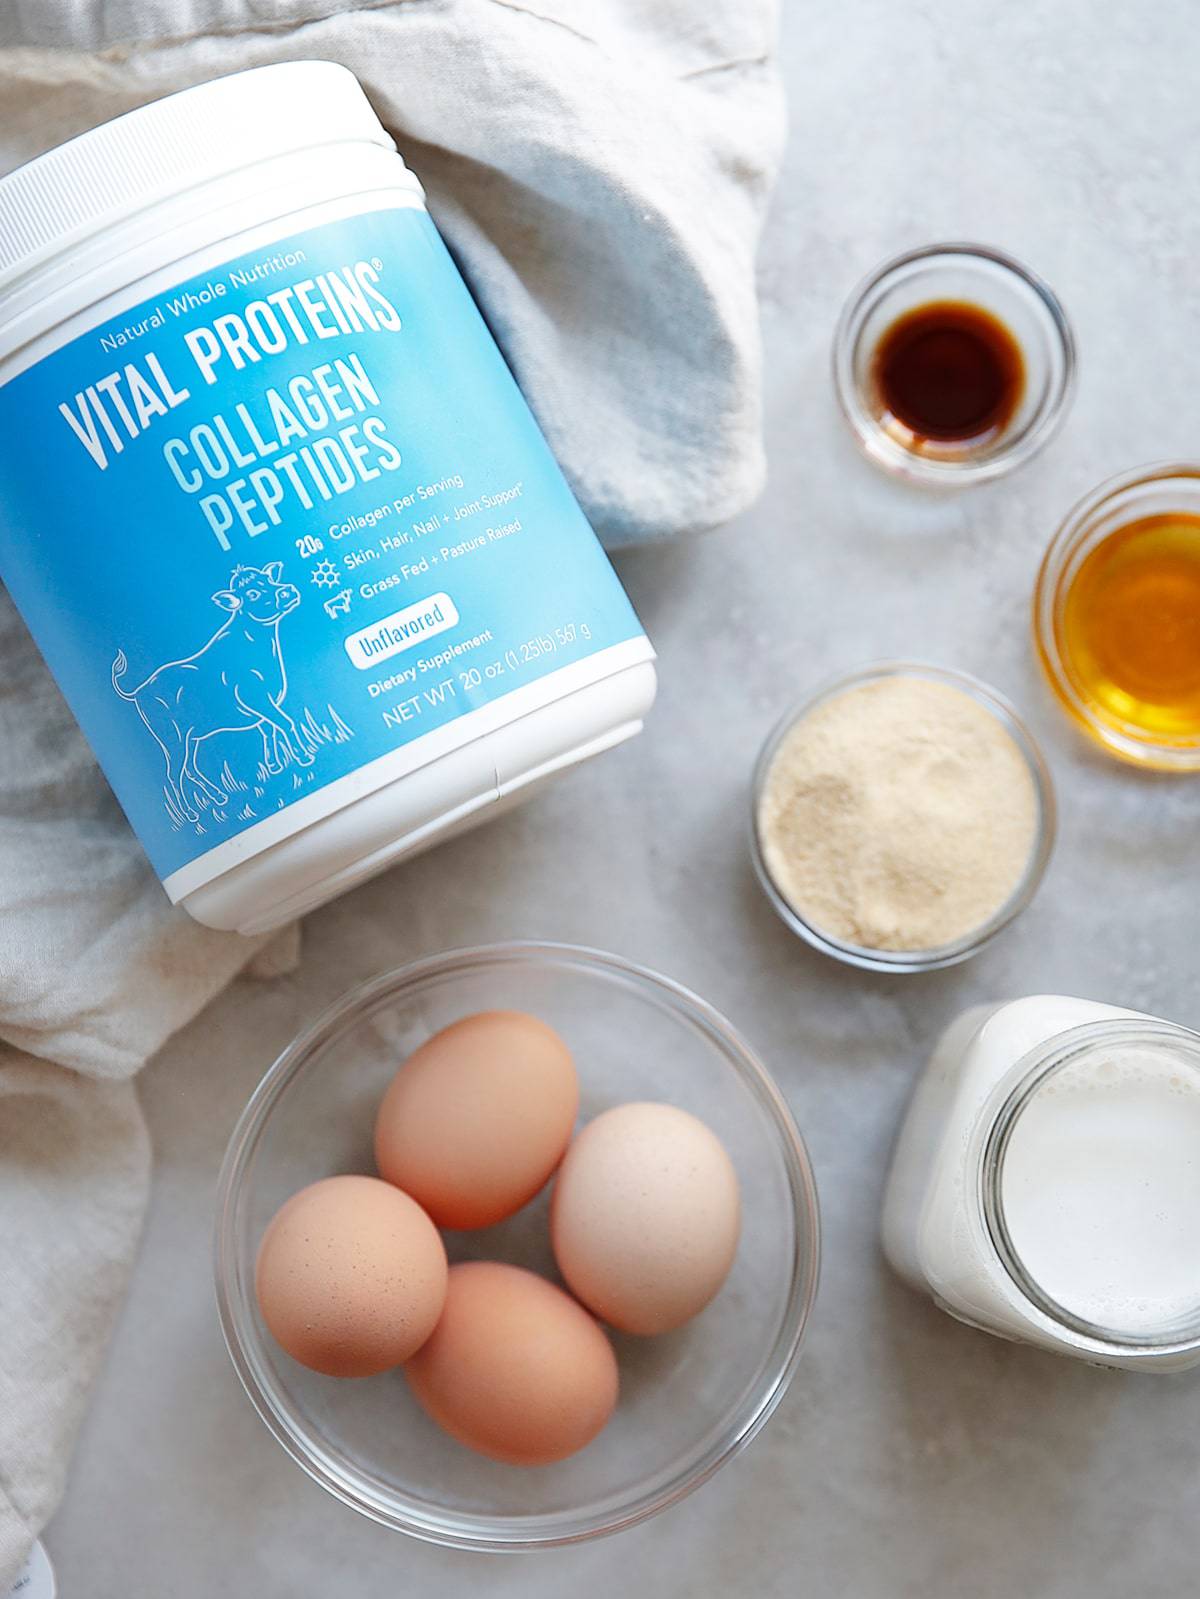
I am so excited to bring you today’s recipe with a little sneaky favorite ingredient of mine! My love for collagen peptides is well documented, and I never tire of ways to make it part of my daily routine. I use it in my coffee each morning, but there are so many ways to use it because it totally dissolves and is tasteless. Adding collagen to your diet can be a great way to improve and promote bone and joint health, aid in healthy digestion and gut health, improve sleep and nourish your skin. It can be added to just about anything including this Creme Brûlée recipe!
Tools we used to make this recipe:
- Basics: Pot, bowl, whisk, kitchen towels
- Ramekins or other 6 ounce containers
- Kitchen torch
Watch the video:
If you like this show stopping dessert, check out these others:
- Chocolate Decadence Pie
- The Best Gluten Free Chocolate Cake
- Gluten Free Apple Pie
- Chocolate Dessert Cups
How to Make Creme Brûlée (Dairy-Free)
Ingredients
- 1 cup coconut cream chilled when separated (see note)
- 1 cup almond milk
- 2 eggs
- 2 egg yolks
- 2 tablespoons honey see note
- ¼ cup maple sugar plus extra for tops of Creme Brûlée
- Pinch salt
- 1 teaspoon vanilla extract
- 2 scoops Vital Proteins Unflavored Collagen Peptides
Instructions
- Preheat oven 325ºF. Place 4 - 6 ounce ramekins in a roasting pan.
- In a pot heat coconut cream and almond milk until about to steam, to about 150ºF.
- In a large bowl whisk together eggs, yolks, honey, maple sugar, and salt until they are fully combined.
- Temper the eggs: Using a ladle slowly pour a little of the hot cream at a time to the eggs while continually whisking, until all of the cream is combined. Add the vanilla extract and Vital Proteins and whisk to combine.
- Divide into ramekins and place in the oven.
- Carefully pour hot water (very hot tap water is fine) into the roasting pan until it reaches halfway up the side of the ramekins.
- Bake until the outside of the custard is just set with still slightly wobble in the middle, about 35-40 minutes (see note).
- Let cool to room temperature and then chill in the refrigerator until completely set, at least 2 hours or up to 2 days.
- Right before ready to serve, evenly sprinkle a thin coat of maple sugar, about 1 teaspoon, on top of custard. Using a kitchen torch melt the sugar until caramelized.
- Serve immediately.
Notes
This post is sponsored by Vital Proteins. All thoughts and opinions are always 100% my own! I love the integrity of their products and think you’ll love them too. Thank you for continuing to support LCK and the brands I work with!

Hi Lexi
Can we omit the collagen peptide? Its not available where i live.
Thank you. I am making it now. I will put in a review after I taste it.
Where and when do I add the vanilla extract and the collagen peptides? Am I missing something?
Regards,
Diane
Hi Diane! You didn’t, somehow that sentence was missing. Thanks for pointing that out. I’ve put it back. You add it in after you temper the egg yolks, in step 4.
Do you think I could use rice milk instead of almond? I’ve got a guest for my upcoming party who is allergic to nuts, but I’m also going for a horchata flavored creme brulee and horchata it traditionally made with rice milk.
I’m assuming I could make this sans the added protein? 🙂
This Creme Brulee is so yumyyy!
The Vital Proteins in here is GENIUS.!
Yum! Creme Brulee is so lovely!
Look at you sneaking in those collagen peptides! So smart! Love Creme Brulee for a special Holiday treat!
all i need is a new kitchen torch! Gah, so making this with my vital protein. yummm