
This post may contain affiliate links. Please read my disclosure policy.
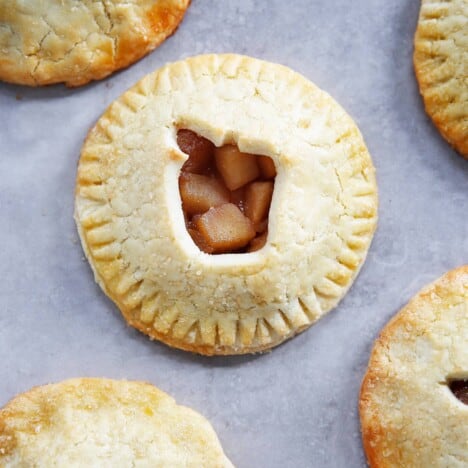
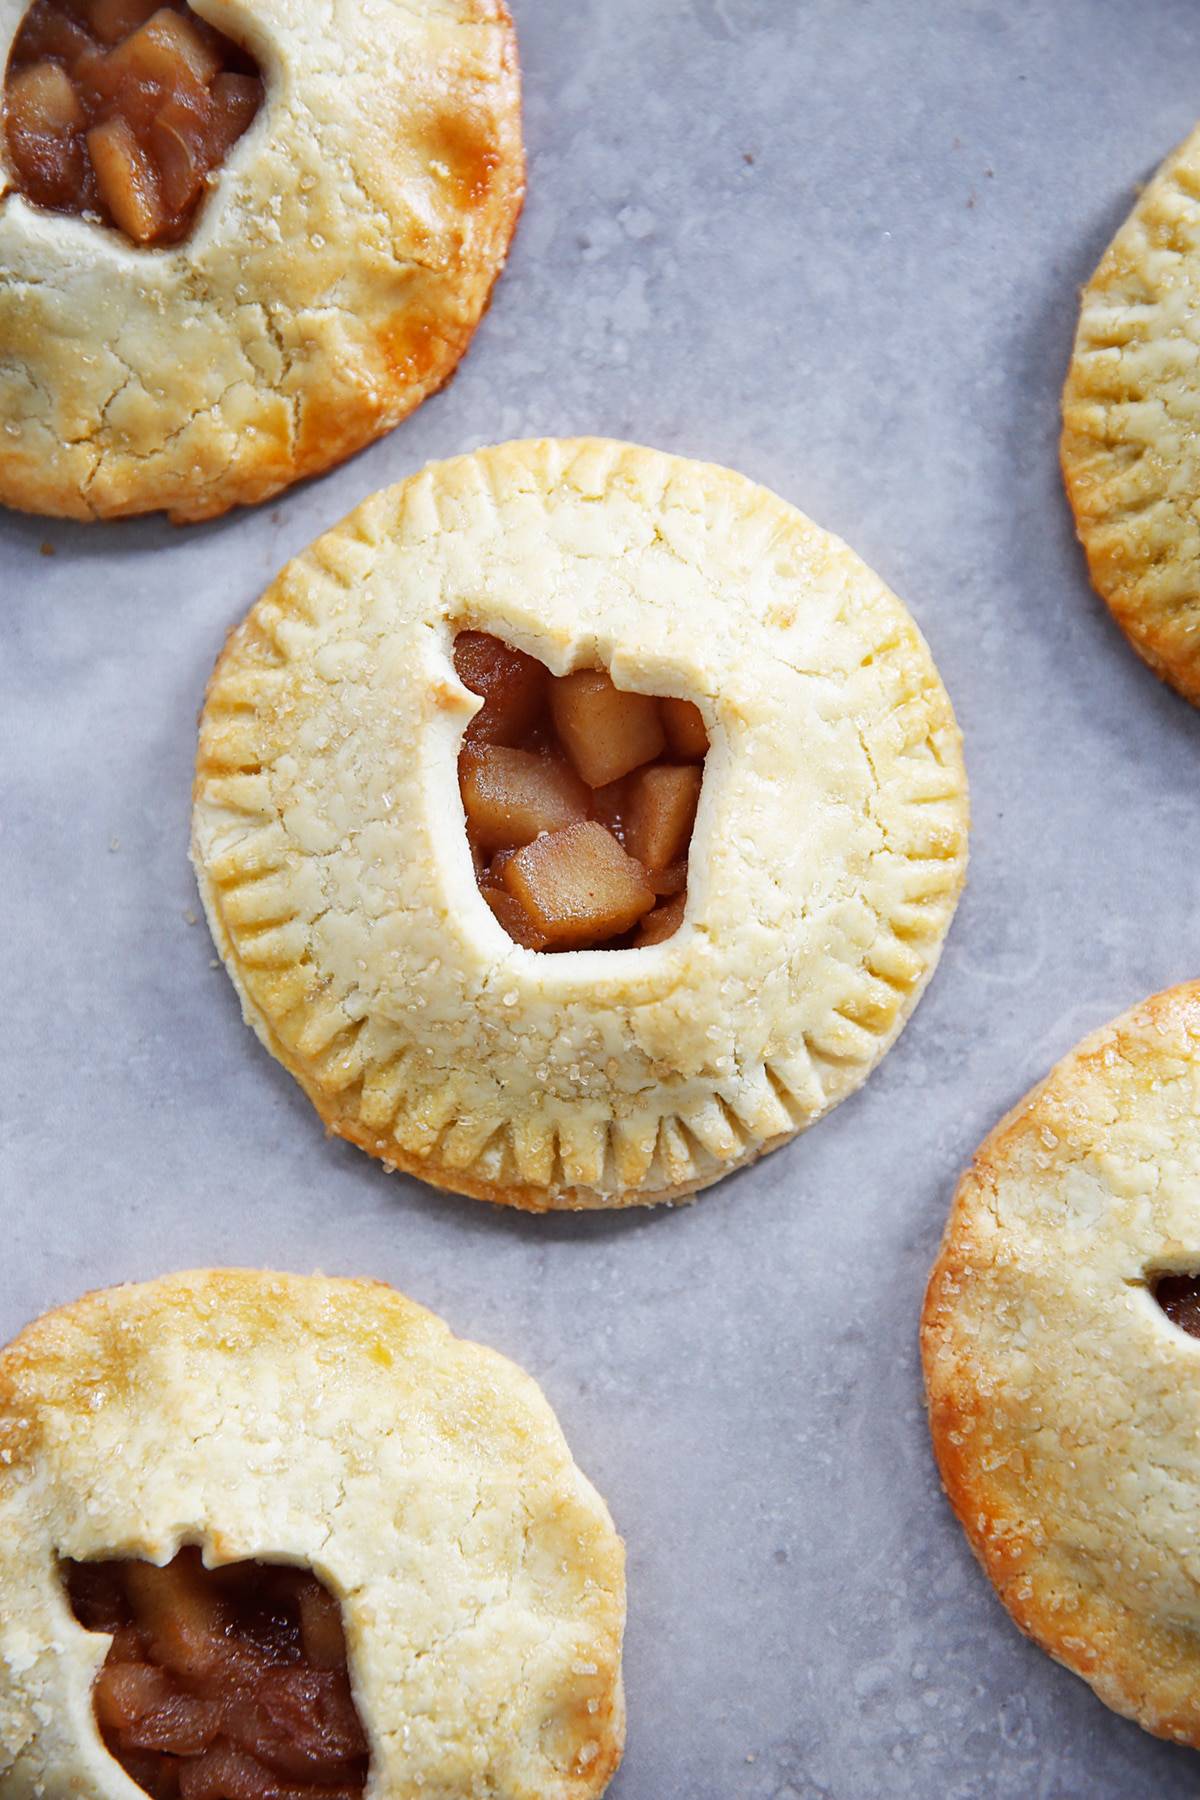
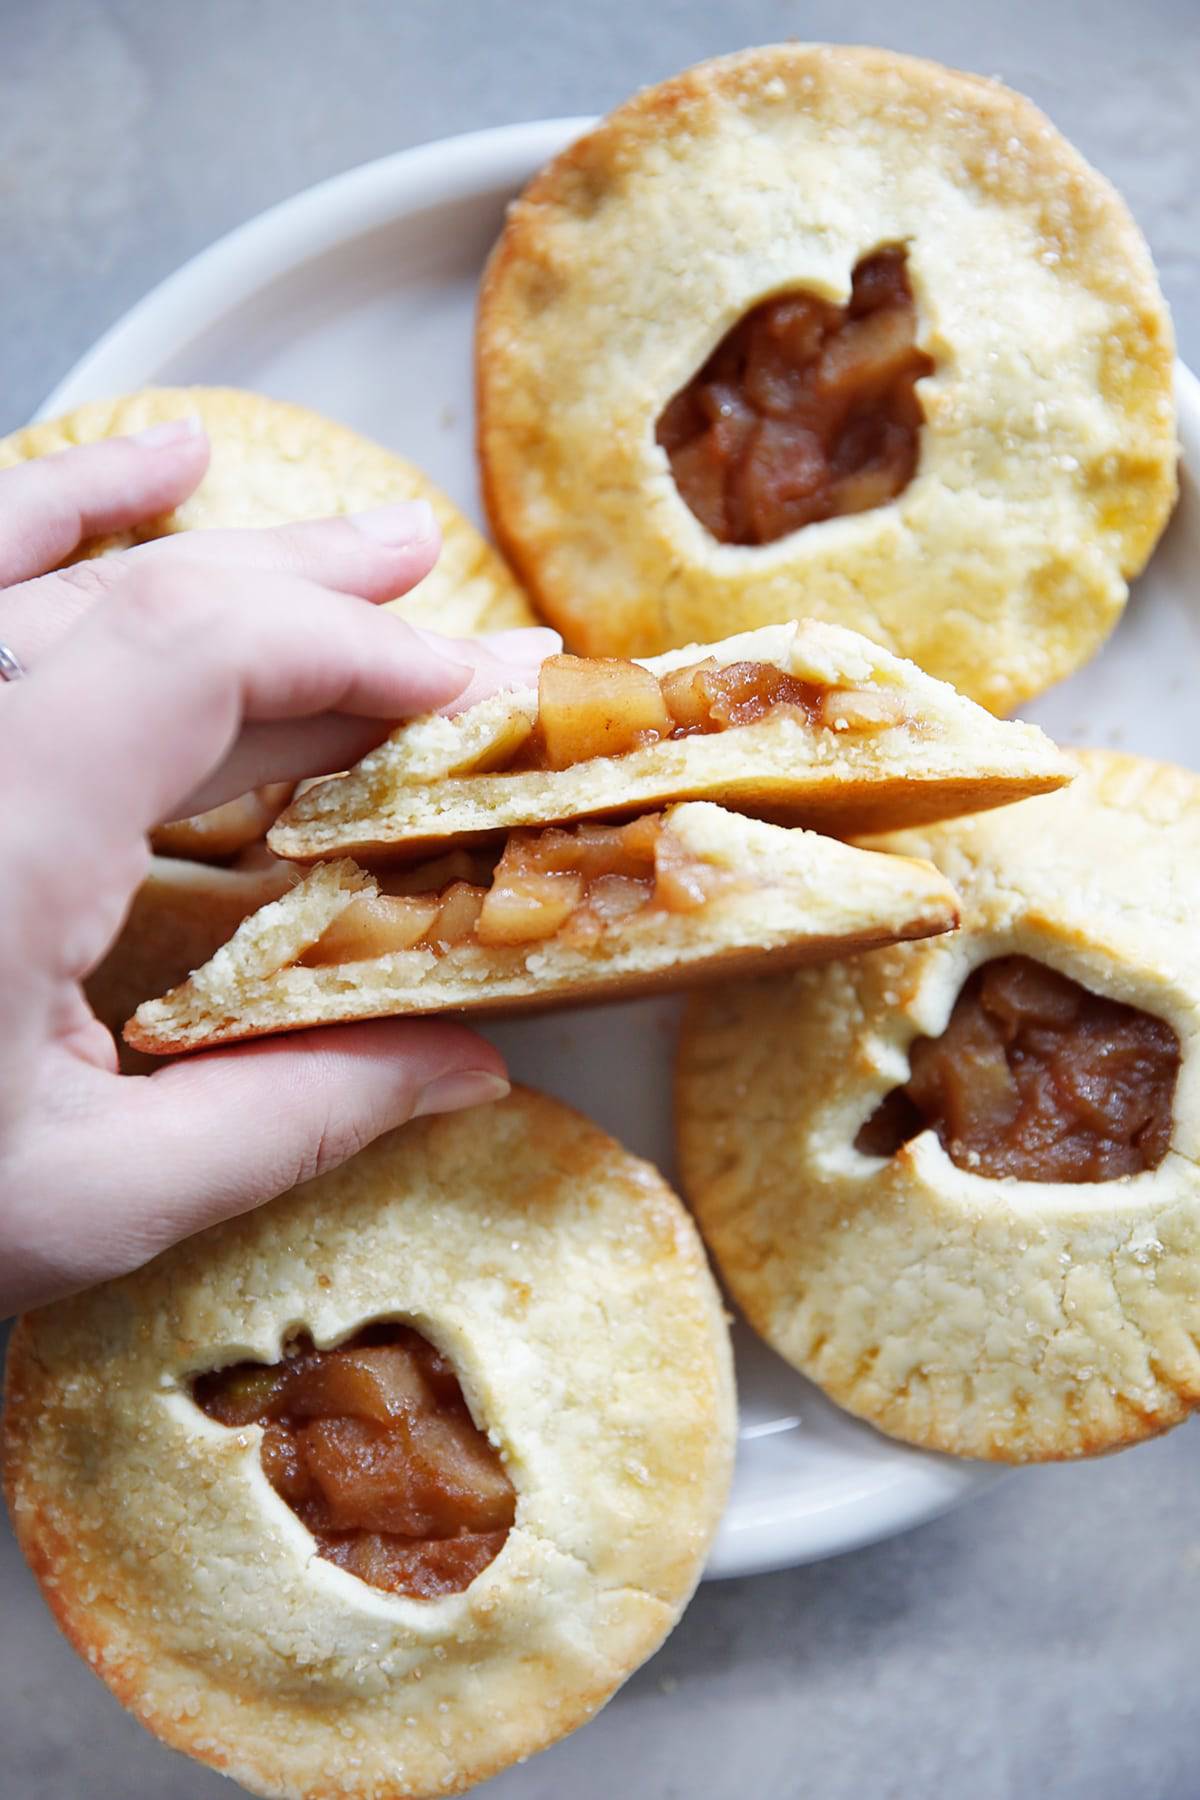
It’s officially apple season, which around here means sweater weather, orchard trips, and coming home with way more apples than any family actually needs. If you’re in the same boat, these Gluten Free Apple Hand Pies are exactly what to do with the extras. They’re a mini, hand-held take on classic apple pie, with a flaky grain-free crust, a warm cinnamon-spiced apple filling, and just the right amount of fall charm from a cute apple-shaped cutout on top.
These Apple Hand Pies were built off of my go-to gluten-free pie crust, so if you’ve made that before, this will feel familiar. The filling comes together on the stovetop in about ten minutes, which means you can make it ahead and just assemble and bake when you’re ready. They’re perfect for a fall dessert table, an easy after-school treat, or something sweet to bring to your next dinner party without anyone guessing they’re gluten-free.
Why You’ll Love These
- Made with real, simple ingredients: nothing complicated here. Almond flour, tapioca flour, and a naturally sweetened apple filling with maple syrup instead of refined sugar.
- Make-ahead friendly: both the dough for the crust and the filling can be made a day or two in advance, so assembly day is quick.
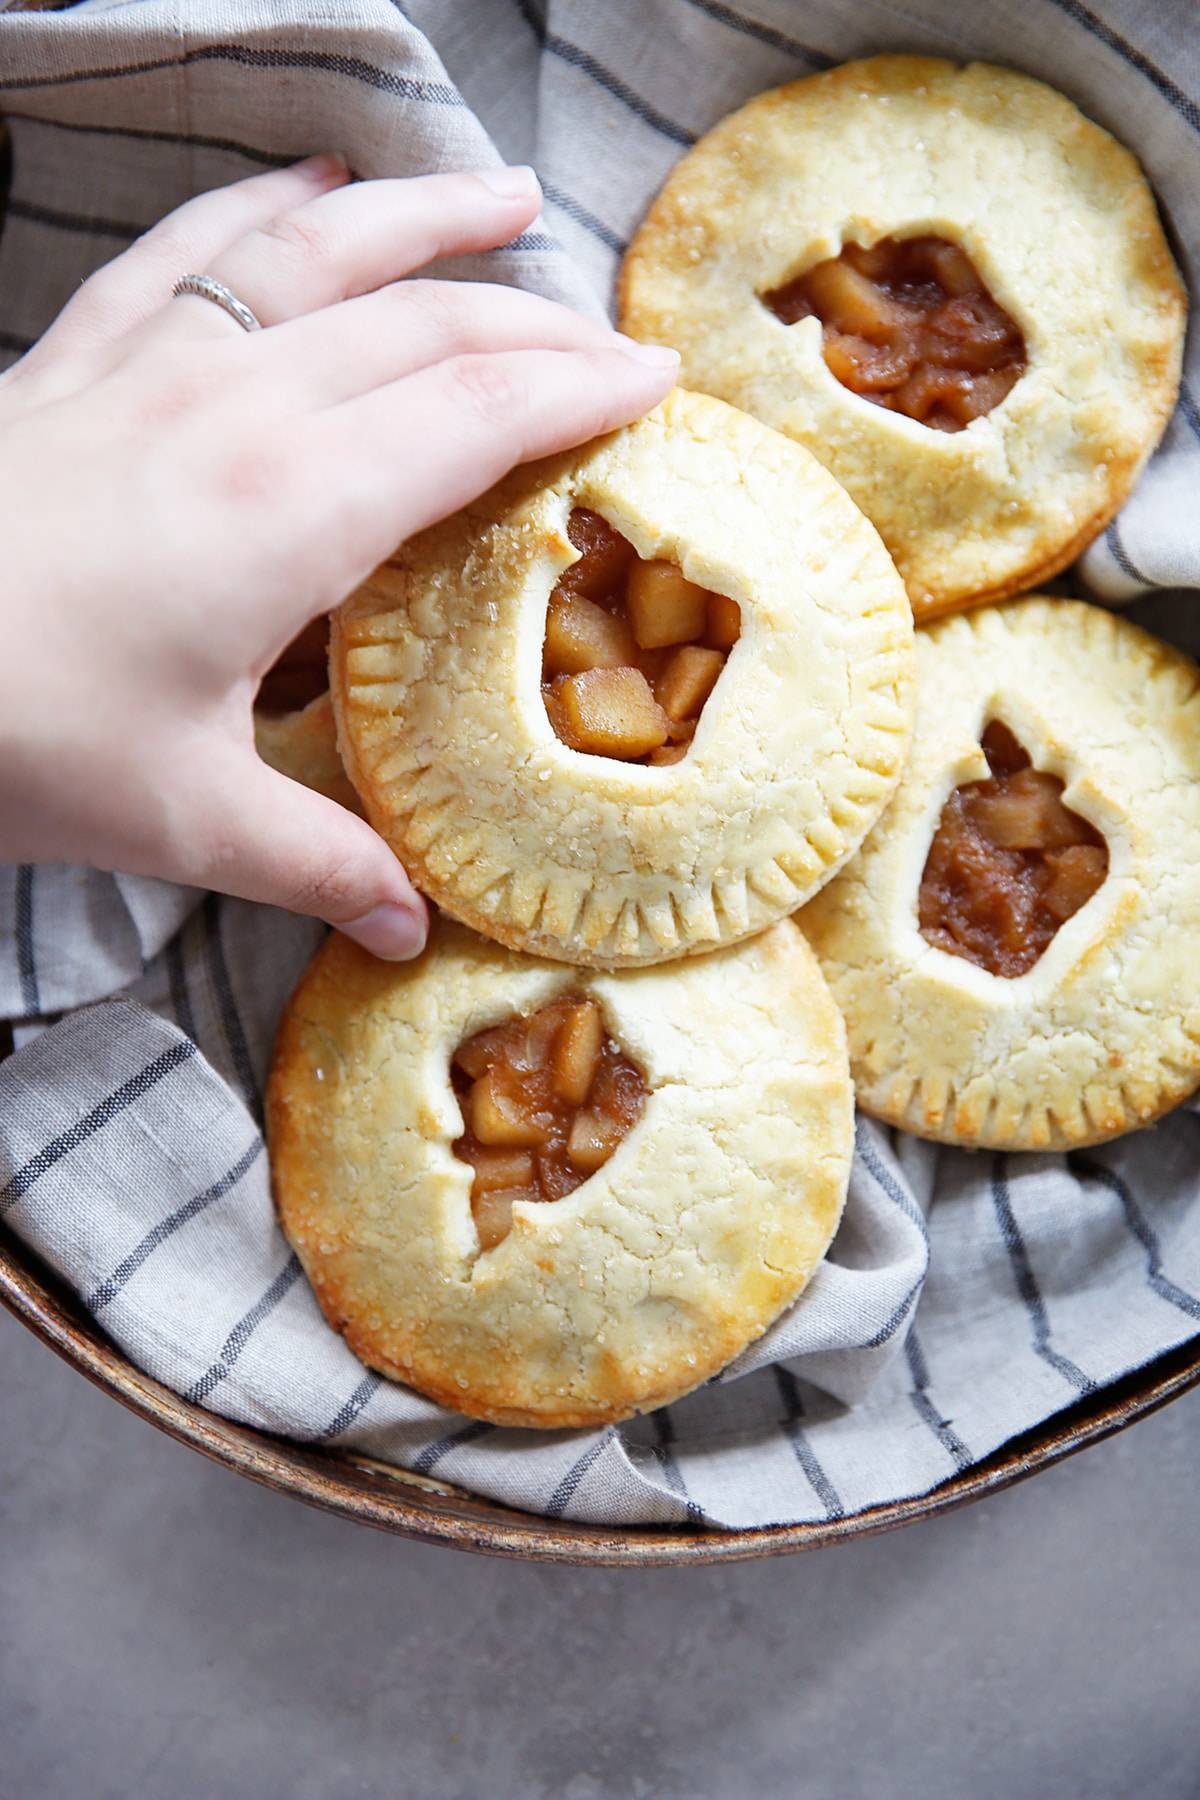
- Perfectly portioned: no slicing an entire pie or serving required, just grab, share, and go.
- Kid-approved: the apple-shaped cutout on top makes these fun for little hands to help decorate.
- Freezer-friendly: make a batch now and save some for later.
- They’re great for fall gatherings: think apple picking, Thanksgiving, Friendsgiving, or a cozy weekend baking project.
Ingredients Needed:
Gluten-Free Pie Crust
- Almond flour + Tapioca flour: this combination is the base of my favorite gluten-free pie crust; it bakes up flaky and holds together well for hand pies.
- Cold butter: keeping the butter cold is what gives the crust its flaky texture, so work quickly and chill the dough as needed.
- Egg: the binding ingredient
- Honey or maple syrup: natural sweeteners for the crust.
Apple Filling
- Gala apples+ Granny Smith apples: Naturally sweet and tender, Gala apples bring plenty of classic apple flavor to the filling. Granny Smith apples bring tartness that balances the sweeter Gala apples and keeps the filling from tasting overly sweet. They also hold their shape well when cooked.
- Apple cider: Apple cider adds concentrated apple flavor and a touch of natural sweetness to the filling.
- Maple syrup: Adds natural sweetness while complementing the warm fall flavors of the apples and spices.
- Lemon juice: Helps keep the apple flavor from tasting flat.
- Cinnamon: Brings that classic warm, cozy flavor we all expect from apple pie without overpowering the apples.
- Nutmeg: Just a pinch adds warmth and depth to the filling. You don’t need much!
- Fine sea salt: Enhances all of the other flavors and keeps the filling from tasting one-dimensionally sweet.
- Tapioca starch: Thickens the apple filling so it stays tucked inside the hand pies instead of becoming too runny as it bakes.
- Vanilla extract: Adds a subtle layer of warmth and rounds out the flavors in the apple filling.
- Butter, optional: Stirred into the warm filling at the end, butter adds extra richness and gives the apple filling a silky, almost caramel-like quality.
For Assembly
- Egg: Brushed over the tops of the hand pies to create a beautiful golden-brown crust as they bake.
- Coarse raw sugar, optional: Adds a little sparkle and a delicious crunchy texture to the tops of the hand pies.
How to Make Apple Hand Pies
- Make the Pie Crust: In a food processor, combine the almond flour, tapioca flour, and cold butter. Pulse until the butter breaks down into pea-sized pieces. Add the egg and honey (or maple syrup) and process until the dough comes together. Shape it into a disk, wrap it in plastic, and refrigerate for at least 4 hours or overnight. *Don’t skip the chilling step.
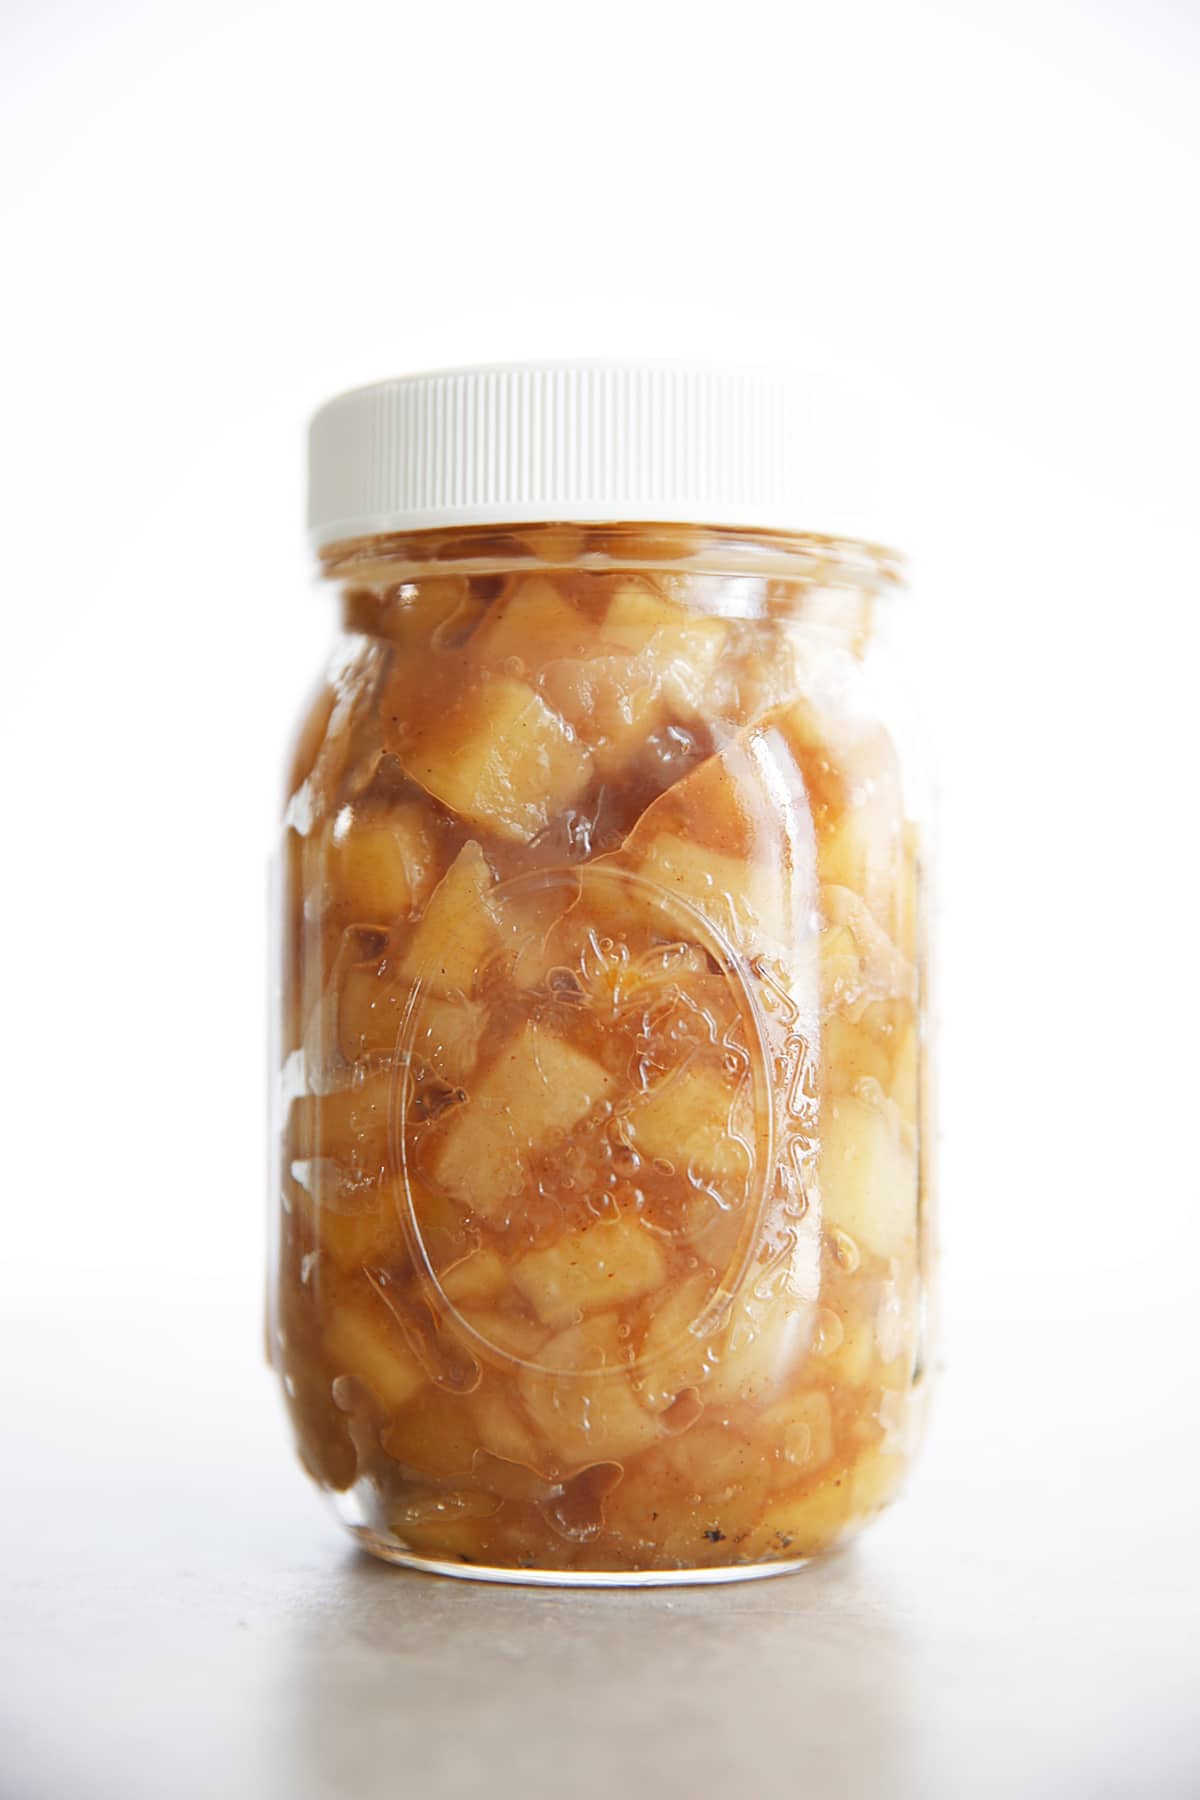
- Make the Apple Filling: While the dough chills, add the diced apples, apple cider, maple syrup, lemon juice, cinnamon, nutmeg, and salt to a medium saucepan over medium-high heat. Cook for 8–10 minutes, stirring often, until the liquid reduces and the apples soften. Whisk the tapioca starch with the water to make a slurry, stir it into the apples, and cook for about a minute more until thickened. Remove from the heat and stir in the vanilla (and the butter, if using). Let the mixture cool completely before assembling. *This is an easy step to do a day ahead.
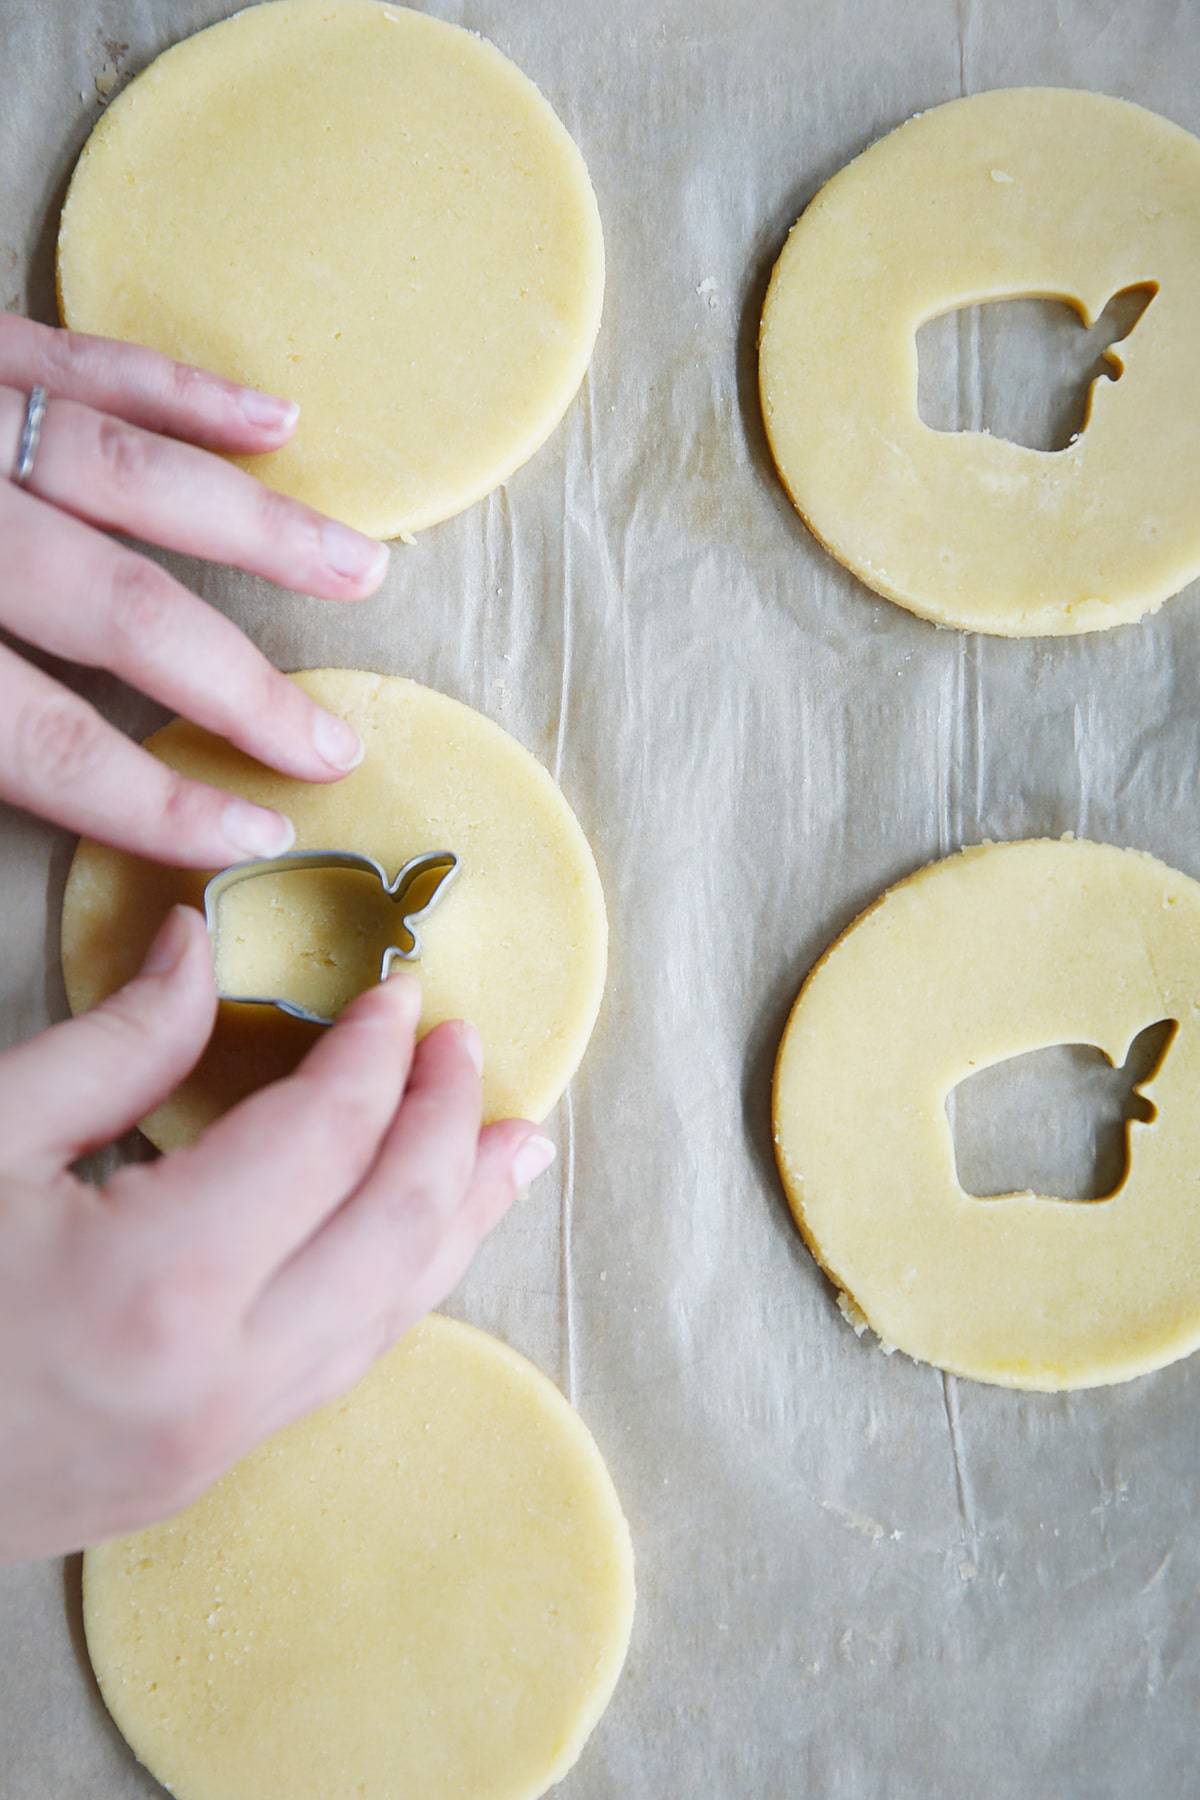
- Roll and Stamp the Dough: Roll the chilled dough between two sheets of parchment paper to about 1/16–1/8 inch thick. Using a 4-inch round cutter, stamp out 10 circles, re-rolling scraps as needed. If the dough gets too warm or soft to work with, pop it back in the fridge for a few minutes; this is the best trick for clean, sturdy hand pies. For 5 of the circles, use a small apple-shaped cutter to stamp a cutout in the center. Chill the cut dough on a parchment-lined baking sheet for 15–20 minutes while the oven preheats to 350°F.
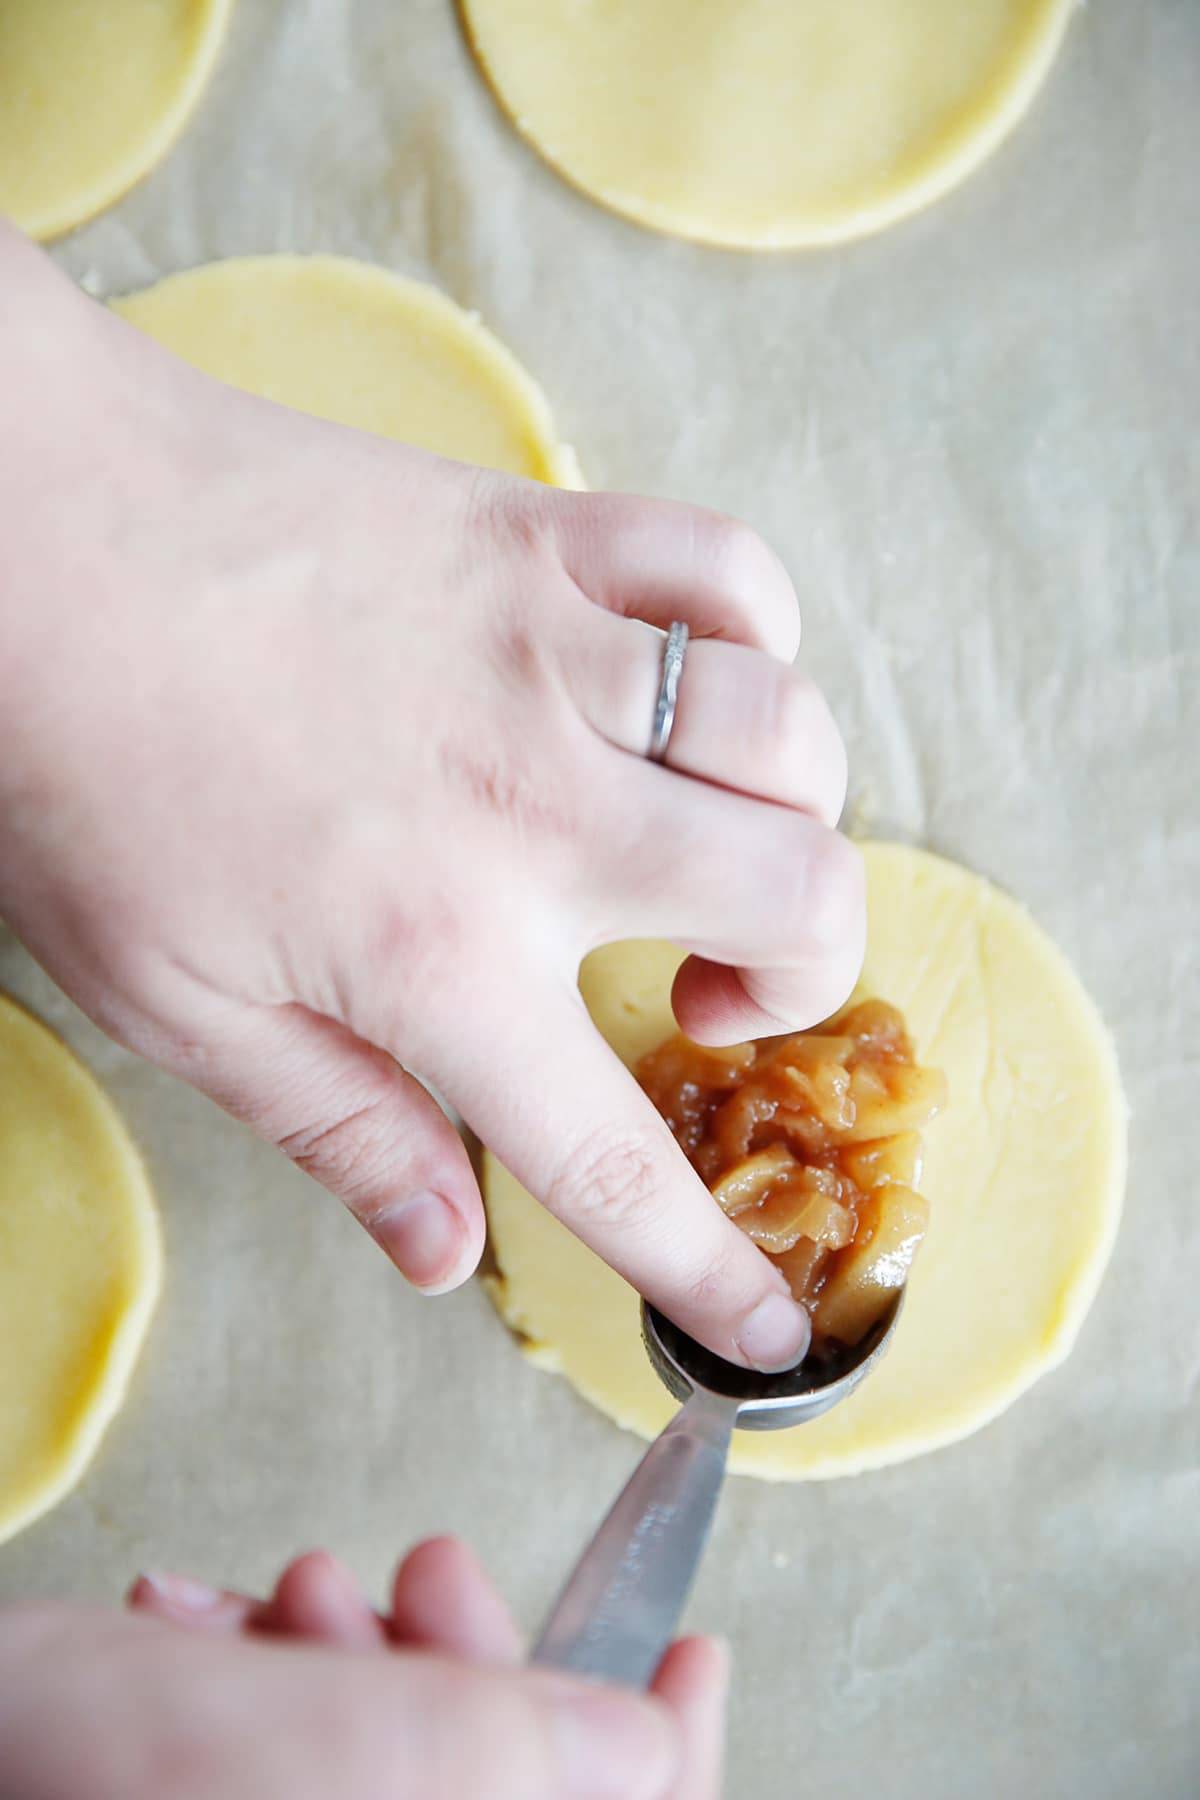
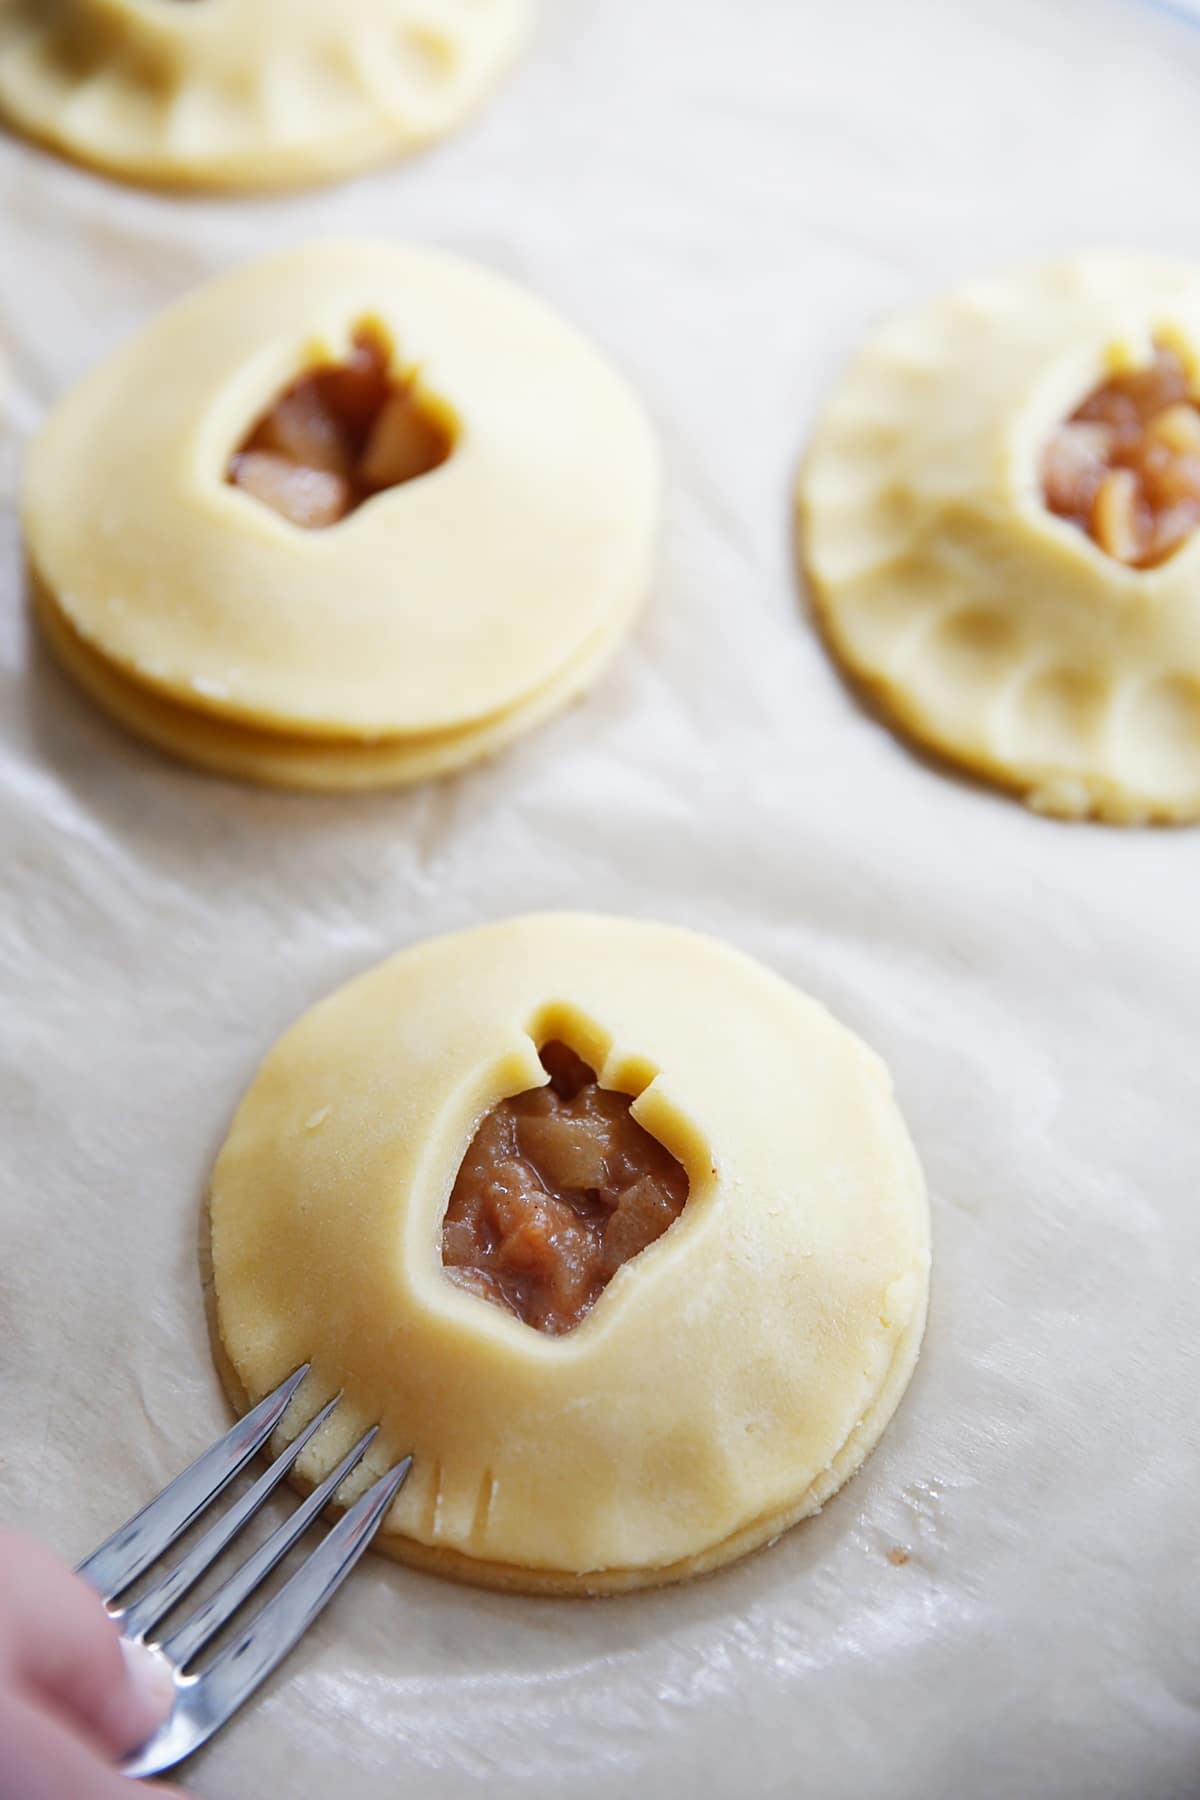
- Fill the hand pies: Place five dough circles onto a parchment-lined baking sheet. Spoon about 3 tablespoons of the cooled apple filling into the center of each circle, leaving a border around the edges. Top each with another dough circle and gently press around the edges to seal. Use a fork to crimp the edges, then brush the tops with egg wash. Sprinkle with coarse sugar, if desired.
- Bake: Bake the apple hand pies at 350°F for 15–18 minutes, rotating the baking sheet halfway through. *They’re ready when the crust is golden brown, and the filling is warm.
- Serve and Enjoy: Let them cool slightly, then enjoy a hand pie!
Tips for Rolling and Stamping Out Pie Dough
Break it up over a couple of days. Make the crust and filling one day, then assemble and bake the next; it makes the process feel much more manageable.
Keep parchment paper on hand. Rolling the dough between two sheets keeps it from sticking and makes transferring the circles much easier.
Work quickly, and chill often. Gluten-free dough gets soft fast. If it’s sticking or hard to handle, a quick trip to the fridge fixes it every time.
Use a consistent cutter size so all the hand pies bake evenly and look uniform.
How Long Do You Bake Hand Pies?
At 350°F, these hand pies take 15–18 minutes to bake through and turn golden brown. Every oven runs a little differently, so start checking around the 15-minute mark, and rotate the pan halfway through for even baking.
FAQ’s
Yes! You can make the pie dough and store it in the refrigerator for up to 2–3 days, tightly wrapped.
Yes, they freeze well either baked or unbaked. Freeze unbaked hand pies on a tray, then transfer to a freezer bag; bake straight from frozen, adding a few extra minutes. Baked hand pies can be frozen and reheated in the oven or toaster.
Gluten-free dough is more delicate than traditional pie dough. If it cracks, simply press it back together with your fingers; it doesn’t need to be perfect to bake up beautifully.
Storage
Store leftover hand pies at room temperature in an airtight container for 2–3 days. To bring back that crisp crust, pop one in the toaster or toaster oven before serving.
If you like this fall dessert recipe, check out these other fall favorites:
- Freezer-Friendly Waffle Bits with Caramelized Apples
- Easy Slow Cooker Baked Apples
- Sea Salt Pumpkin Butter Cups
- Paleo Apple Galette
- Caramel Apple Upside Down Honey Cake

Apple Hand Pies (Gluten-Free)
Ingredients
For Pie Crust:
- 1 cup 100 grams almond flour
- 1 cup 120 grams tapioca flour
- 1/2 cup cold butter sliced into 8 pieces
- 1 egg
- 2 teaspoons honey or maple syrup
For Apple Filling:
- 2 medium gala apples peeled, cored and diced to 1/2″
- 2 medium granny smith apples peeled, cored and diced to 1/2″
- 1/2 cup apple cider
- 2 tablespoon maple syrup
- 1-1/2 teaspoons lemon juice
- 3/4 teaspoon ground cinnamon
- pinch nutmeg
- 1/4 teaspoon fine sea salt
- 2 teaspoons tapioca starch
- 1 tablespoon water
- 1 teaspoon vanilla extract
- 1 tablespoon grass-fed butter optional
To Assemble:
- 1 egg for egg wash
- coarse raw sugar optional
Instructions
To Make Crust:
- In a food processor combine almond flour, tapioca flour, and cold butter and pulse until the butter is broken down into pea-sized pieces.
- Add in egg and honey and process until the dough comes together.
- Shape dough into a round disk, wrap in plastic wrap and transfer to refrigerator until cold, at least 4 hours or overnight. (See note)
For Pie Filling:
- In a medium sauce pan, add apples, apple cider, maple syrup, lemon juice, spices and salt and heat to medium-high. Cook, stirring frequently for 8-10 minutes until the exuded liquid from the apples has reduced and the apples are soft, but not broken apart.
- In a small bowl make a slurry using tapioca and water and add it to the apple mixture, stirring continuously. Cook for 1 minute or until the mixture has thickened up.
- Once thickened, add vanilla extract and optional butter and stir to combine.
- Cool apple pie filling completely.
To assemble:
- Between two sheets of parchment, roll out dough to a thickness of 1/16″ – 1/8″ of an inch. Stamp out 10 circles that are 4″ in diameter using a cookie cutter. You may have to re-roll scraps 2 or 3 times to get 10 circles. If your dough starts to get too warm to work with, place in the refrigerator on sheet tray until cool enough to handle 10-15 minutes.
- Gently place 5 circles on parchment on sheet pan. Place the remaining 5 on a separate sheet of parchment and if desired stamp out an apple shape from the center using a cookie cutter and stack on top of parchment line baking sheet. Place dough in the refrigerator on pan to chill for 15-20 minutes while the oven is pre-heating.
- Preheat oven to 350ºF.
- Remove dough from refrigerator and take off one sheet of dough lined parchment and set aside. Place 3 tablespoons of apple pie filling in the center of the dough and gently smooth down down the filling leaving a 1/2″ border of pie dough. Repeat for the remaining 4.
- Top each filled dough with stamped dough circle and press your fingers along the edge to seal tightly.
- Use a fork to crimp the edges. Brush with egg wash and top with raw sugar if desired.
- Bake at 350ºF for 15-18 minutes, rotating half-way through, until the crust is golden brown.
- Let cool briefly before serving. Store at room temperature for 2 days in a closed container, reheating briefly in a toaster oven to crisp up crust before serving




I like pie.
We followed the dough recipe exactly including the ingredients… they look nothing like your photos and was extremely difficult to work
with. I spent several rounds of rolling out the dough, placing in fridge for 2-3 hours, then rolling out some more… back in the fridge. They could not sit out for more than 3-4 minutes without being completely gooey, sticky and gross. Needless to say, because it was so expensive to make, we continued and hoped that baking the dough with help… it did not. I would highly suggest re-testing this recipe using the ingredients you have listed.
Hi Aimee! I am so sorry this didn’t work out for you! We always aim to make foolproof recipes that work for everyone, but sounds there was an issue in the process of making your dough! As a professional baker working for Lexi, I have made this pie dough recipe dozens and dozens of times and can confidently say the recipe as written works well, though it is a gluten-free crust so it doesn’t work exactly the same as a regular pie crust. Check out this video that our videographer made using the same pie dough: https://lexiscleankitchen.com/apple-galette/ However, you clearly did have an issue, and if I’m willing to guess based on your comments, there was a discrepency measuring the flour. Or perhaps your kitchen was very, very warm? Apologies this recipe didn’t work out for you! -Kelli
Soooooo good!!!!!
Could I use a blender if I don’t have a food processor?
For the dough? I’m not sure it would come together the same. What type of blender do you have?
Would it be possible to write the weight of the butter and flours, as well as the cup measurement?
Thanks.
Thanks for the recipe!
Would it be possible to get the weight measurement of the butter, almond flour and tapioca flour instead of by cups?
Thanks!
Any suggestions for tapioca flour substitute?
Hi Sara! Kelli here, part of the LCK team. We’ve never tried any substitution for this but if you need one I’m guesses arrowroot starch would work similarly, though I can’t say for sure. If you give it a try, let us know!
Could I possibly bake them, freeze them and when ready to eat bake them???
Hi Alicia! Kelli here, part of the LCK team. We have tried freezing the fully baked Apple Hand Pies and did not think they held up well after freezing so we didn’t recommend that in the post. However we haven’t tried freezing unbaked hand pies, so if you do let us know how it goes!
When I made these little gems I used smart balance vegan butter because I am dairy free, it worked PERFECTLY!! The crust was flaky, crisp, and everything that a pie crust should be!!
These are amazing!!! I didn’t have a cute little apple cutter, so I just pierced the top with a fork. The crust and filling are incredible!!! We reheated to crisp them up the next few days! So delicious!!
I’m just wondering if it’s possible to use coconut oil or something else in place of the butter???? Have you tried using anything else that would make it Paleo friendly?
Looks so good! But….We’re allergic to nuts so almond flour is out. What would you suggest as a replacement? Thenk you!
Well, aren’t these the cutest little pies EVER!
Thank you boo boo!!!
I”m excited to try this almond flour crust! 🙂