
This post may contain affiliate links. Please read my disclosure policy.
These Easy Dill Pickles are crisp, tangy, and full of fresh garlic and dill flavor. They come together with just a few basic ingredients and are ready to enjoy in as little as 24 hours. No fancy canning equipment needed. And there’s something so satisfying about making your own pickles—and it’s easier than you might think!
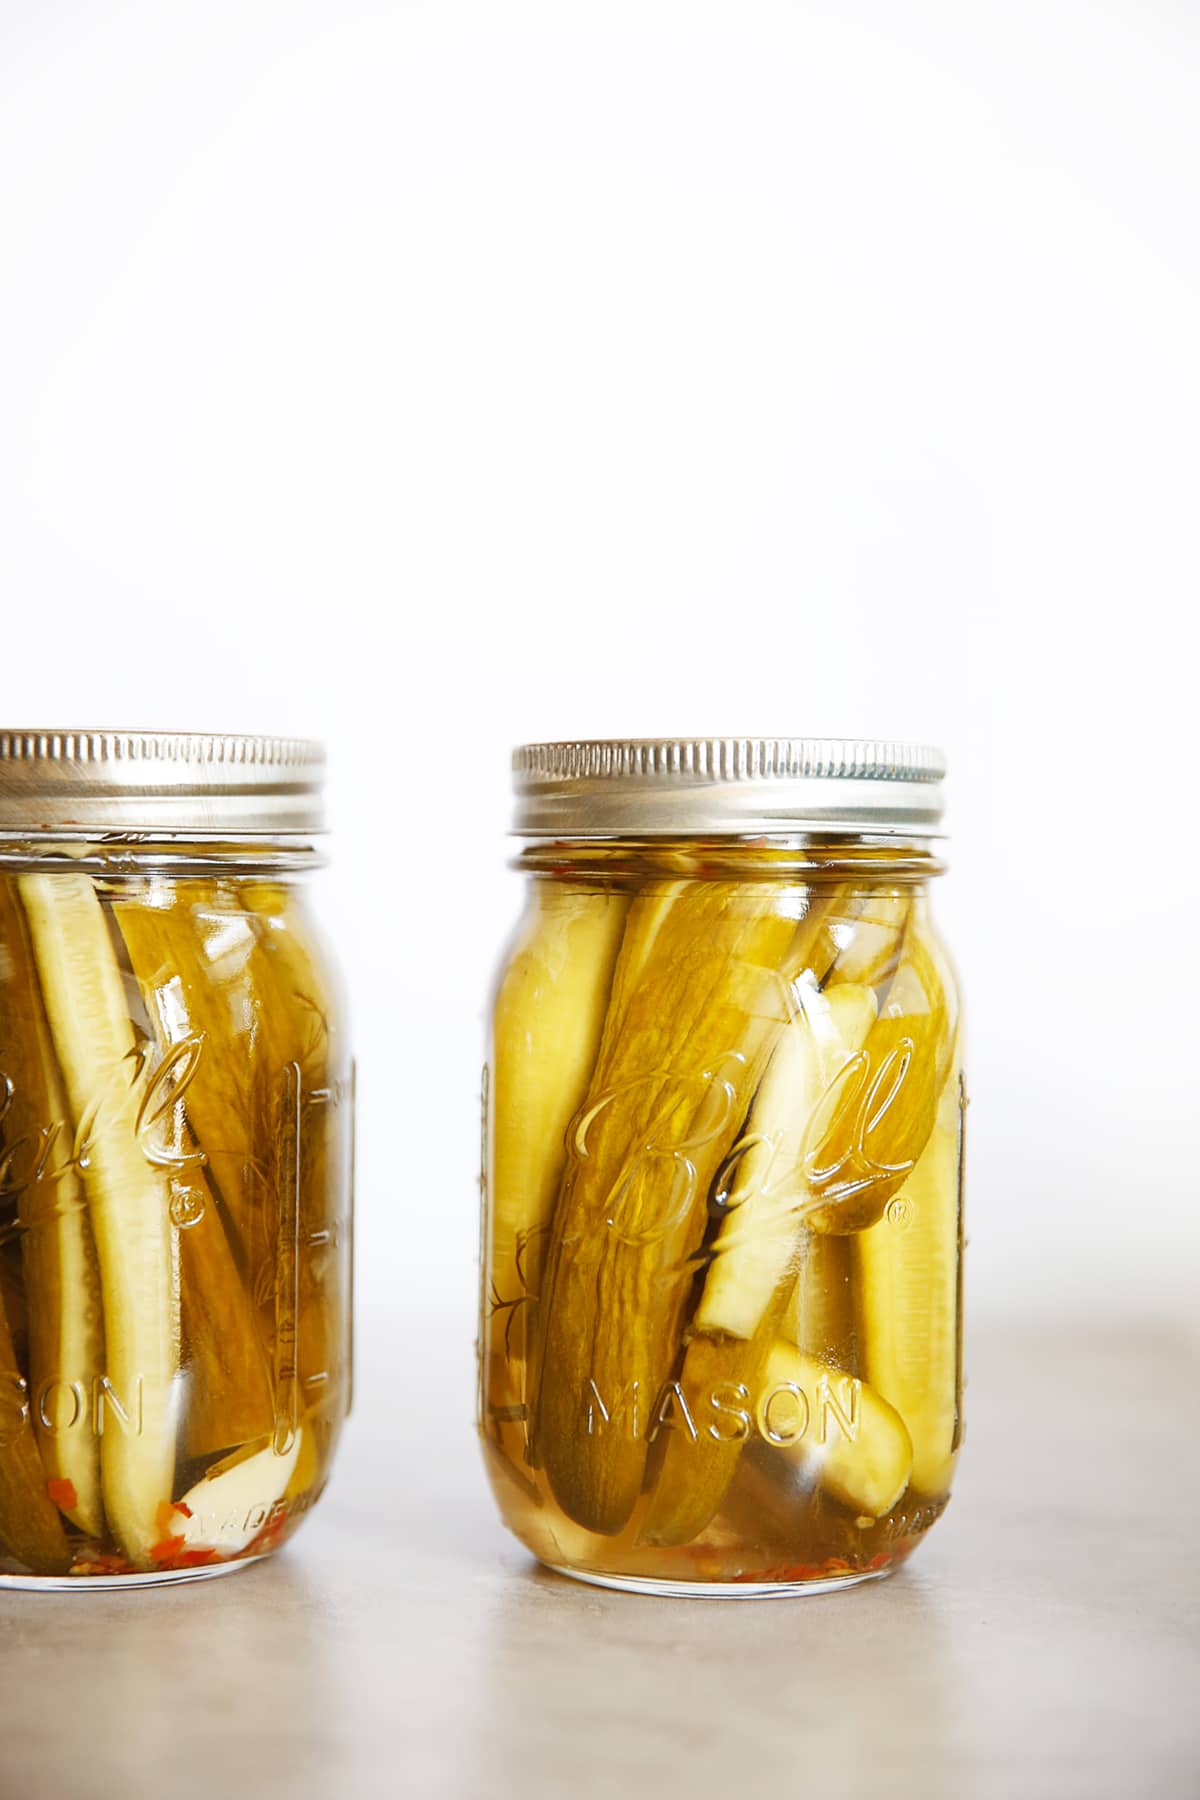
Whether you’ve got a garden full of cucumbers or picked up a bunch at the farmers market, this is a simple way to preserve them into something seriously delicious. These are refrigerator pickles, which means they’re meant to be kept cold (not shelf-stable), but they’re so good they likely won’t last long anyway!
- Quick and easy: Slice, pack, pour, and chill.
- Flavor-packed: A punchy garlic and dill brine infuses every bite.
- No canning required: These pickles are made for the fridge!
Ingredients You’ll Need:
To make these easy pickles, you’ll need:
- Cucumbers – Look for Kirby or Persian cucumbers for the best crunch.
- Fresh garlic – Adds bold, savory flavor.
- Fresh dill – Essential for that classic dill pickle taste.
- White vinegar – Gives the brine its tang.
- Water + salt – To balance and preserve.
- Optional: Red pepper flakes for a hint of spice.
Scroll down for the full details!
What Type of Cucumber is Best for Pickling?
Always start with the best possible produce you can find when you want to preserve something. Let’s face it, if you preserve a mediocre vegetable in vinegar, it isn’t going to become a better vegetable just because you place it in vinegar.
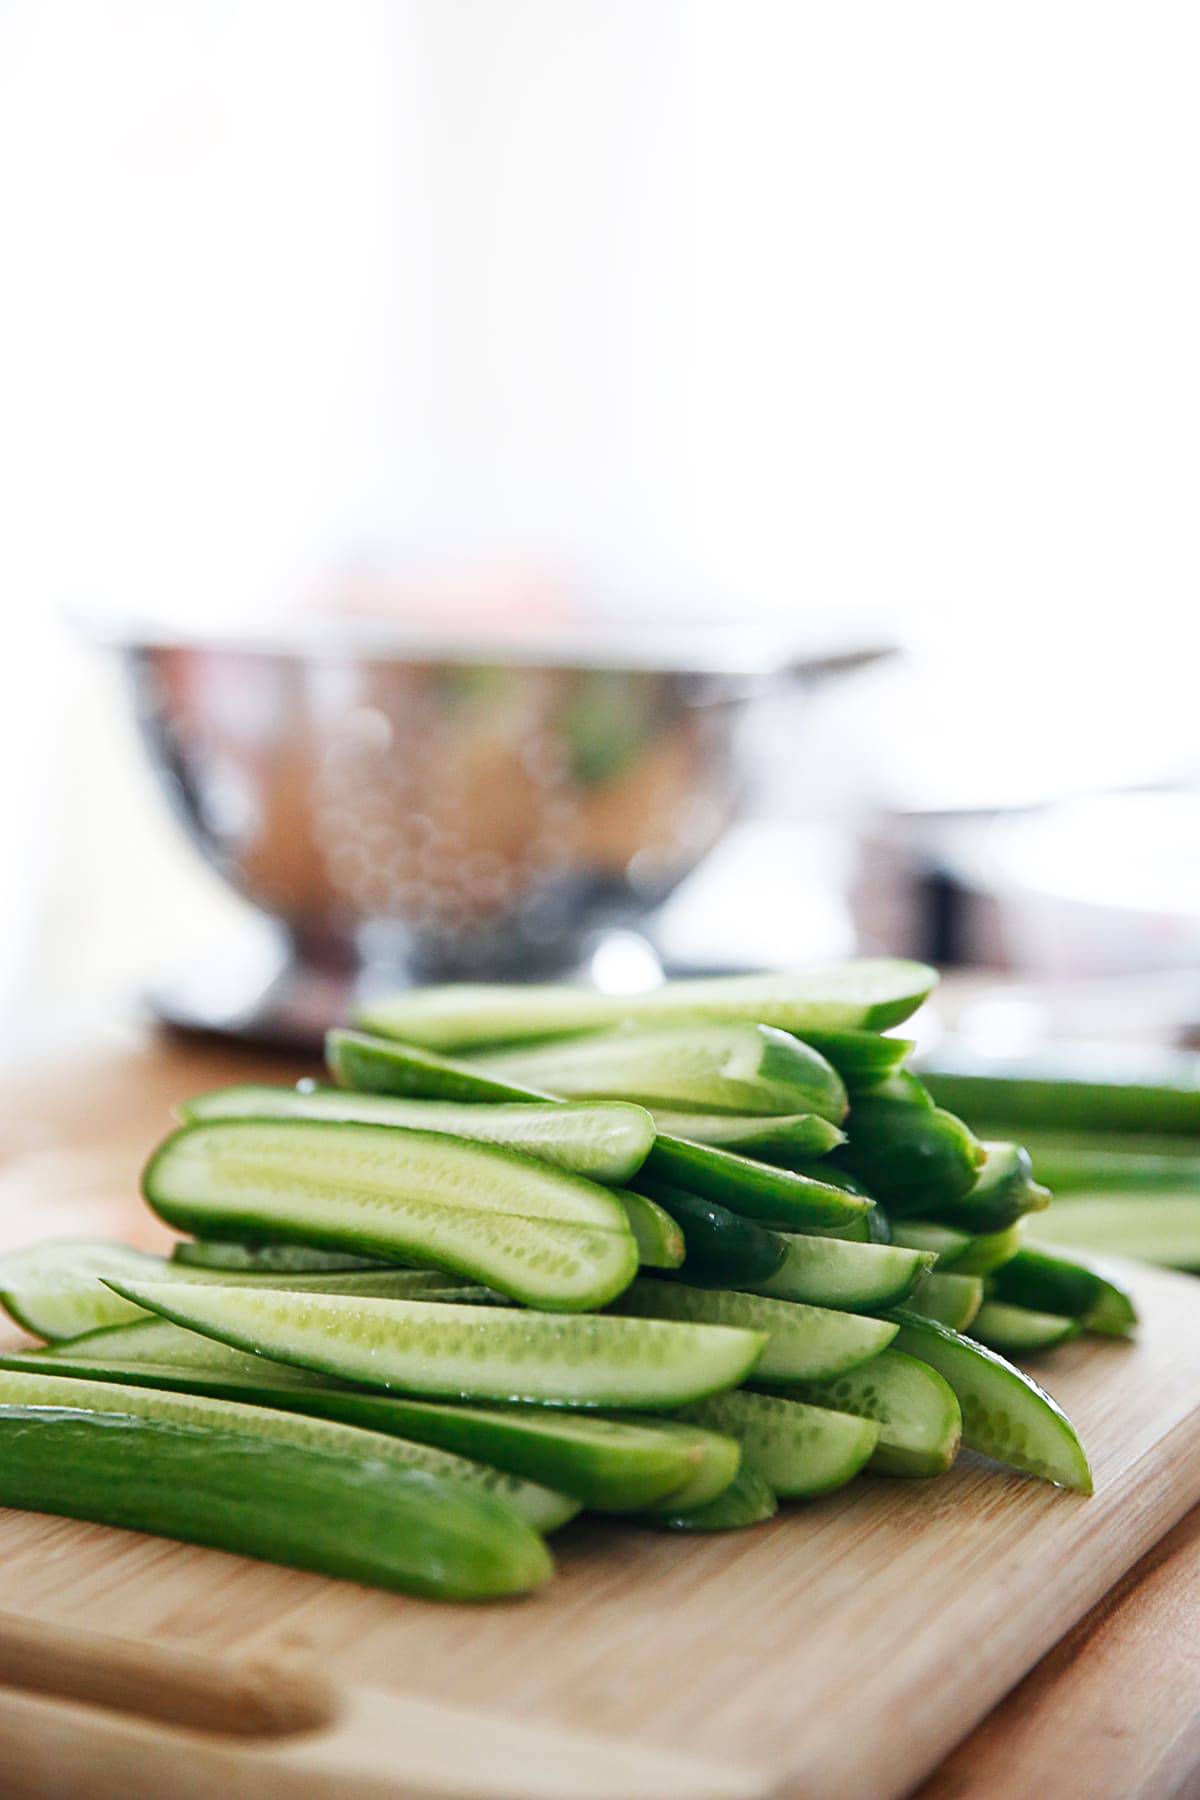
For our dill pickle recipe, you want to source small, freshly picked cucumbers that are not bruised or damaged in any way. We prefer the smaller and younger cucumbers because they remain crunchier than the more mature, larger cucumbers, which have larger seeds and softer flesh. So, long story short, look for Kirby or Persian cucumbers for the best crunch.
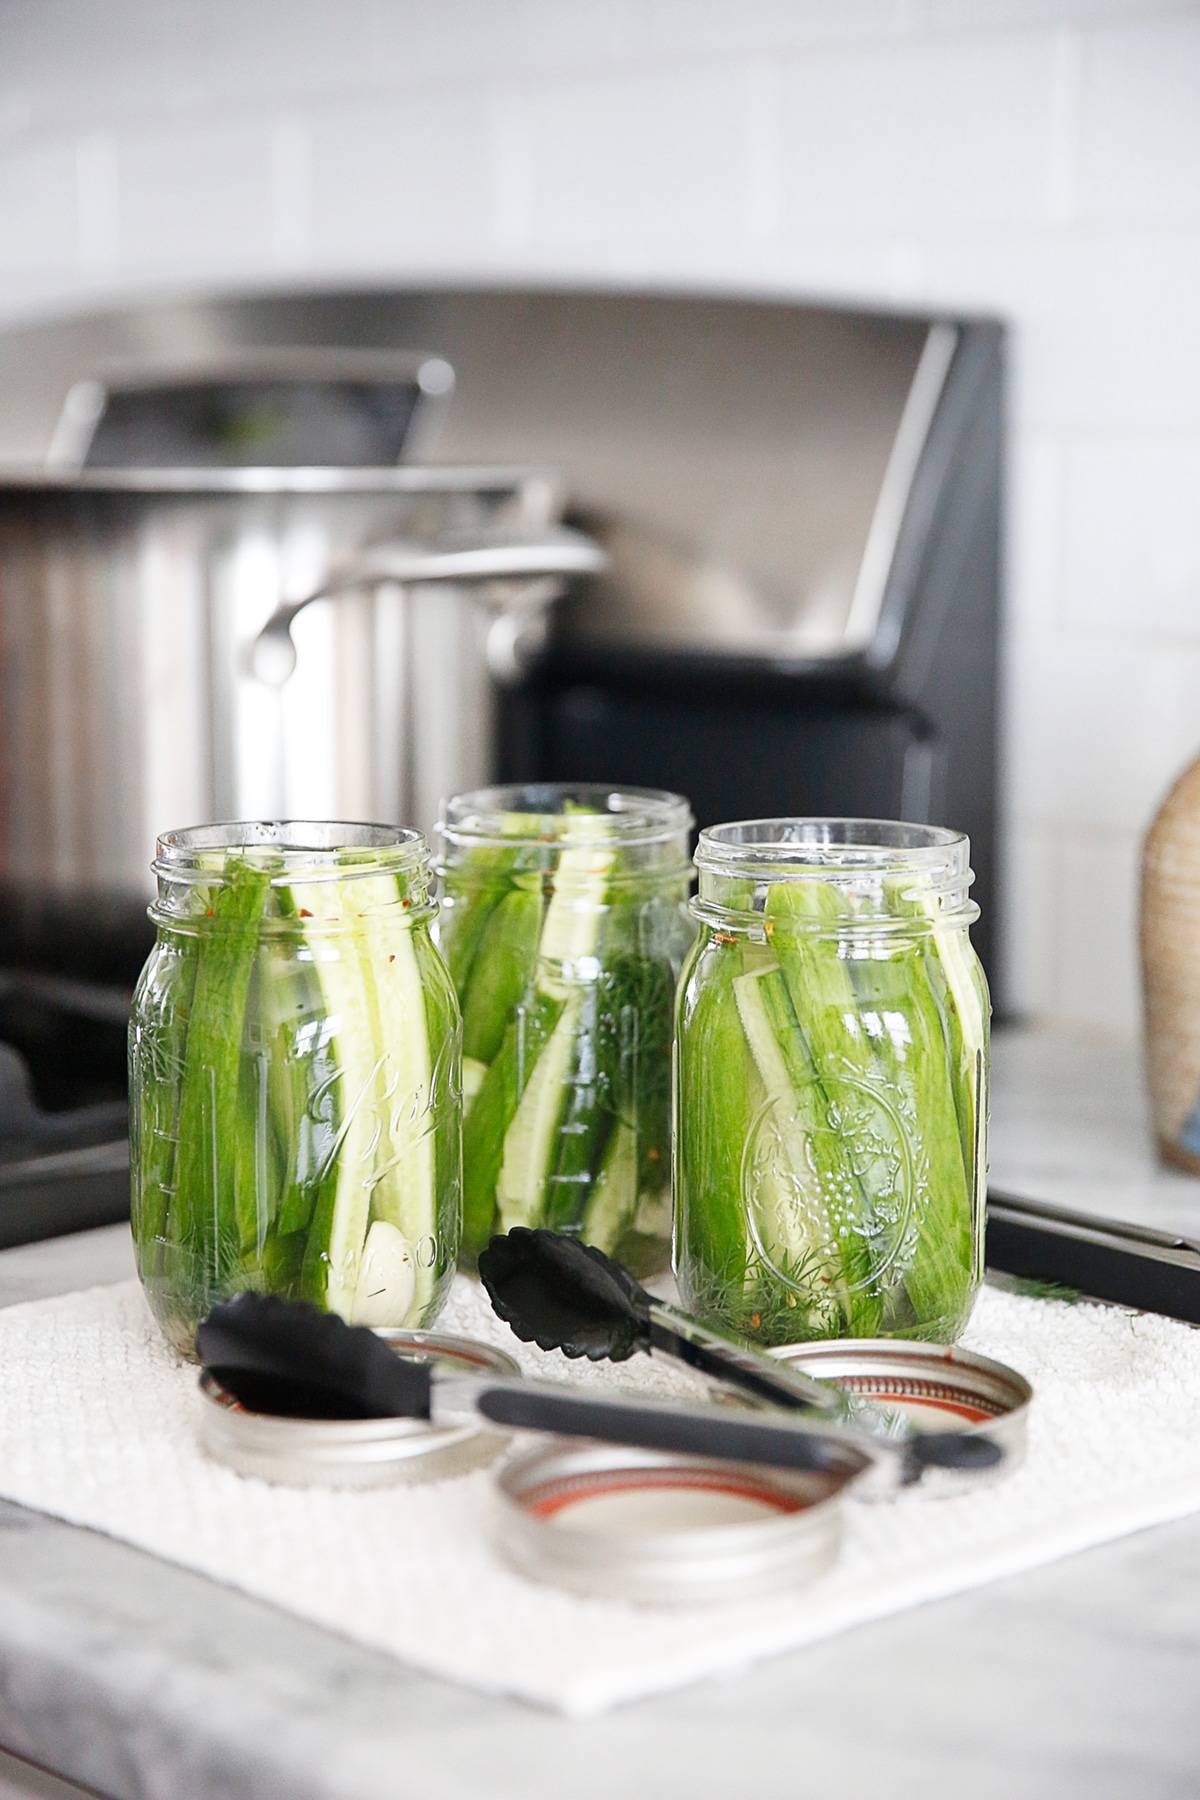
How to Make Refrigerator Jar Dill Pickles
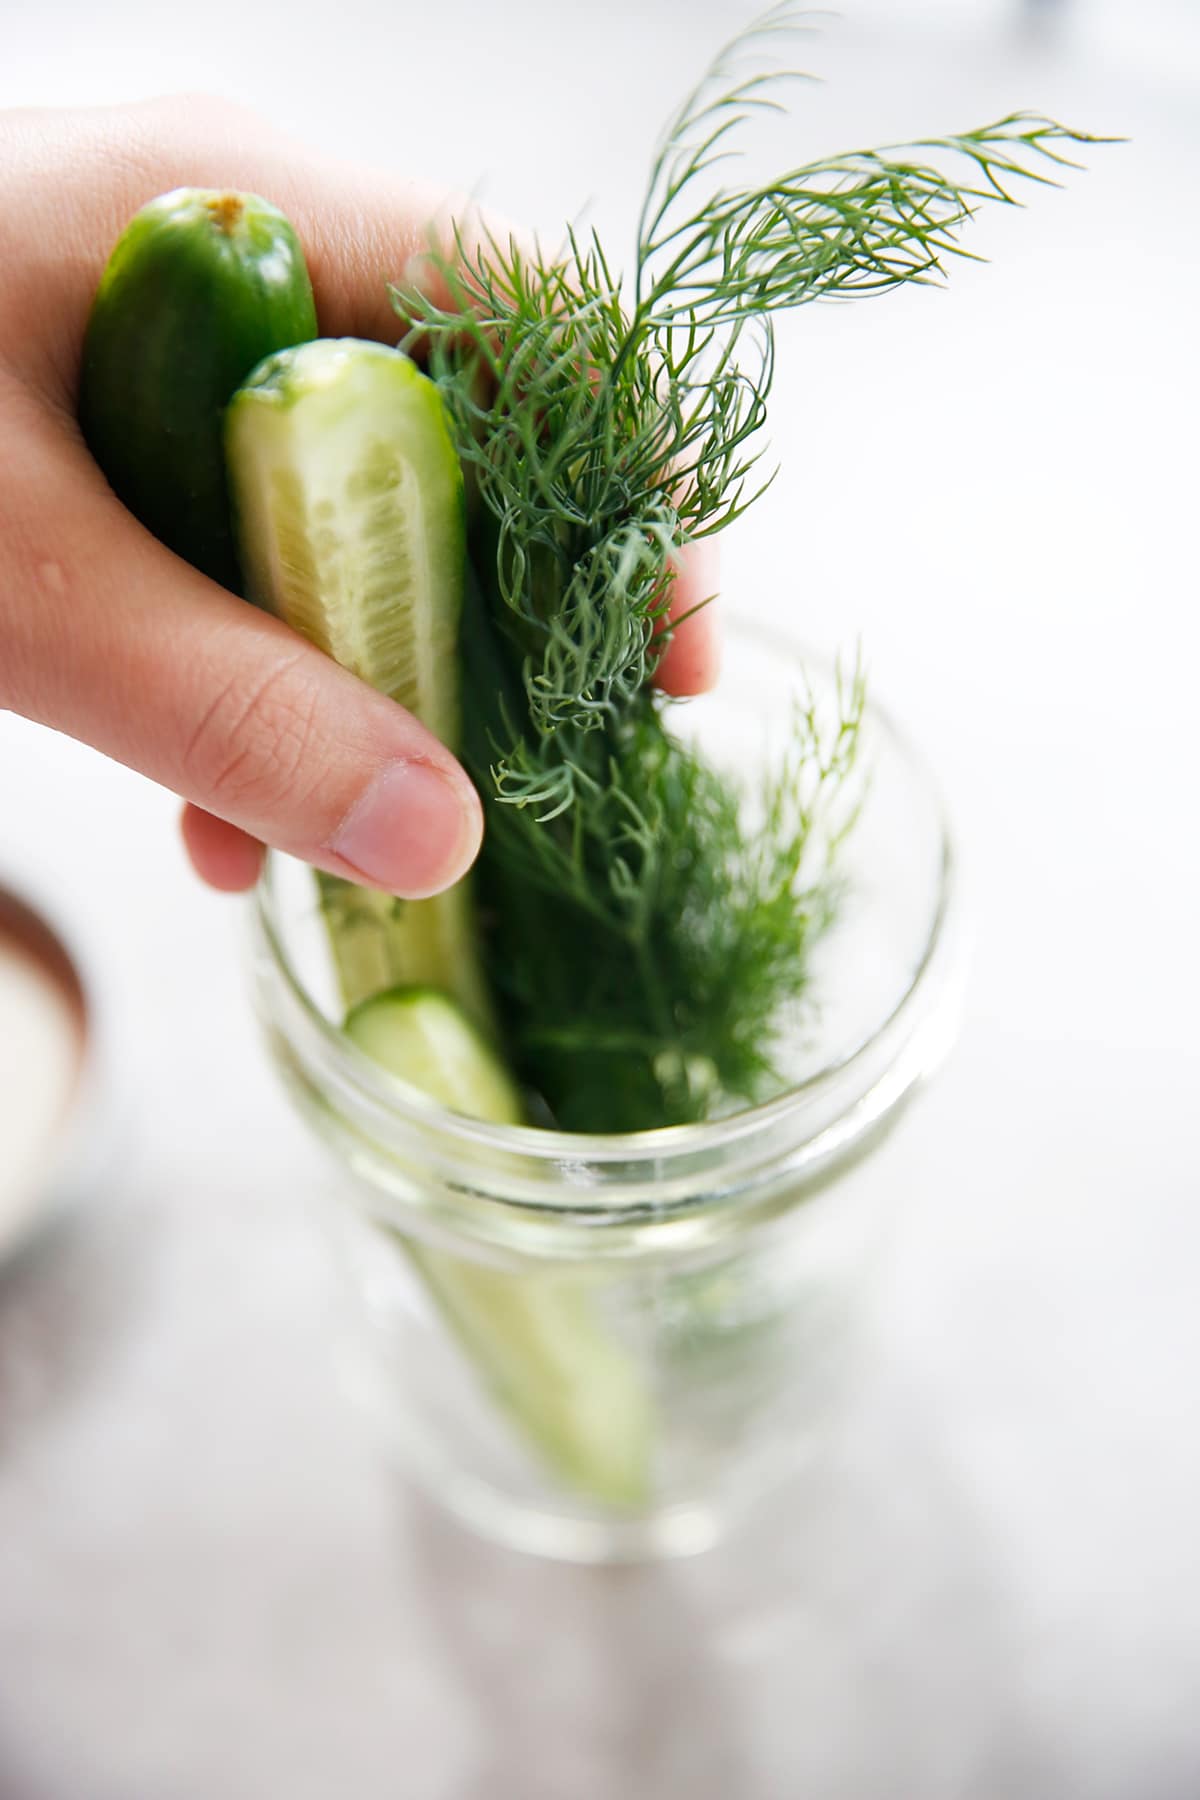
- Start by washing and slicing your cucumbers into spears or rounds—whichever you prefer. Then, pack them tightly into clean mason jars with fresh garlic and dill.
- Next, heat up the brine by combining vinegar, water, and salt. Once the salt dissolves, let the mixture cool slightly before pouring it over the cucumbers. This helps preserve their crunch!
- Let the jars cool to room temperature, then seal and refrigerate. The pickles will be ready to eat in just 24 hours, but their flavor only gets better with time.
Canning 101:
Canning is the process of preserving food in jars to make it shelf-stable. To do this, use clean and intact jars and submerge them in a boiling water bath for the specified period. This process removes all oxygen from the jars, making the food shelf-stable. However, this lack of oxygen could create a dangerous environment for the growth of a bacterium called botulism. This is extremely rare and can be prevented by following a few basic rules to ensure you can do so safely.
One of the most critical aspects of canning is ensuring that your food has a high level of acidity. If the food isn’t naturally high in acid, such as cucumbers, you need to create a pickle liquid that is high in acid, like one made up of vinegar, to ensure that nothing dangerous can grow in your processed jars. Below are some tips to help you safely process your pickles:
For additional information on canning safety and procedures, check out The National Center for Home Food Preservation.
Follow the recipe. Whether it is our recipe or a recipe from another reputable source, follow it to ensure you are using the correct amount of vinegar to water.
Follow the instructions: Take care to follow specific instructions when a recipe tells you to leave a certain amount of headspace or not to disturb the canning jars after they’ve been processed. They all play a role in making sure the lid seals properly.
Check to ensure that the lid has sealed after the canning process by pressing down in the center of the lid. If it doesn’t move when you press down on it, it has likely sealed. To take it one step further, remove the band and try to remove the lid. If it doesn’t come off easily, your jar has sealed properly. You can store the jars with or without the bands on.
Equipment Needed for Easy Dill Pickles
Grab The Essentials!
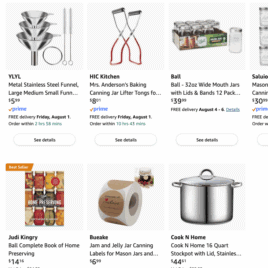
CANNING MUST HAVES
Click in here for all of my must have’s for the best pickles ever!
While they sell many kits and specialized pieces of equipment to can, you really need just a few basic things to start. If you feel like you are going to process a lot of fruits and vegetables, it might make sense to invest in them, but if you are just starting out begin with this small list:
- A large pot that will leave fit a pint sized jar (on a rack) with 1-2 inches of space above it for the water to boil.
- A rack that can rest in the bottom of the pot to prevent the jars from cracking while they are being processed.
- Mason jars that are made for canning, such as Ball or Kerr jars. We prefer pints because they require a shorter processing time, so tend to make crisper pickles.
- Brand new lids. You cannot reuse old lids when you are canning.
- Bands. They can be new or old, but just make sure they are not rusting.
- Tongs or a utensil to safely remove hot jars from hot water. They make jar lifters that do come in handy, but we made do without one.
- A funnel to easily pour pickle liquid into the jars. We also made do without this, but it can make it easier.
Tips for Success
- Choose firm, fresh cucumbers for the crunchiest results.
- Pack the jars tightly to prevent floating.
- Let the brine cool slightly before pouring it over the cucumbers to help them stay crisp.

FAQ’s
These quick pickles will keep for up to 2 weeks in the refrigerator when stored in a clean, airtight container. They’re best enjoyed within the first week for peak flavor and crunch.
Nope! That’s the beauty of this recipe. The brine is made with just hot water and vinegar—no boiling required. Just make sure the water is hot enough to dissolve the salt and sugar fully.
Yes! While this recipe calls for cucumbers, you can easily use the same brine to pickle red onions, carrots, radishes, green beans, or even jalapeños. It’s a great way to use up whatever you’ve got in the fridge.
Fresh dill adds the best flavor and look, but if you don’t have any on hand, use about ½ teaspoon of dried dill weed per jar as a substitute.
We recommend Kirby cucumbers or Persian cucumbers because they stay crisp and have fewer seeds. Avoid slicing cucumbers like English cucumbers—they tend to get soft quickly.
No—since this is a quick pickle recipe and not a traditional canning method, the pickles must be stored in the refrigerator and are not shelf-stable.
How to Enjoy Them
These pickles are great straight from the jar, but they’re also perfect for:
- Mediterranean Tuna Salad with No Mayo!
- A fun addition to a charcuterie board
- Burgers and sandwiches
- Our Favorite Smash Burgers
- The Best Potato Salad
- Picnic spreads and BBQ sides
Have Extra Cukes?
Try these non-pickle cucumber recipes that we love:
- Israeli Salad
- My Go-To Potluck Sweet Cucumber Salad
- Herb Cucumber Salad
- Tomato Cucumber Salad with Crispy Chickpeas and Yogurt Dressing
- TikTok Cucumber and Sweet Pepper Salad
More Quick Pickles to Try
If you love this recipe, check out this one, too!
Easy Dill Pickles (Plus Everything To Know For Canning!)
Ingredients
- 2 cups white vinegar
- 2 cups water
- 3 tablespoons pickling / kosher salt / fine sea salt see note
- 6 garlic cloves
- 6 sprigs fresh dill
- 1-1/2 pounds pickling cucumbers washed and dried
- pinch red pepper flakes
Instructions
To Make Refrigerator Dill Pickles:
- Begin with clean and dry mason jars. Place on a towel on the counter.
- In a medium sauce pan bring vinegar, water and salt to a boil.
- Meanwhile prepare cucumbers: Slice off the top and the bottom so that they fit into the pint jar with 1/2″ of space below the top of the jar. Then slice in to spears.
- In each jar pack 2 cloves garlic, 2 sprigs dill, and as many cucumbers that will fit.
- Once the pickling brine has boiled, carefully pour the hot brine into the jars. Let cool cool to room temperature uncovered.
- Once cooled, cover and place in refrigerator for up to 3 months. Pickles can be enjoyed the next day, but for best flavor let it sit at least 1 week.
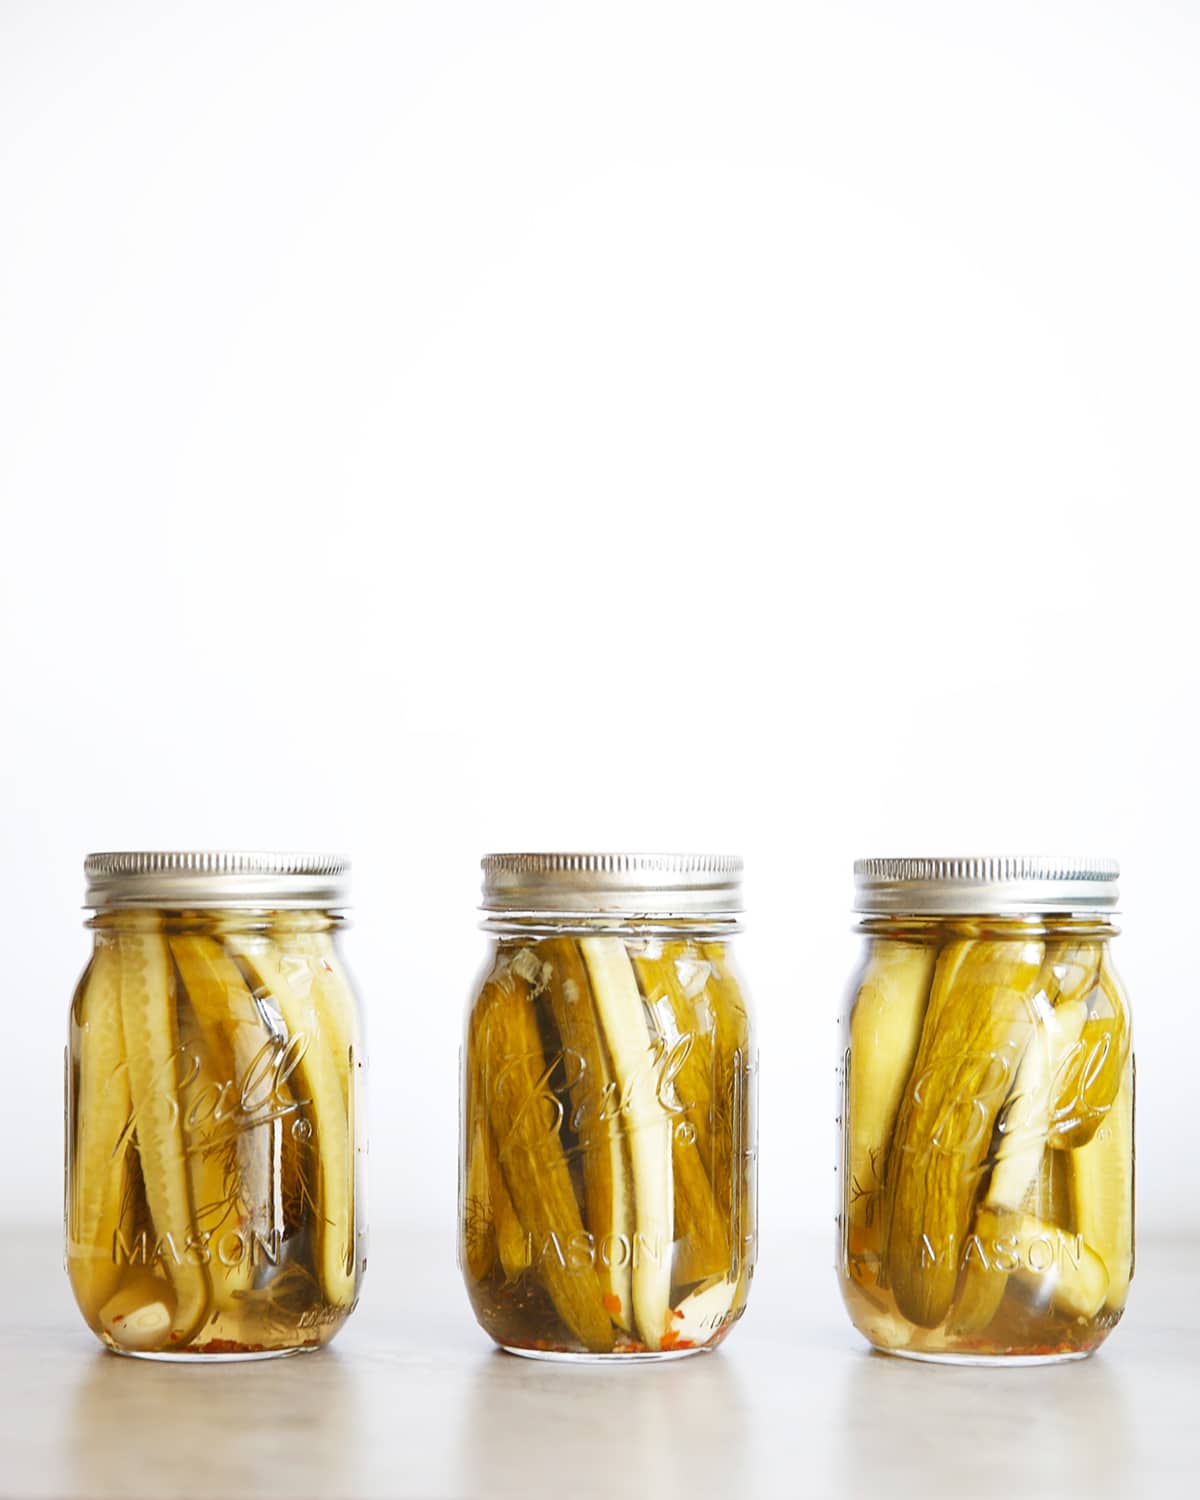
To Preserve Dill Pickles in Canning Jars:
- Begin by washing with warm soapy water 3 Ball or Kerr mason jars and BRAND NEW LIDS and seals. Inspect the jars to make sure there are no cracks or fissures anywhere.
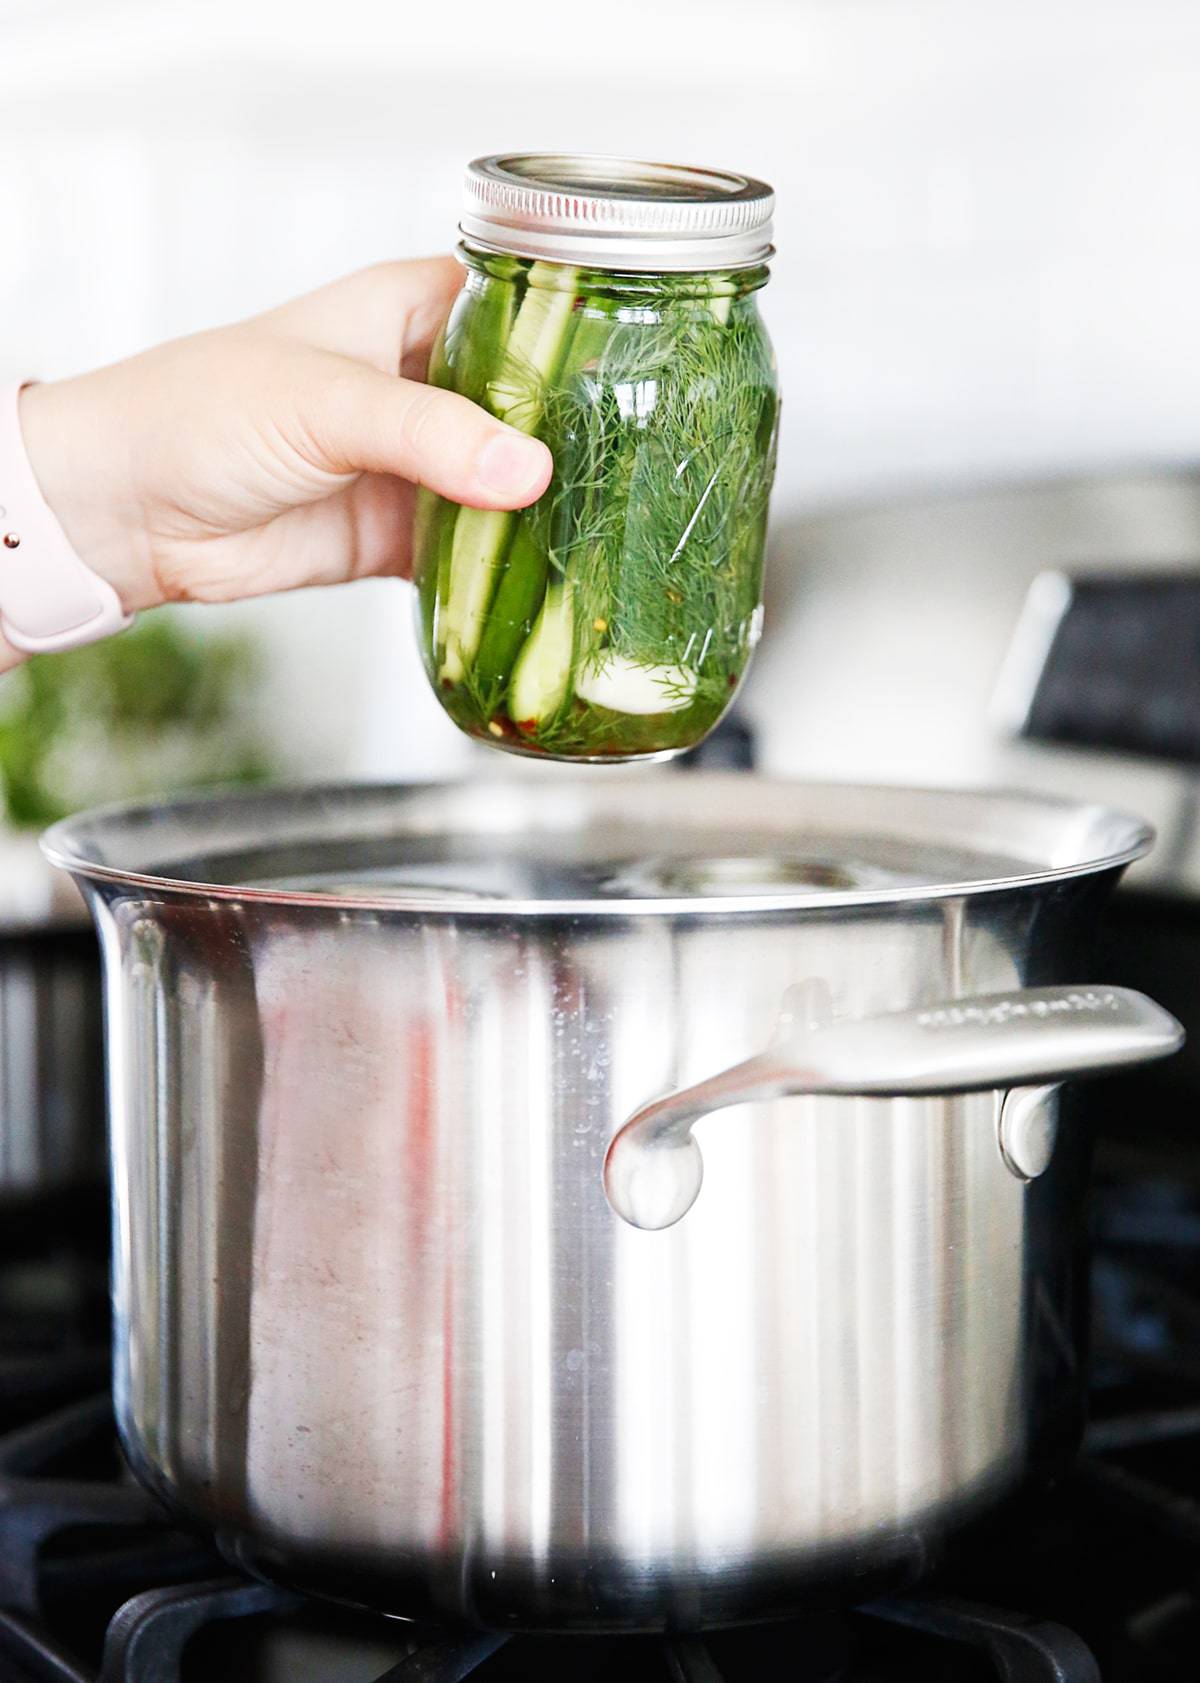
- Fill a large pot that is fitted with a rack with water. Make sure the pot is big enough to have water cover the pint jars on rack by 1-2 inches. Place clean jars inside of water and bring to a boil to sanitize. If using any other equipment like tongs or a funnel you can sanitize in water at this point too. Once boiled, let water sit to at least 180º until you are ready to can. An alternative method is to place all jars, lids and utensils in a dishwasher and start the canning process right before the dishwasher has finished so that by the time you are ready to can the jars are ready as well.
- In a medium sauce pan bring vinegar, water and salt to a boil.
- Meanwhile prepare cucumbers: Slice off the top and the bottom so that they fit into the pint jar with 1/2″ of space below the top of the jar. Then slice in to spears.
- Carefully remove hot jars from canning pot (or dishwasher) and place on a clean kitchen towel on the counter.
- In each jar pack 2 cloves garlic, 2 sprigs dill, and as many cucumbers that will fit, taking care to leave 1/2″ of headspace.
- Once the pickling bring has boiled, carefully pour the hot brine into the jars.
- Place lid in the center of the packed jar and then place on band and tighten. Repeat with remaining jars.
- Return packed cans to the canning pot and make sure water covers the jars by at least 1-2 inches. Bring to a boil and process for 15 minutes.
- Let cool for 5 minutes before removing from pot and placing on a clean kitchen towel. Leave undisturbed for 12-24 hours. At some point during this time you may hear a pop, when the jar has fully sealed.
- After 24 hours check to make sure they have been processed correctly by pressing down on the center of the lid. It should not move at all. Additionally you can remove the band and try to gently open the lid. If it doesn’t open easily it has sealed correctly. If for any reason it has not sealed correctly immediately place in the refrigerator and consume within 3 months. Properly processed pickles can keep unopened at room temperature for 1 year.

I did this and canned the pickles and they all molded. Do not can these pickles
sorry to hear! seems like there was an issue in the sealing process, this has been a pretty solid recipe for canning for us!
Can you cut the cucumbers any way you want? I was thinking of ribbons or spiraling them.
Of course!
easy, quick meals sound great! looking forward to it
Does pickle recipe require water bath canner or pressure canner
Looking over the recipe it would appear its a water bath recipe
we use a water bath above. also able to use the fridge method. just check above we talk about it 🙂
Can I use crushed dill weed instead of sprigs
Everybody loves this recipe! It is perfect, and simple.
Can you add to this to spice it up? Like jalapeño slices or red pepper flakes? I have allot of garden cucumbers to process 😊 and would like to mix it up a little and not only have dill pickles
you totally can! Quantity is up to your discretion.
Would I be able to replace the cucumbers with garlic?
To make pickles!?
How soon after you make processed pickles can you eat them?
Hi Jane – it’s noted in the recipe, you can eat the next day, but for more flavor wait a week!
Can I use smaller jars? All I can find in-stock are 1/2 pint (or larger 32oz).
I think it really just depends if you can fit the cucumbers in them!
I have gone to open kettle with this recipe due to the 50/50 ratio of water and vinegar. Stays crisp a long time that way. People love them!
I made 4 pints yesterday. Vinegar too strong for me. I added water after eating a pickle. They were better this morning. They are in the refrigerator. They are spicy, I used 1/4 t per jar crushed red peppers. I think they would be much better with less vinegar. Also my first time canning.
Hello Emmalee, I was wondering if I could use 1 cup apple cider, and one cup white vinegar, instead of just white vinegar?
Also your recipe doesn’t call for pickle crisp, but would it be okay to use it?
Thank you , Andrea
Hello,
My name is Carola. My daughter, Victoria, found your easy dill pickels recipe and she is interested in making it and submitting it to the National Junior Horticulture Competition. She will be attending this year in Lincoln, Nebraska.
Your name and website link will be given credit on her submission. We would appreciate if you could grant as permission to do so.
Thank you!
Sincerely,
Carola
Hi Carola! I’m the Food Editor here at LCK. Victoria can absolutely use the recipe for her competition. Best of luck to her!
I’d like to point out too that with some vegetables, you need a pressure canner (what I use) to ensure proper food safety!
Yes!
These are absolutely the best pickles I have ever had. I find that once we open a jar we can not stop eating them! I do have a question. We go through the pickles really fast. Could I reuse the brine or does it need to be made fresh each time? I did make a variant on this recipe for my husband. I add 1 Habanaro sliced up to each jar and he loves them!
It depends on the acidity of the vegetable or anything with meat needs a pressure cooker but most vegetables are just fine using a water bath canner.
I canned tons of homemade salsa, tomatoes, green beans, and spaghetti sauce last year from my garden! Super time consuming but very rewarding to have on hand to use throughout the year! 🙂