This post may contain affiliate links. Please read my disclosure policy.
These 2-Ingredient Strawberry Fruit Roll Ups are a way healthier version of store-bought fruit roll-ups. If you’ve ever loved the idea of fruit roll-ups but dreaded the packaging and sugar content, you’re going to adore this. My homemade version is just two ingredients—and it’s made in your oven. Bright, fruity, and naturally sweet—it’s a snack both kids and grown-ups come back for again and again.

Why You’ll Love These Fruit Roll-Ups
If you think these fresh Homemade Strawberry Fruit Roll Ups look beautiful, just wait until you taste them!
- Simple: Two ingredients or one—just strawberries (plus honey if you like).
- No extra gear needed: Just your oven set low, no dehydrator required.
- Ideal for on the go: Sweet, chewy, and snackable—great for lunch boxes or an afternoon snack.
- Customizable: Use different fruits (like peaches or berries) or go honey-free—it works every time.
Overall, this homemade copycat fruit roll-up is super simple to make and is packed with strawberry flavor.
Ingredient You’ll Need:
*Scroll down for the recipe with simple ingredients and instructions!
- Strawberries: Use fresh, washed, hulled, and halved strawberries — this is your flavor base.
- Honey (optional): The honey is optional, but it does add a touch of extra sweetness to bring out the strawberry flavor. Totally fine to skip if you have juice, ripe and flavorful fruit.
Step-by-Step Instructions for Fruit Leather
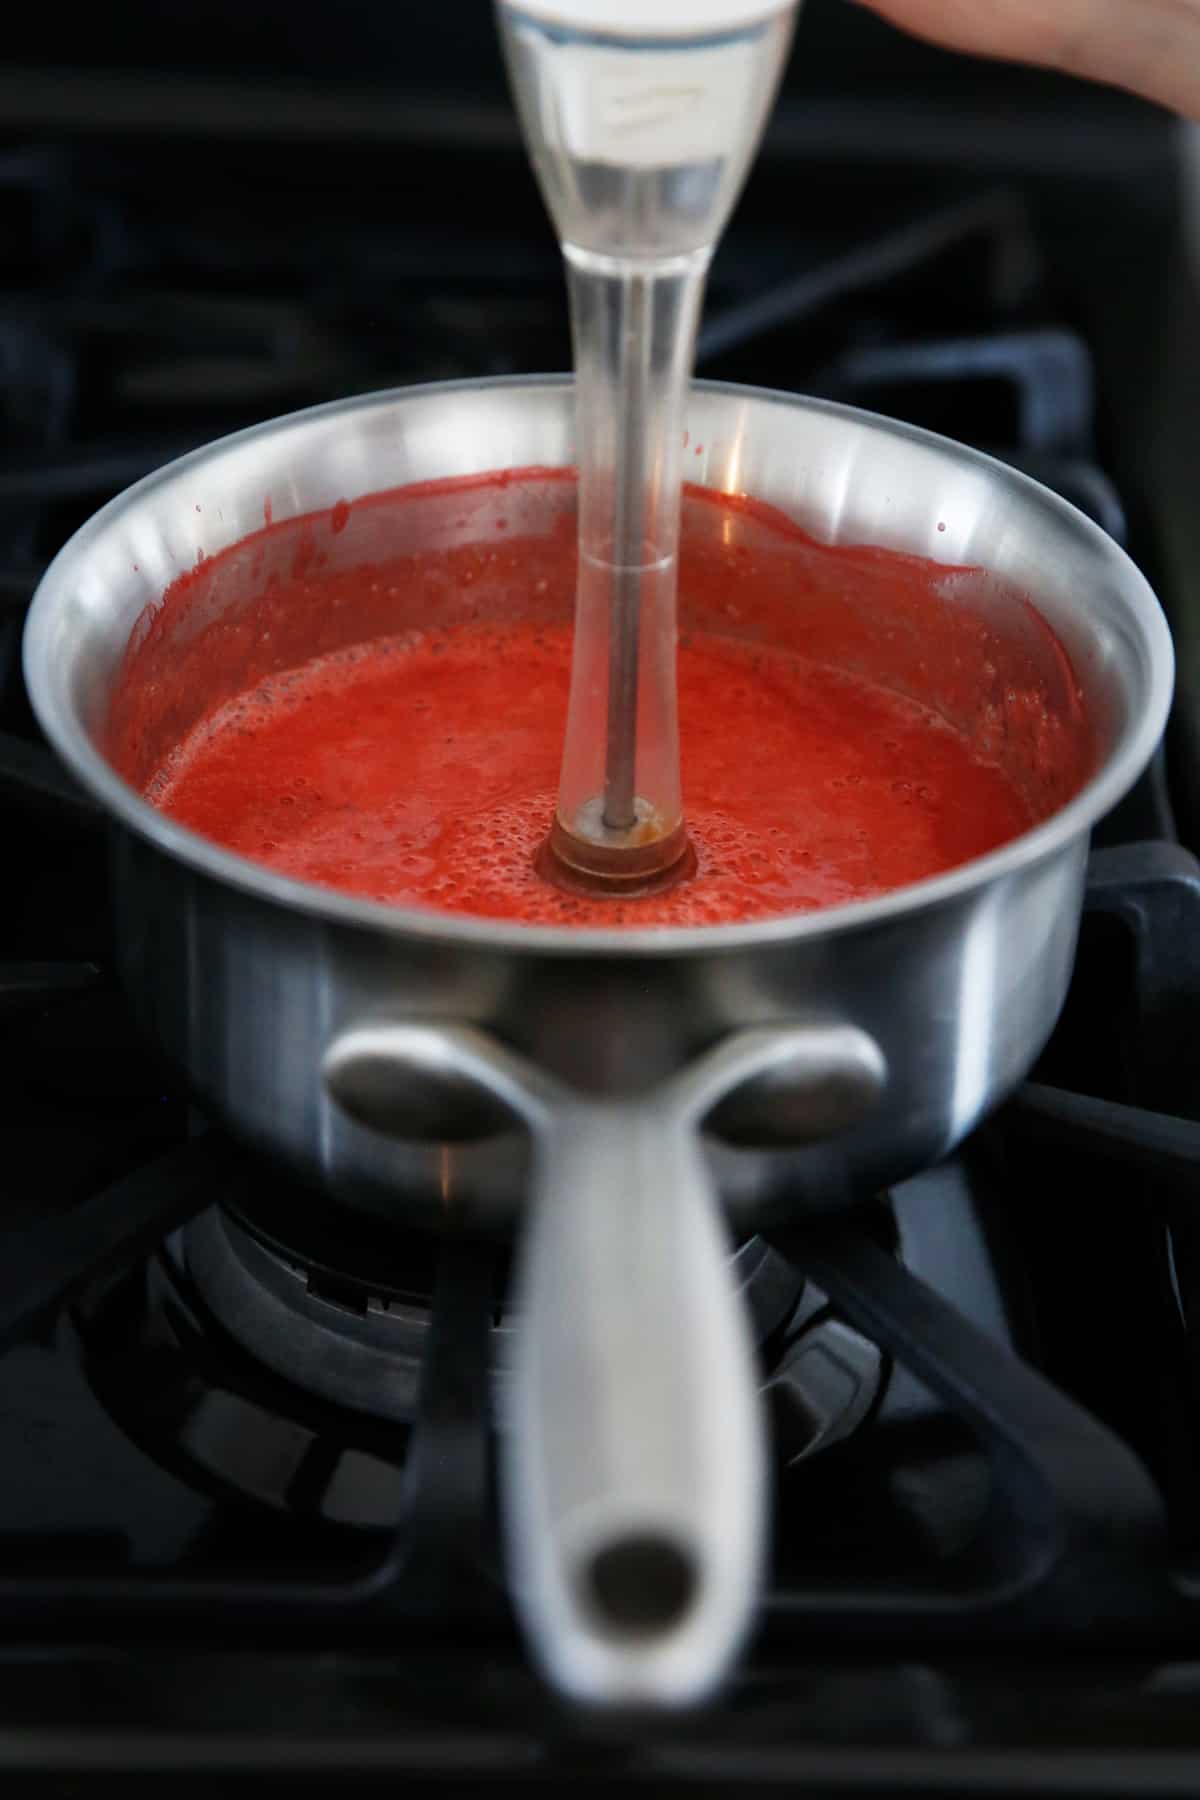
- Puree the strawberries: Place the fresh strawberries into a blender and blend until pureed.
- Cook the puree: Transfer the puree to a pot, add honey (if using), bring to a boil, then reduce the heat and simmer for 5 minutes.
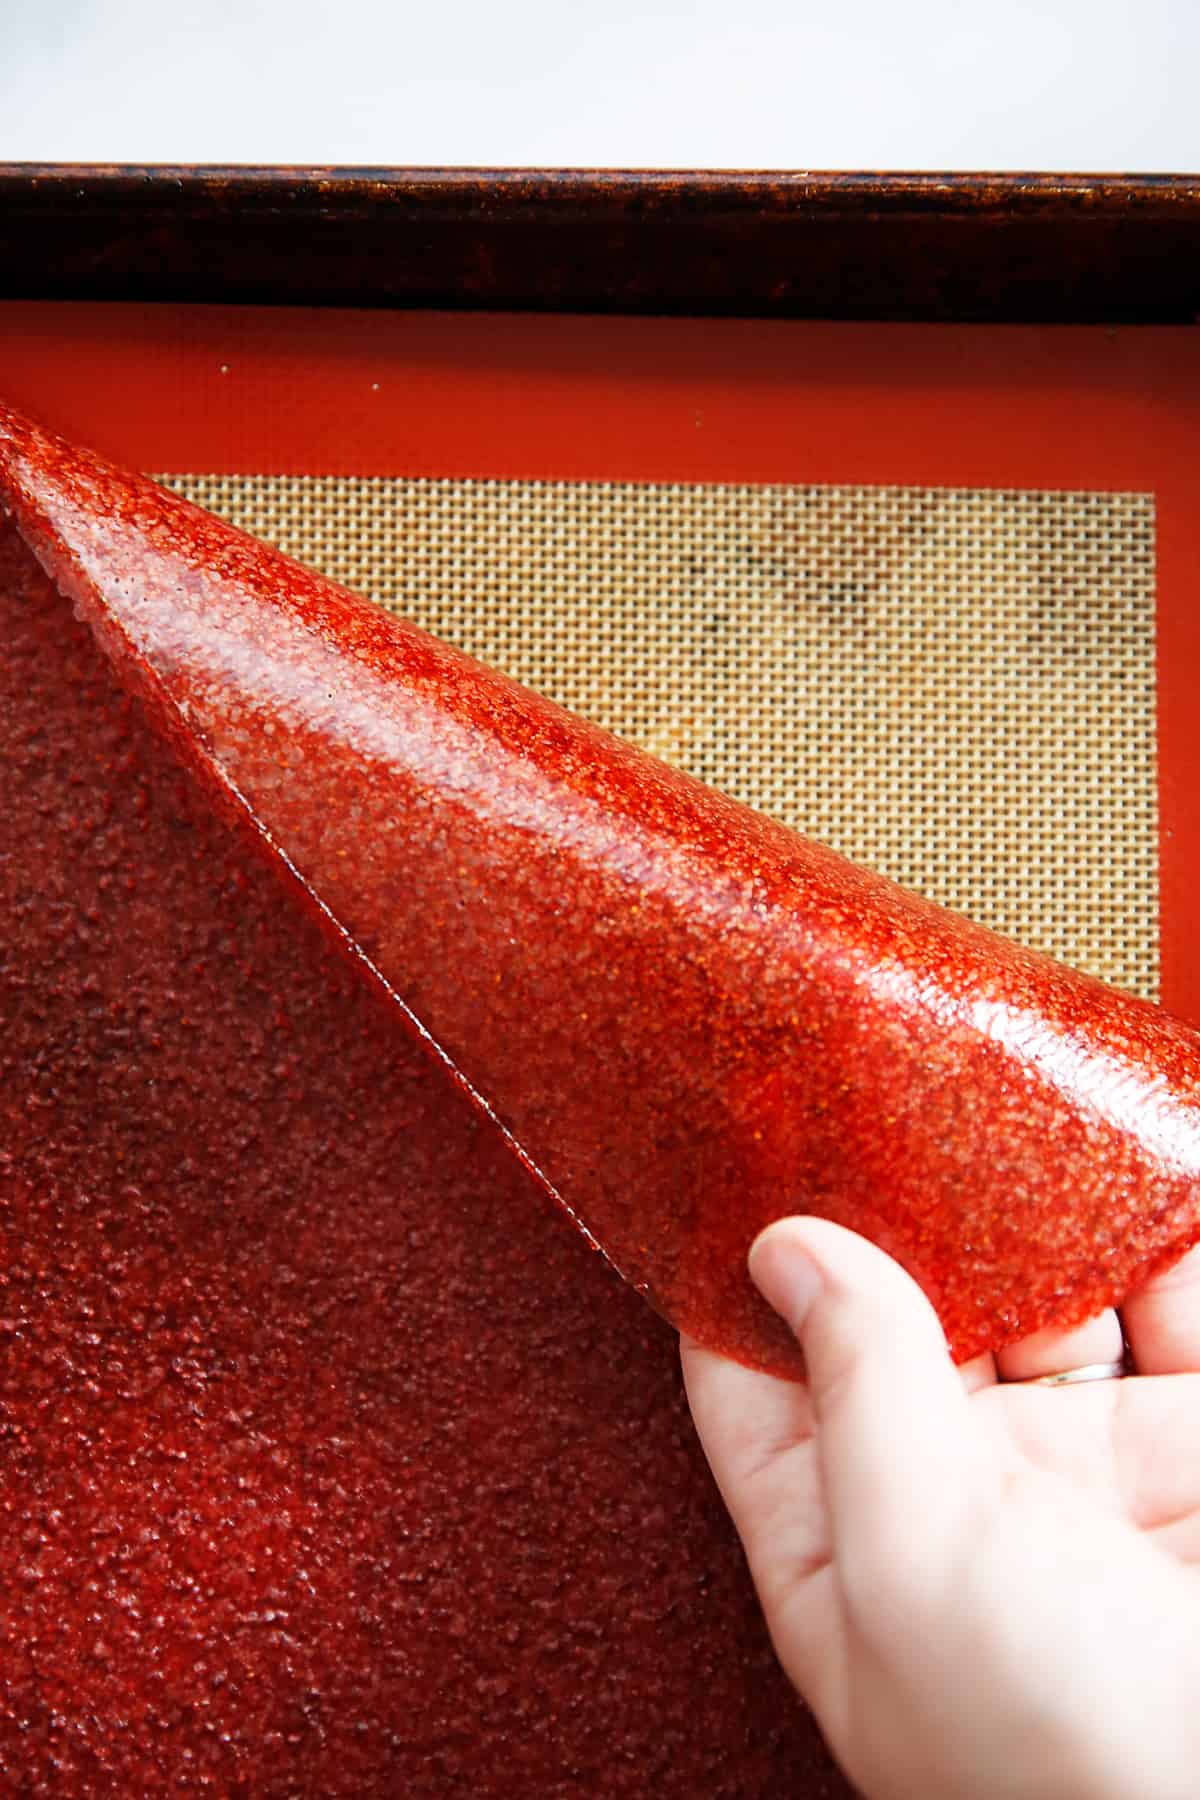
- Spread & bake: Pour the mixture onto a lined rimmed baking sheet, then bake at 170ºF for 6 hours or until fully dried.
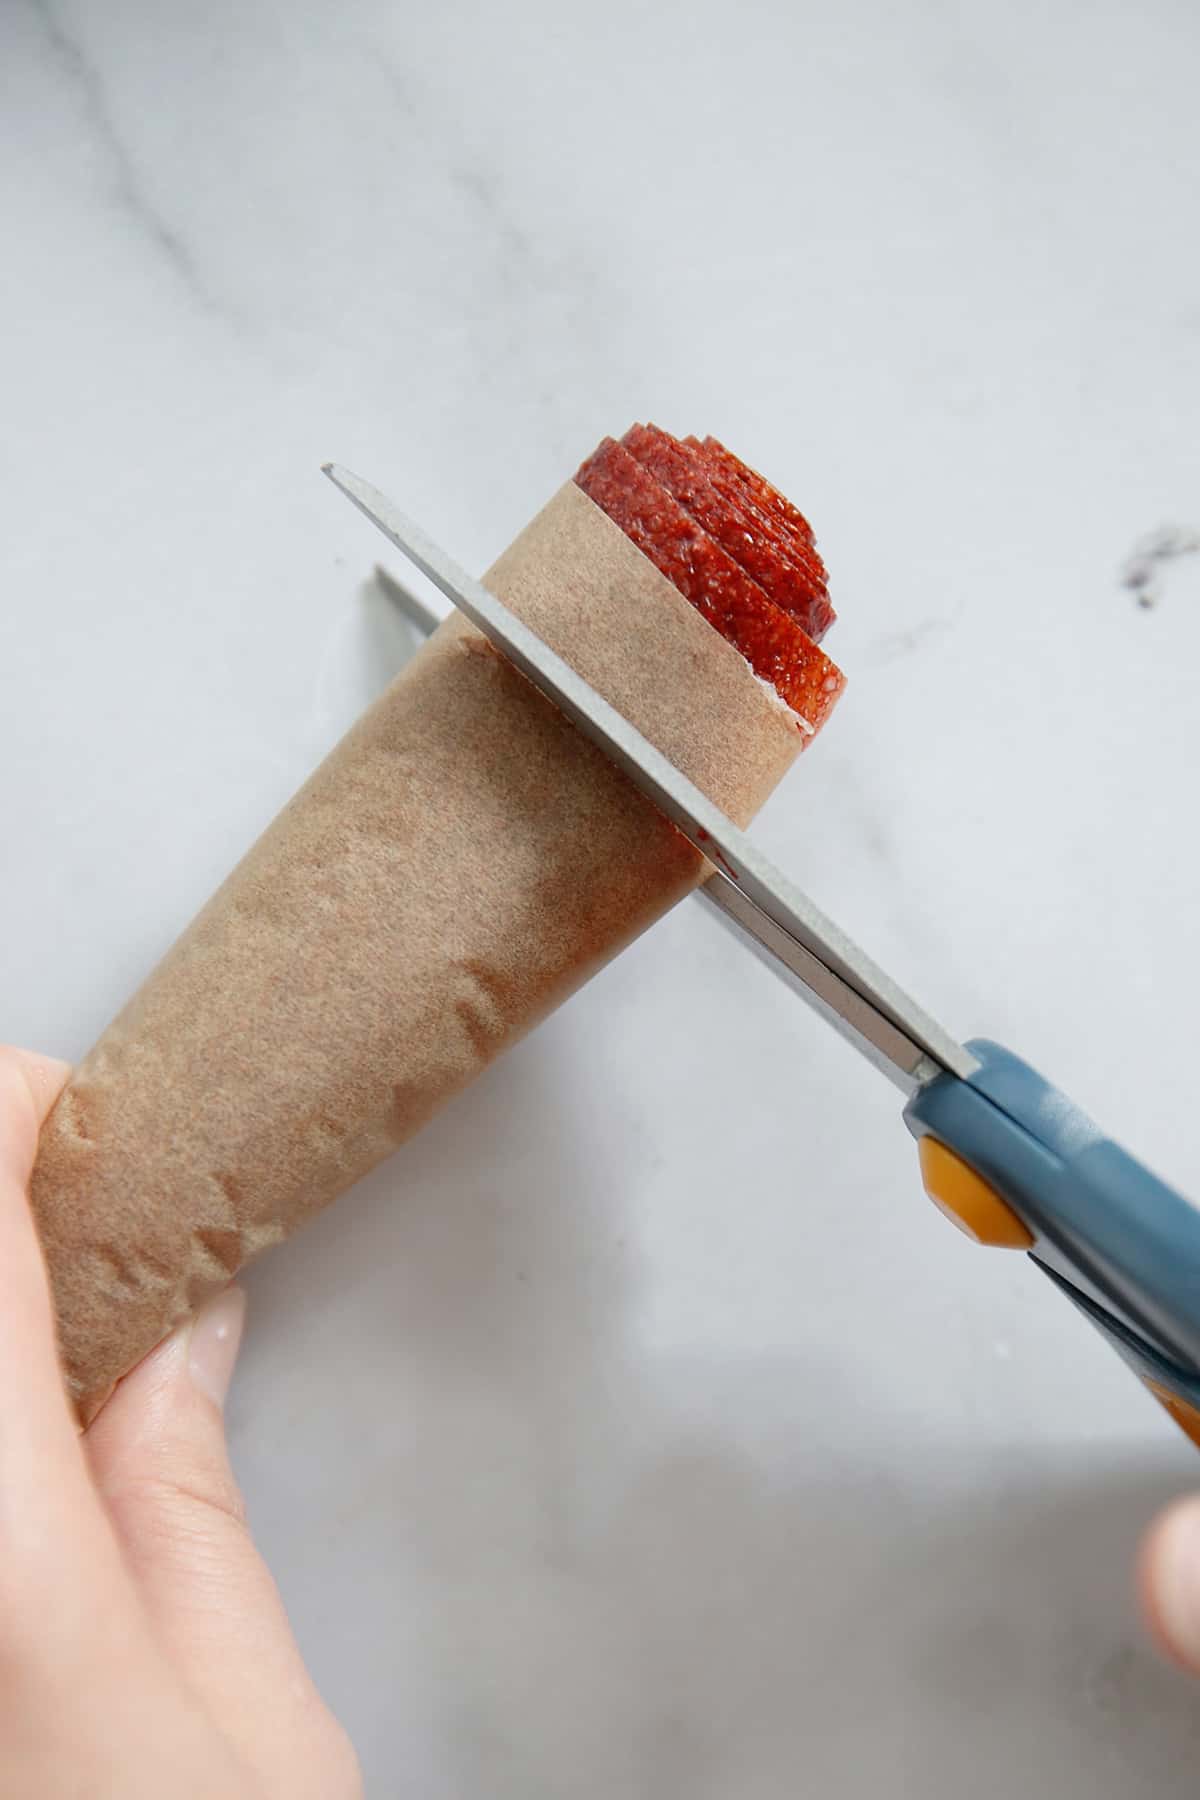
- Cool & cut: Let it cool completely, then invert the pan, peel off the fruit leather, roll it up, and slice it into 1-inch strips.
How to Tell When It’s Done?
You’ll know the fruit leather is done when it’s darker in color and dry to the touch. If in doubt, give it another hour—don’t let it overcook, or it’ll get crispy instead of pliable. Once it’s out of the oven, let it rest at room temperature for 3–6 hours until it’s soft but not sticky.

Lexi’s Tips for Fuss-Free Fruit Leather
Sheet pan matters: Stick with an 18″ × 13″ rimmed half sheet pan so it dries evenly.
Spread it right: Make sure the puree is evenly spread—too thick in the middle or too thin on the edges can throw off the drying.
Watch the color—not your finger: Instead of testing by poking, look for an overall color change, then double-check dryness by touch.
Switch up the fruit: Want blackberry, peach, or raspberry? Go for it! Just use the same method.
How to Cut Homemade Fruit Roll-Ups
Follow these simple steps to cut your homemade fruit roll-ups perfectly!
- Cover the fruit leather with a sheet of parchment paper, then invert the pan gently and peel the leather off the baking mat.
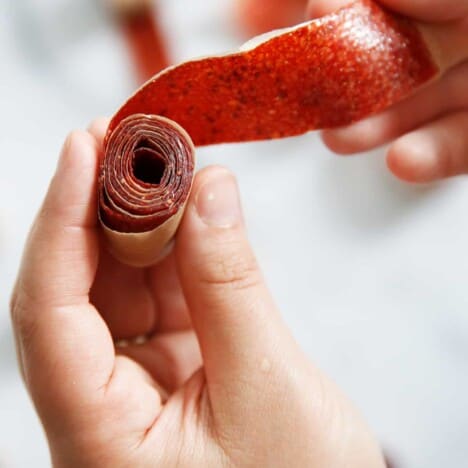
- Roll the fruit leather up, starting from the short side.
- Use kitchen shears to cut the leather into 1” strips, or as desired.
That’s it! Enjoy!
FAQ’s
I definitely prefer the flavor of fresh fruit, but if all you have is frozen, you can use it. Just make sure to thaw it first!
Your finished fruit leather will last in an airtight container on the counter for up to 2 weeks or in the freezer for up to 1 month. When you’re ready to serve, thaw overnight on the counter if frozen, then dig in!
Fruit leather is like edible sunshine—perfectly chewy, fruit-forward, and simple. Like those childhood snacks you had, but healthier, with this recipe, you’re turning strawberries into a sweet, ready-to-go snack that feels homemade but beats anything in the store. And the best part? You control every ingredient and flavor! Truly the ultimate fruit snacks!
You can use many other fruits like blueberries, raspberries, blackberries, a ripe mango, and so much more.
More Homemade Healthy Snacks to Try
- How to Make Stovetop Popcorn
- How to Make Crunchy Chickpeas
- Cherry, Coconut, and Chocolate Granola
- Trail Mix Granola Bars (video)
- Peach Fruit Leather
Watch The Video:

2-Ingredient Strawberry Homemade Fruit Roll Ups
Ingredients
- 2 quarts strawberries washed and hulled and halved
- ¼ cup honey optional
Instructions
- Preheat oven to 170º degrees F, and position a baking rack to the center of the oven. Line a rimmed 18” x 13” sheet pan with a silicone baking mat, or silpat.
- Place strawberries in a blender and puree until smooth.
- Pour strawberry puree into a large pot on the stove and add honey (if using) and bring to a boil. Reduce heat and let simmer for 5 minutes, stirring occasionally.
- Pour puree into the center of the prepared sheet pan and using a spatula spread the puree evenly almost to the edges of the baking mat.
- Bake in the oven for 6 hours, or until the fruit puree is completely dry to the touch. Let cool completely.
- Lay a sheet of parchment on top of the fruit leather. Invert the leather and gently peel off the mat. Roll up the entire sheet of fruit leather starting from the short side and then cut the leather with kitchen shears into 1” strips, or as desired.
- Store in an airtight container for a few days, or in the freezer for up to 1 month.
Notes
- Use the correct size sheet pan. When we say sheet pan we are referring to the rimmed half sheet pan which is 18″ by 13″. The size of the sheet pan matters because you want to make sure this is spread to the correct consistency.
- Take care to spread the mixture evenly. If it is too thick in the middle and thin on the edges, the edges will burn before the middle has cooked through.
- The fruit leather will change color when it’s dehydrated enough. Instead of sticking your finger in the mixture prematurely and causing a hole in it (we may have done this a few times) look to check on the color of the fruit leather first. If it has darkened in color throughout, it is likely done and then you can double check by touching it to see if it’s dry. If the middle is a slightly brighter red color than you can assume it’s still uncooked in the middle and you should place it back in the oven to continue to dry.


The ingredient list says “2 quarts” of strawberries, which would be 2 of the 32 oz containers. Watching the video for this recipe, it does not look anywhere near that amount of strawberries. Is this measurement correct? I did two full quarts and it has been in the oven for over 6 hours and idk if it’s ever going to dry haha
i had the same result. I put them in at 12 pm and finally took them out at 3 am.
wonderful no preservatives either! Love being able to make these from scratch, thank you!
If you happen to have a dehydrator, what settings would be used to make this tasty snack?
Hi Kate! We haven’t tested this in a dehydrator, so we are unable to advise. If you do try to figure it out, let us know how it goes!
Could I substitute blueberries? I picked 9 lbs yesterday and have so many more to pick.