This post may contain affiliate links. Please read my disclosure policy.
Where healthy meets chocolate, these Paleo Chocolate Truffles are made with a few simple ingredients and are down-right delicious.
This decadent chocolate treat is simple to put together but looks stunning! Aside from being Paleo Friendly, these truffles are also vegan and don’t have any added refined sugars. Make these for that certain holiday for lovers, or really anytime of year!
 Easy Chocolate Paleo Truffles
These Paleo Chocolate Truffles are decadent and down-right delicious, but also super easy to make! Basically you just make a thick chocolate ganache, let it chill and then roll into balls!
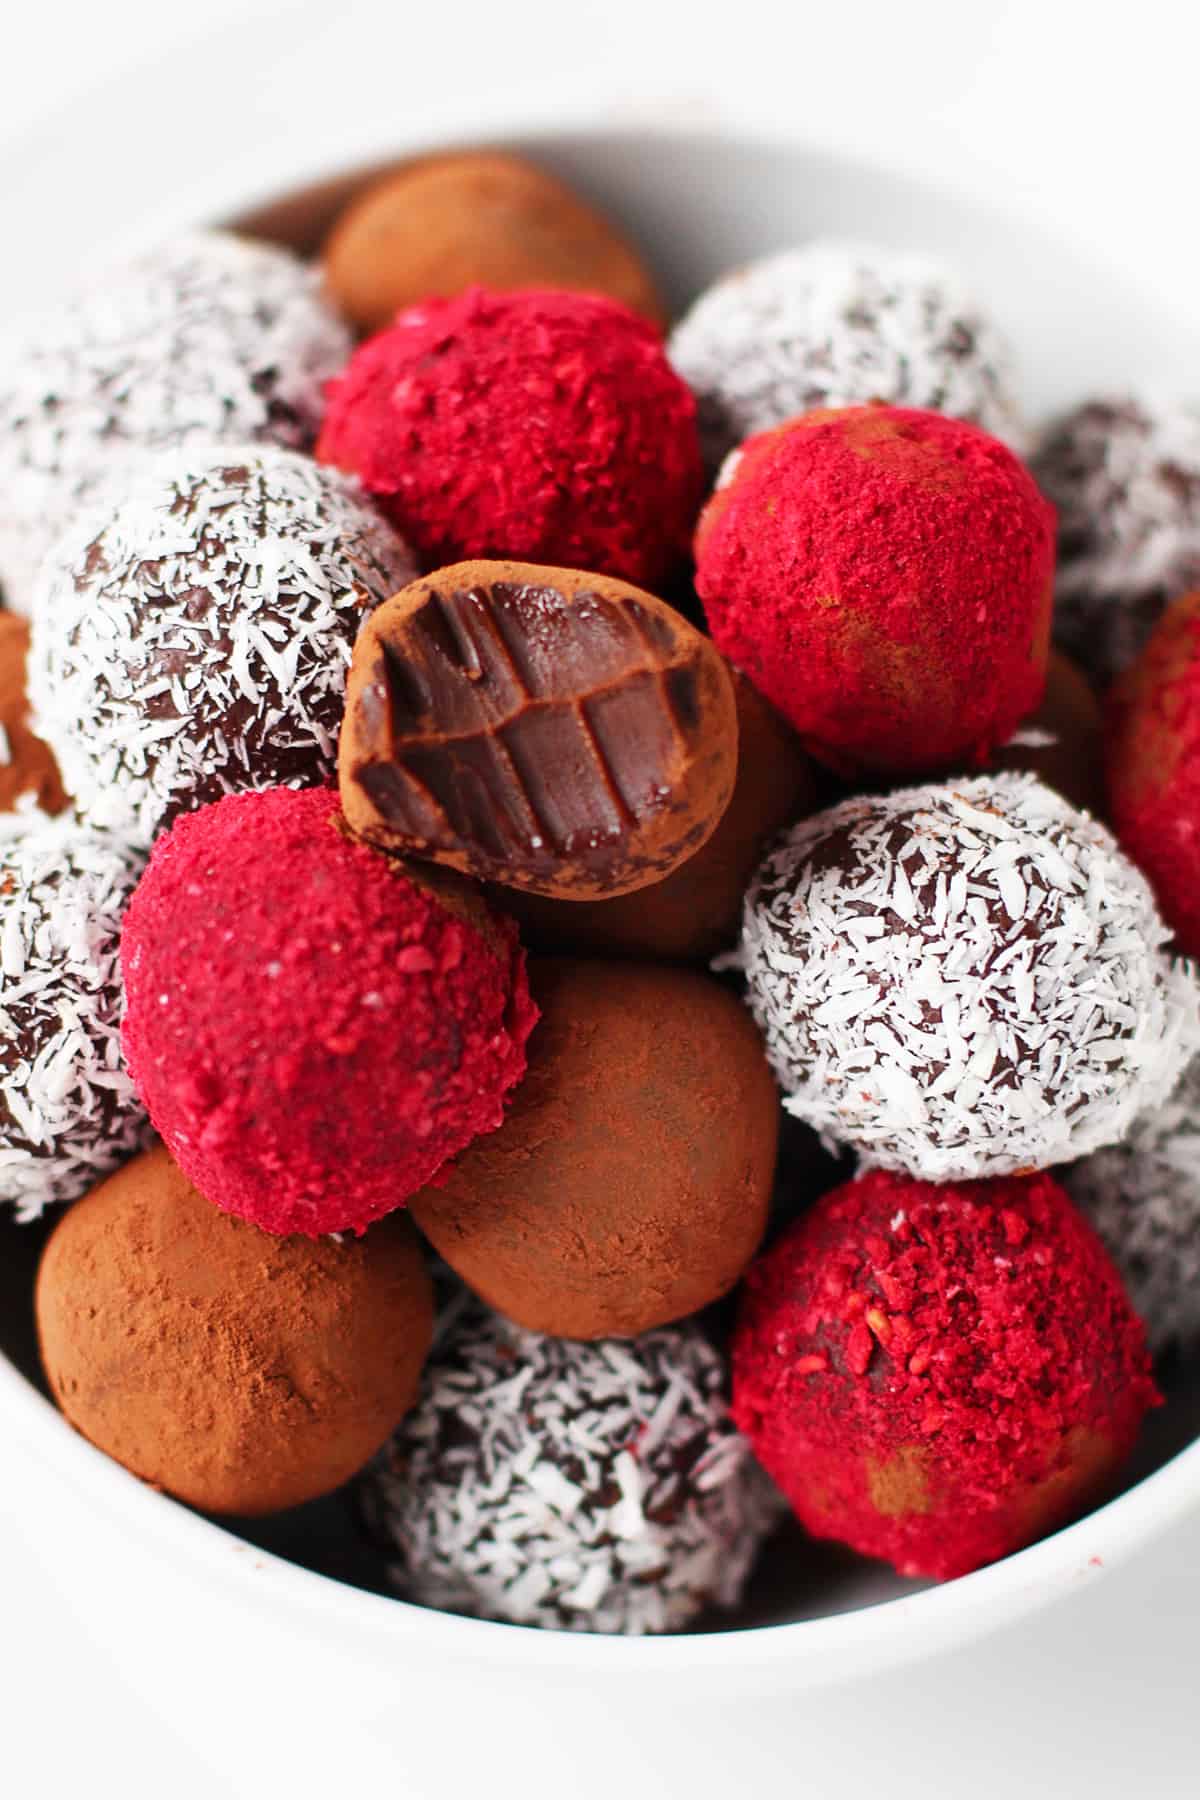
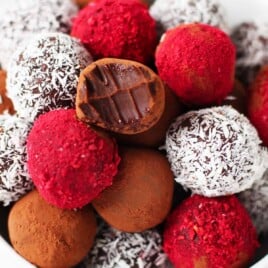
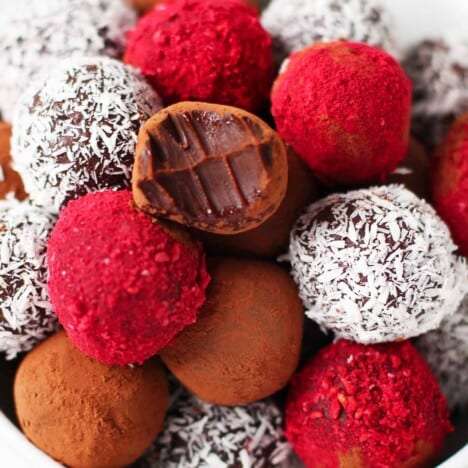
You can coat these chocolate-y treats in a variety of flavors, but our favorites include the classic cocoa powder finish, as well as shredded coconut and freeze-dried fruit. They’re the perfect sweet treat to share with a friend, partner or to enjoy all by yourself!
Ingredients Needed
- Dark Chocolate
- Coconut Cream
- Coconut Oil
- Maple Syrup (optional)
- Instant Espresso Powder (optional, but deepens the chocolate flavor)
- Sea Salt
 Fun Options for Coating
We coated these with three of our favorites for truffles.
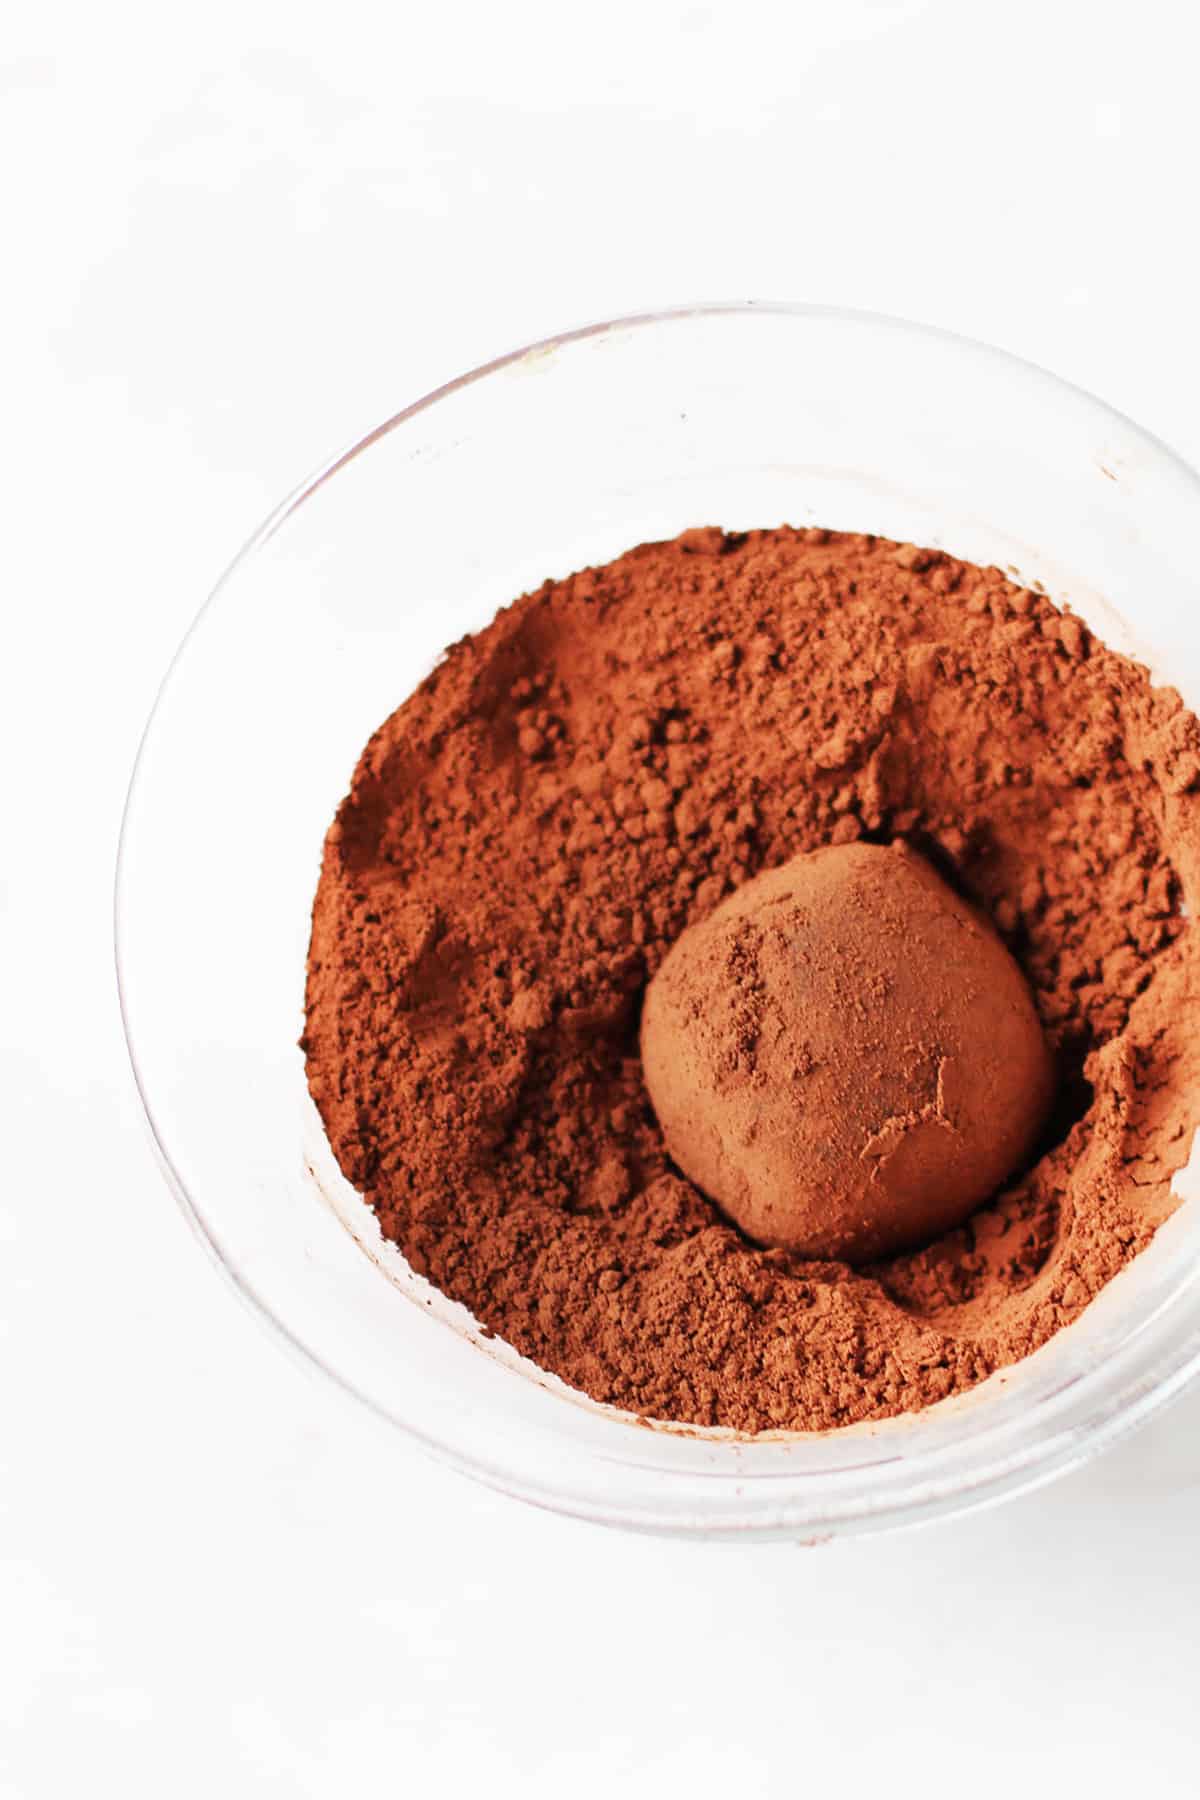
- Cocoa Powder: This is the most obvious! It’s classic, and for a reason.
- Finely Shredded Coconut: You can leave this natural or you can toast it for a deeper coconut flavor.
- Freeze Dried Fruit Powder: A fun way to add flavor to these truffles! Freeze dried fruit is now commonly found in most grocery stores and is inexpensive! Make sure to read the label to check that the only ingredient listed is the actual fruit and does not include any additives. We love the 365 brand of them at Whole Foods or the options at Trader Joe’s. Use any type of freeze dried fruit you like, but we found raspberry and strawberry to be a natural pairing with chocolate.
Making Paleo Chocolate Truffles
- Essentially, to make these chocolate truffles you’ll be making a thick chocolate ganache.
- Then… chilling it until it’s easily rolled into a ball.
- And finally coating them with your flavor of choice!
Nothing here is complicated but there are a few steps to get the chocolate to the right consistency.
Helpful Info
The trickiest part for making these is gauging when the chocolate is the right consistency for rolling.
Tip 1: First you’ll let the chocolate cool at room temperature for about 30 minutes, and then lace it in the freezer until it’s chilled enough to scoop out and roll into balls, about 1 hour.
Tip 2: Because the chocolate has coconut oil added to it, it can be tricky to roll into balls without making a sticky mess. Work quickly, and if it does get to be too messy, you can place the chocolate back in the freezer to harder.
Tip 3: I’ve also found that washing your hands if they get too sticky to be helpful.
Tips for Working with Chocolate
- Use a medium to good quality chocolate, especially if you are using chocolate chips. While we love that this is an affordable DIY chocolate option, using low quality chocolate with a lot of additives, will negatively impact the final product. This is especially true if you are using chocolate chips, which are manufactured to hold their shape. Look for chocolate or chocolate chips with only a few ingredients for the best bark taste and texture. It doesn’t have to be the most expensive chocolate, but shoot for a minimum of the mid range brands such as Enjoy Life (for dairy-free), Ghiradelli, Trader Joe’s, 365 Brand, or Guittard, at a minimum. And of course, pay attention to added ingredients if you have dietary restrictions. And if you can afford better quality chocolate, go ahead as this will be the recipe to use it for.
- Make sure all utensils are clean and dry. Water and chocolate do not mix! Even a small addition of water to chocolate can make it break, which would mean gritty chocolate. Make sure your bowls and utensils are clean and dry.
- Melt chocolate in a double boiler. We suggest melting the chocolate mixture over a double-boiler because it’s the most gentle way to melt it. Most people don’t have a double boiler at home, so make up your own by placing a heat proof bowl over a simmering pot of water. Just make sure that the bowl is not touching the water. Using this method to melt the chocolate is an easy way to melt it, while making sure you don’t over cook the chocolate.
More Yummy Chocolate Recipes:
- Dairy Free Hot Chocolate
- Gluten Free Chocolate Chip Cookies
- Frozen Chocolate Covered Bananas (Snickers Style)
- Dark Chocolate Almond Butter Cups
- Fudgy Paleo Brownies
Valentine’s Day Winners:
- 6 Date Night Ideas That Don’t Break The Bank
- Gluten Free Hostess Cupcakes
- Gluten Free Thumbprint Cookies
- Raspberry Swirl Brownies
- How to Have the Ultimate Wellness Retreat at Home
PALEO CHOCOLATE TRUFFLES
Ingredients
- 12 ounces about 2 cups dark chocolate, chopped (see note)
- 3/4 cup full-fat coconut cream 6 ounces
- 2 teaspoons coconut oil
- 1 teaspoon maple syrup optional
- 1/2 teaspoon instant espresso powder optional
- Pinch sea salt
For Coating
- Cocoa powder
- Shredded Coconut
- Freeze Dried Fruit Powder we used raspberry
Instructions
- Bring a small saucepan of water to a boil on the stove. Add dark chocolate, coconut cream, coconut oil, maple syrup, espresso powder and salt to a medium heat proof bowl and then set the bowl over the sauce pan. Stir the chocolate with a rubber spatula until all of the mixture is melted. Once melted, remove from heat and stir all together. Pour mixture into a shallow container to let cool.
- Let cool until no longer hot, about 30 minutes, at room temperature. Then move mixture to the freezer for about about 1 hour, or until truffle mixture is chilled enough to scoop and handle. If it isn’t cold enough yet, let it chill longer.
- Scoop out rounded teaspoons of the truffle mixture and place balls on a parchment-lined baking sheet or plate. Repeat until all mixture has been scooped. Place in the freezer for 10 minutes harden up.
- Remove from the freezer and roll balls between the palm of your hands, until smooth. If your hands get too sticky, wash and dry your hands and start again, or alternatively place the truffles back in the freezer to firm back up the chocolate.
- Once rolled, place truffle balls in a small bowl filled with either cocoa powder, finely shredded coconut or freeze-dried fruit powder. Remove chocolate with a fork or your fingers and tap of excess coating.
- Coating is best applied right before serving, but chocolate truffles will keep in the refrigerator for about 5 days, or frozen for up to 3 months. Coating can be reapplied before serving. Makes about 16-24 chocolate truffles.
Notes
- Make sure to use dairy-free chocolate if you need it to be completely dairy-free.
- It’s best to use a chopped chocolate if possible. If using chocolate chips, use high-quality that do not contain a lot of additives. Our favorite is Enjoy Life, for dairy-free.
- Coconut cream can be purchased, or you get just use the solid part of chilled coconut milk.
- This recipe was originally published in 2015, and republished with an updated recipe and photos in 2020.
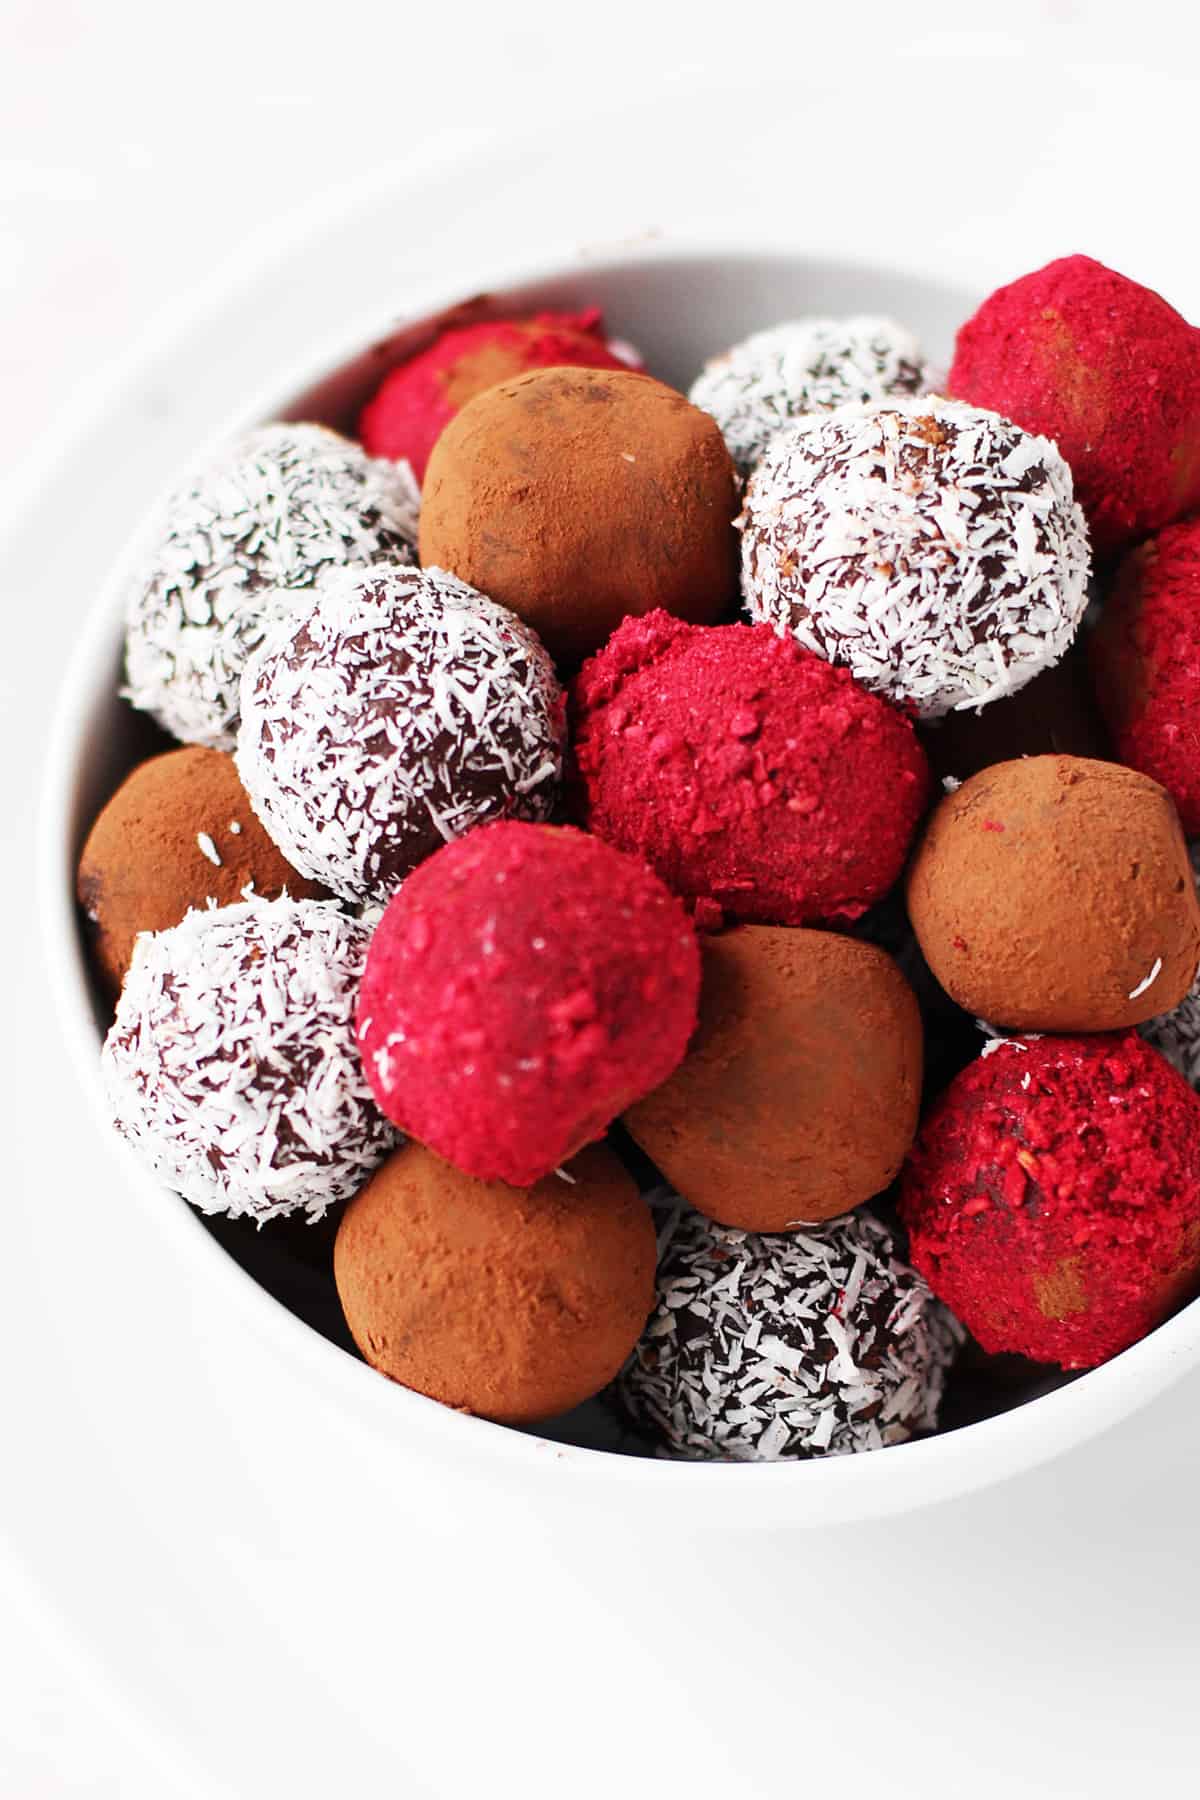 Easy Chocolate Paleo Truffles
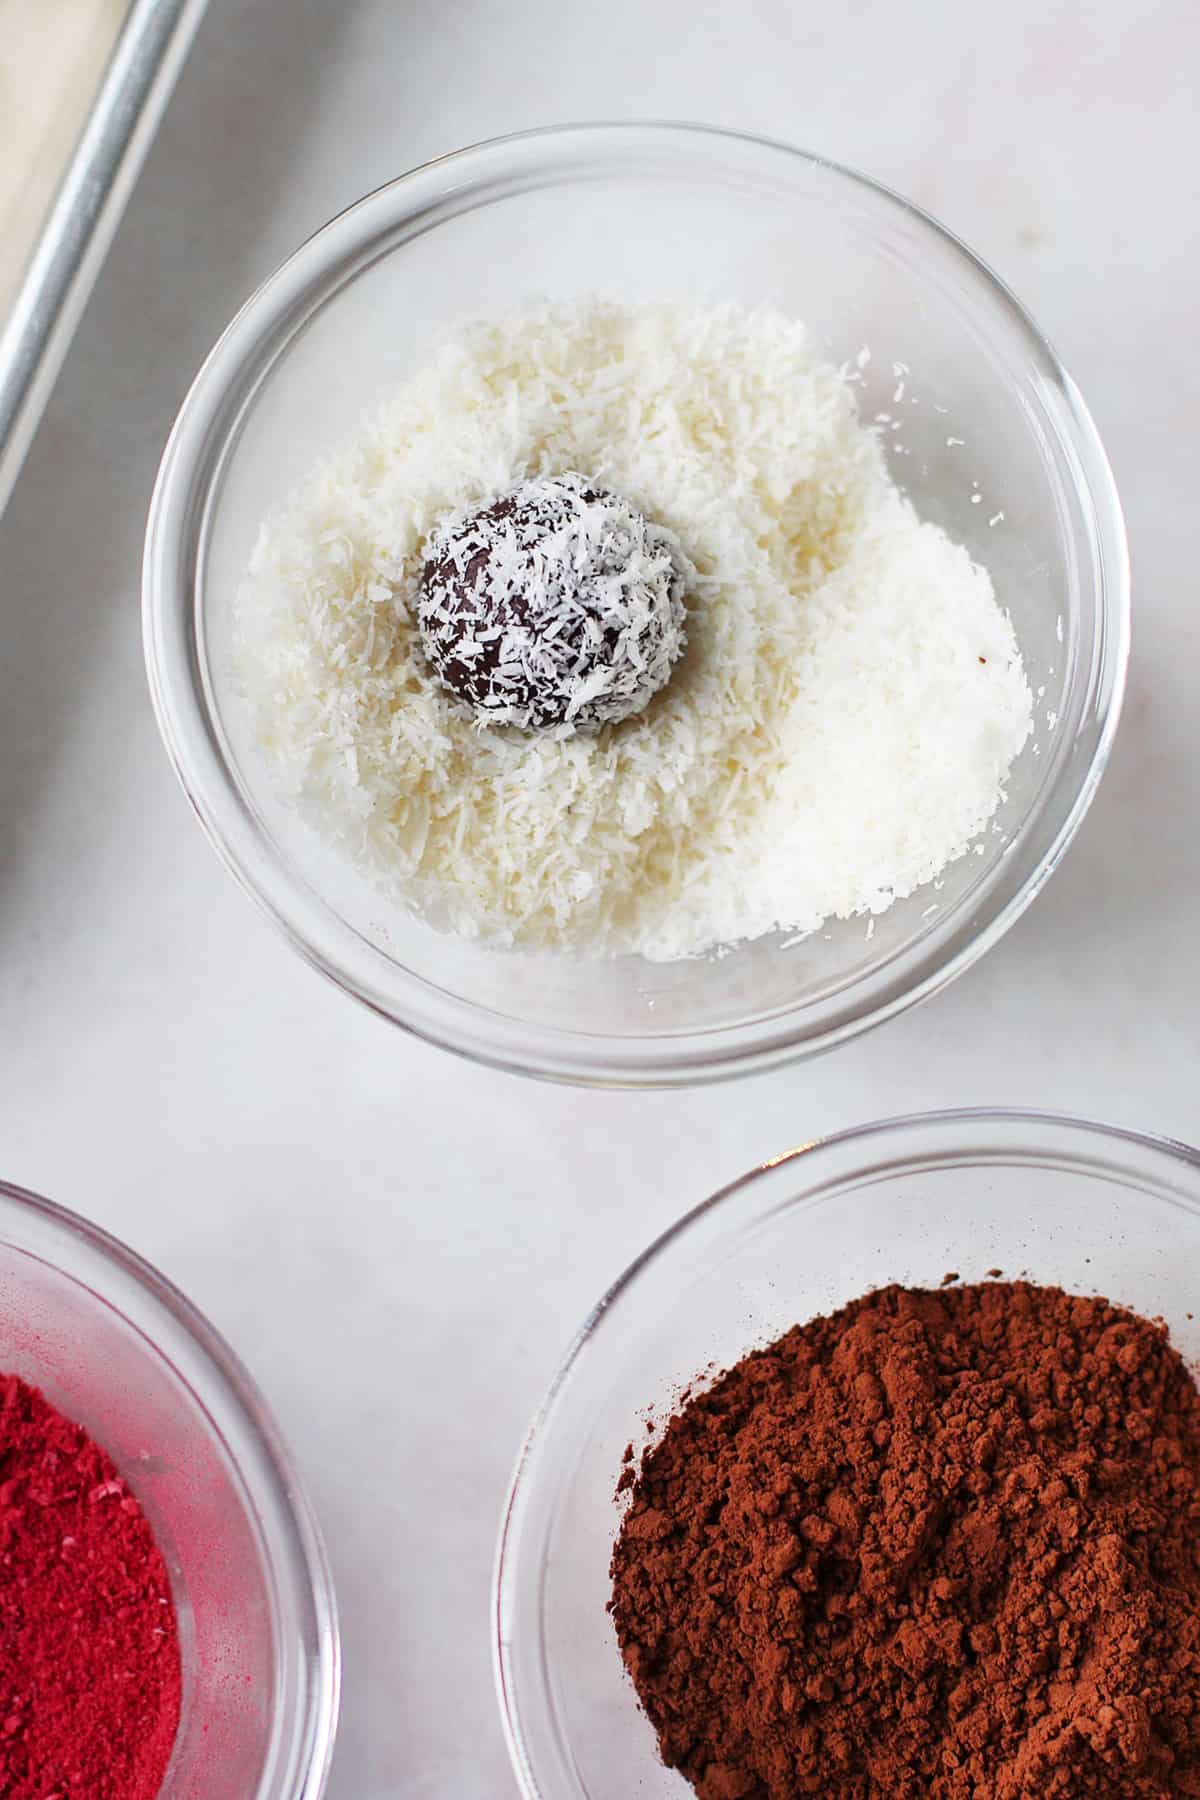 Fun Options for Coating

Is there something else you can use instead of Coconut cream or oil? I am not a fan of the taste of coconut.
I have only tested it this way so can’t promise same results with a substitution. Let me know if you try something different!
I’ve made these at least 3 times & they always turn out amazing! They look fancy so could easily be taken somewhere or gifted but I like to have these in the fridge as a quick after-dinner treat that satisfies my sweet tooth without a sugar rush!
I love that!! So happy. We love these too 🙂
These look delish! What type of dark chocolate did you use?
Any dark will do 🙂
I do not like the flavour of coffee can you use something besides the espresso powder?
It doesn’t taste like coffee– just helps with flavor, but you can leave it out.