This post may contain affiliate links. Please read my disclosure policy.
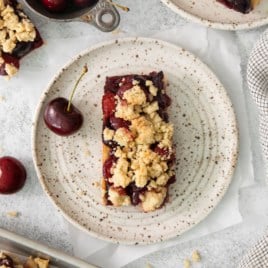
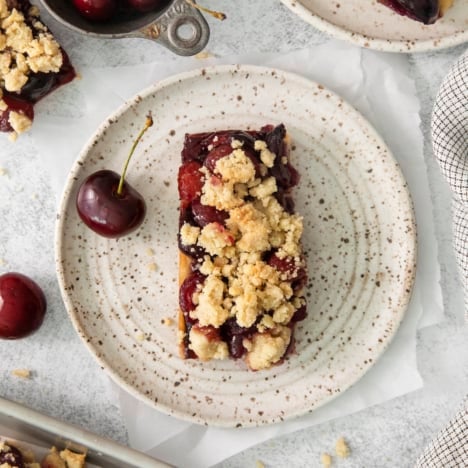
These Gluten-Free Cherry Pie Bars are all of the deliciousness of a classic cherry pie in a simpler, gluten-free, dairy-free, and refined sugar-free recipe. It’s made with a buttery crust, a four ingredient cherry pie filling, and a golden crumble topping.
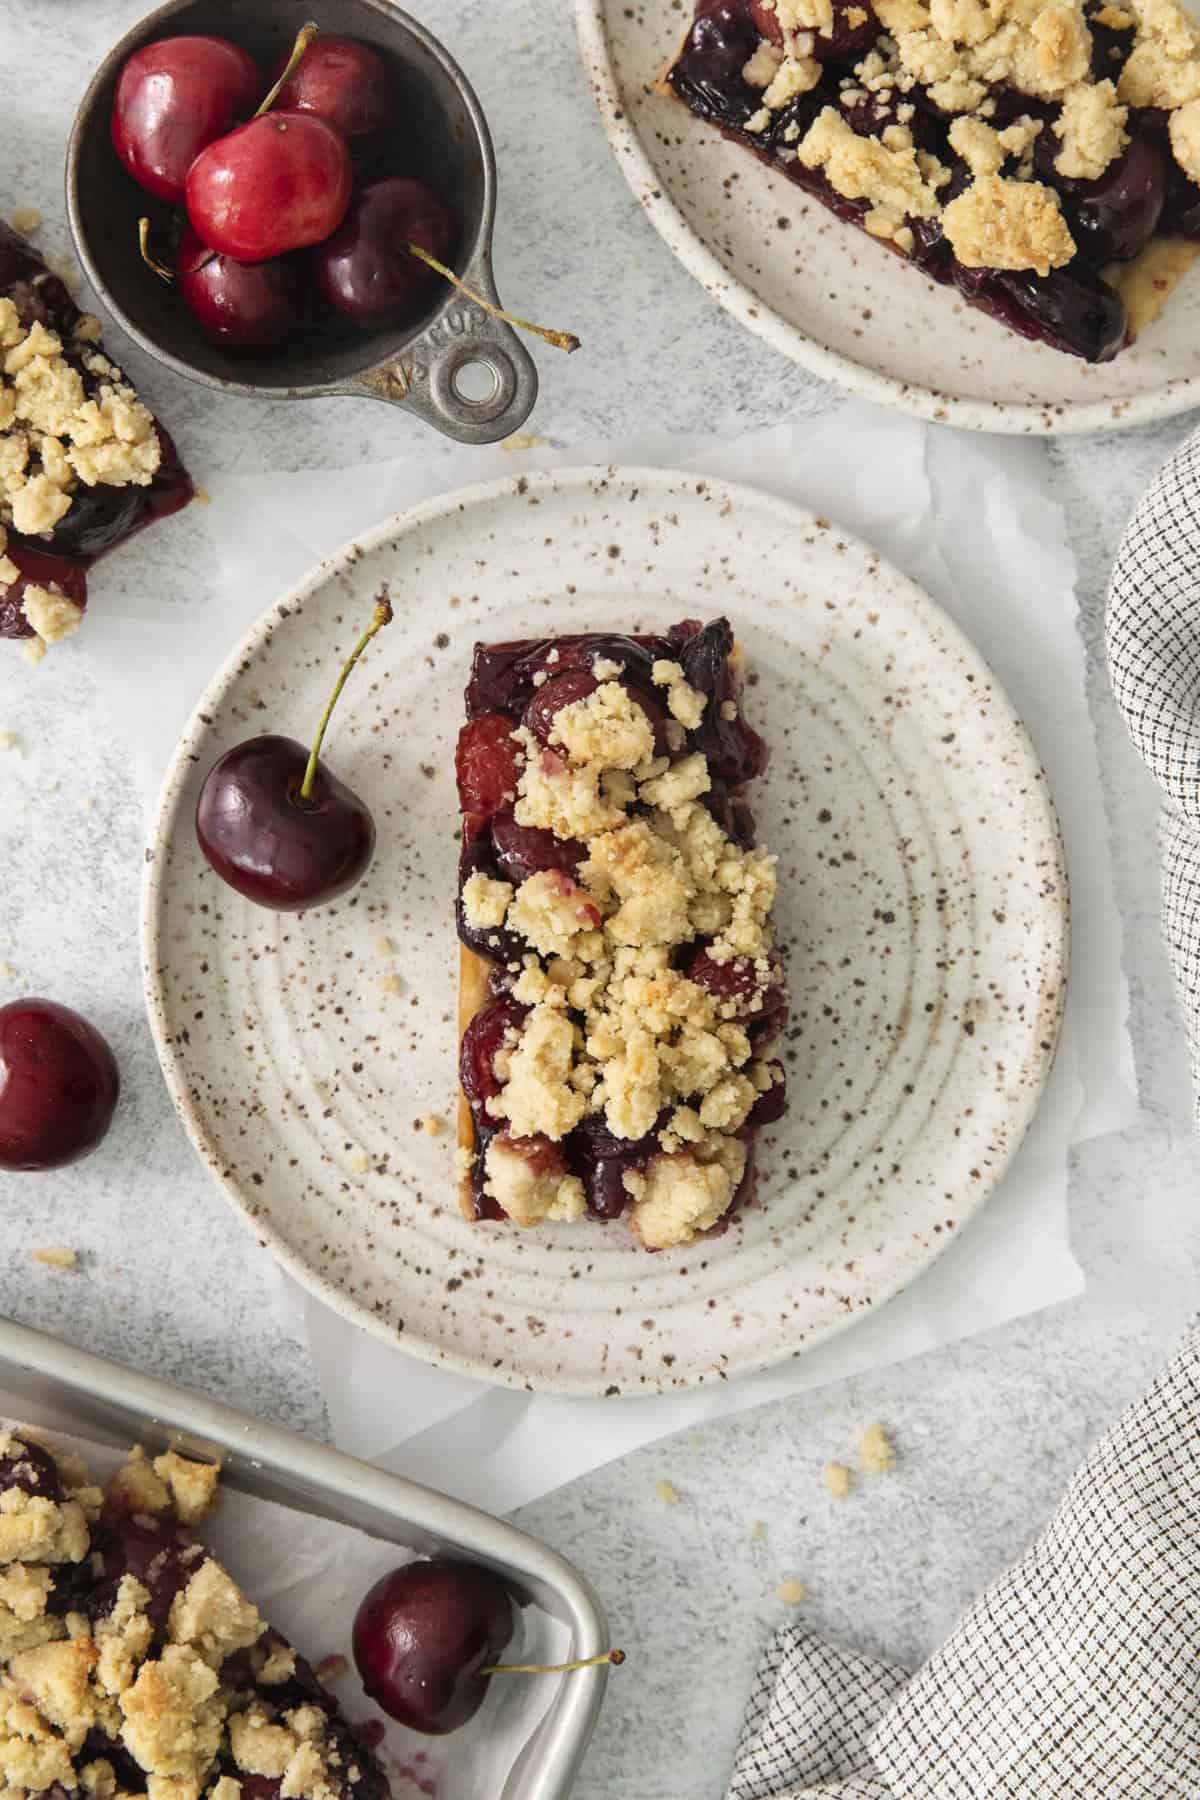
Easy Recipe for Cherry Pie Bars
There is nothing better than a mouthwatering summer dessert. And these gluten-free cherry pie bars are the perfect one!
The crust is made out of almond flour and the filling is jam packed with the sweet burst of cherries—fresh or frozen. The crumble topping is the same mixture as the crust to keep things super simple.
This gluten-free pie recipe takes just 15 minutes to prepare and will make you the most popular contributor at your next summer potluck!
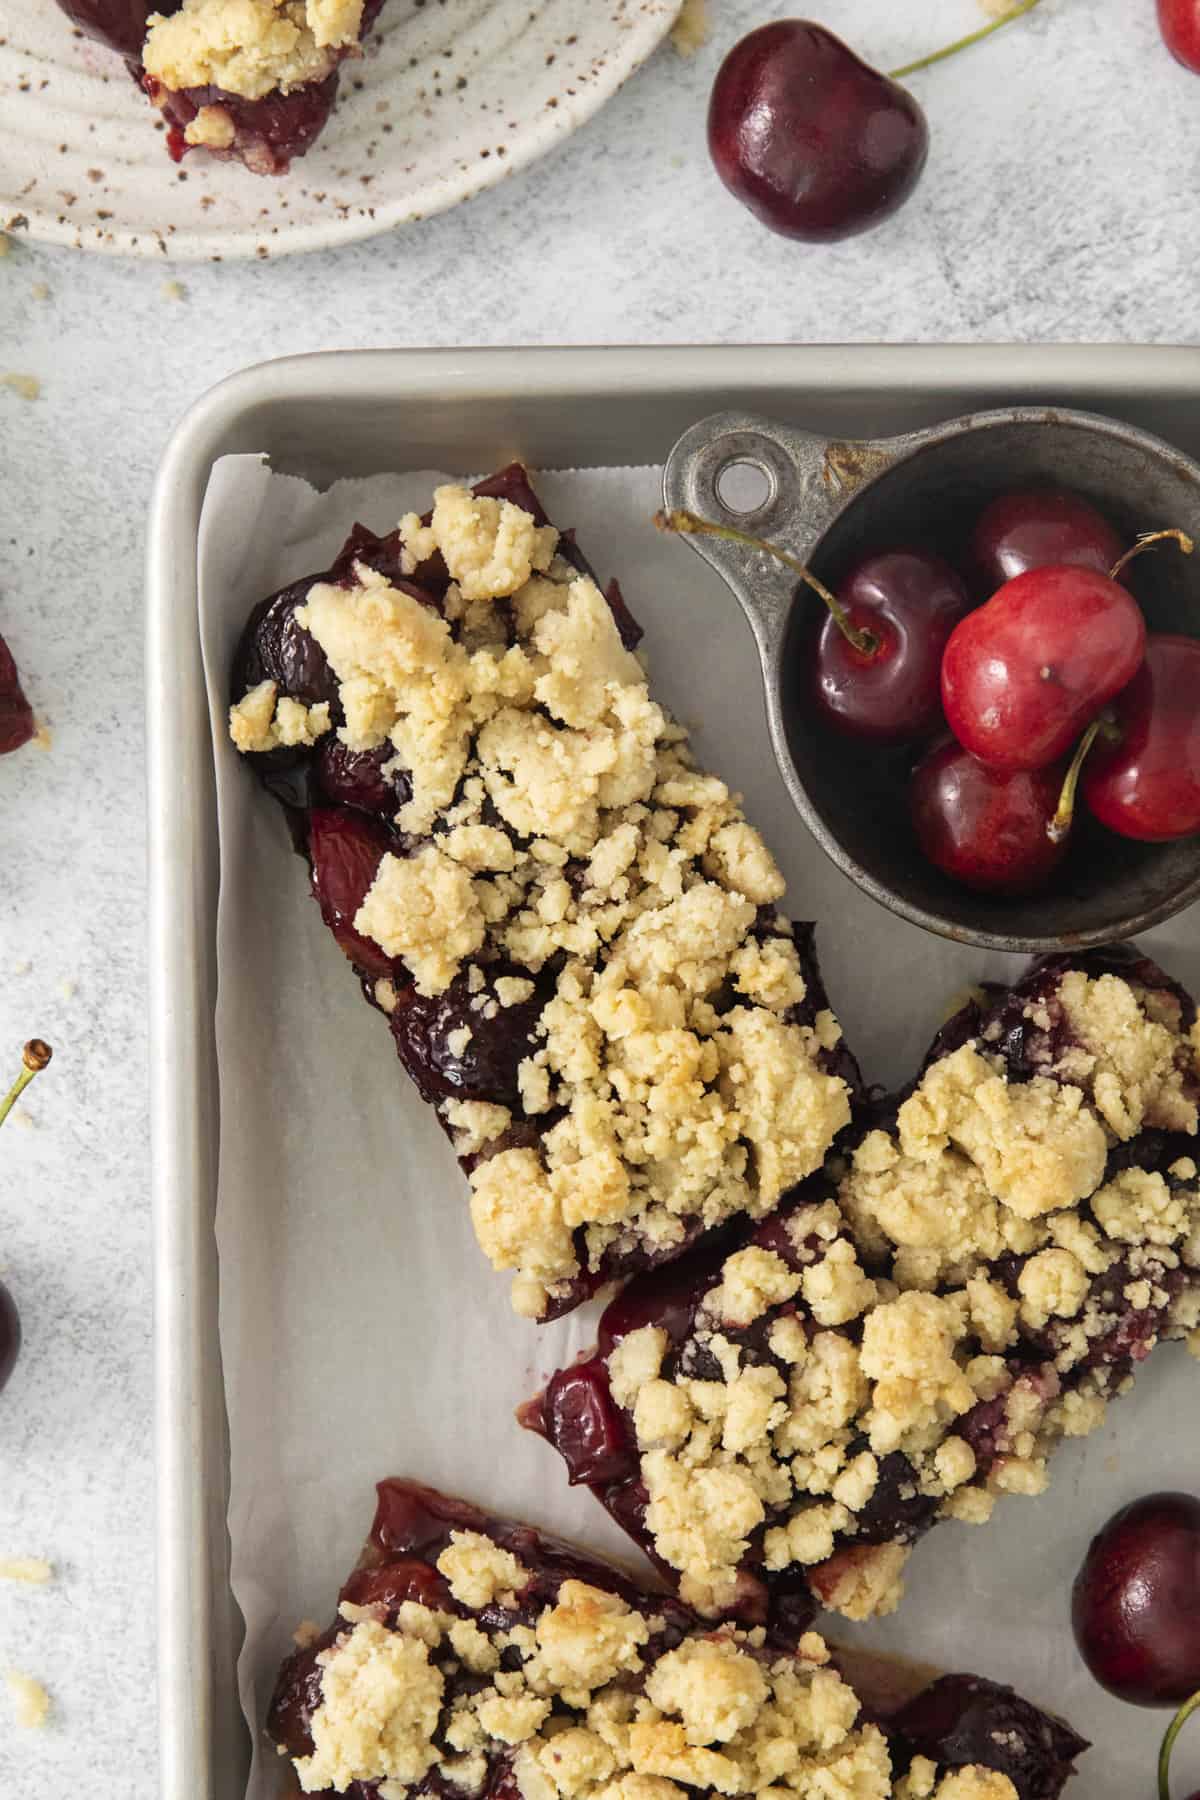
Ingredients Needed
You need just a few basic ingredients for this recipe! Most of these you probably have on hand already.
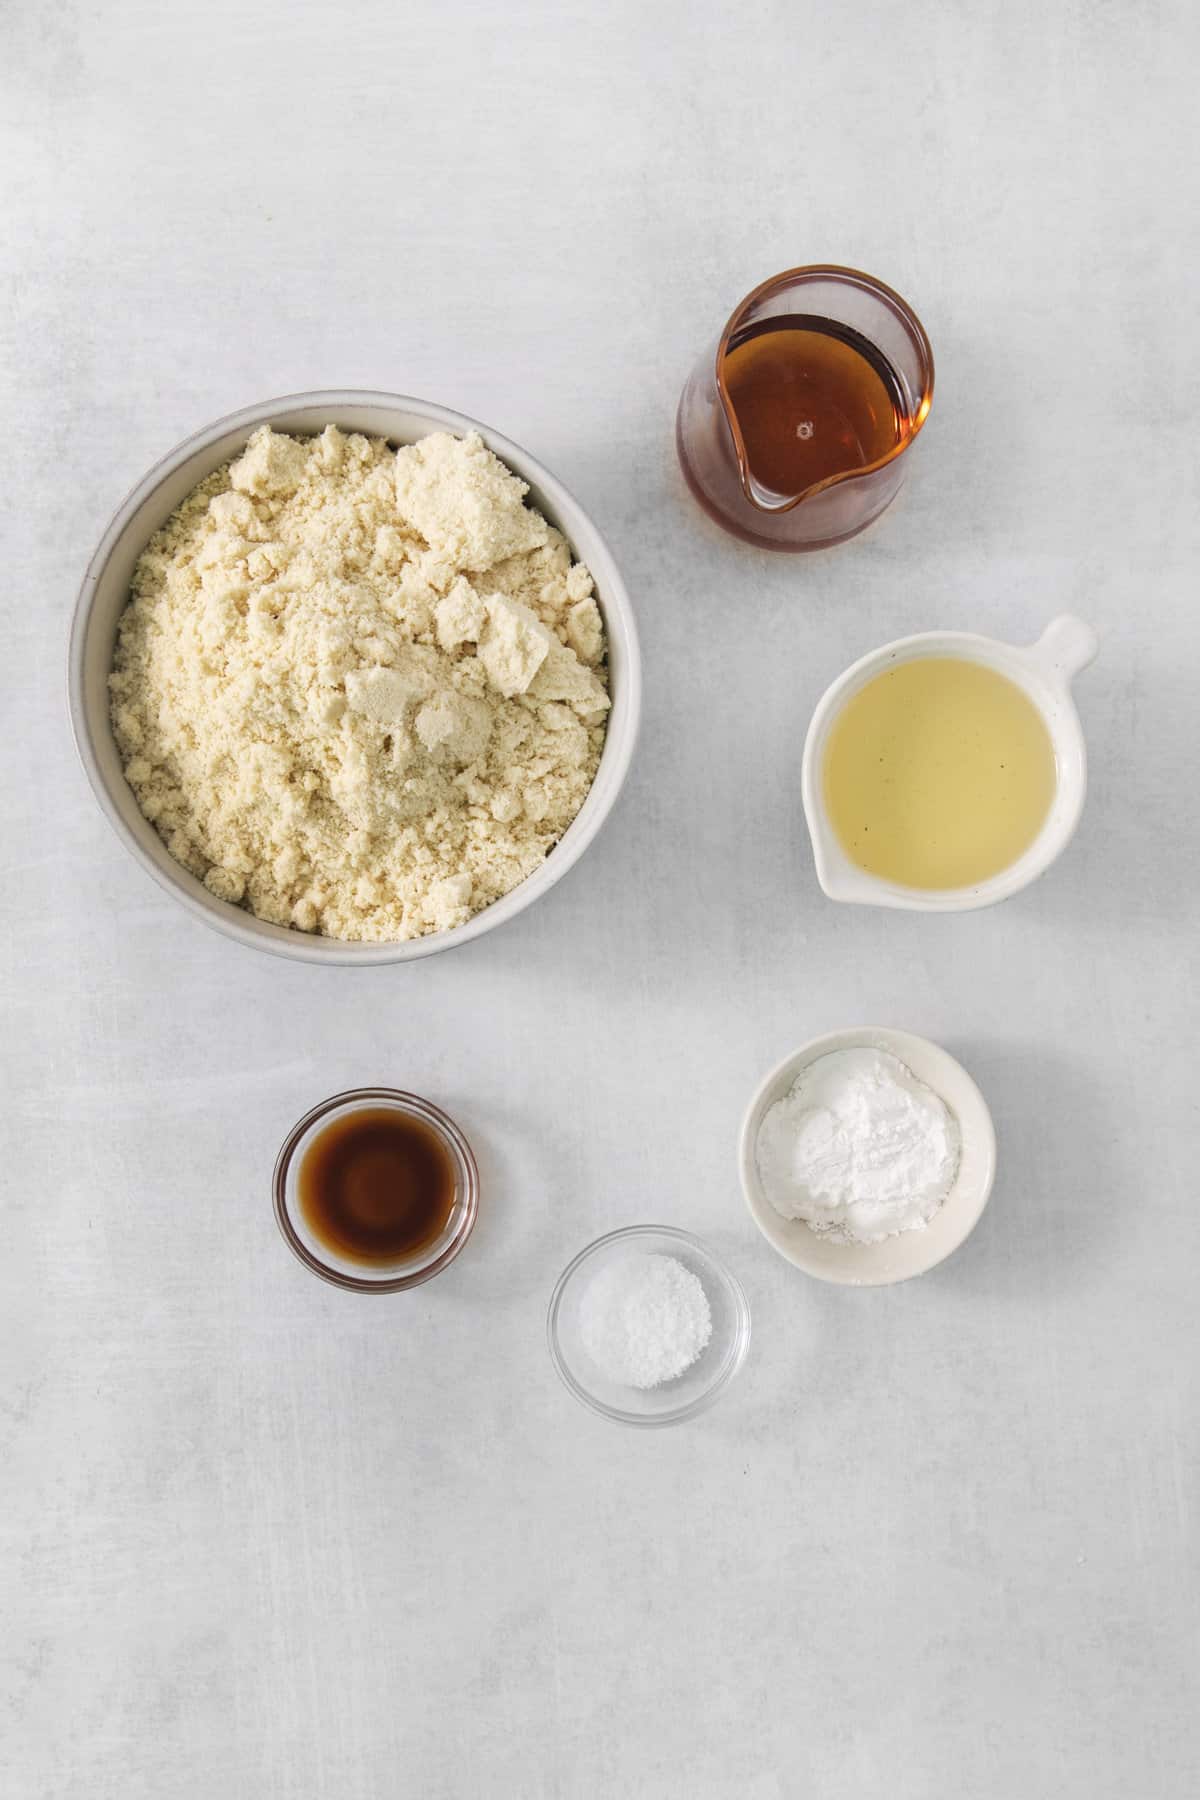
Crust and Topping
- Flour: The crust uses a blend of almond flour and tapioca flour for the perfect texture.
- Oil or Butter: You can keep the recipe dairy-free by using coconut oil or swap it out for melted butter instead.
- Maple Syrup: Yes, you do need maple syrup. Swapping it out for any other sweetener will change the texture.
- Vanilla: Adds flavor depth and a touch of extra moisture.
- Sea Salt: Cuts the sweetness and enhances flavor.
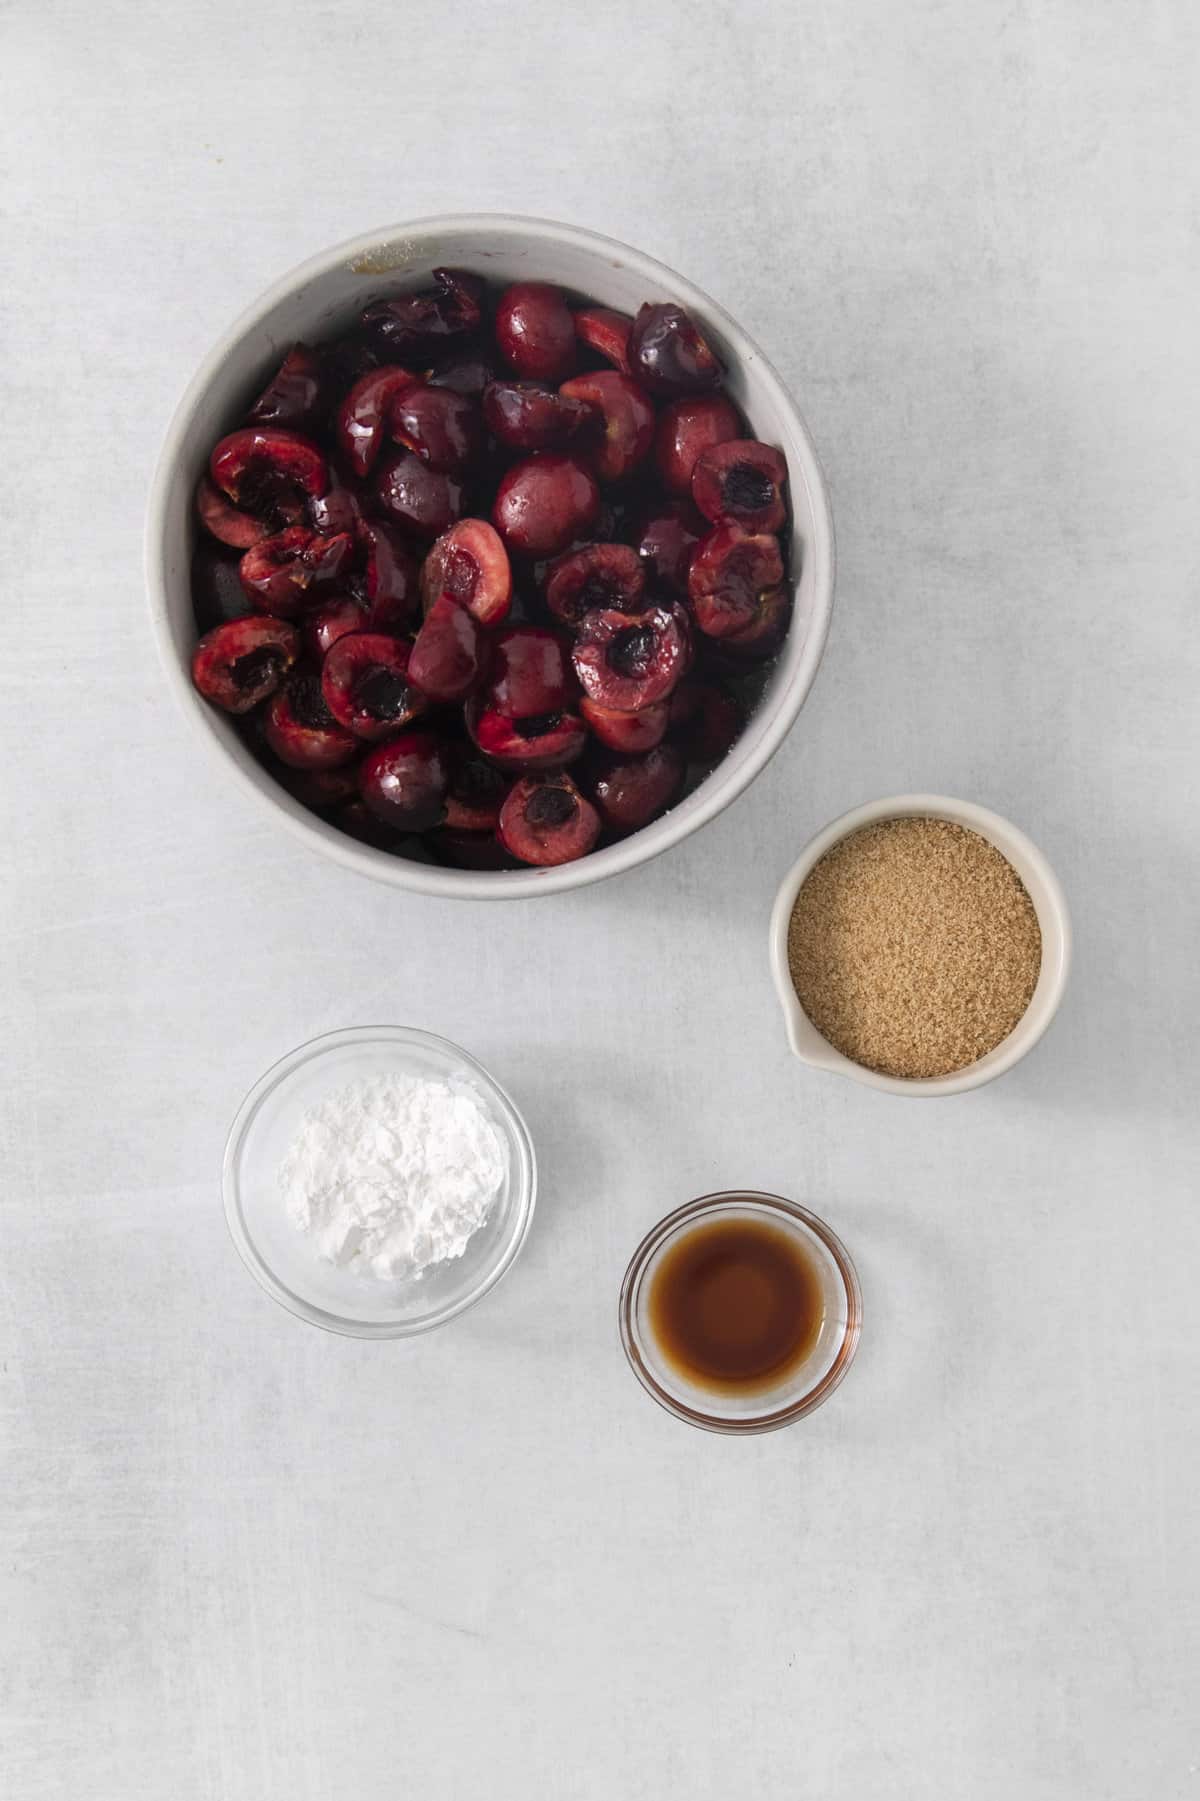
Cherry Pie Filling
- Cherries: Fresh or frozen cherries will work. Just be sure that they are pitted and halved.
- Maple Sugar: Coconut sugar will work too.
- Arrowroot: Helps thicken the cherry pie filling as it cooks.
- Vanilla: Adds flavor depth and a little extra sweetness.
What Cherries to Use for Cherry Pie Bars?
We tested this recipe using two different types of cherries: fresh sour cherries and frozen sweet cherries. The two different types of cherries do result in different flavors and textures, but really they are equally delicious. Just use what works best for you. Let’s break it down:
- Fresh sour cherries: These cherries are a little bit less sweet and have a firmer texture.
- Frozen sweet cherries: The frozen cherries are, of course, sweeter and a little bit more juicy.
The photographs feature the frozen cherries, but the video features the fresh cherries, so feel free to check those out so you can really see the difference!
How to Make Cherry Pie Bars
This gluten-free cherry pie recipe is so incredibly simple to make! Just 15 minutes of prep needed.
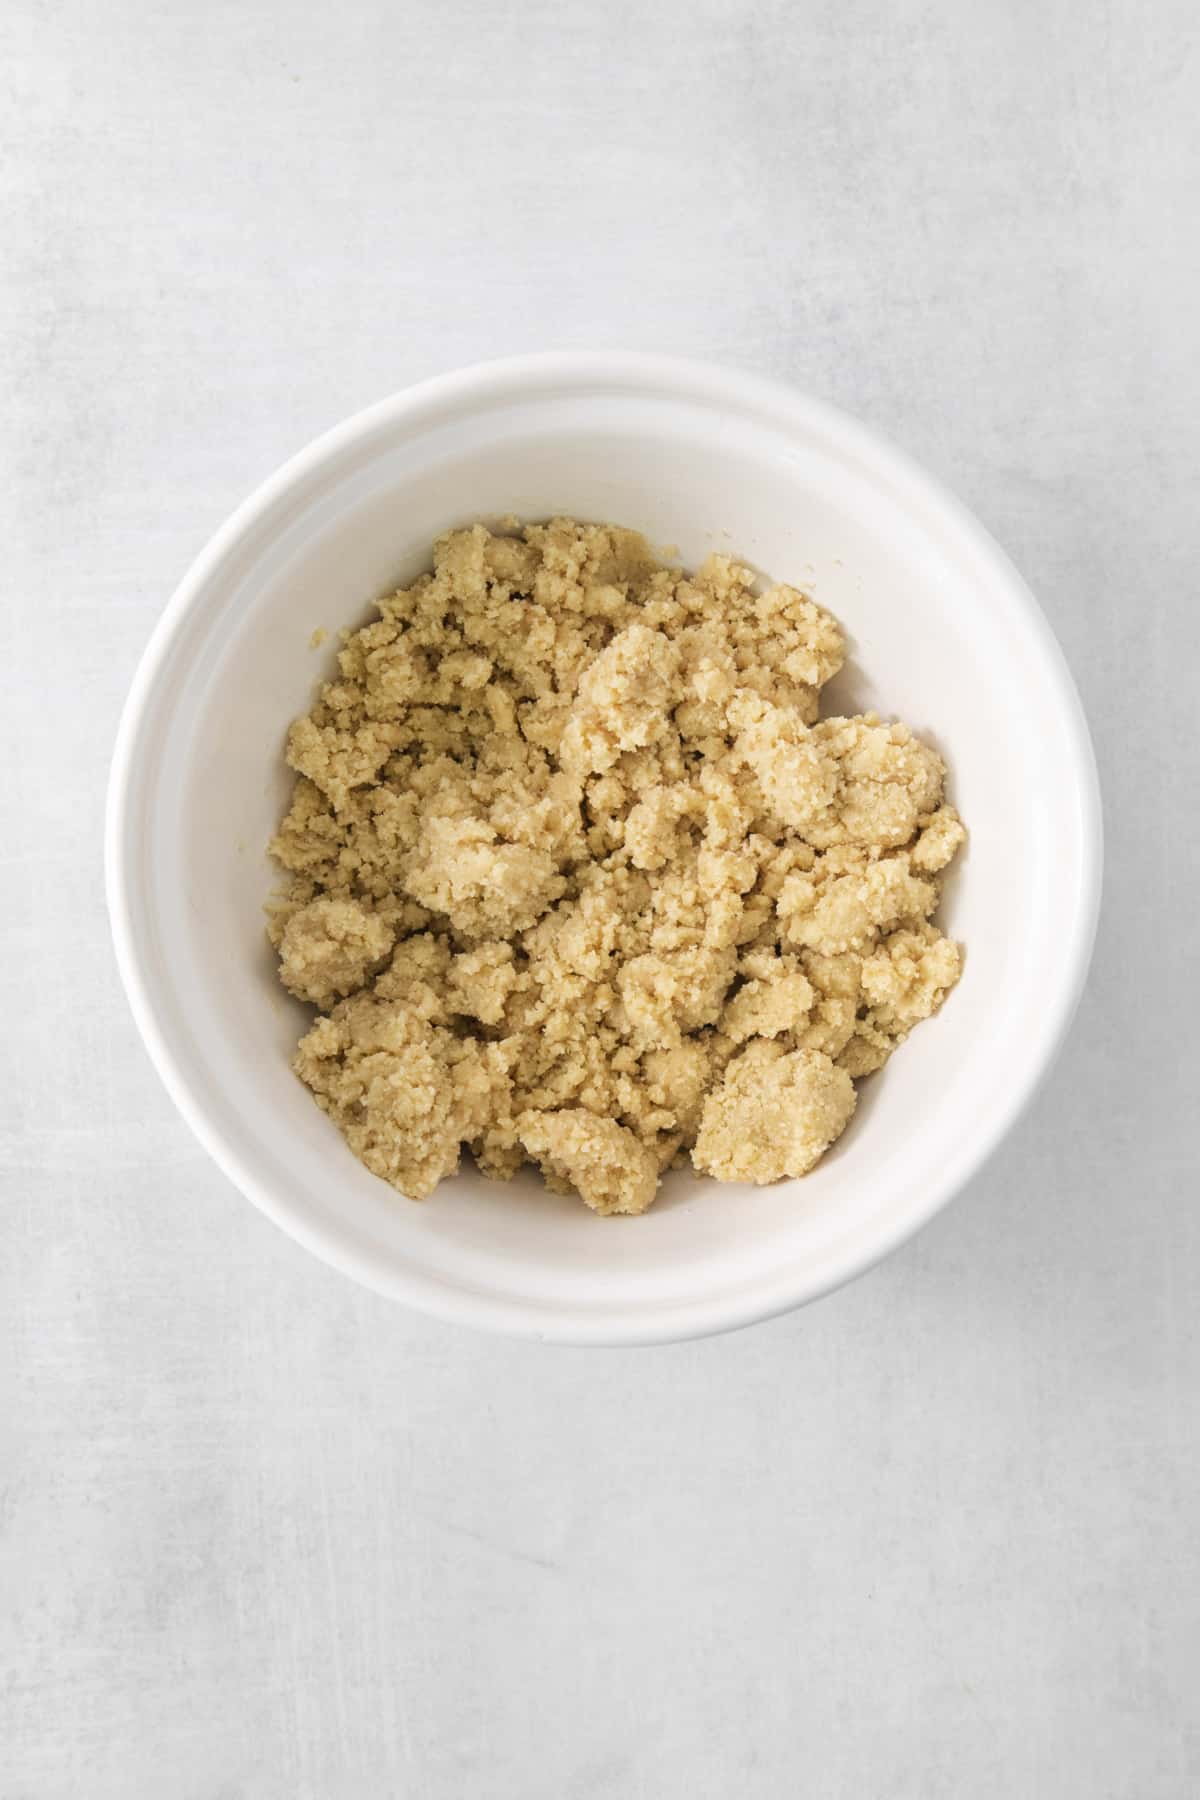
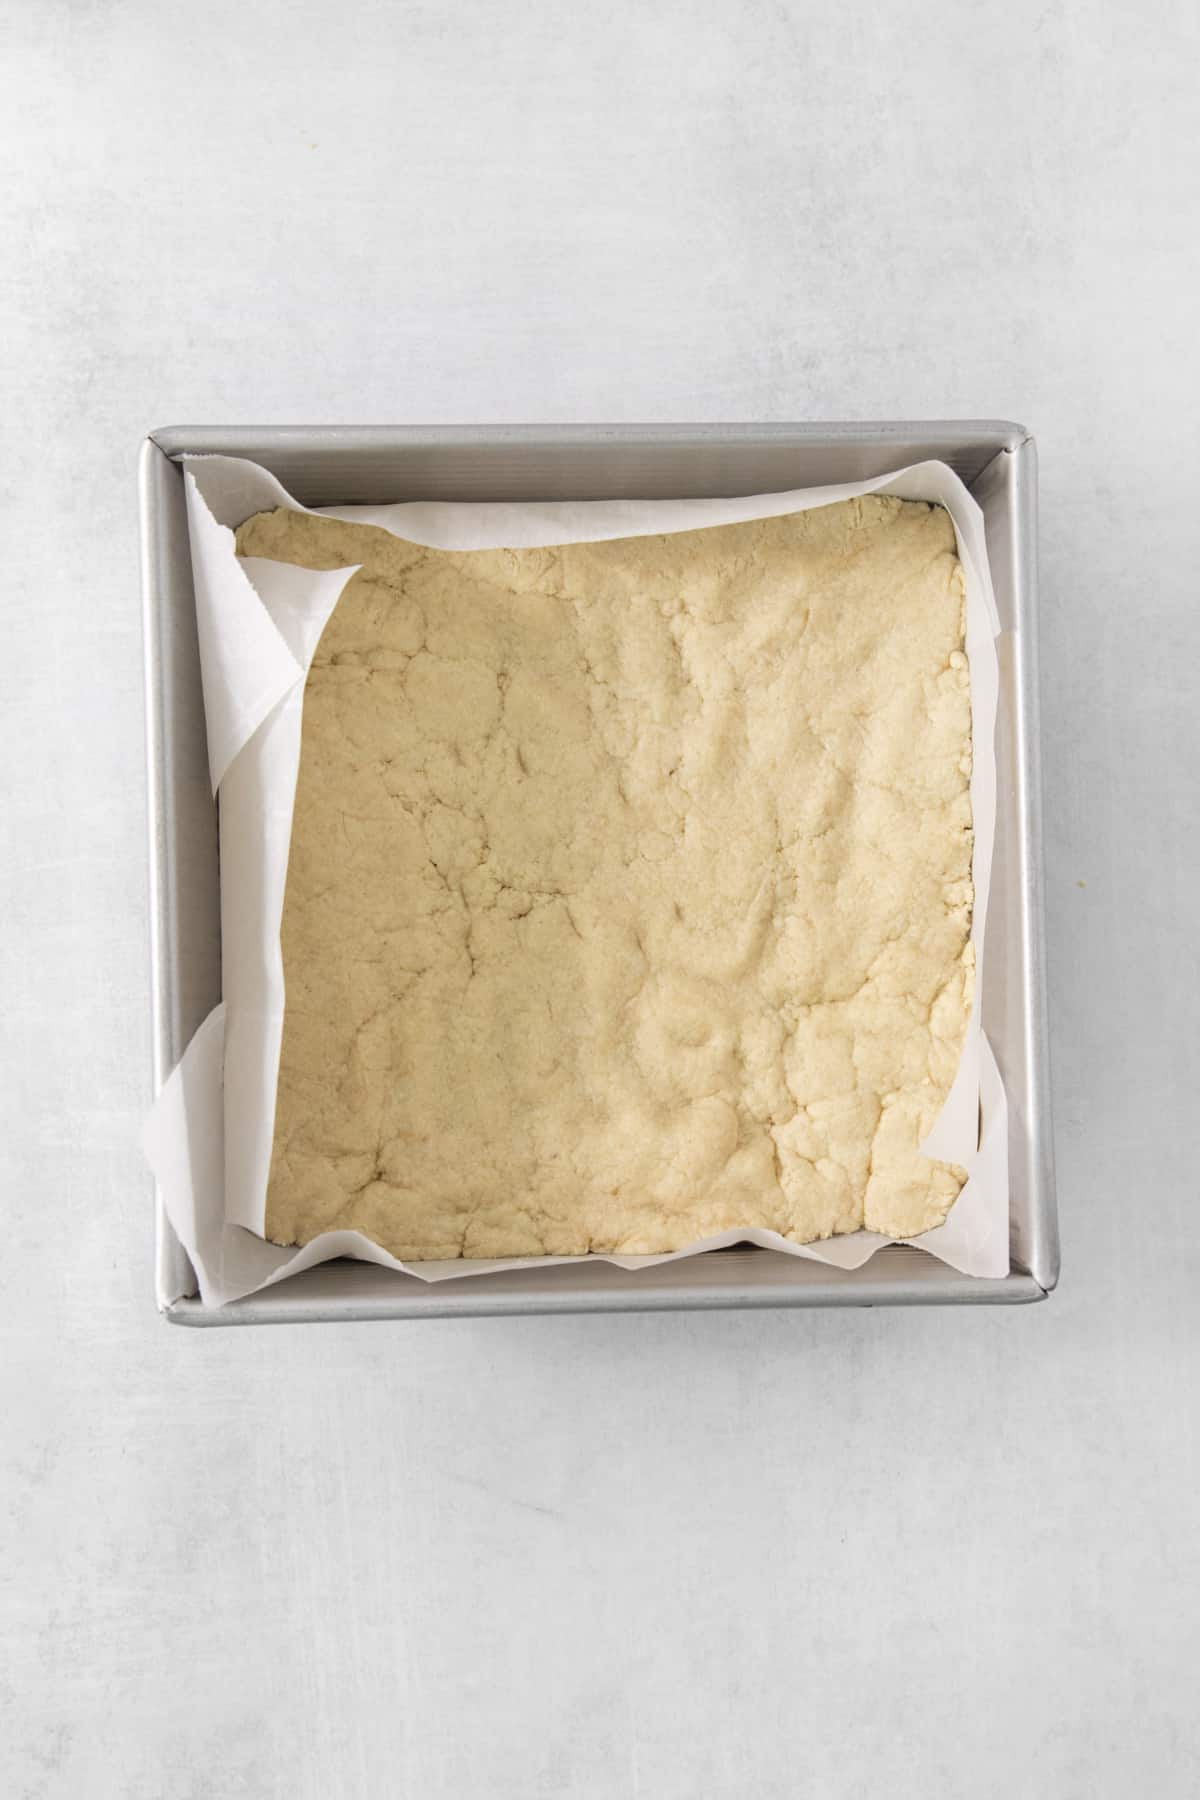
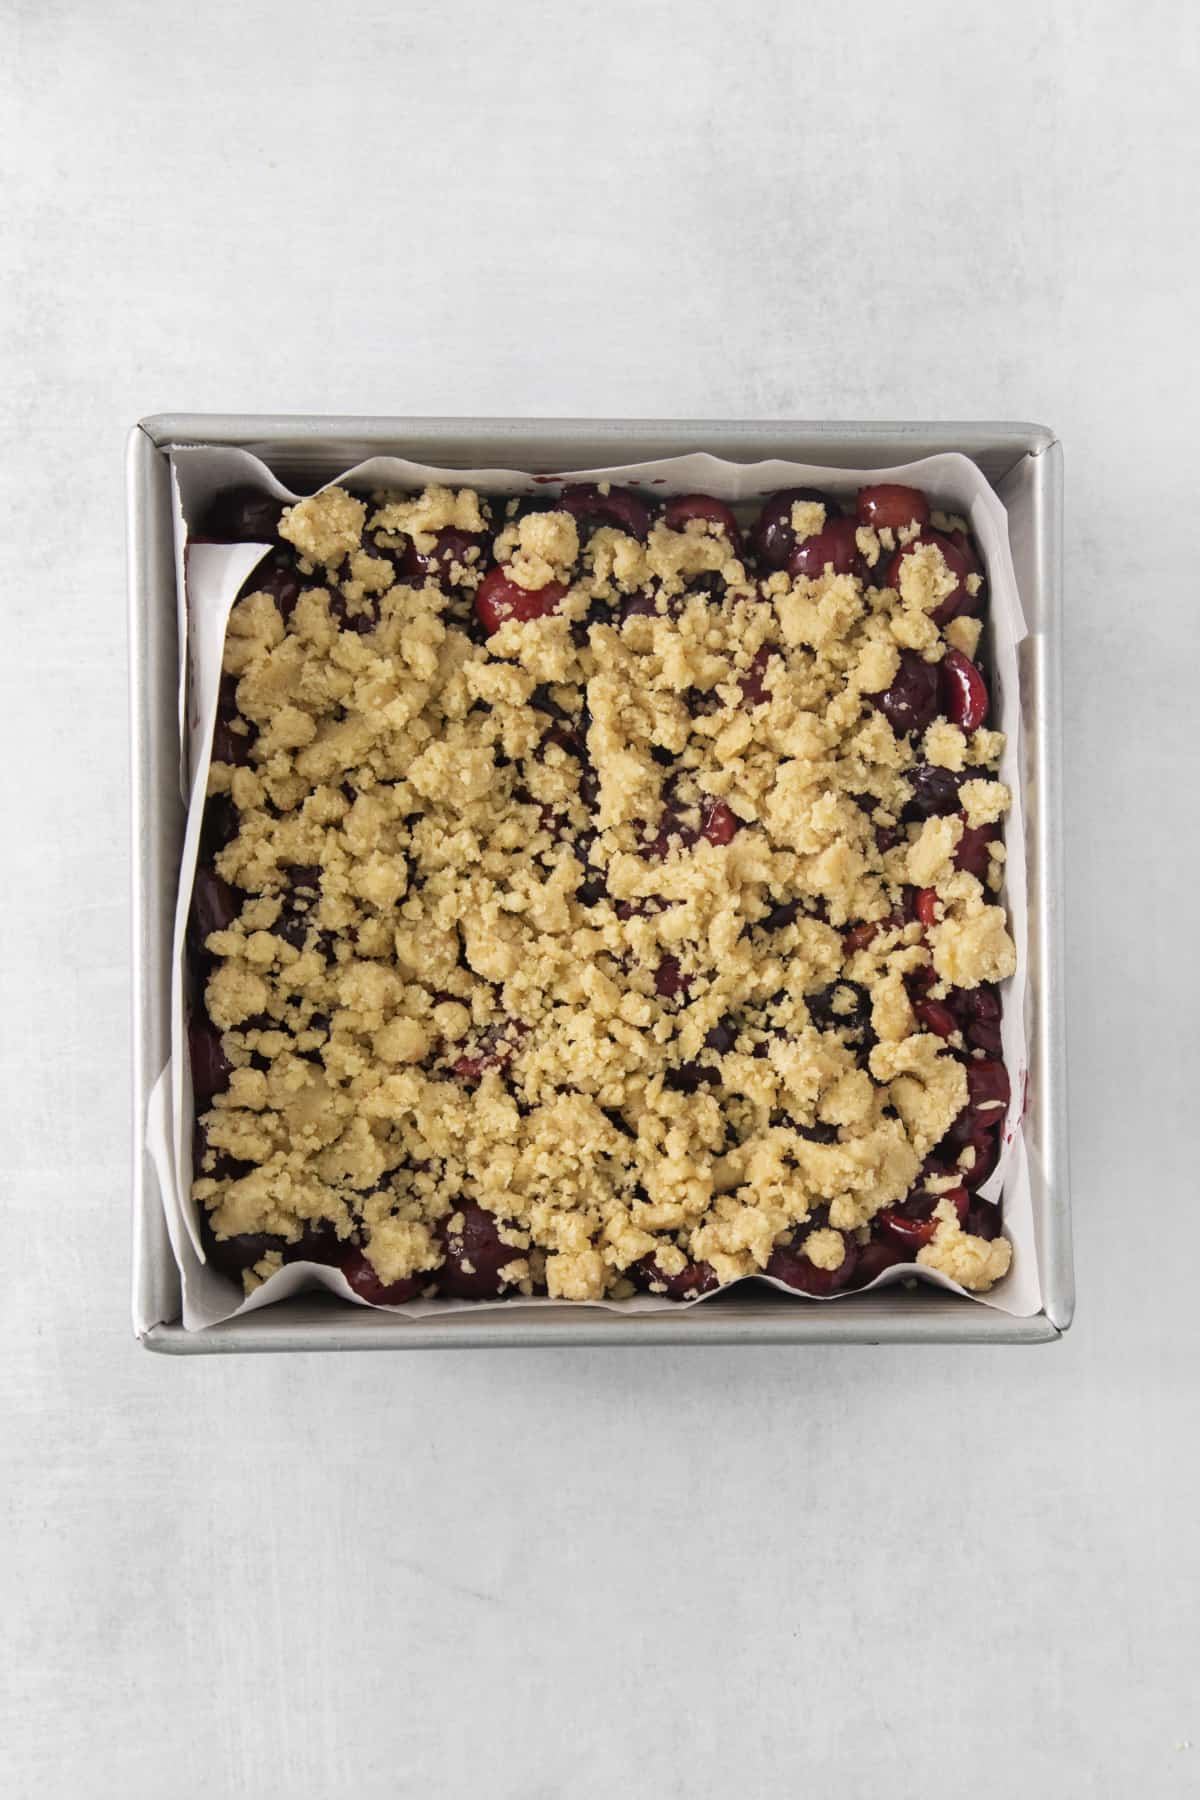
- Make the crust: In a bowl, mix together almond flour, tapioca flour, oil or butter, maple syrup, vanilla, and sea salt. Mix until combined, then press 2/3 of the mixture into the bottom of parchment-lined baking dish. Bake at 350ºF for 10 minutes.
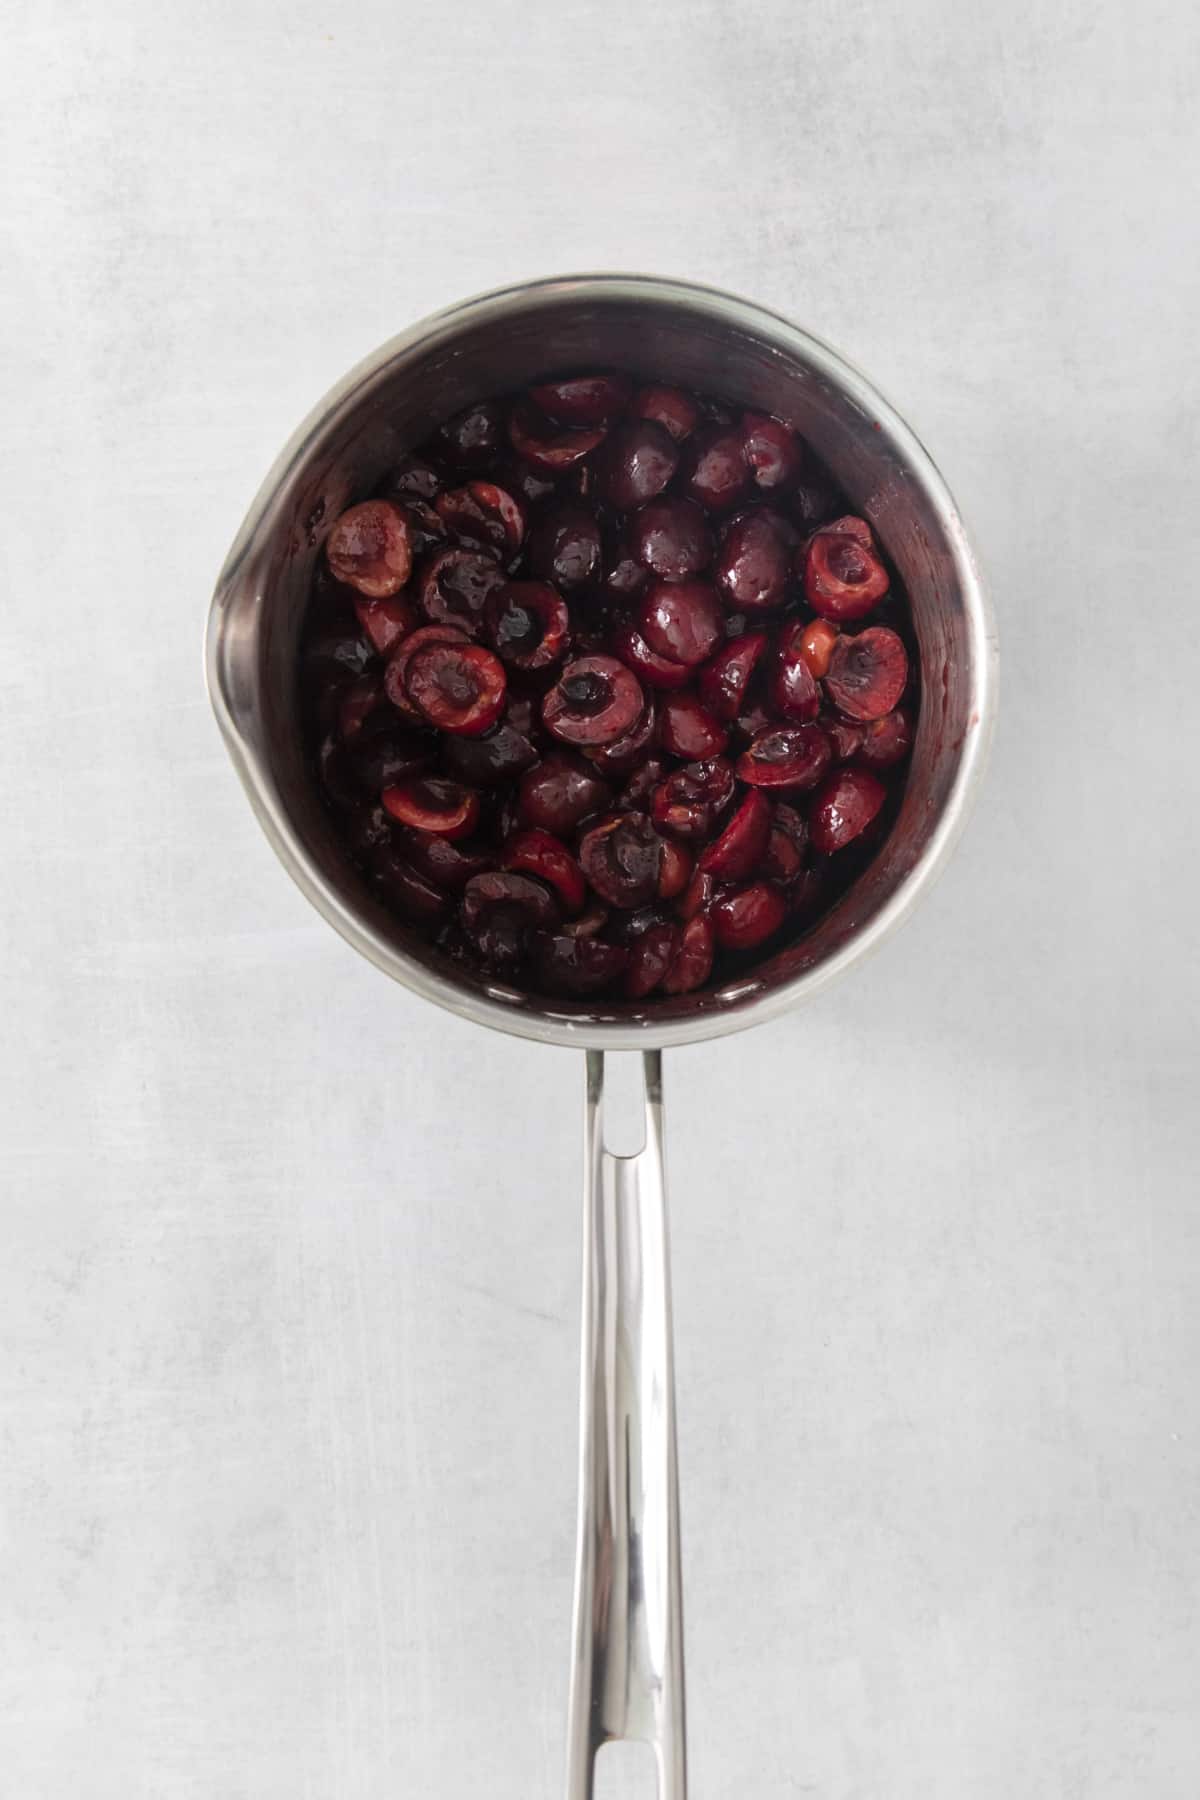
- Make the filling: In a saucepan, combine cherries, maple sugar, arrowroot, and vanilla. Mix, then cook over medium heat until thickened.
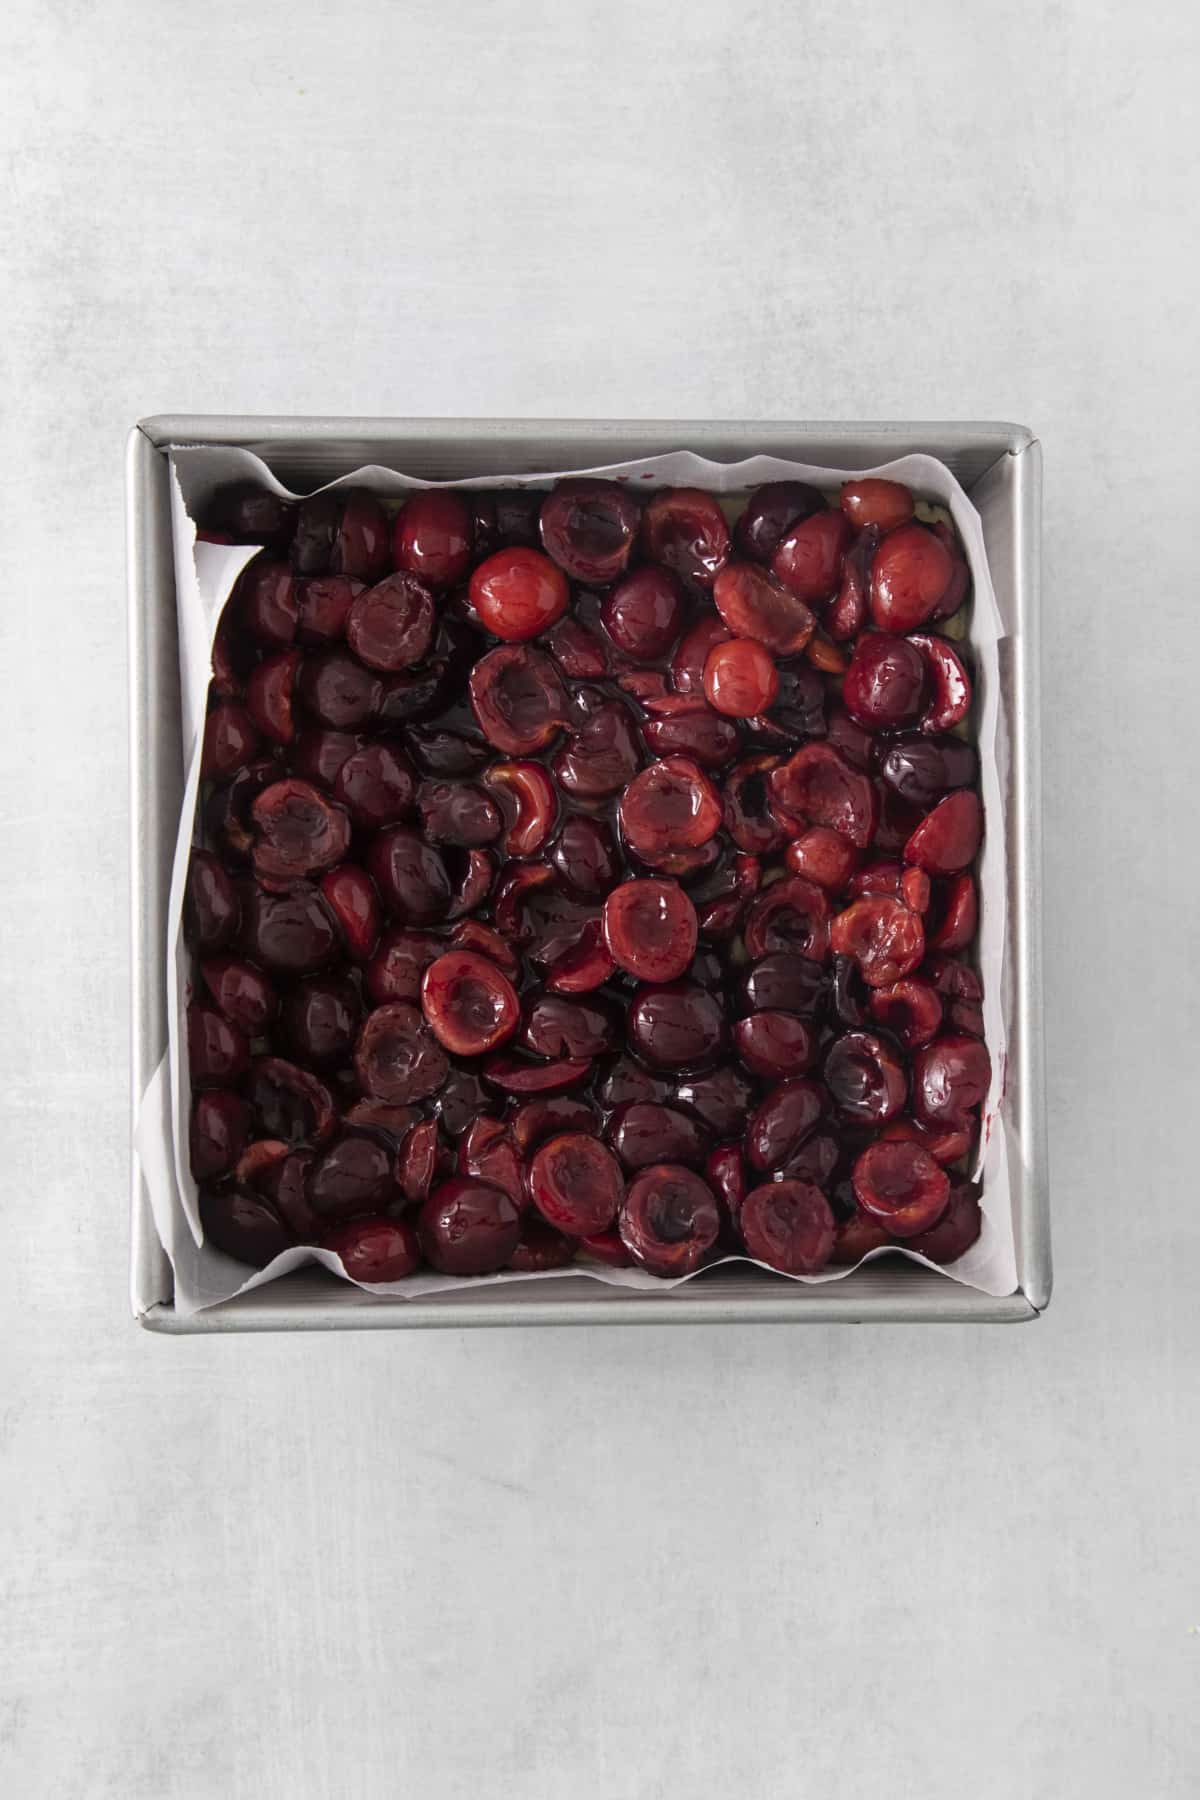
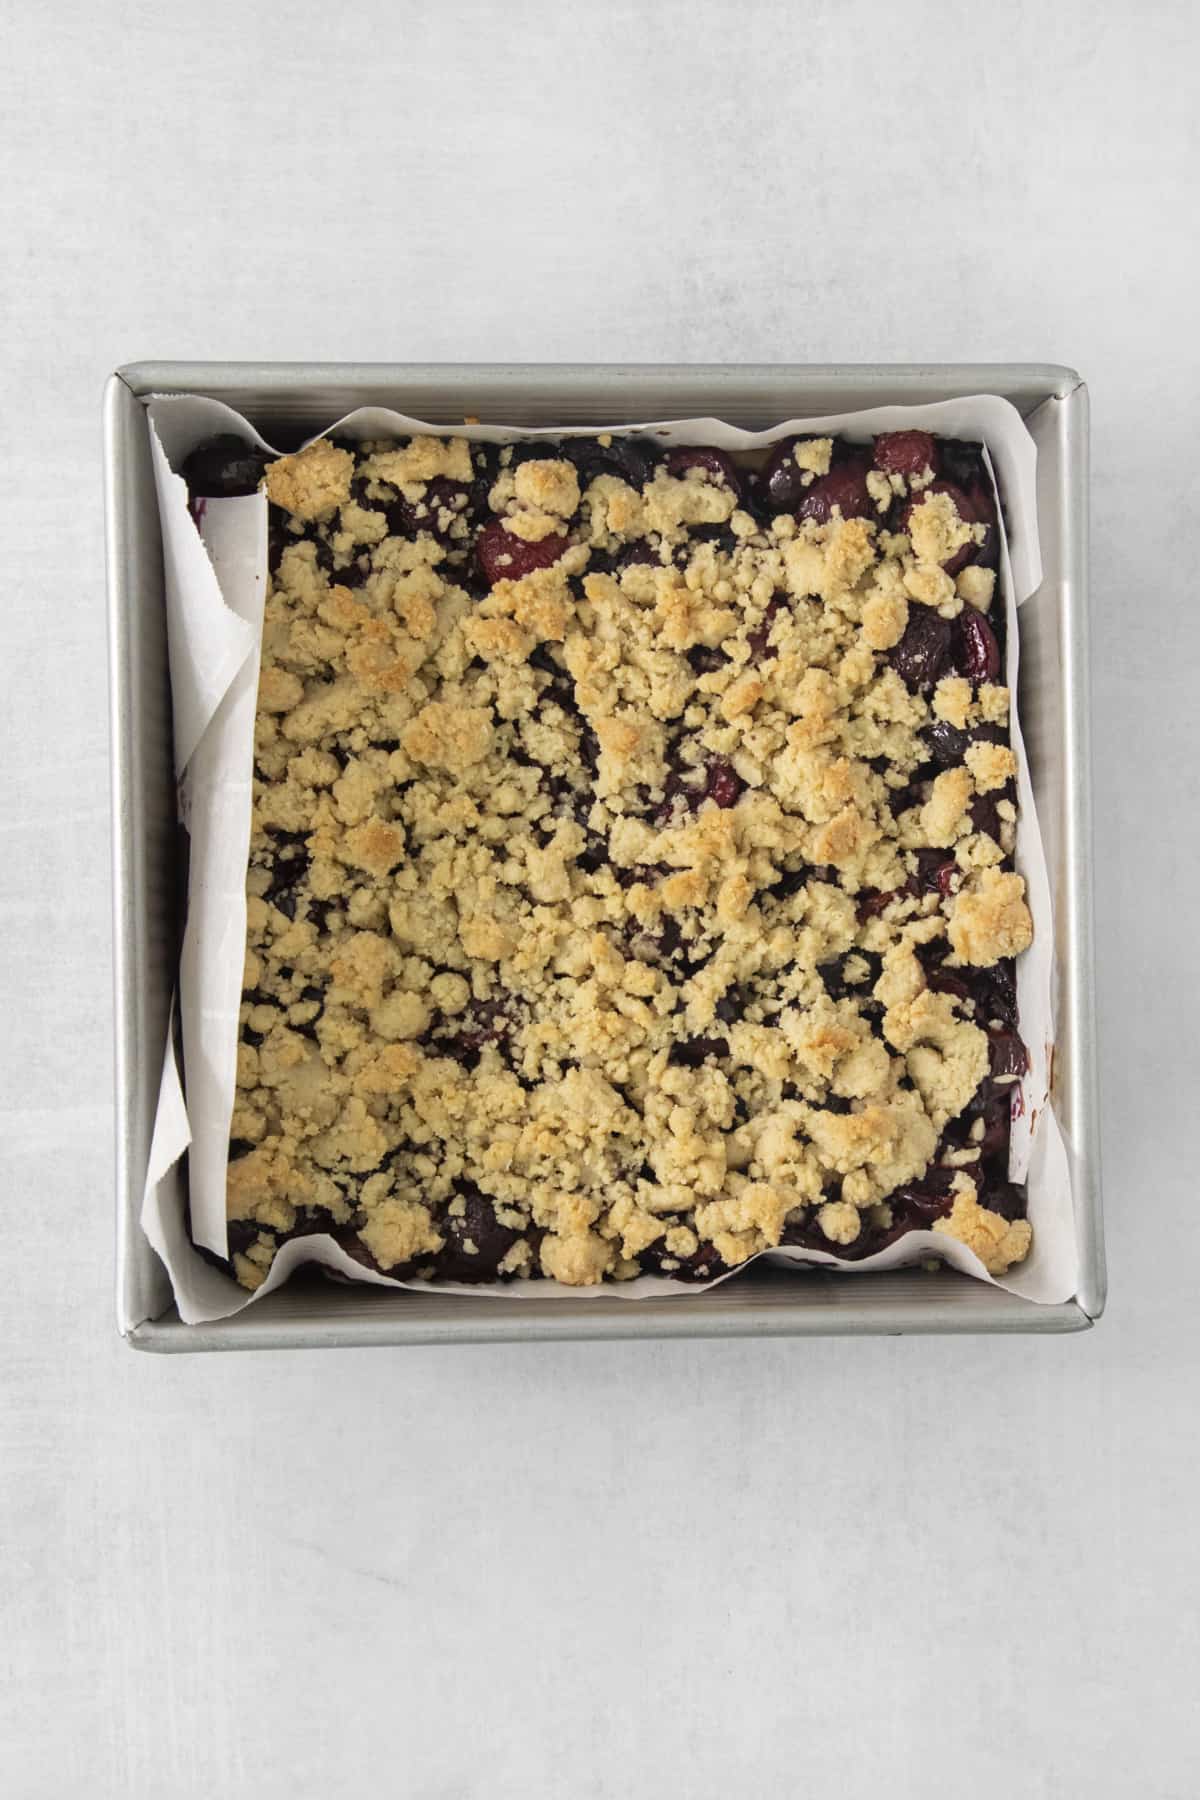
- Assemble and bake: Pour the cherry pie filling into the pre-baked crust, top with the rest of the crust mixture, then bake for 20 minutes.
Is Canned Cherry Pie Filling Gluten Free?
Most varieties are, yes. However, for this recipe I like to just whip up a four ingredient homemade cherry pie filling. That way, I know exactly what’s going into it!
If you do decide to use store-bought pie filling, make sure you check the label carefully and use ingredients you feel good about!
How to Spice Up Cherry Pie Filling?
I love a simple and classic cherry pie filling, but if you want to spice things up a little bit, then a great option is to add spices!
Try stirring in a sprinkle of cinnamon, cloves, nutmeg, or allspice for another layer of flavor and warmth.
Tips and Notes
- Use an 8×8 baking pan. This is the best size to use for the perfect thickness. A bigger pan will yield thinner bars.
- Line the pan with a parchment sling. A parchment sling makes it easy to lift the bars out of the pan. For instructions, check out my parchment sling tutorial.
- Measure the dry ingredients carefully. The best way to measure the flour for the crust is to weigh them. This gives the most accurate amount. If you don’t have a kitchen scale, spoon the flour into a measuring cup and level it off gently with your finger. This keeps it light and fluffy. If it gets packed in, you’ll end up with a dry, crumbly crust.
- Pre-bake the crust. Baking the crust for 10 minutes before adding the filling sets it up just enough. If you add the filling without pre-baking, the crust will be soggy.
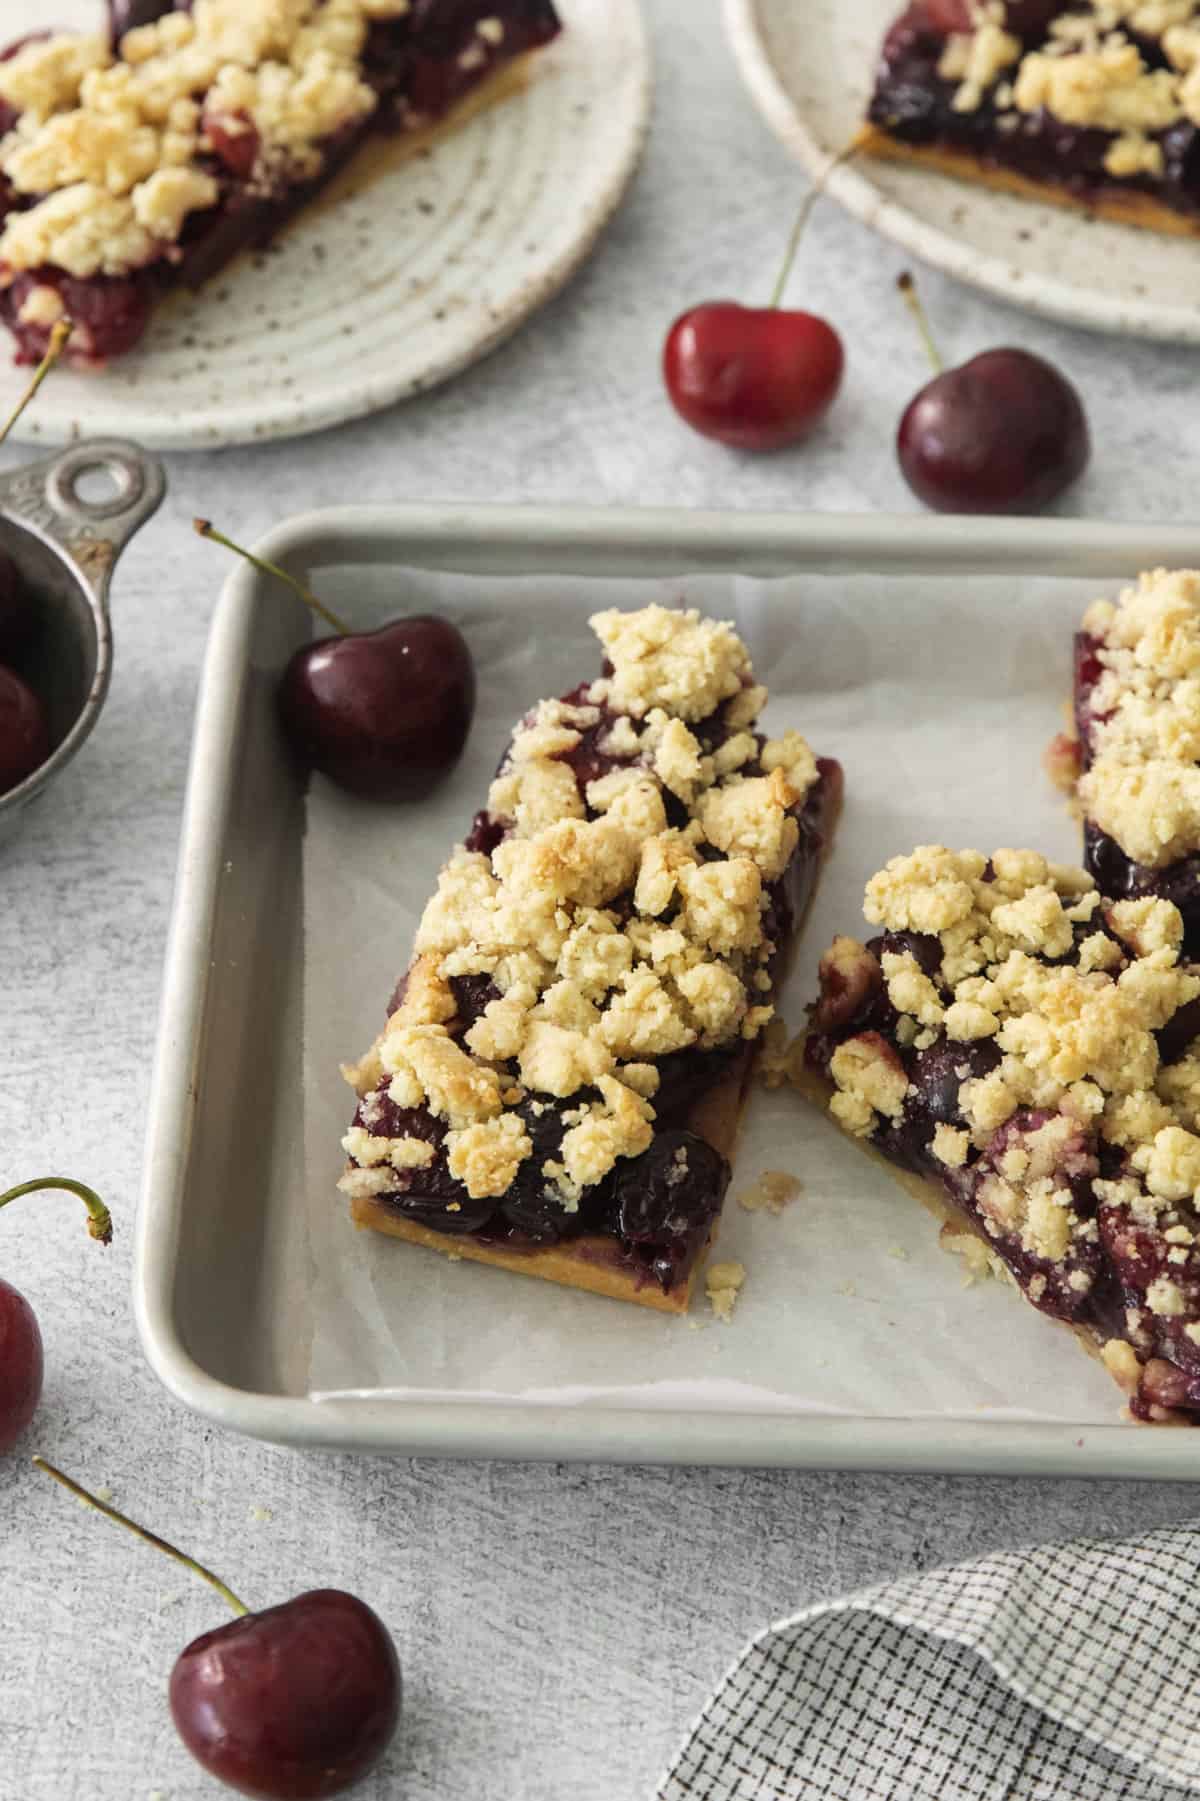
- Cool before cutting. The bars will thicken and set up as they cool.
Variations
- Use another fruit. This recipe works deliciously with any fruity pie filling you love. Try raspberries, blackberries, strawberries, peaches, you name it. You can also use the pie filling recipes from my homemade blueberry pie or my apple pie bars.
- Add icing. Want some extra sweetness? Make a simple icing or glaze and drizzle it over the top of the cooled cherry pie bars.
How to Store
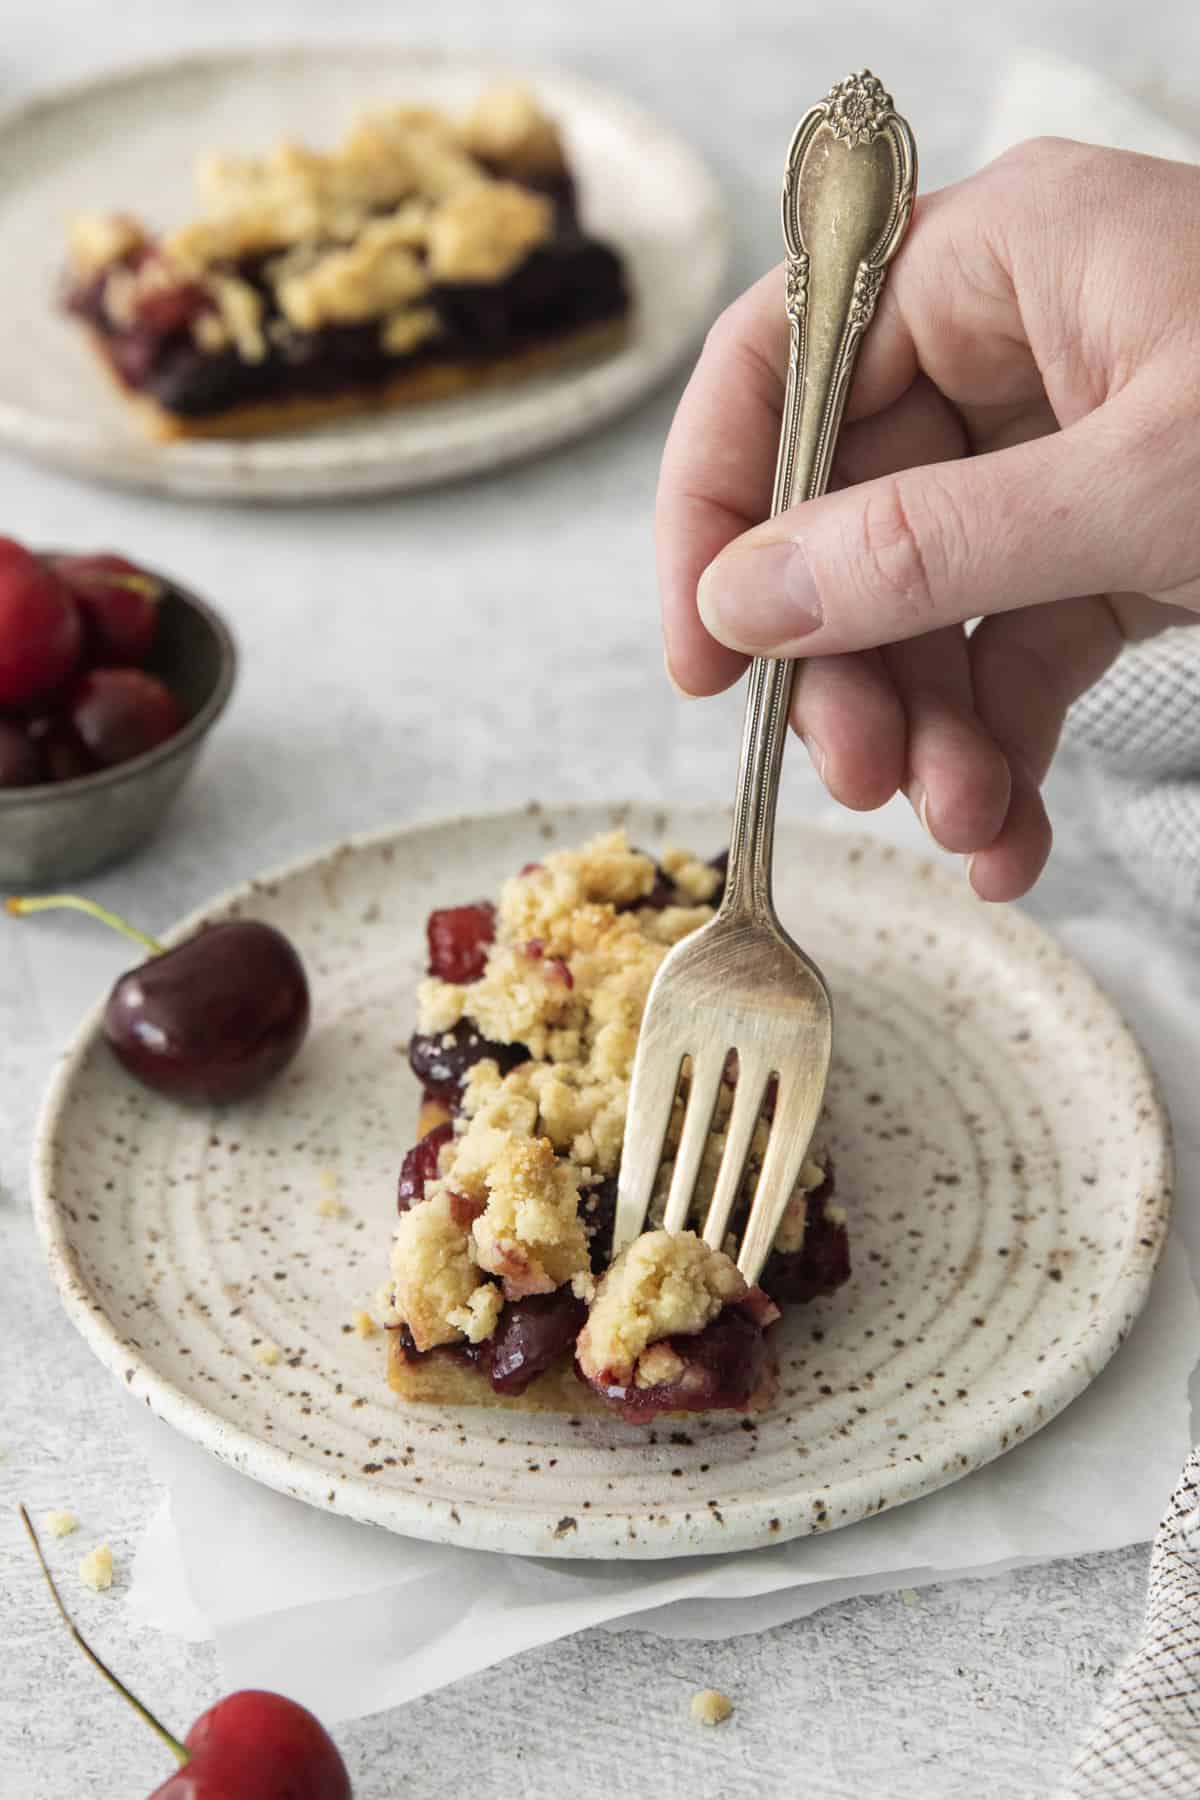
Once these cherry pie bars are cooled, they can be wrapped tightly and stored in the fridge for 3-4 days or in the freezer for up to a month.
When you’re ready to enjoy them again, simply thaw them at room temperature, then dig in!
Tools You’ll Need
- Large bowl
- 8″ x 8″ baking dish
- Parchment paper
- Spatula
- Pot
- Measuring cups
More Summer Desserts
Watch The Video:
Gluten-Free Cherry Pie Bars
Ingredients
For crumble crust and topping:
- 3 cups 288g almond flour
- 2 tablespoons 15g tapioca flour
- ⅓ cup coconut oil or butter melted
- 1/3 cup pure maple syrup see note
- 1 teaspoon vanilla
- 1 teaspoon sea salt
For Cherry Filling:
- 4 cups pitted cherries halved (see note)
- 1/3 cup maple sugar
- 1 tablespoon arrowroot
- 1 teaspoon vanilla
Instructions
- Preheat oven to 350ºF and line an 8×8 baking dish with a parchment paper sling.
- In a large bowl add almond flour, tapioca, coconut oil (or butter), maple syrup, vanilla and sea salt and mix well until it turns into large crumbles. Place ⅔ of the mixture into the bottom of the prepared pan and press down evenly.
- Bake in the preheated oven for 10 minutes. Set aside.
- Meanwhile make cherry filling: in a medium saucepan add cherries, maple sugar, arrowroot and vanilla and mix well. Cook on medium heat, stirring often, until filling becomes thick, about 5 minutes.
- Pour cherry mixture into parbaked crust and sprinkle the remaining crumble mixture on top and bake for 20 minutes.
- Let cool completely before cutting.
- Store in refrigerator.
Notes
- Do not substitute the maple syrup in the crust/topping with another sweetener, it will alter the recipe.
- You can substitute the maple sugar in the cherry mixture for coconut sugar if you wish.
- You can use frozen cherries here if you don’t have fresh.


Made this last night with the last of last season’s frozen cherries. The dough was like eating chocolate chip cookie dough, so good! I had to swap out a few ingredients I didn’t have, cornstarch for the arrowroot powder and raw cane sugar for the maple sugar, but it still turned out great (and I usually don’t like cooked fruit desserts!). Will have to Instagram this one for sure!
I don’t have tapioca flour on hand and it is hard to justify buying some when only 2 tablespoons is needed. Any substitutes for that?
Do you have arrowroot?
Super yummy!
For whatever reason, the “crumble” didn’t really cook for me. I used 1:1 GF flour and coconut sugar as my only subs. Not sure what I did wrong. 🙁
Hi Rachel–what went wrong is the use of 1:1 gf flour and coconut sugar. The recipe says in the notes not to change the maple syrup as the recipe won’t work. And 1:1 gluten free flour is a substitute for wheat flour–not for almond flour since almond flour is way different. Making major subsitutes like that usually will alter a recipe.
Tried this recipe and it was great. My husband loved it and he is very picky about trying things that are not loaded with sugar. He loved it so much I am going to make cookies with the crust. Very tasty, thank you for your help in making good recipes.
I am so happy!!
Can you make this with blueberries instead of cherries. If yes, can they be fresh instead of frozen
That should work!
These turned out wonderful, so so good. I also used frozen blueberries with lemon rind. They turned out great. I did use 1/4 raw sugar instead of maple syrup; they still turned out really good!!! Thank you