This post may contain affiliate links. Please read my disclosure policy.
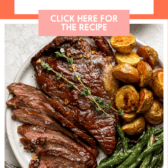
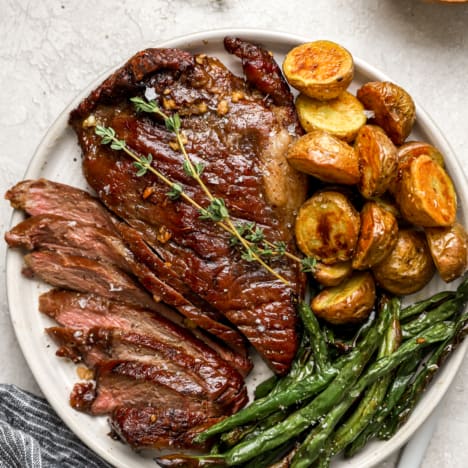
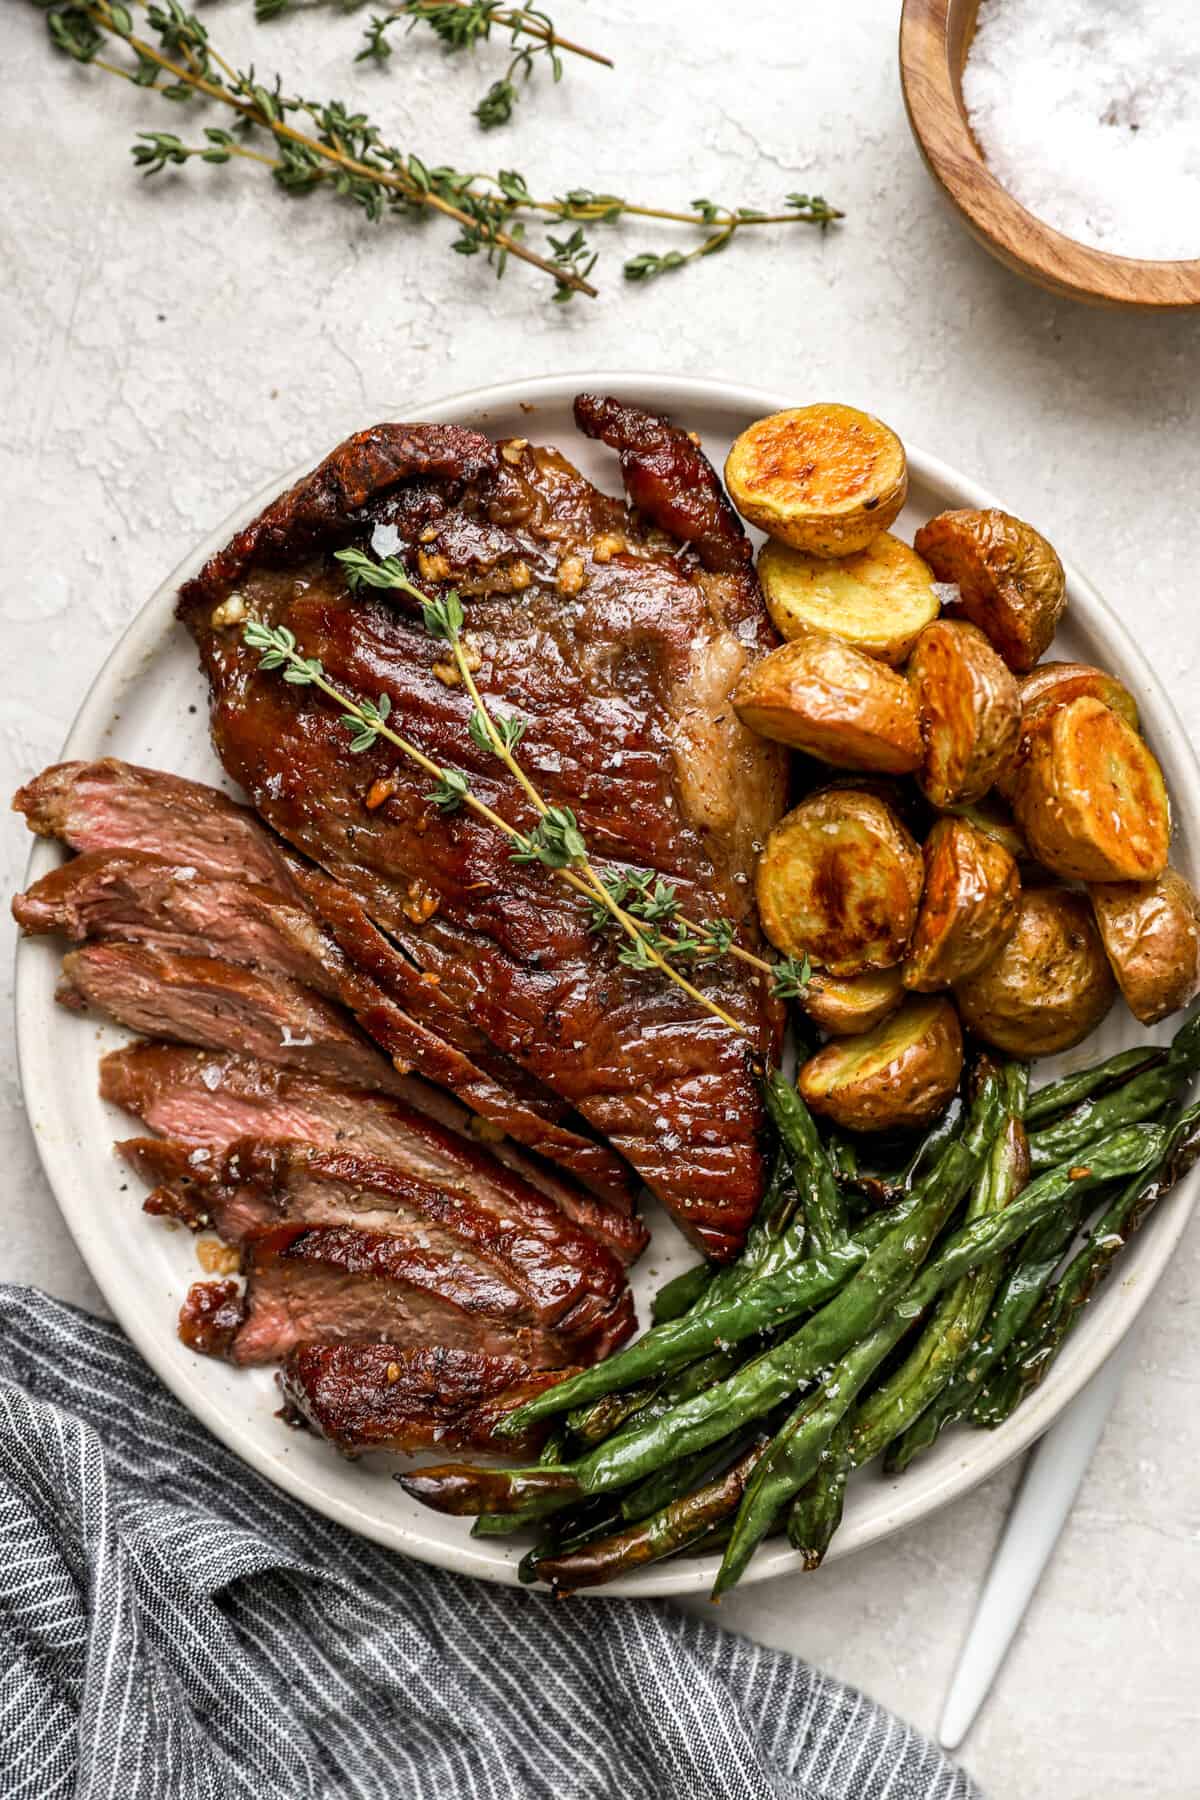
How to Reverse Sear a Steak the fool-proof guide you need for the perfect steak! This recipe yields a steak that is juicy and fall-apart tender in the middle with a deliciously crispy exterior.
Easy Reverse Seared Steak
Have you ever tried reverse searing your steak? This step-by-step guide for how to reverse sear steak is soon to be your go-to method!
Now, reverse searing takes traditional cooking—searing first, then cooking through—and flips it on its head. Reverse searing steak starts with the steak being cooked low and slow in the oven. Once it’s almost cooked to your ideal temperature, then it’s quickly seared at high heat in a pan until the perfect crust forms.
This method actually allows the steak to cook more evenly and results in a juicier center with better browning on the edges!
Does Reverse Searing Make Steak More Tender?
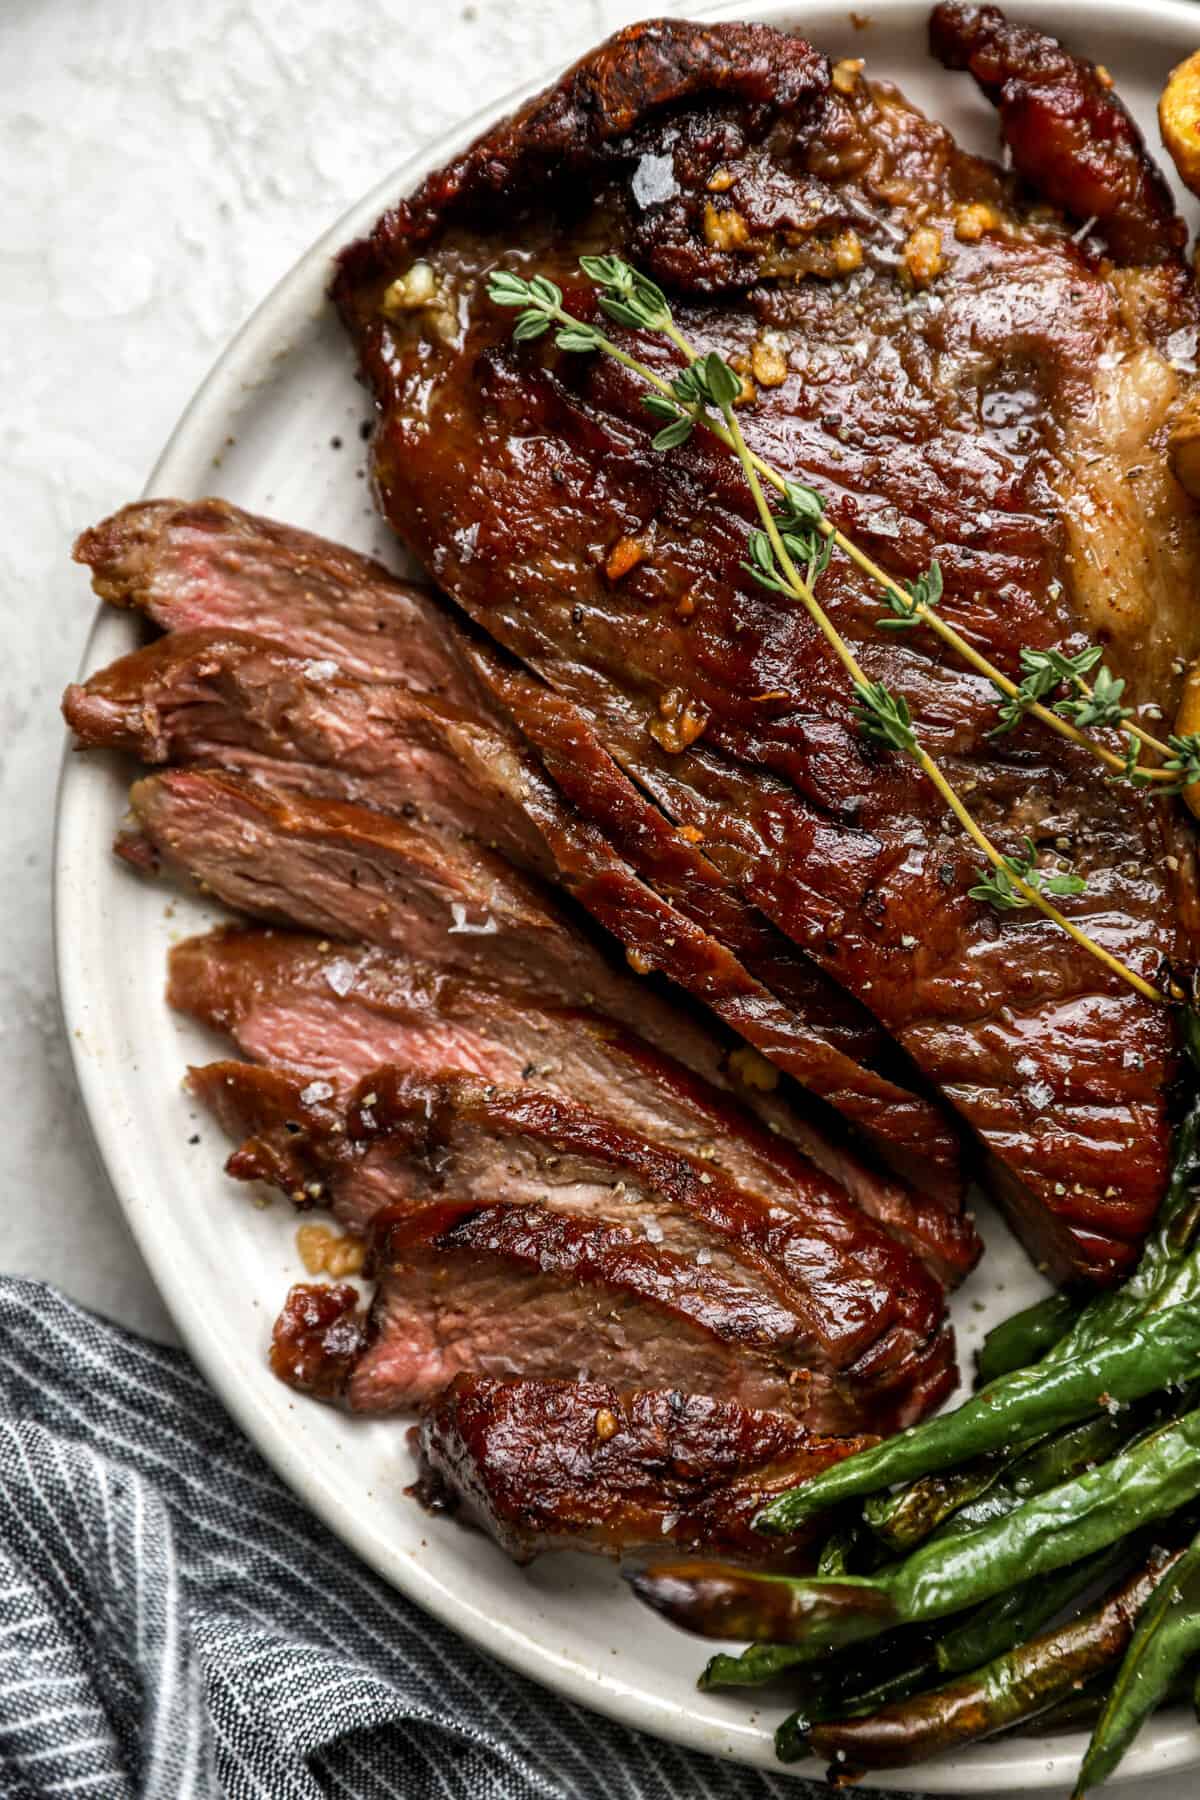
Yes! The initial, lower temp in the oven keeps the steak nice and tender in the middle, then the quick sear over high heat achieves the crispy crust without drying it out.
The steak really does taste like you got it at your favorite fancy steakhouse!
Ingredients Needed
- Steak: I like to use ribeye steak for this recipe, but it would also work great with Porterhouse, New York strip, filet mignon, etc. Use your favorite cut!
- Salt and Pepper: A simple combination of salt and pepper adds a lot of flavor to the meat with little effort.
- Oil: I prefer avocado oil for searing.
- Optional Aromatics: To give your steak a little bit of extra flavor, you can baste it after searing with a mixture of unsalted, melted butter, garlic, thyme, and/or rosemary.
Reverse Steak Tip:
Thicker steaks work best here! I recommend steaks that are 2 inches thick. Thinner steaks (under 1.5 inches) tend to cook through too quickly, and you don’t get the same juicy texture.
How Do You Reverse Sear a Steak?
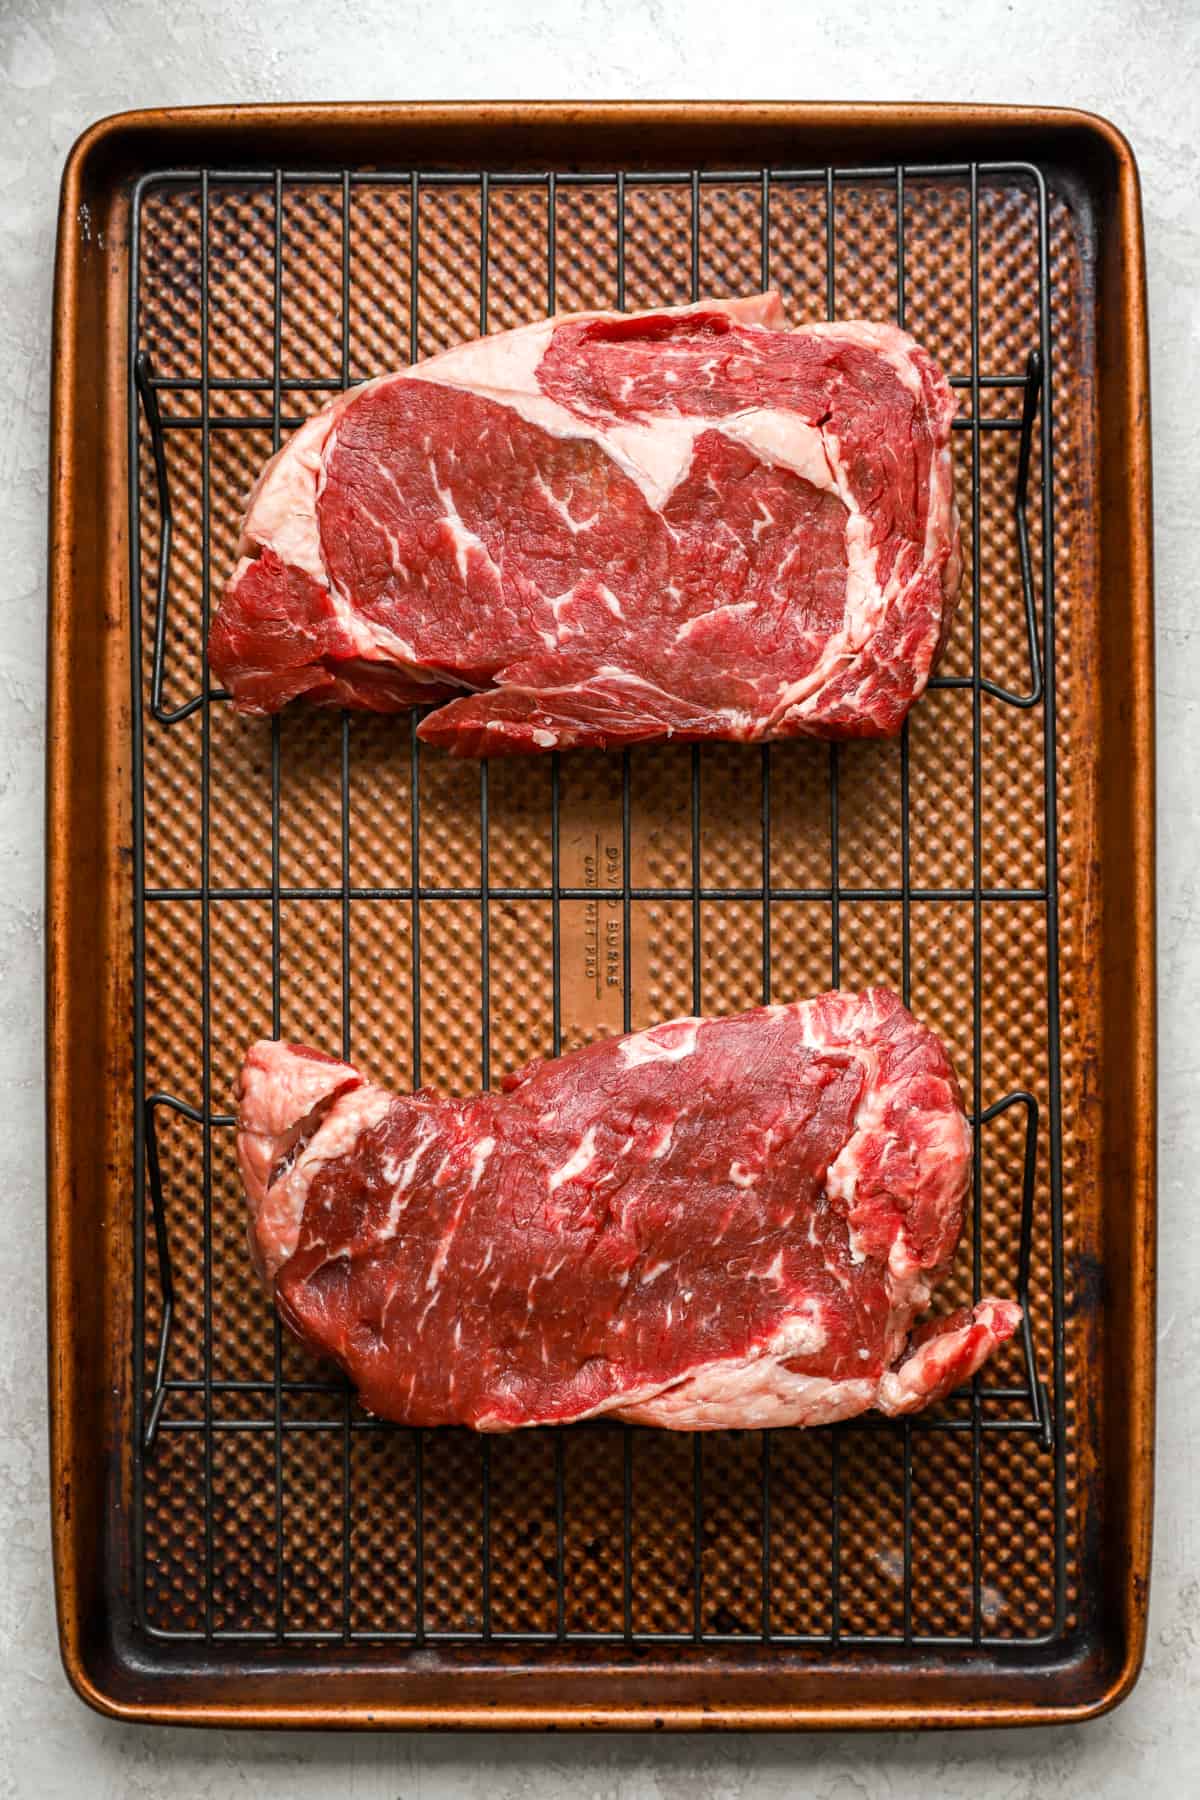
- Dry brine: Pat each steak dry with paper towels, then sprinkle generously with salt. Let the steak sit with the salt for 30 minutes to an hour prior to cooking to tenderize and add flavor.
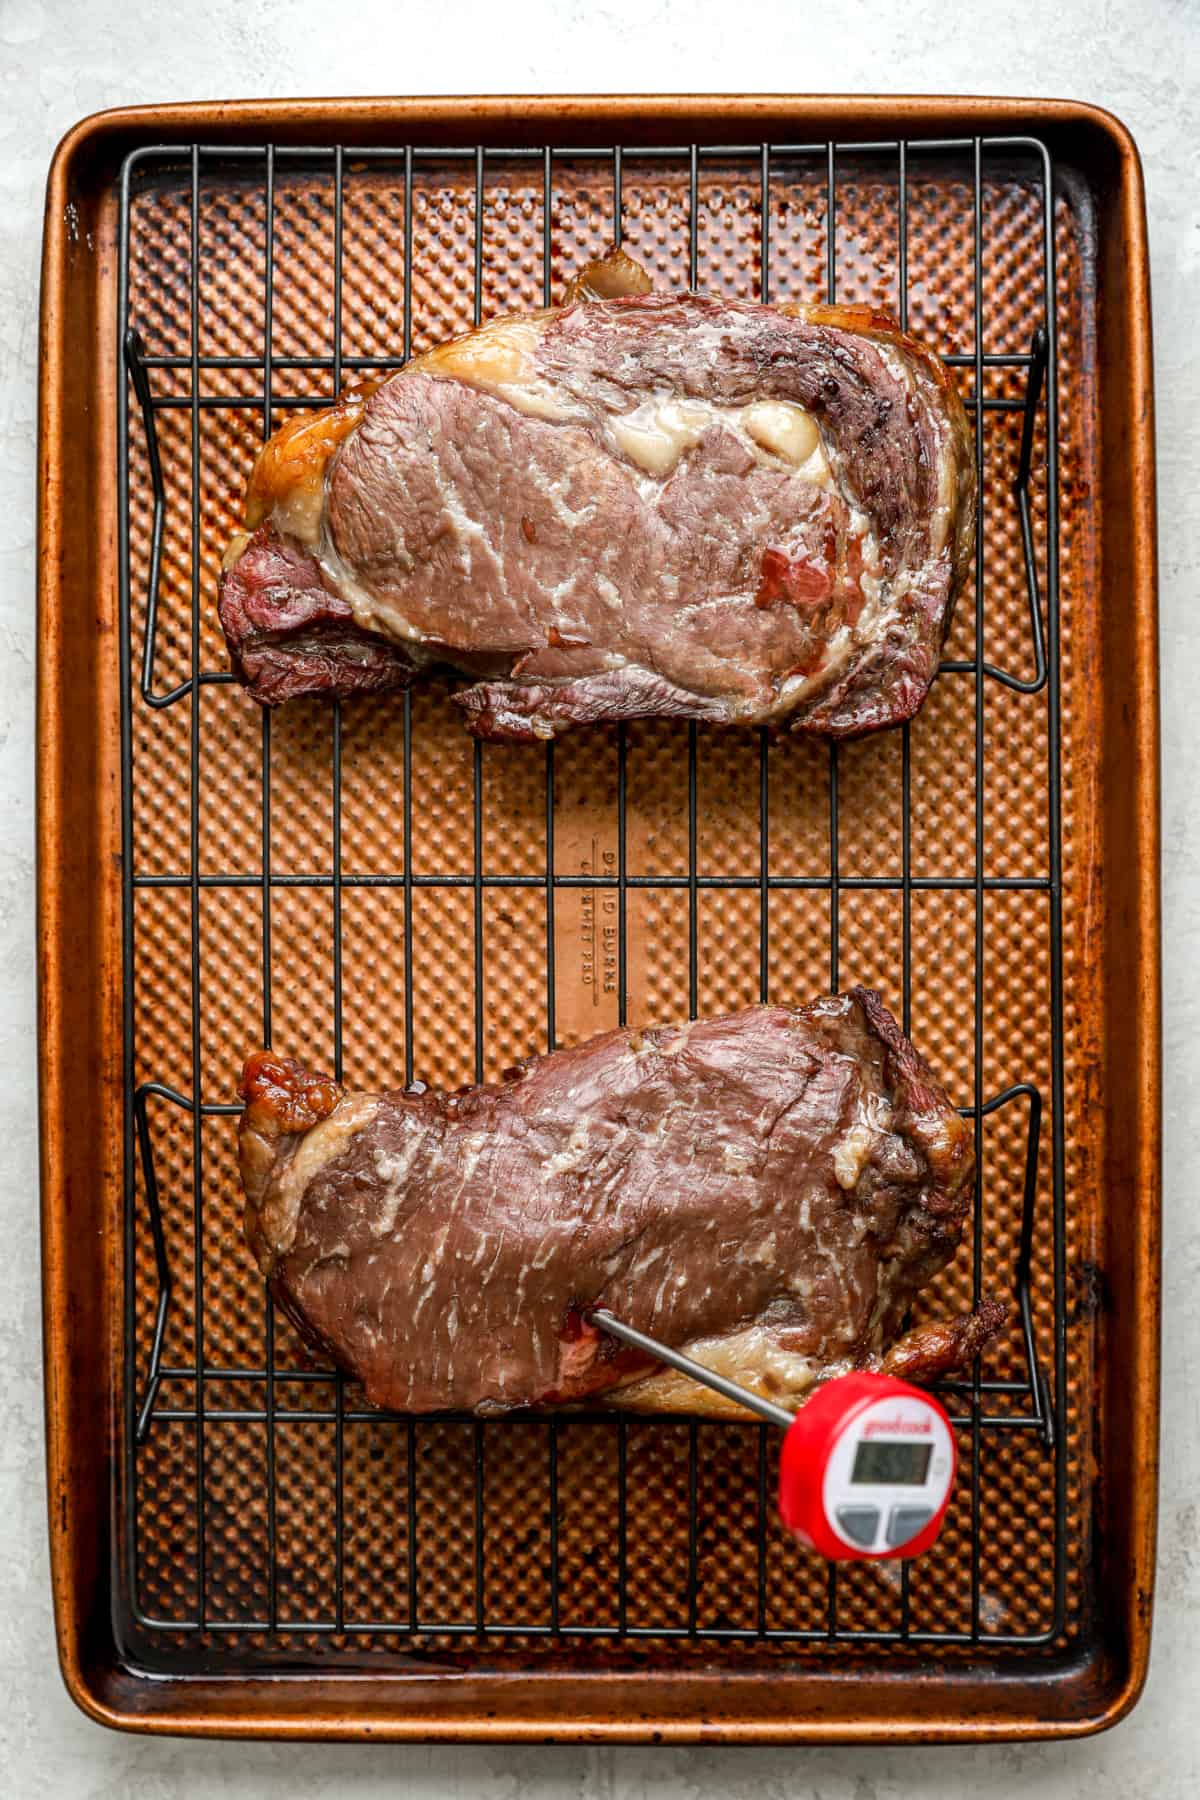
- Bake: Place the steaks onto a wire rack, set the wire rack onto a baking sheet, then cook at 275ºF for 15-30 minutes, or until the internal temperature of the steak is 105-125ºF, add a meat thermometer (like this one or this one) into the steak to monitor.
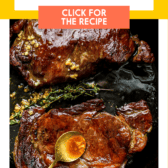
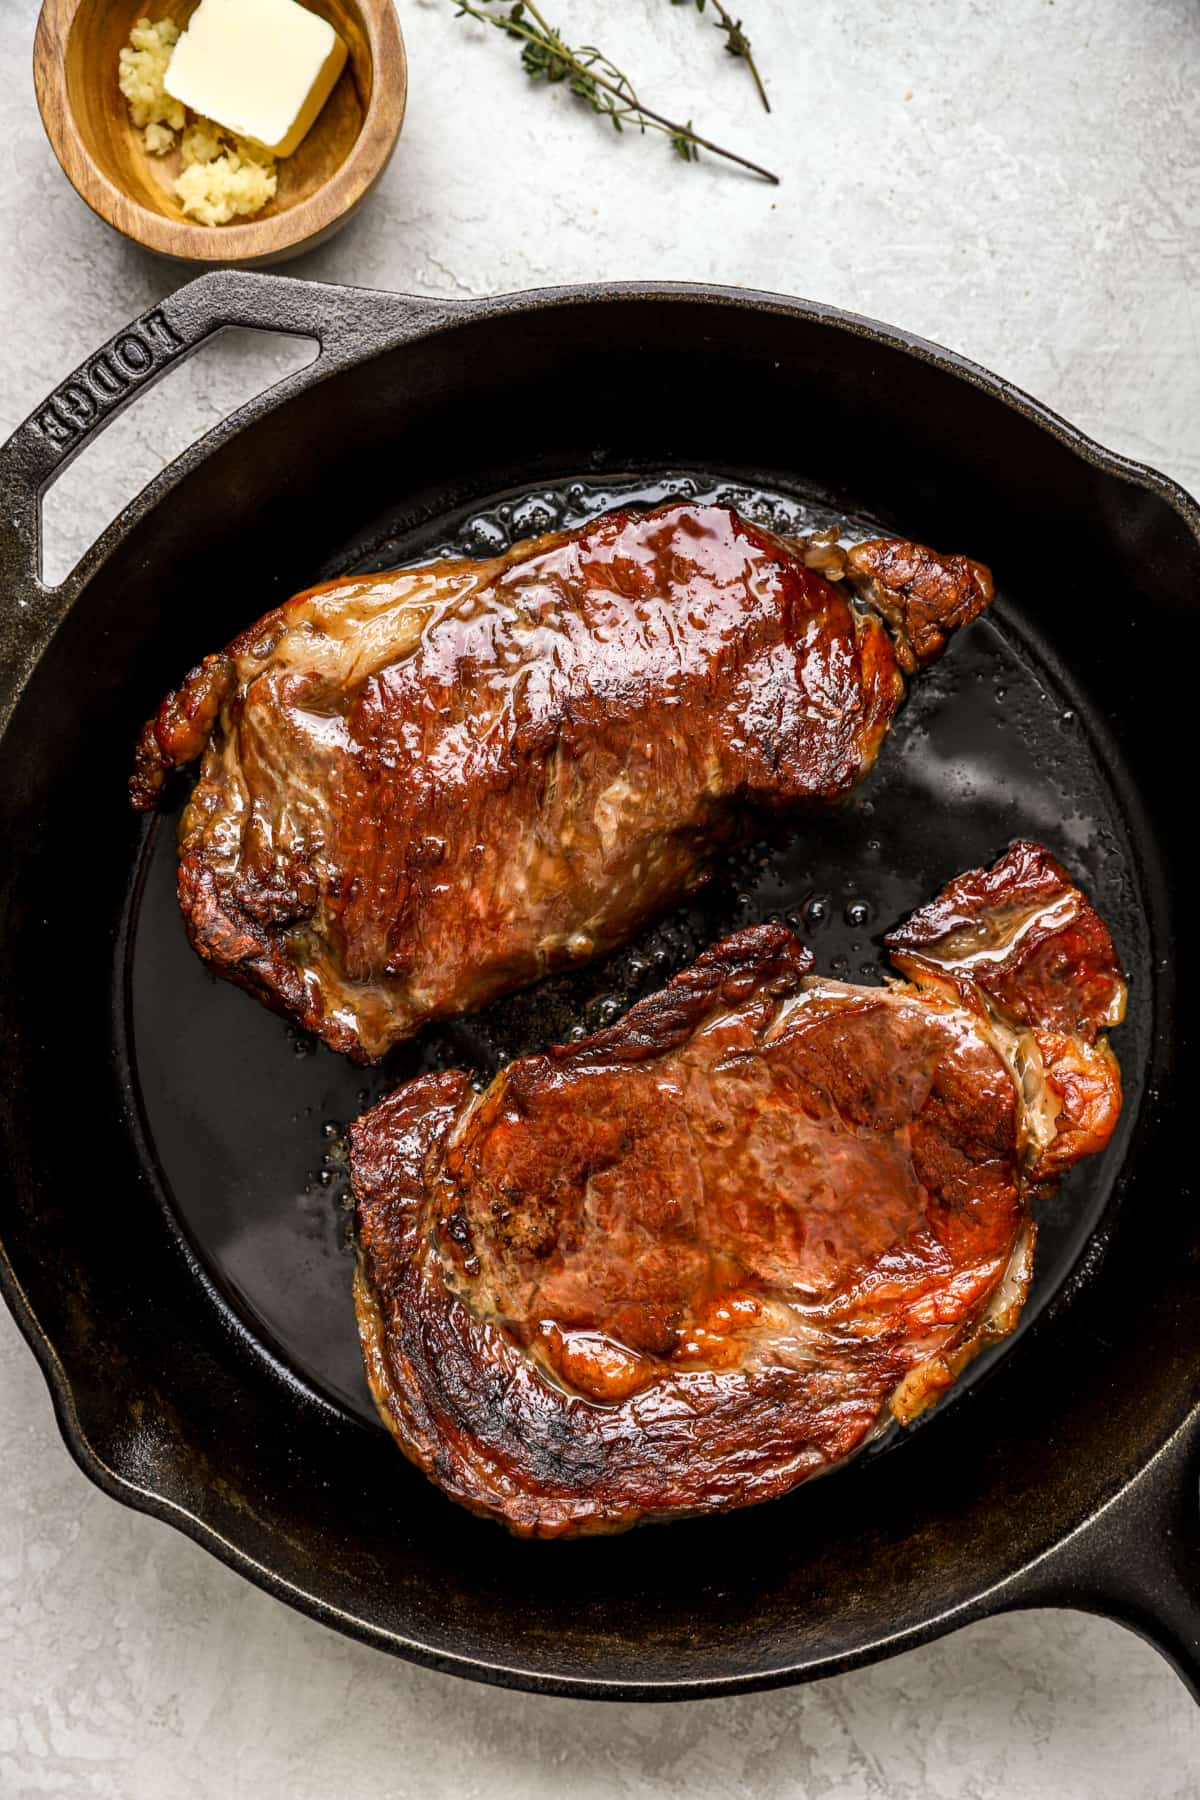
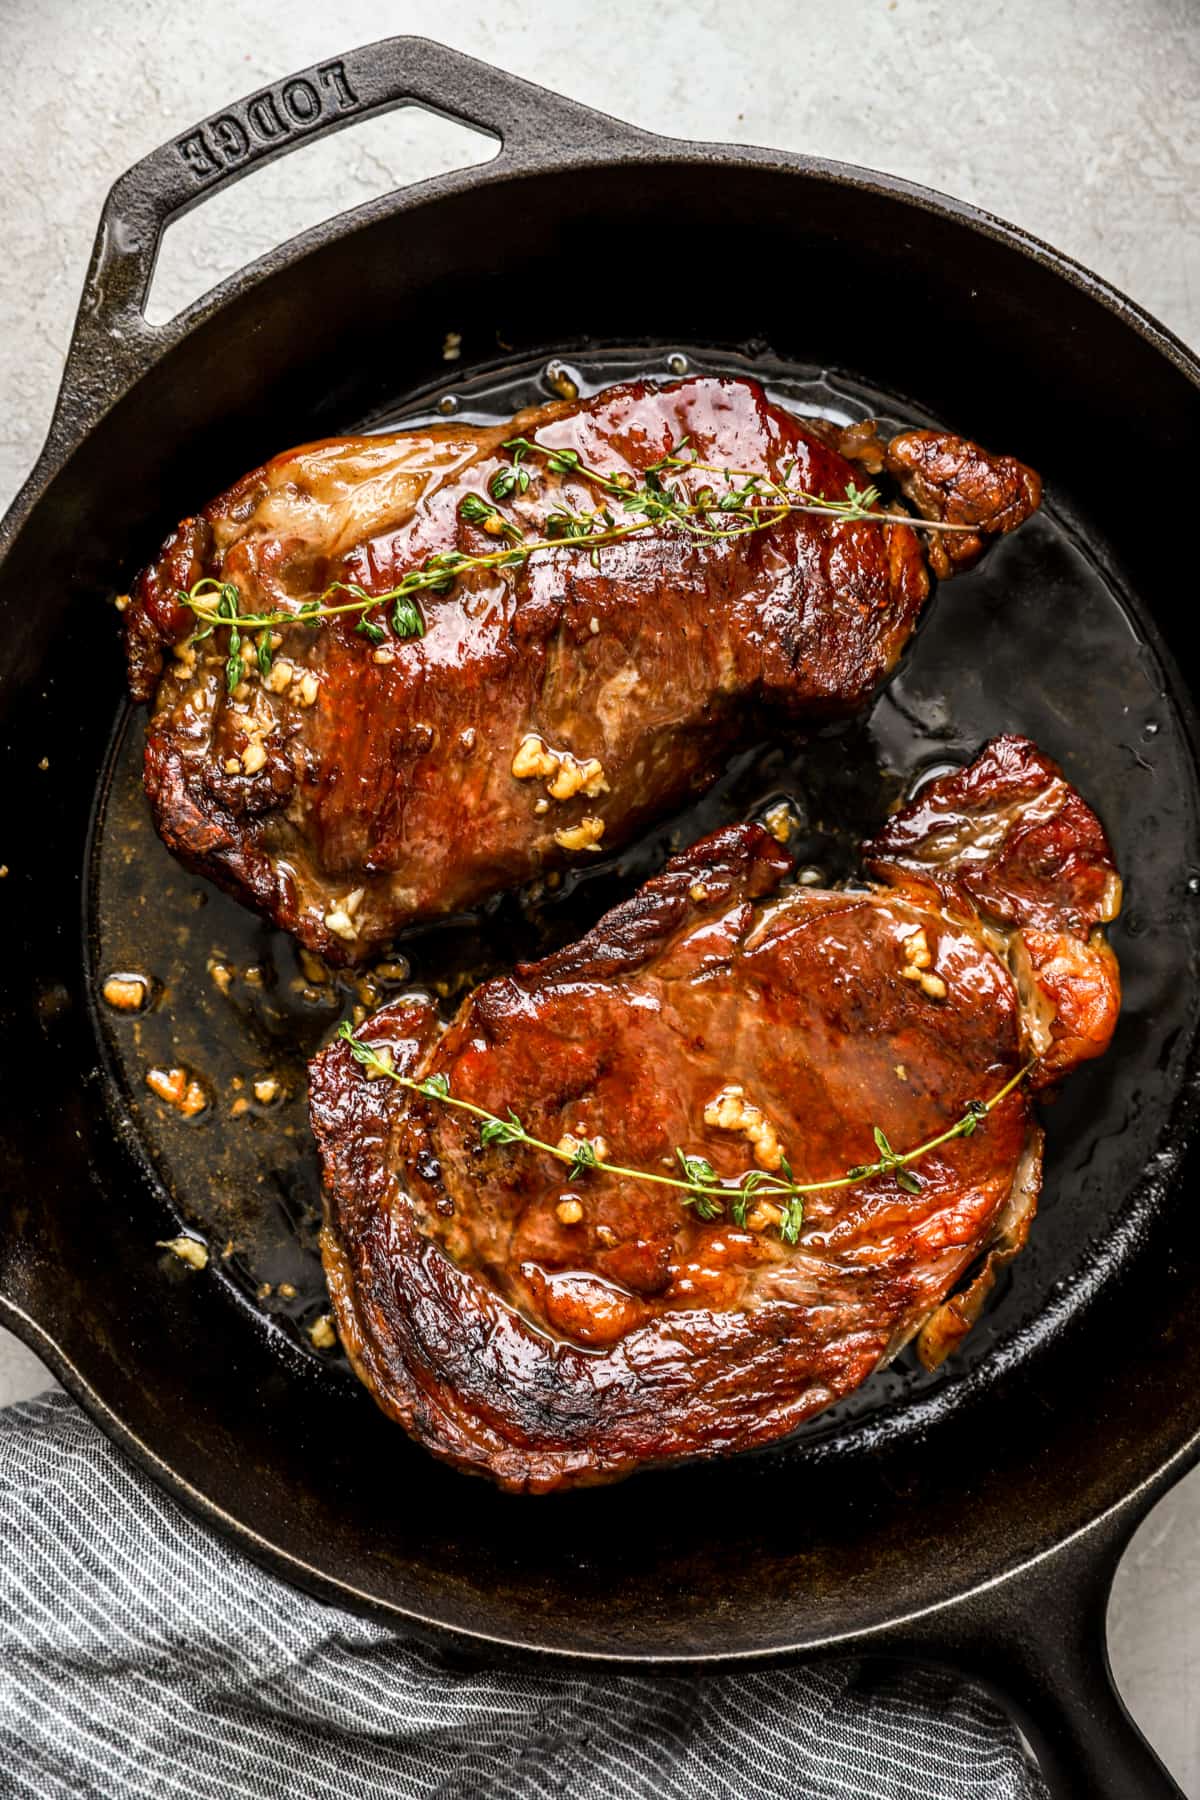
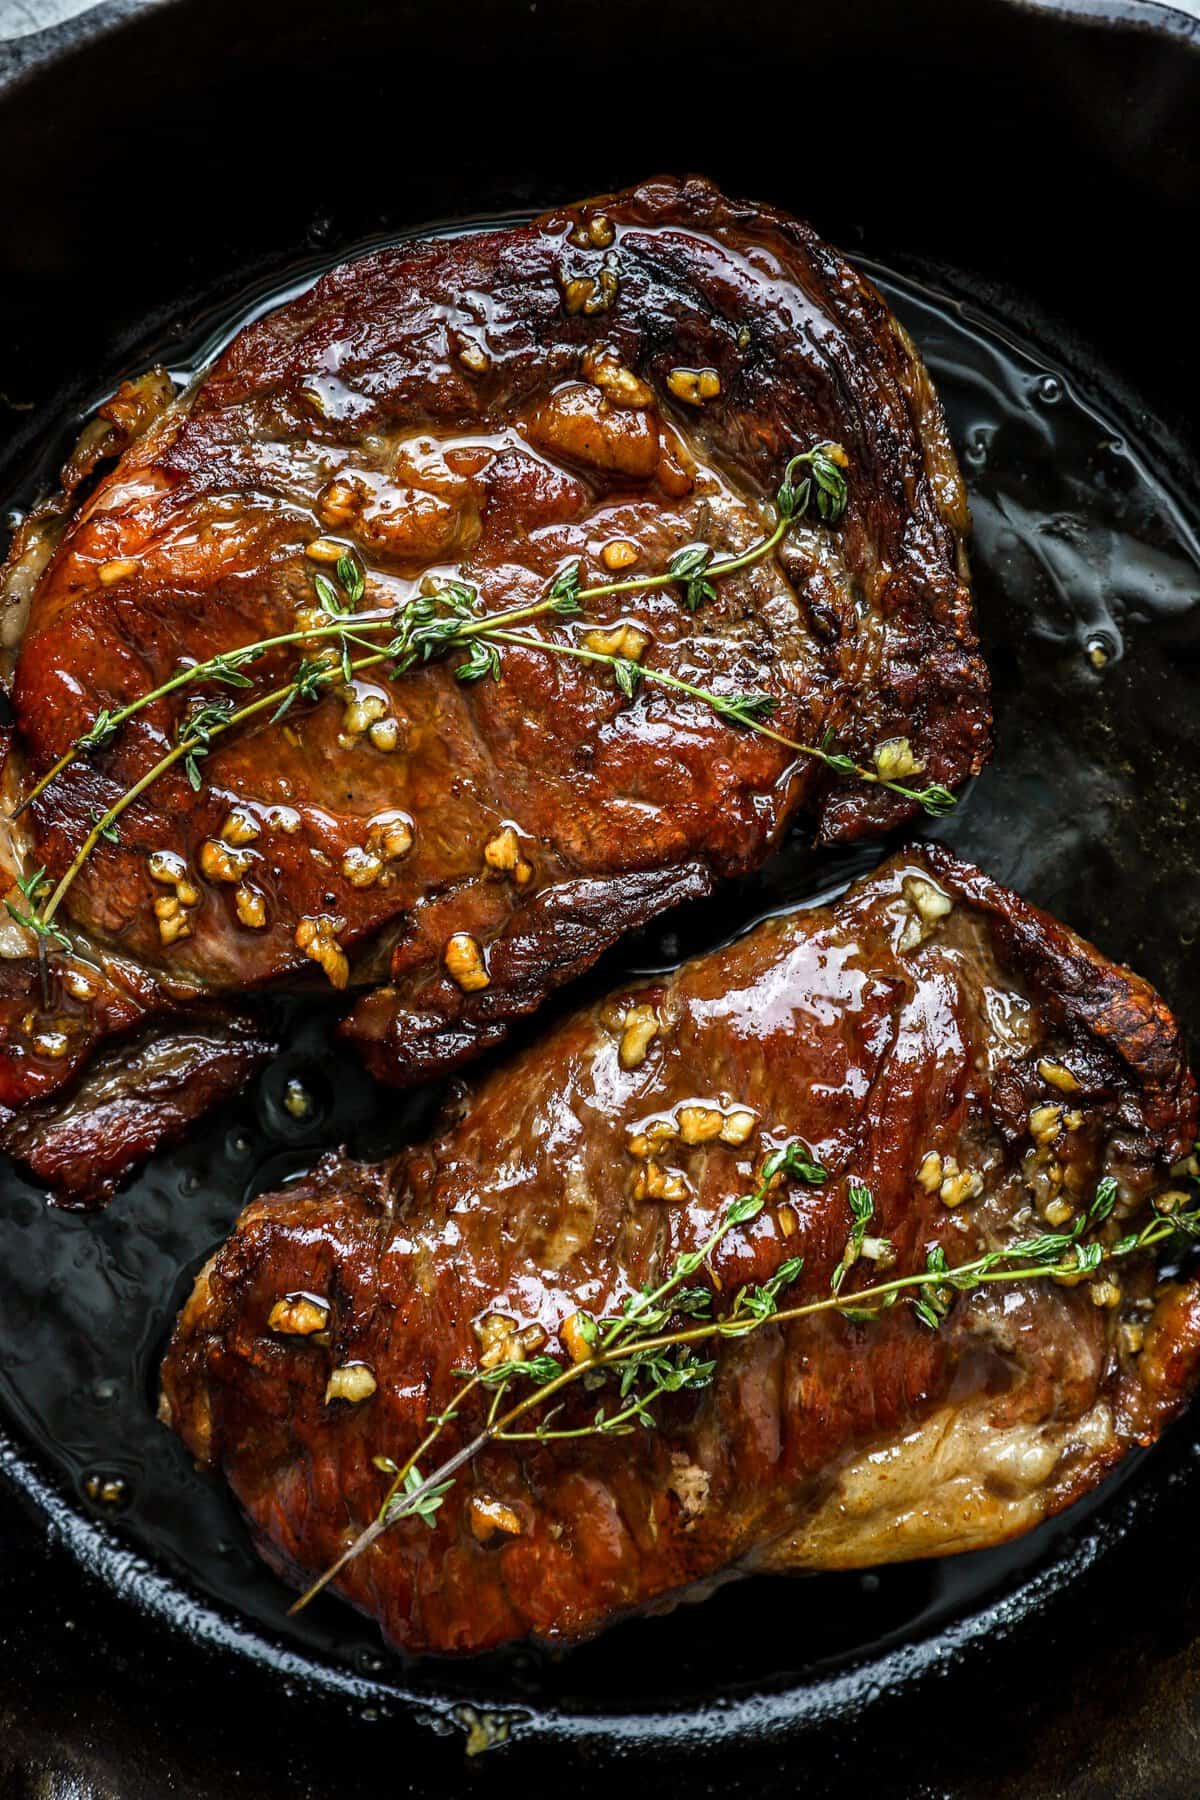
- Sear: Heat a cast-iron skillet over medium-high heat, then add oil. Once the oil is hot, carefully add the steaks to the pan, then sear well on each side until a crust is formed.
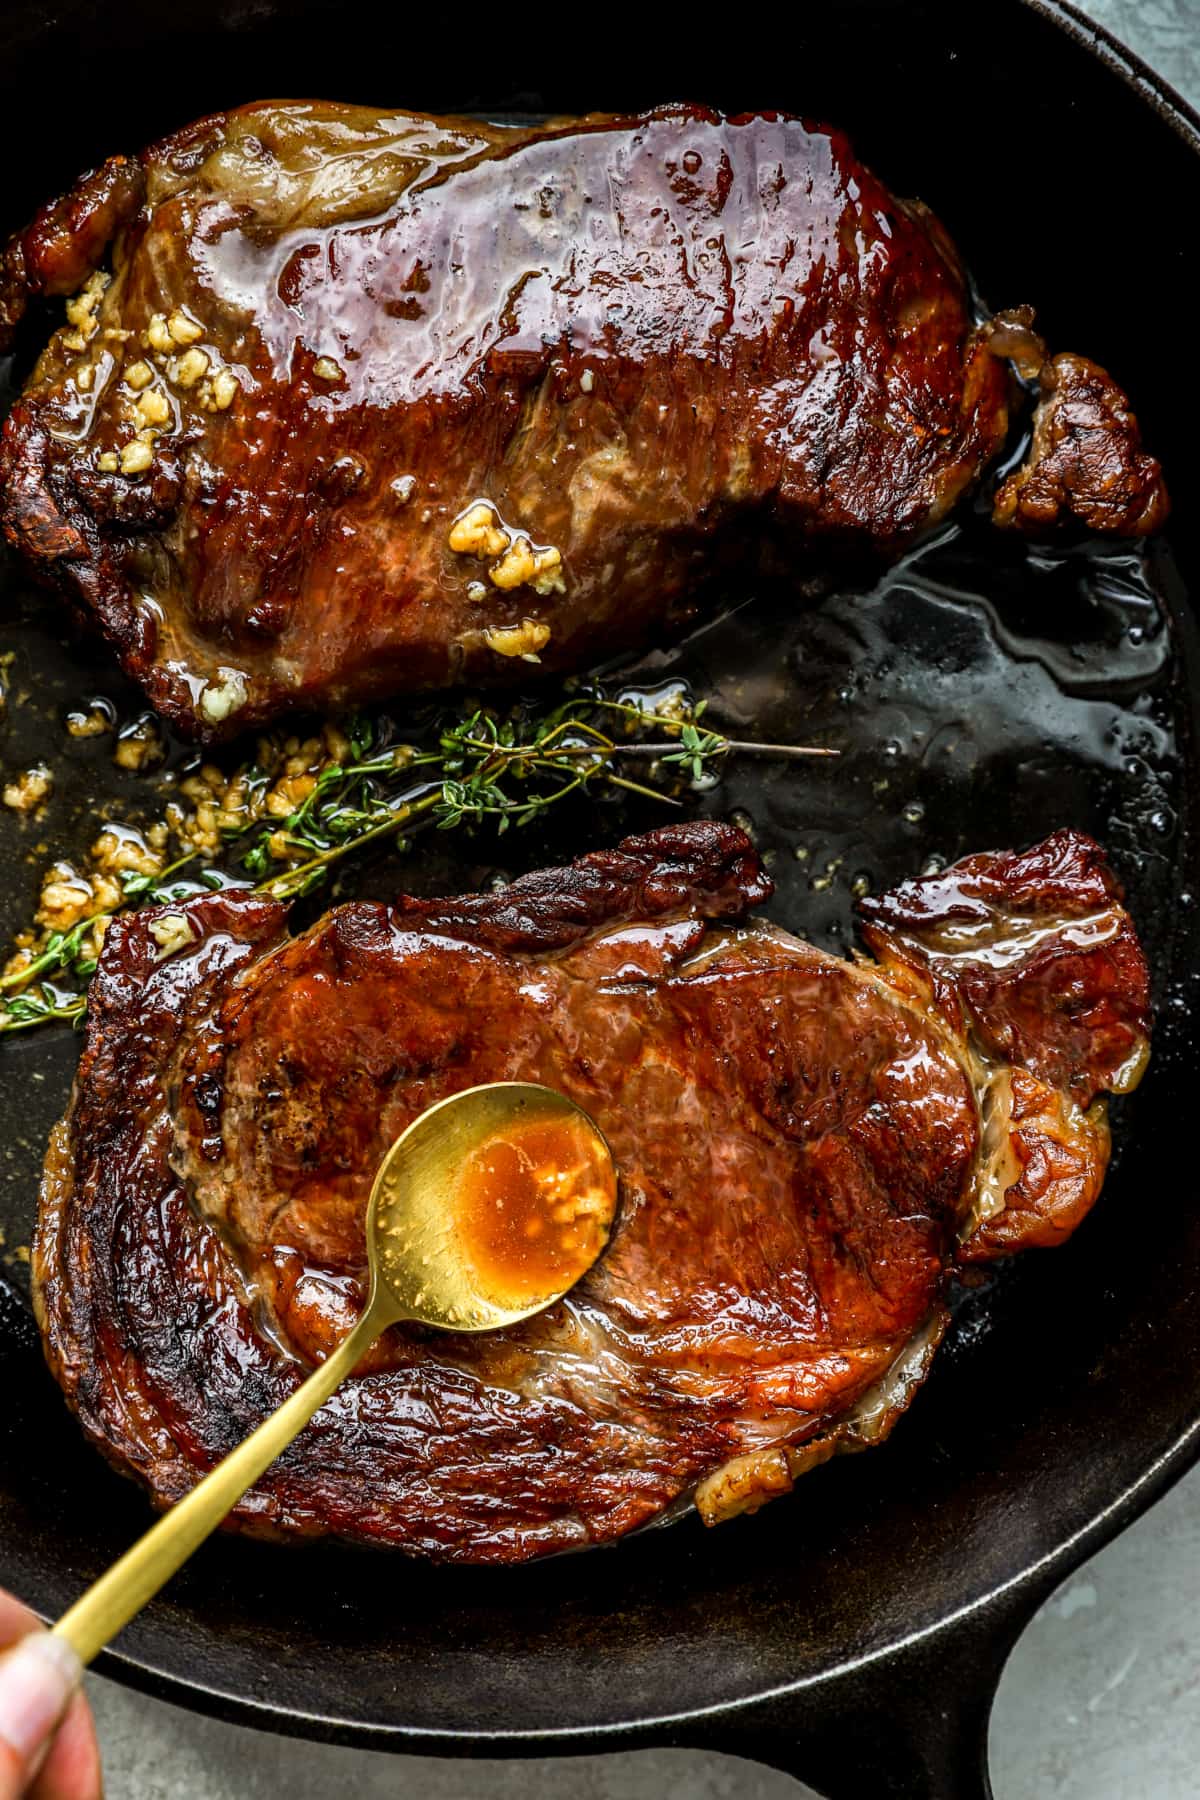
- Baste and serve: Optionally, add butter, herbs, and garlic to the pan, then use a spoon to base the meat with the buttery mixture. Transfer to a plate, then allow the meat to rest for 10 minutes before serving.
How Long to Reverse Sear Steak
I give a broad range of 15-30 minutes in the oven for this recipe. That’s because the total time really depends on how done you like your steak, as well as each oven cooks a bit differently!
- Rare: 105ºF before searing; 120ºF after searing
- Medium-Rare: 115ºF before searing; 125ºF after searing
- Medium: 125ºF before searing; 130ºF after searing
Remember, the total cooking time will depend on the thickness of the steak and your desired doneness. I recommend checking the steak in the oven every 5 minutes after the initial 15 minutes to make sure that you don’t over-cook the steak according to your own preferences.
Tips and Notes
- Pat the steak dry. Before brining, use paper towels to gently pat each steak dry. Removing excess moisture creates a crispier crust later!
- Don’t skip the dry brine! Letting the steak sit for 30-60 minutes with the salt brine helps draw out moisture for a crispier crust and allows the meat to get extra tender and juicy. Overall, this step does so much for the final product!
- Cast iron is best. In general, cast iron is best for searing! It cooks more evenly and creates a better crust.
- Let it rest. After cooking, let the steak sit for 10 minutes before slicing into it. This gives the moisture and flavor time to settle back into the meat for the perfect texture.
- Prefer to skip the oven entirely? Check out my pan-seared steak recipe instead!
Serving Suggestions
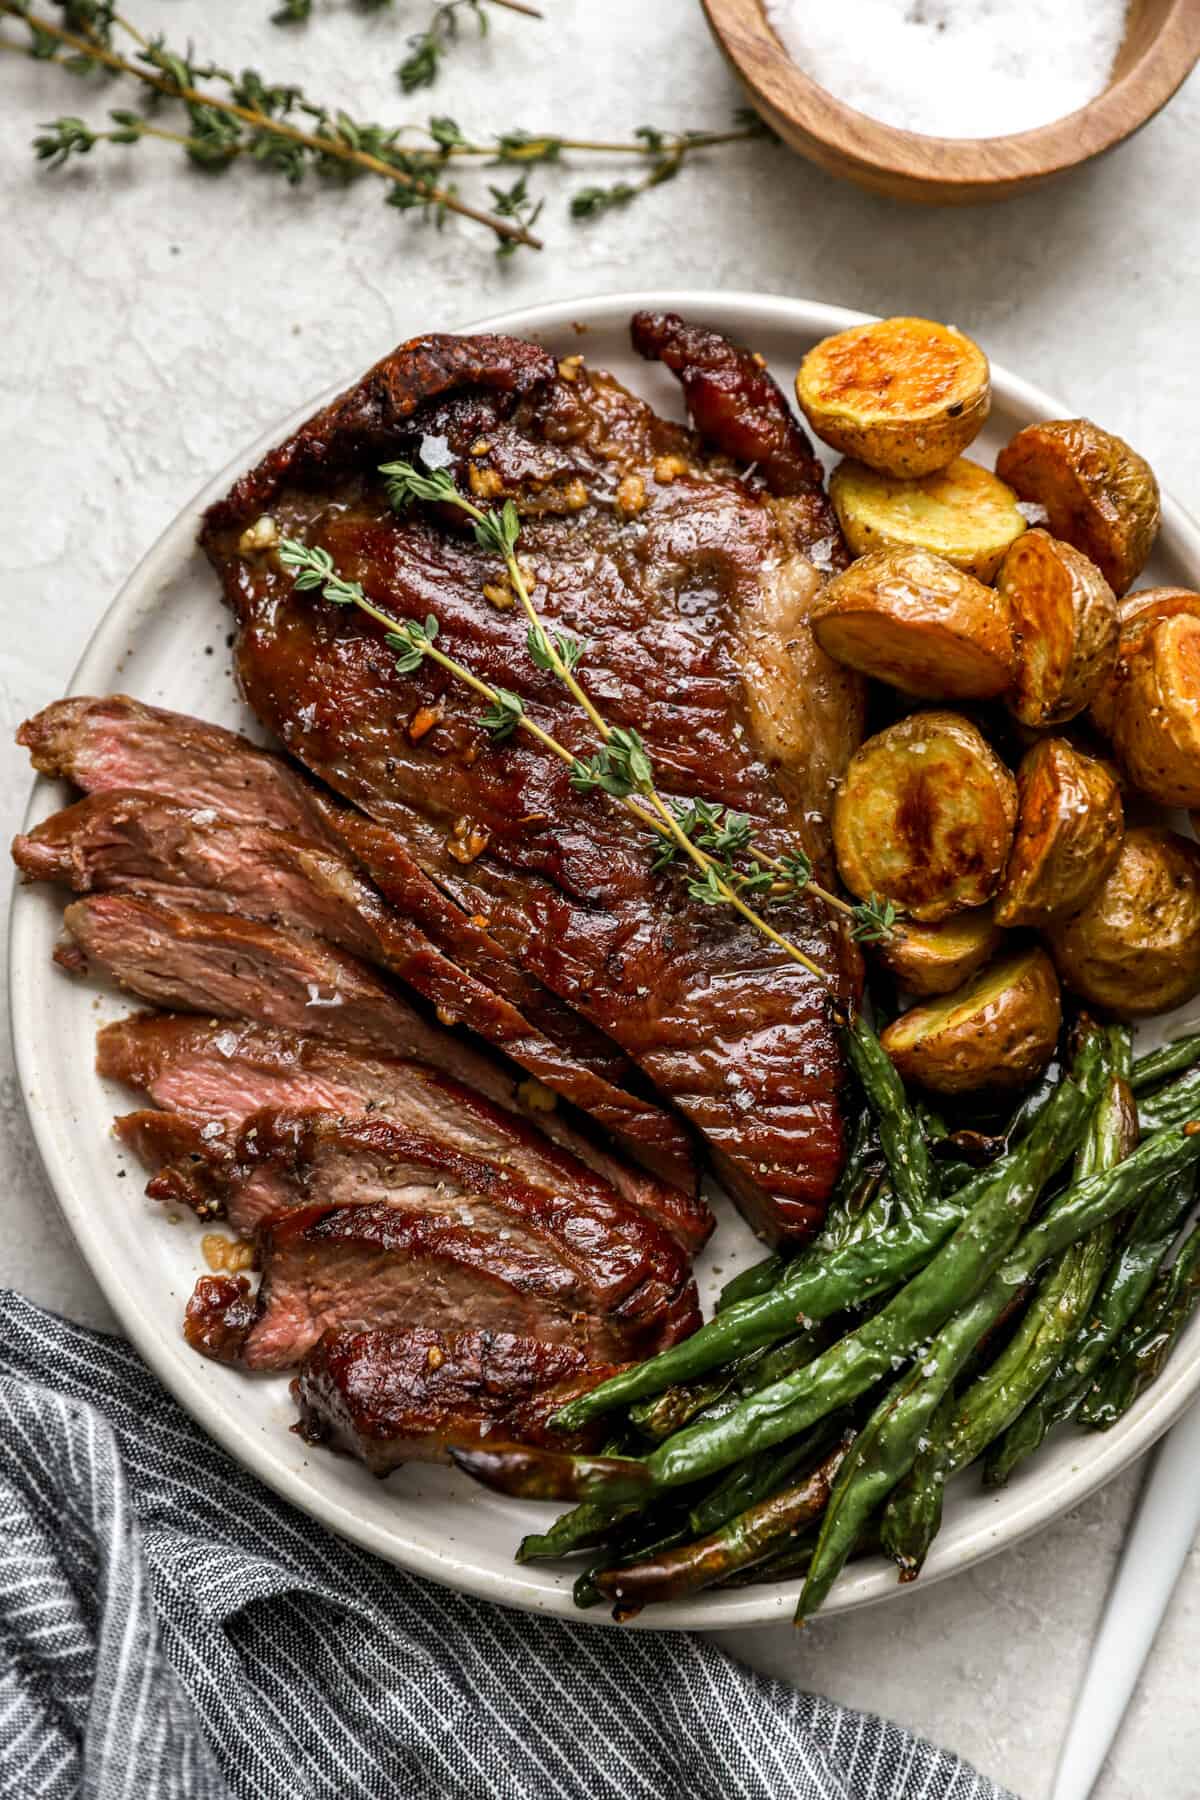
This reverse seared steak can be served alongside any of your favorite classic side dishes! The flavors are versatile enough that you can really customize a complete meal with the steak.
Here are some of my favorite sides to serve alongside this steak:
- Garlicky Blistered Green Beans
- Lemon Herb Roasted Potatoes
- Air Fryer Asparagus with Lemon and Parmesan
- Herb and Garlic Quinoa
How to Store Cooked Steak
Reverse-seared steak is definitely best enjoyed right away! However, if you do have leftovers, they can be stored in an airtight container in the fridge for up to 3 days.
To reheat, warm in a hot pan with some oil until heated all the way through.
More Steak Recipes You’ll Love
- Air Fryer Steak
- How to Pan Sear a Steak
- Grilled Steak Salad with Pineapple and Avocado
- Skirt Steak with Italian Salsa Verde
- Garlic and Lime Marinated Flank Steak
- Sheet Pan Marinated Steak Tips with Veggies
How to Reverse Sear a Steak
Ingredients
- 2 steak 2-inches thick. I prefer ribeye, but a porterhouse, New York strip, filet mignon, etc. will work great too!)
- salt and black pepper for seasoning
- avocado oil for searing
- 1 tablespoon unsalted butter optional, for basting
- 2 cloves garlic, sliced or minced optional, for basting
- 1 sprig thyme and/or rosemary optional, for basting
Instructions
- Preheat the oven to 275ºF
- Pat the steak dry with paper towels and sprinkle with a generous amount of salt on each side. Let steak sit until it has come close to room temperature, about 30 minutes to an hour.
- Place the steak on a wire rack set on top of a baking sheet, and bake for about 15-30 minutes, until the desired internal temperature is reached: 105 degrees F for rare, 115 for medium rare and 125 for medium (Remember: this will depend on the thickness of your steak and desired doneness, so see notes for target temperatures!**). Make sure to check often with your meat thermometer (here's an oven-safe version too). I like to check it every 5 minutes after the initial 15 minutes and adjust the bake time if you like your steak more rare or more well-done.
- Remove the steaks from the oven and set aside.
- Over medium-high heat, heat a cast iron skillet (best pan for searing steaks) and add oil.
- Once the oil is hot and beginning to smoke, add the steaks to the pan carefully with tongs.
- Sear until a nice brown crust is formed, this will take about 2 minutes, then carefully flip the steaks and sear about 1 minute on the other side.
- OPTIONAL: Add one tablespoon of the butter (you can also add a sprig of thyme and a minced clove of garlic) to the pan, melt and use a large spoon to briefly baste (spoon over) the tops of the steaks.
- Transfer steaks to a plate to allow them to rest for 10 minutes.
- Slice and serve steaks warm!
Notes
- Pat the steak dry. Before brining, use paper towels to gently pat each steak dry. Removing excess moisture creates a crispier crust later!
- Don’t skip the dry brine! Letting the steak sit for 30-60 minutes with the salt brine helps draw out moisture for a crispier crust and allows the meat to get extra tender and juicy. Overall, this step does so much for the final product!
- Cast iron is best. In general, cast iron is best for searing! It cooks more evenly and creates a better crust.
- Let it rest. After cooking, let the steak sit for 10 minutes before slicing into it. This gives the moisture and flavor time to settle back into the meat for the perfect texture.