This post may contain affiliate links. Please read my disclosure policy.
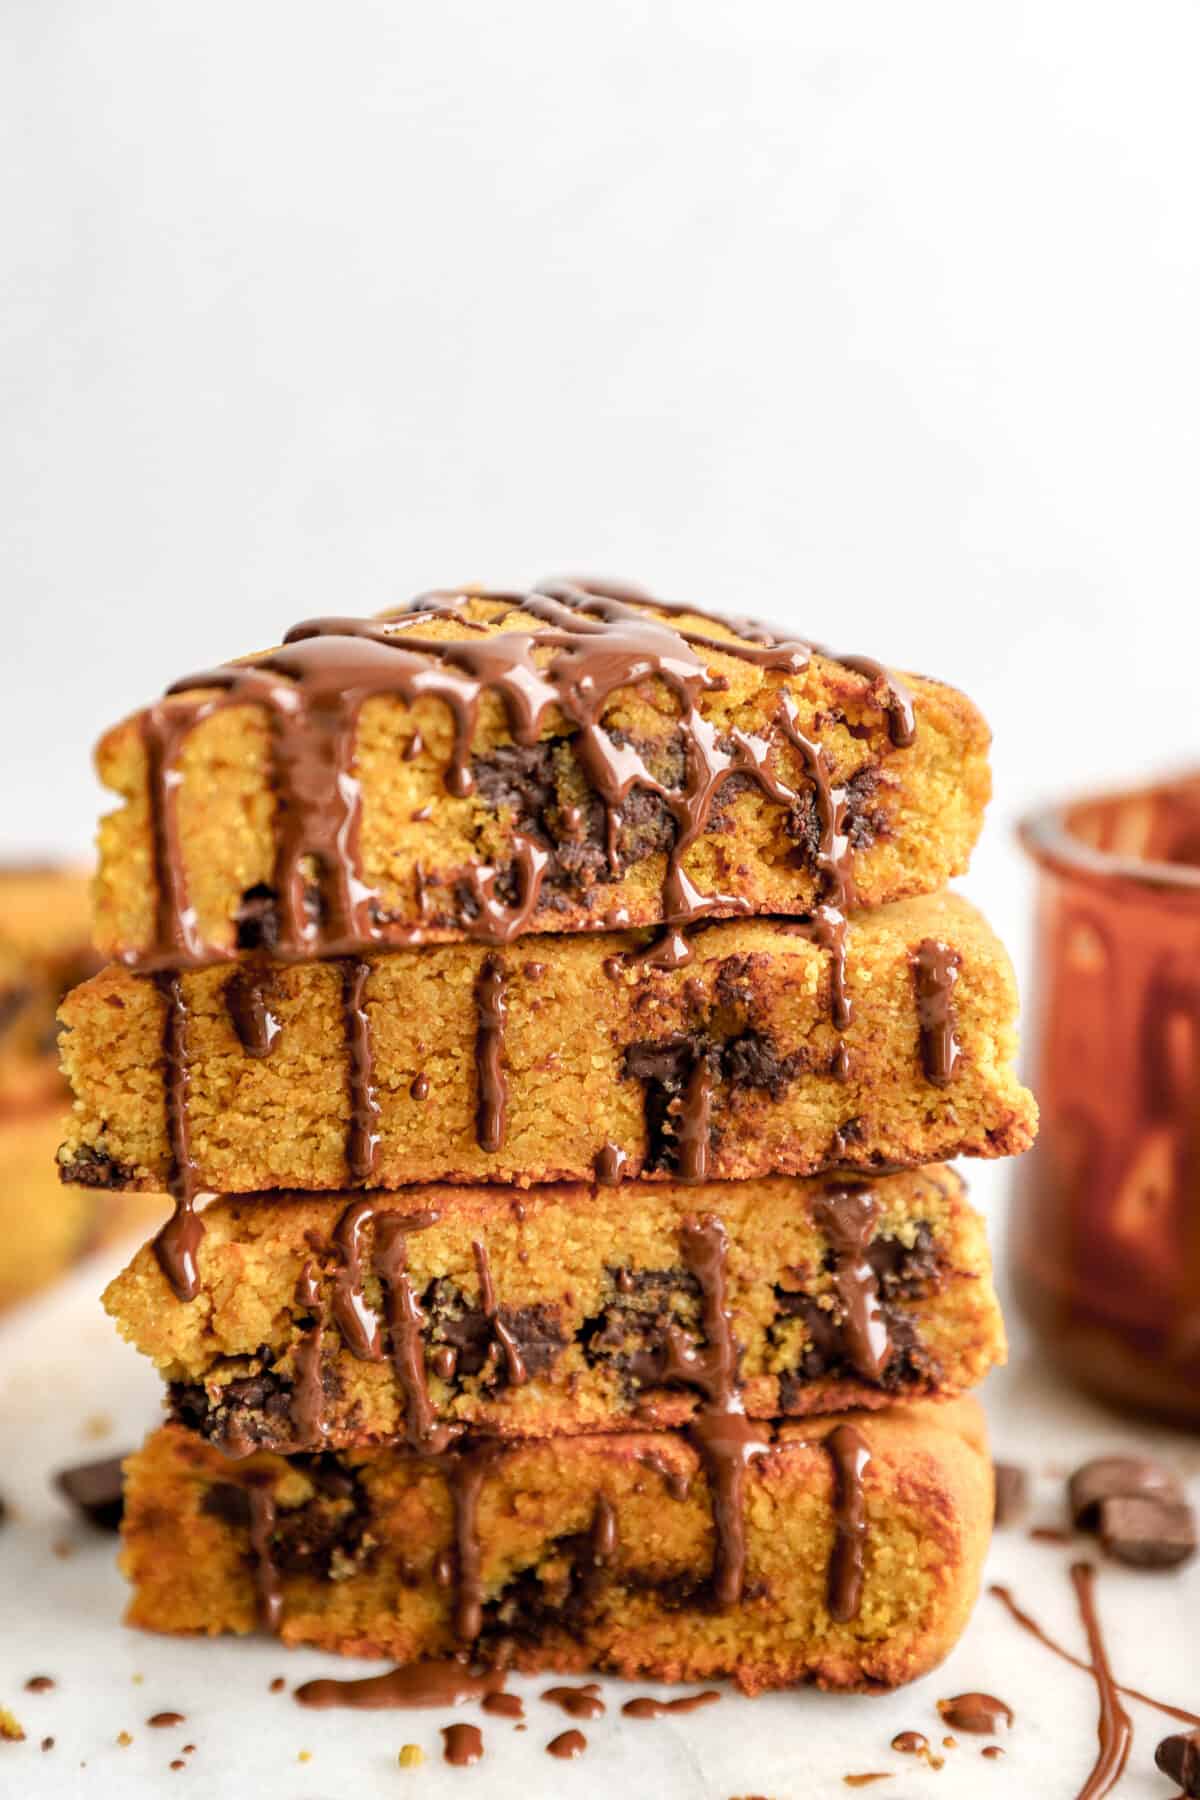
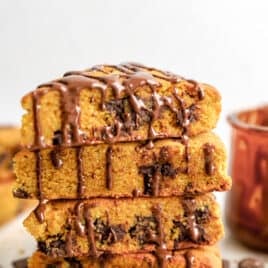
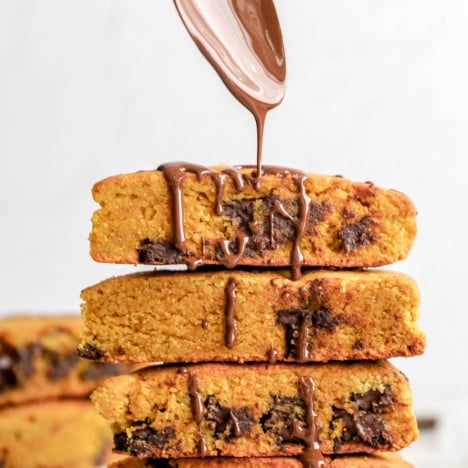
These Chocolate Chunk Pumpkin Scones are perfect for Fall! They’re soft in the middle, crispy on the outside, loaded with chocolate chunks, and spiced to perfection with just the right amount of pumpkin flavor!
Easy Gluten Free Scones Recipe
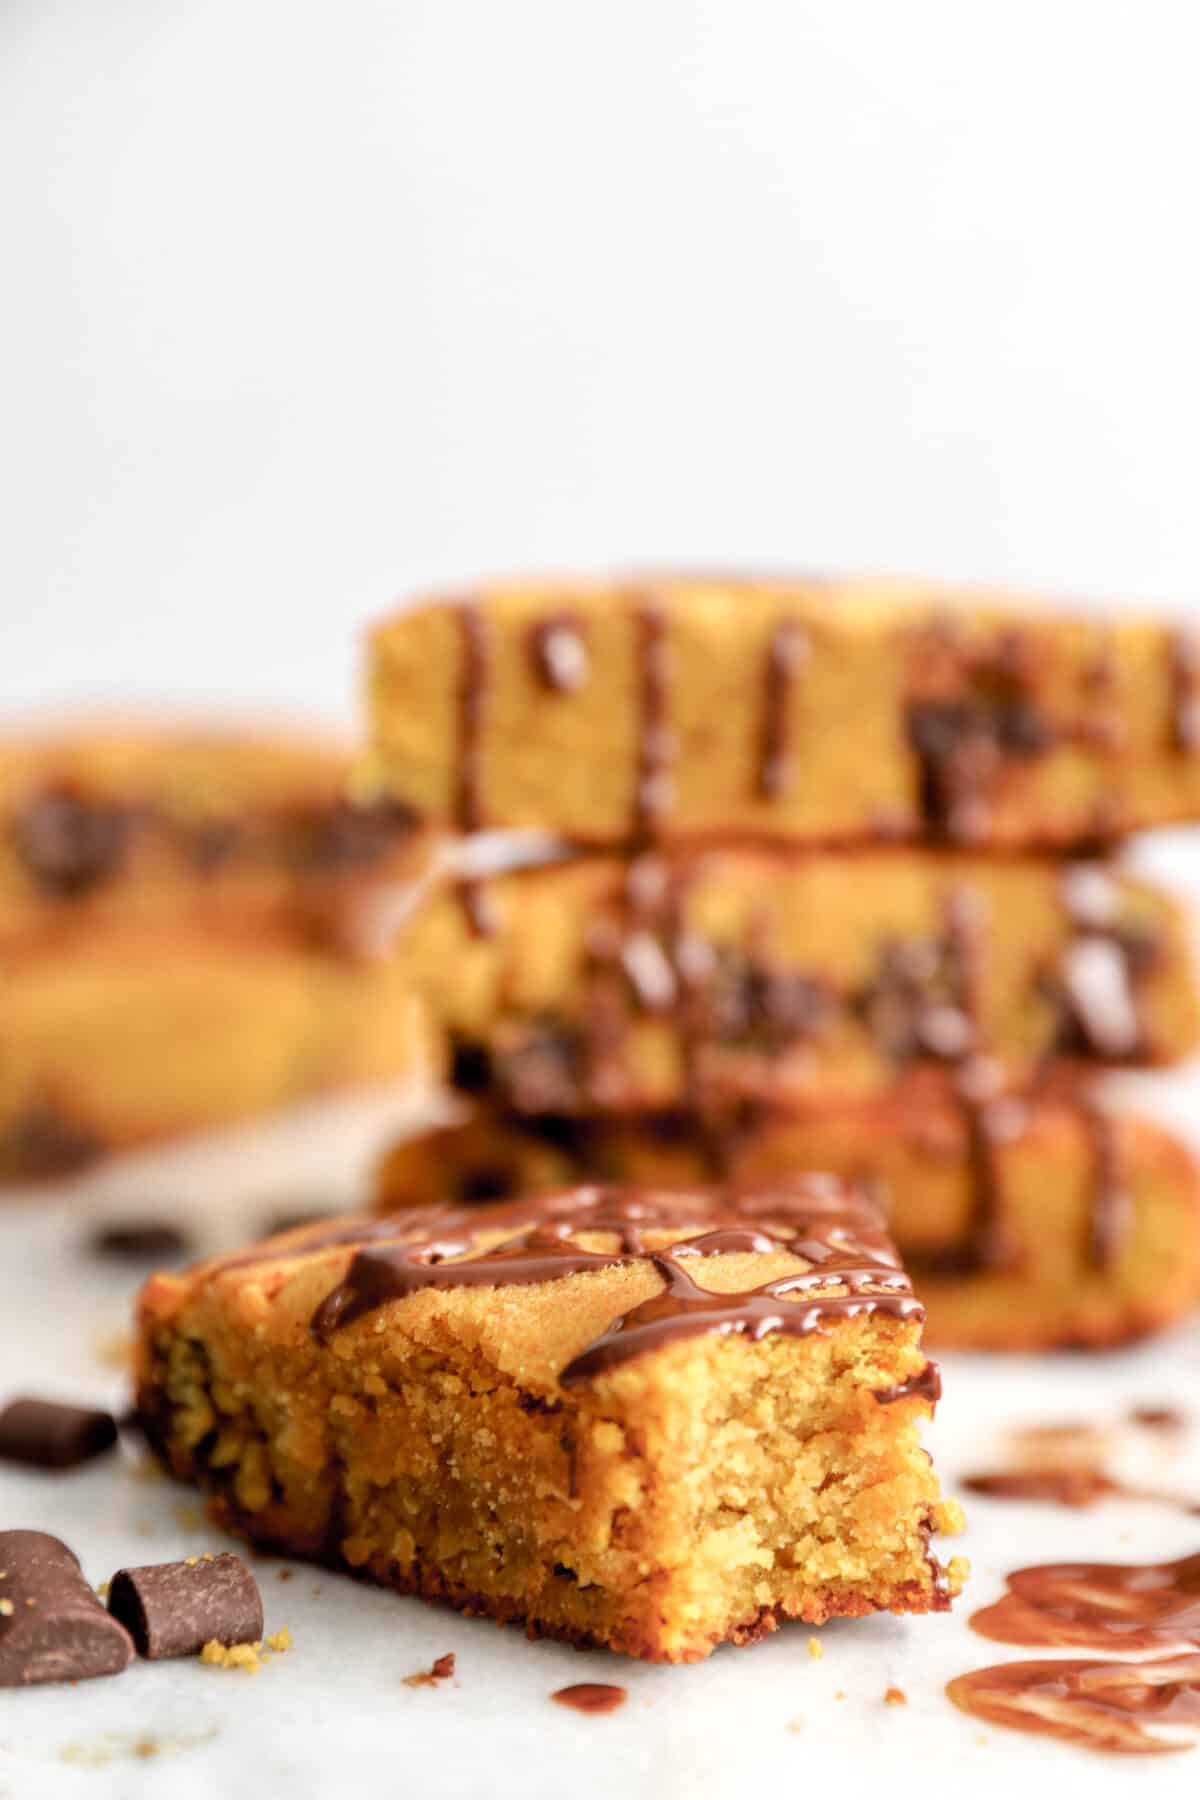
Fall mornings call for these Chocolate Chunk Pumpkin Scones. They’re soft and tender with perfect crispy edges. They’re brimming with the warm sweetness of pumpkin spice and then loaded with chocolate chunks for extra sweetness and flavor.
These scones are gluten-free, dairy-free, and paleo-friendly. They’re a hit at breakfast or brunch, the star of the dessert table, or the perfect snack.
Plus, they’re so easy to make. Just 10 quick minutes of prep are needed before you’re popping a tray of these in the oven!
Ingredients Needed
This pumpkin scones recipe tastes like you got it at your local bakery but is so simple and quick to make!
- Almond Flour: My gluten-free flour of choice for this recipe.
- Baking Powder: Baking powder gives the scones a little bit of a lift so they have the perfect light, tender crumb.
- Spices: We’re adding all that warm sweetness with pumpkin pie spice, cinnamon, and a touch of sea salt to enhance all the flavors.
- Pumpkin Puree: You can use homemade pumpkin puree or grab a can of pre-made pumpkin puree at the store.
- Egg: Egg helps bind the ingredients together so that the scones can hold their shape.
- Coconut Oil: Coconut oil adds moisture to the dough.
- Sweetener: You can use pure maple syrup or raw honey to naturally sweeten the scones.
- Vanilla Extract: Adds flavor depth and a touch of warm sweetness.
- Chocolate Chunks: I use Enjoy Life chocolate chunks, but feel free to use whatever variety of chocolate chunks you like.
- Chocolate Drizzle: Our chocolate drizzle topping is made with the same Enjoy Life chocolate chips plus a little bit of coconut oil to make it drizzle-able.
How to Make Pumpkin Scones
This delicious pumpkin scone recipe is so much simpler than it tastes! Just 10 quick minutes of prep!
- Make the dough: In a bowl, whisk together almond flour, baking powder, pumpkin pie spice, salt, and cinnamon. Once combined, add in the pumpkin puree, egg, coconut oil, maple syrup, honey, vanilla extract, and chocolate chunks. Mix until a soft dough forms.
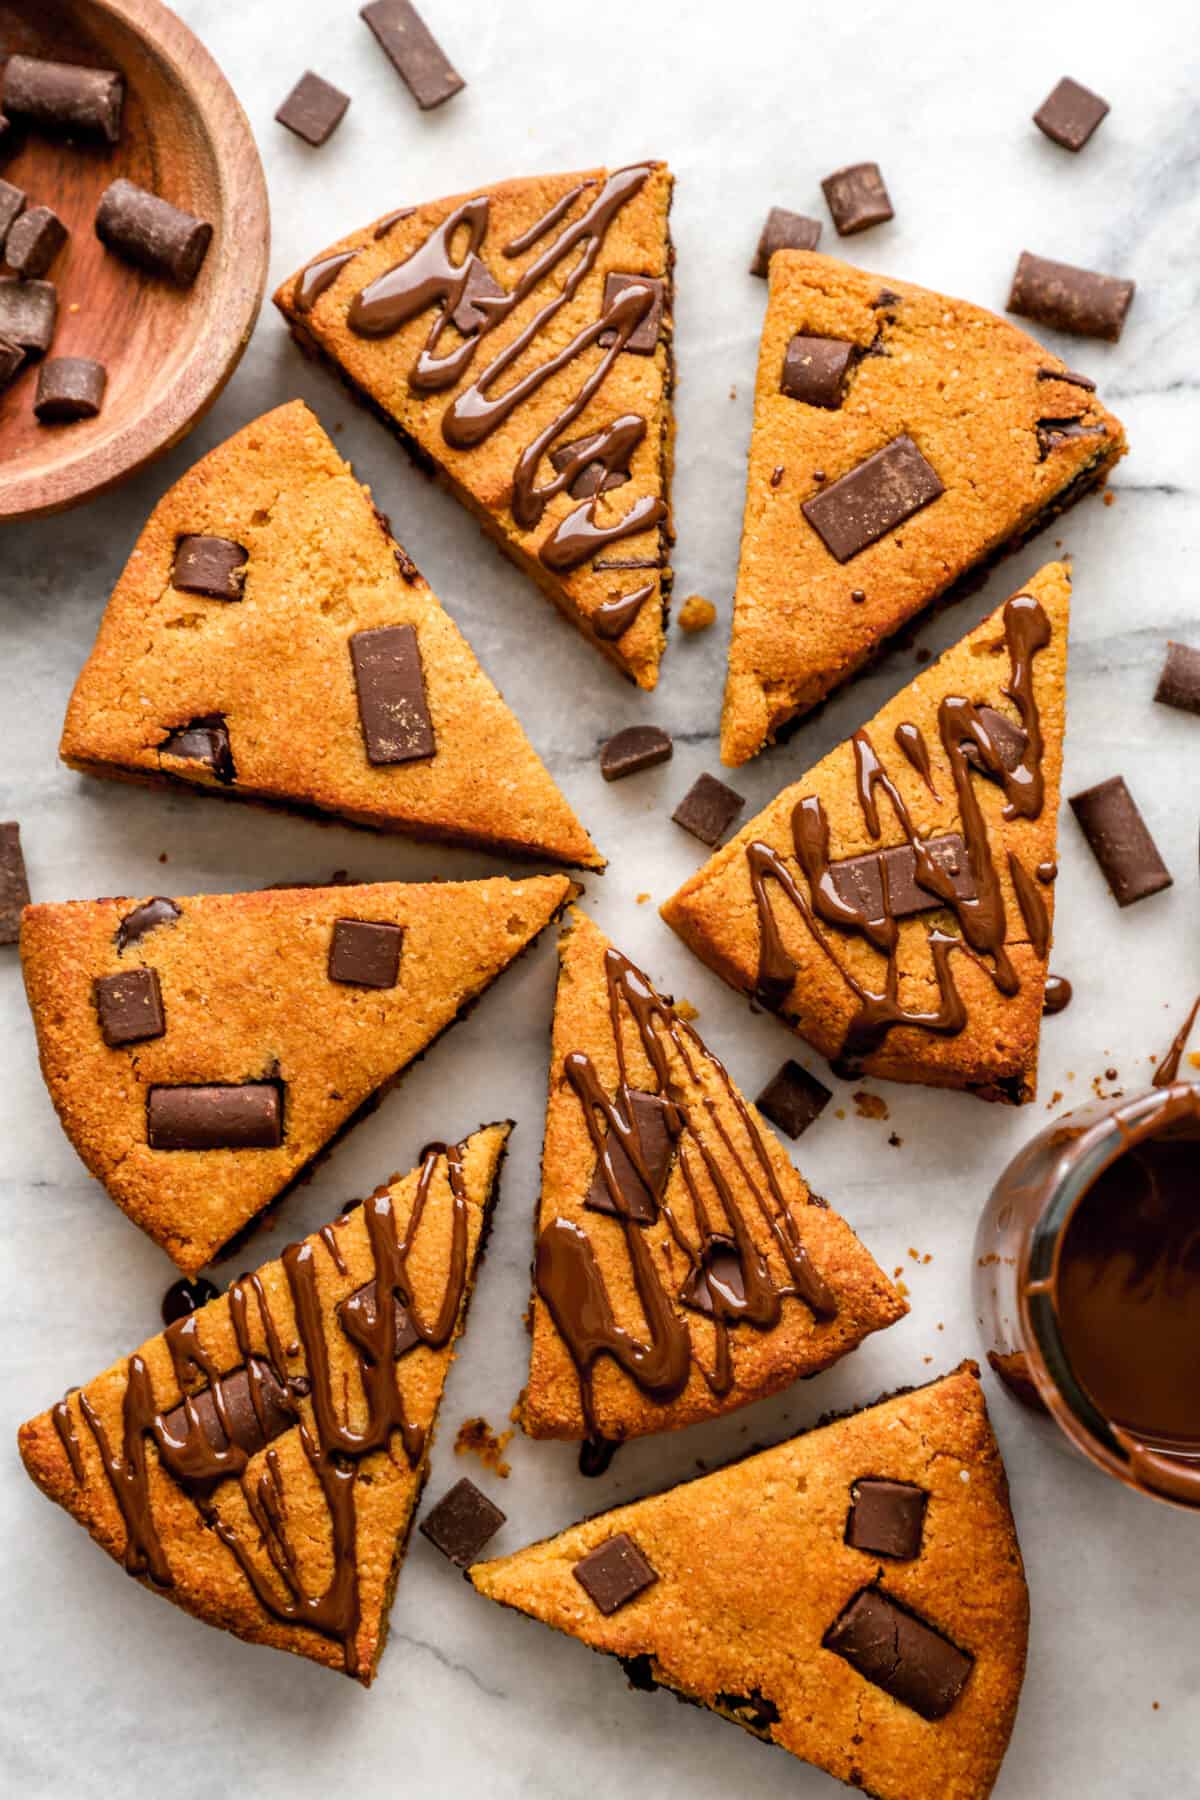
- Cut out the dough: Use your hands to roll the dough into a ball, place it into a lined baking sheet, then flatten into a disc about 1-inch thick. Use a pizza cutter or knife to cut the dough into 8 wedges, then gently separate the wedges, leaving them in a circle.
- Bake and cool: Bake your scones at 350ºF for 35-40 minutes, depending on how soft you like the center. Once the scones are baked to your liking, cool them completely.
- Add the drizzle and serve: In a double boiler or microwave, melt the chocolate chunks for the drizzle with coconut oil until smooth. Whisk to make sure everything is well combined, then drizzle over the top of the cooled scones.
What is a Good Flour Substitute for Scones?
I like to use almond flour for this gluten-free scone recipe. It’s high in protein, has a mild flavor, and yields the perfect scone texture!
What Makes Scones Not Rise?
There are a couple of things that can cause your scones to be a little bit too dense:
- Expired leavening agent. Before you start baking, check to make sure you’re using fresh baking powder. If it’s expired, then it won’t give the dough the lift it needs.
- Over-mixed dough. Over-mixing the dough can quickly cause it to be too dense. For the best results, mix only until just combined.
Is There Any Gluten in Pumpkin?
Nope! Whether you’re making your own pumpkin purée or using the canned stuff from the grocery store, it does not contain any gluten. Just pumpkin!
Tips and Notes for Pumpkin Scones
- Check your pumpkin. If you’re using canned pumpkin, make sure you’re using pumpkin puree, NOT pumpkin pie filling. They are not the same thing.
- Measure your flour carefully. For the best results, spoon the flour into a measuring cup, then level it off gently with your finger. This prevents it from getting too packed in, which can cause the scones to be dry.
- Line the baking sheet. Lining the baking sheet prevents the bottoms of the scones from burning on the pan.
- Separate the wedges before baking. Once the dough is cut into 8 wedges, gently move the wedges out slightly to leave room between them. This prevents them from baking into one another!
- Adjust the baking time as needed. I like a soft center, so I tend to cook on the lower end of the suggested baking time. If you prefer crispier edges, feel free to add time as needed. Be sure to keep a close eye on the scones so they don’t burn!
- If the dough seems too wet, slice the wedges with a wet knife, bake for 20 minutes, then slice again to separate the scones. Bake for another 20-25 minutes until cooked to your liking.
Variations
- Use another baking chip. Try swapping the chocolate chunks out for chocolate chips or another baking chip such as butterscotch or white chocolate.
- Add nuts. Give your scones a nutty crunch with a handful of chopped pecans or walnuts.
- Add dried fruit. Make pumpkin cranberry scones with a handful of craisins.
- Try another topping. Skip the chocolate drizzle and try adding a dusting of powdered sugar or a drizzle of maple glaze.
Serving Suggestions
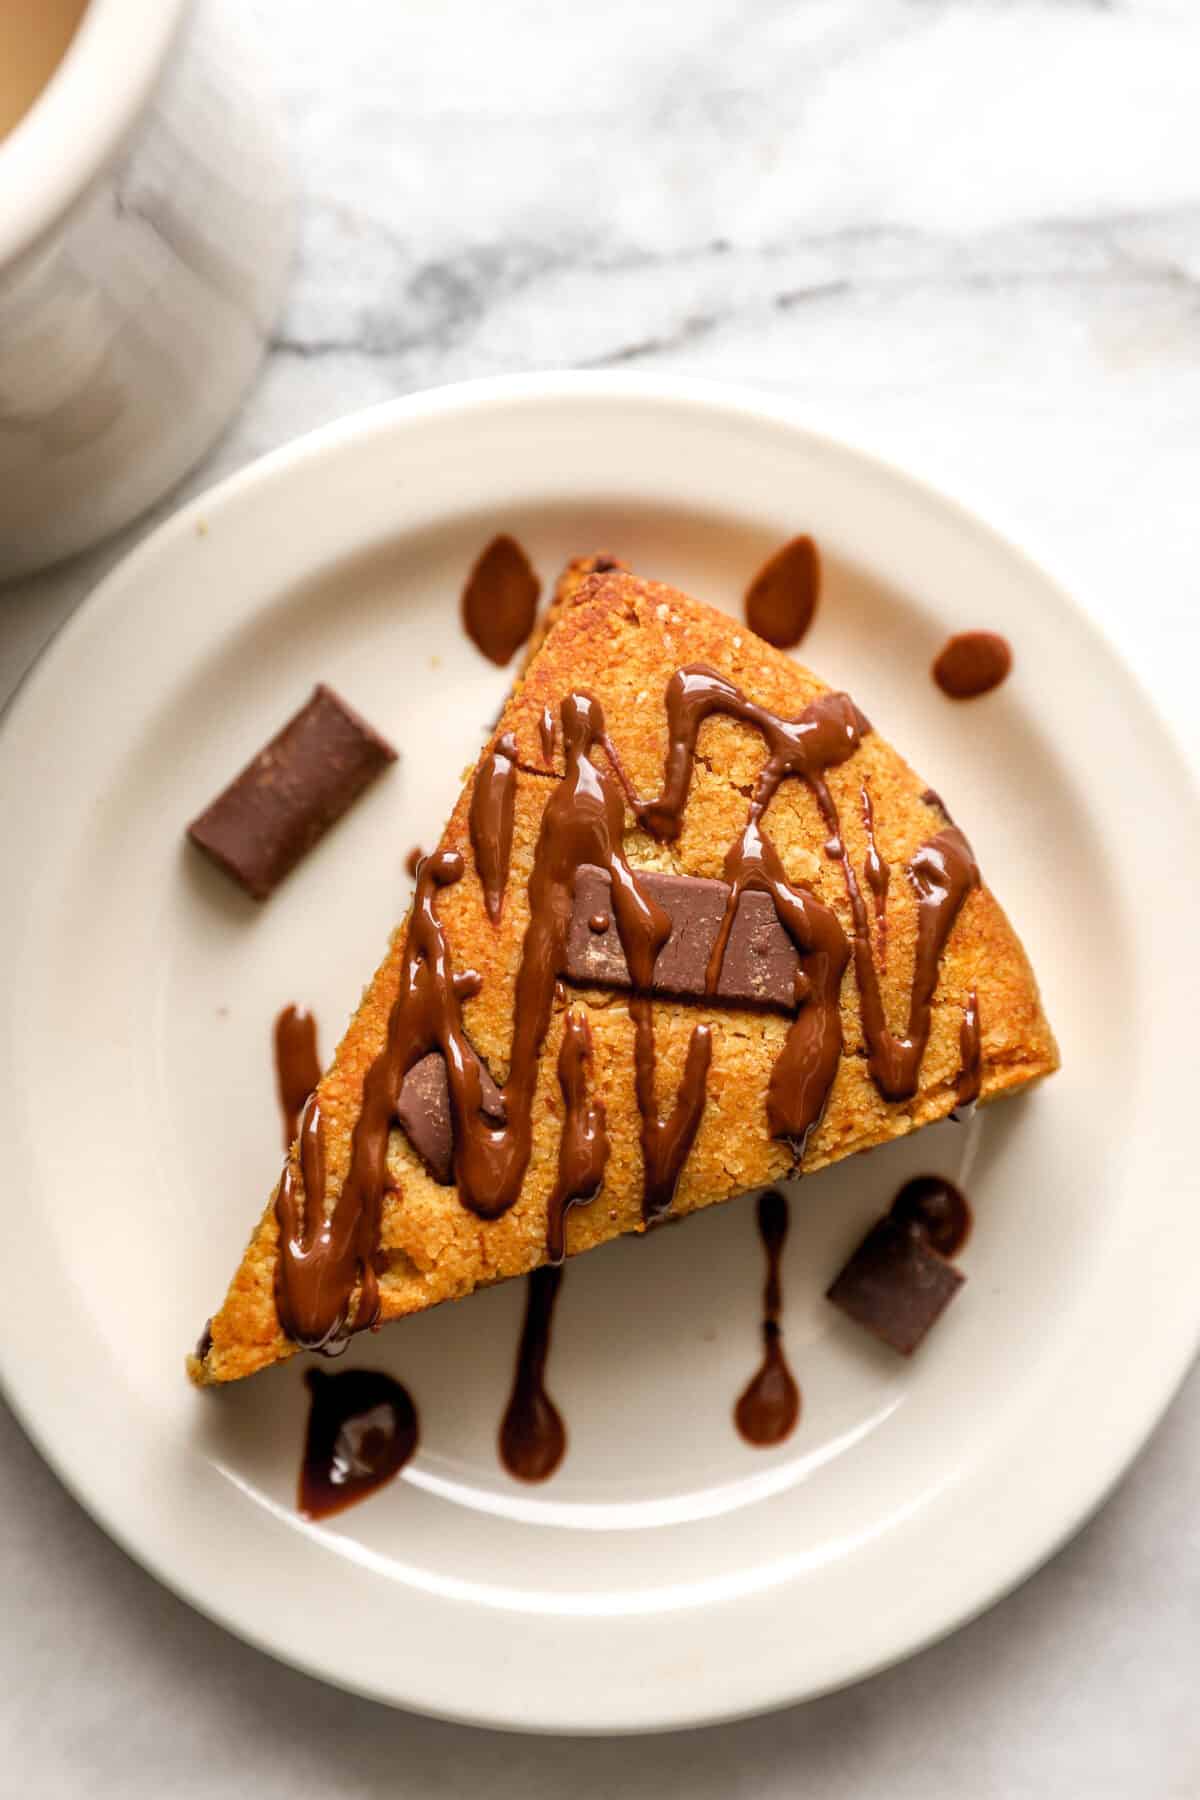
These gluten-free scones make an excellent breakfast or snack but can also be served as a tasty dessert!
If you’re enjoying these scones with breakfast, here are some of my favorite pairings:
- Fall Hash Brown Breakfast Skillet
- Apple Sage Breakfast Sausage
- Eggs Benedict Sandwich
- Sweet Potato Breakfast Salad
How to Store
Leftover scones will last in an airtight container in the fridge for up to 3 days or in the freezer for up to 3 months.
To enjoy again, thaw the scones at room temperature if frozen, then enjoy!
More Pumpkin Recipes You’ll Love
- Cranberry Pumpkin Crumble Muffins
- Pumpkin Oatmeal Bake
- Gluten Free Pumpkin Bread
- Sea Salt Chocolate Pumpkin Cups
Chocolate Chunk Pumpkin Scones
Ingredients
Dry Ingredients:
- 2 1/2 cups almond flour
- 1 teaspoon baking powder
- 1/2 teaspoon pumpkin pie spice
- 1/4 teaspoon sea salt
- 1/2 teaspoon cinnamon
- 1/2 cup homemade pumpkin puree or canned pumpkin
- 1 egg
- 2 tablespoons coconut oil
- 3 tablespoon pure maple syrup or raw honey
- 1 teaspoon organic vanilla extract
- 1/3 cup Enjoy Life’s mega chocolate chunks
Chocolate Drizzle:
- 1/4 cup Enjoy Life’s chocolate chunks
- 1 teaspoon coconut oil
Instructions
- Preheat oven to 350°F and place parchment paper on baking sheet.
- In a bowl, whisk the almond flour, baking powder, pumpkin pie spice, salt, and cinnamon until well blended.
- Add the pumpkin puree, egg, coconut oil, maple syrup or honey, vanilla extract and chocolate chunks and mix until soft dough forms.
- Using your hands, roll the dough into a ball and place on lined baking sheet. Gently flatten the dough into a disc about 1-inch thick.
- Using a pizza cutter or a knife, cut into 8 wedges. Gently separate, but leave in a circle.
- Bake for 35-40 minutes. I like a soft center, and take them out at 35 minutes, but let bake for 5-10 minutes longer, watching closely to avoid burning, if you like crispier scones.
- Transfer to a cooling rack to cool.
- Using the double boiler method or a microwave, melt the chocolate and coconut oil in a small mixing bowl. Whisk to make sure that the chocolate and oil is well combined.
- Once scones are cool, drizzle with chocolate and devour!
- Store leftovers in an airtight container for up to three days or in the freezer for up to three months!





I am wondering if anyone has tried these with an egg replacement. Chia egg? Aquafaba? Powdered egg replacer? Thank you.
We personally have not Amy. Let us know if you try!
I reread the directions 4 times and I’m not seeing the addition of the 1/3c of chocolate chunks. I assume you fold those after the incorporation of the wet into dry? Can the chunks be omitted? Will doing so mess with the consistency of the batter? I will for sure be making these!
I’ve updated it! You do not need to use the chocolate chunks!
Just baked and very good. Going through the steps in the recipe, was the addition of
the pumpkin missing, as I’m not seeing it with the rest of the wet ingredients? That’s where I added it.
These are great and have become my go-to breakfast! I’m a med student and I don’t have a lot of free time to meal prep or sit down for breakfast in the mornings. These scones are the perfect healthy(ish) grab-and-go breakfast. Thanks for the recipe!
Do you have a carb count on this? I made these a while back and they were so good.
Do you think Cashew meal would work as a substitute for almond flour? I only have 1/2c left of almond flour. Maybe I’ll try to combine?
Came out good. I didn’t add the chocolate chunks into the scones since it wasn’t mentioned in the recipe… but good nonetheless.
Is the coconut oil supposed to be melted?
Yes.
You do not say how many servings or how large or thick to make the circle. That would be very helpful.
These look delicious.. Would substituting whole wheat flour for the almond flour work? I don’t have any almond flour on hand!
I can’t say 100% as I haven’t tried that but it should!
Just finished eating these and I absolutely loved them! I used oat flour because I ran out of almond flour, next time I’ll try it original way, but they still came out really good! Perfect for a cloudy November day. I’m going to try one of your other recipes for dinner also 🙂 great job!!
How many servings does this recipe make?
Would you be able to freeze these?
Yes!
These look fantastic! Do you think it would work to substitute a gluten free baking or flour mix instead of the almond flour? Thanks!
Yes, I think that would work fine Morgan!
Absolutely amazing – perfect for this time of year! Pinned!
these are the best things i’ve ever made! so happy i stumbled upon your instagram one day
I am SO happy you liked them!!! XOXO
Made these tonight and they were awesome! Definitely making again, thank you!
Kassidy, so so happy you liked!
Love! Pinned!
ahh you are amazing girl! These look too good and I love all the simple ingredients I just happen to have all of! Definitely pinning this and trying them out soon!!