This post may contain affiliate links. Please read my disclosure policy.
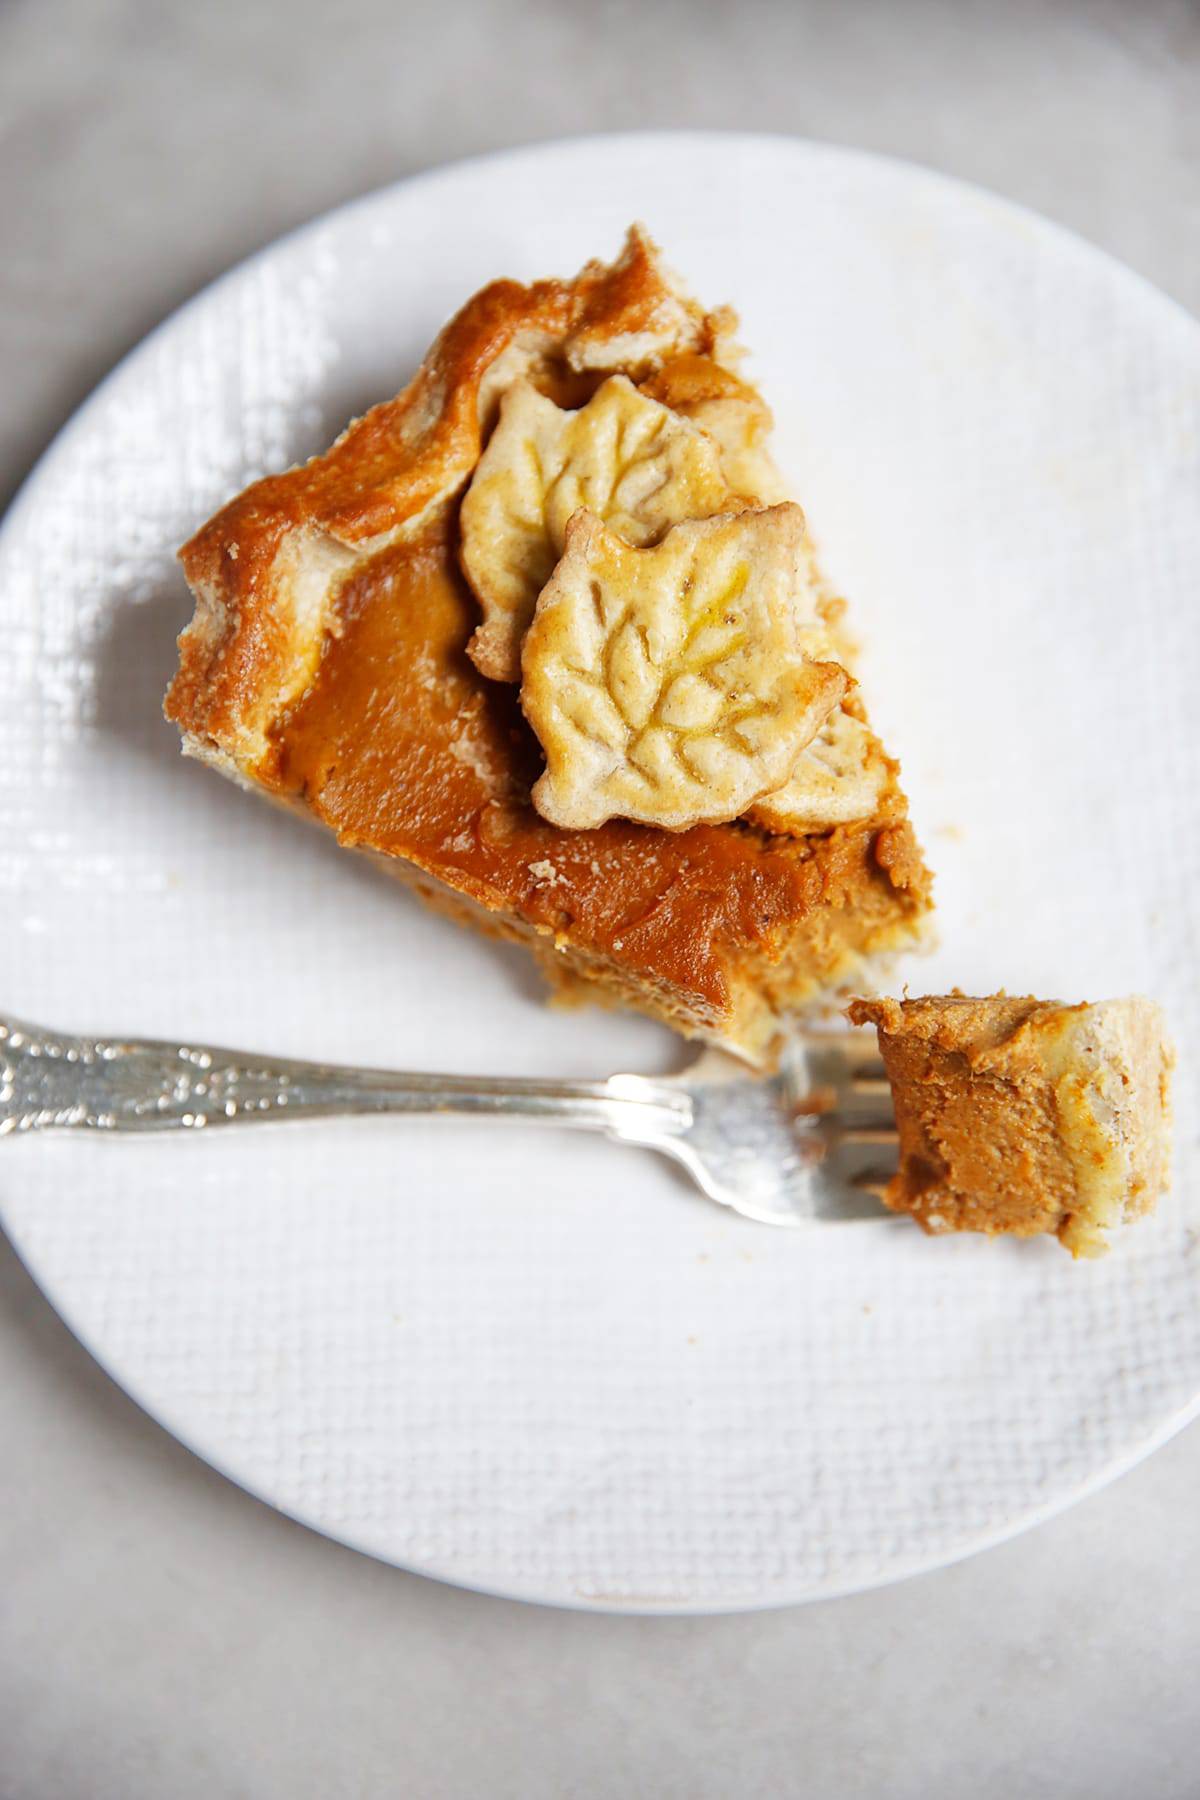
This Gluten Free Pumpkin Pie is smooth and creamy (without any cream) with just the right note of spice. It’s made using our nut-free and gluten-free crust that is so simple to put together! It’s the quintessential fall pie, destined to be the star of your holiday dessert table!
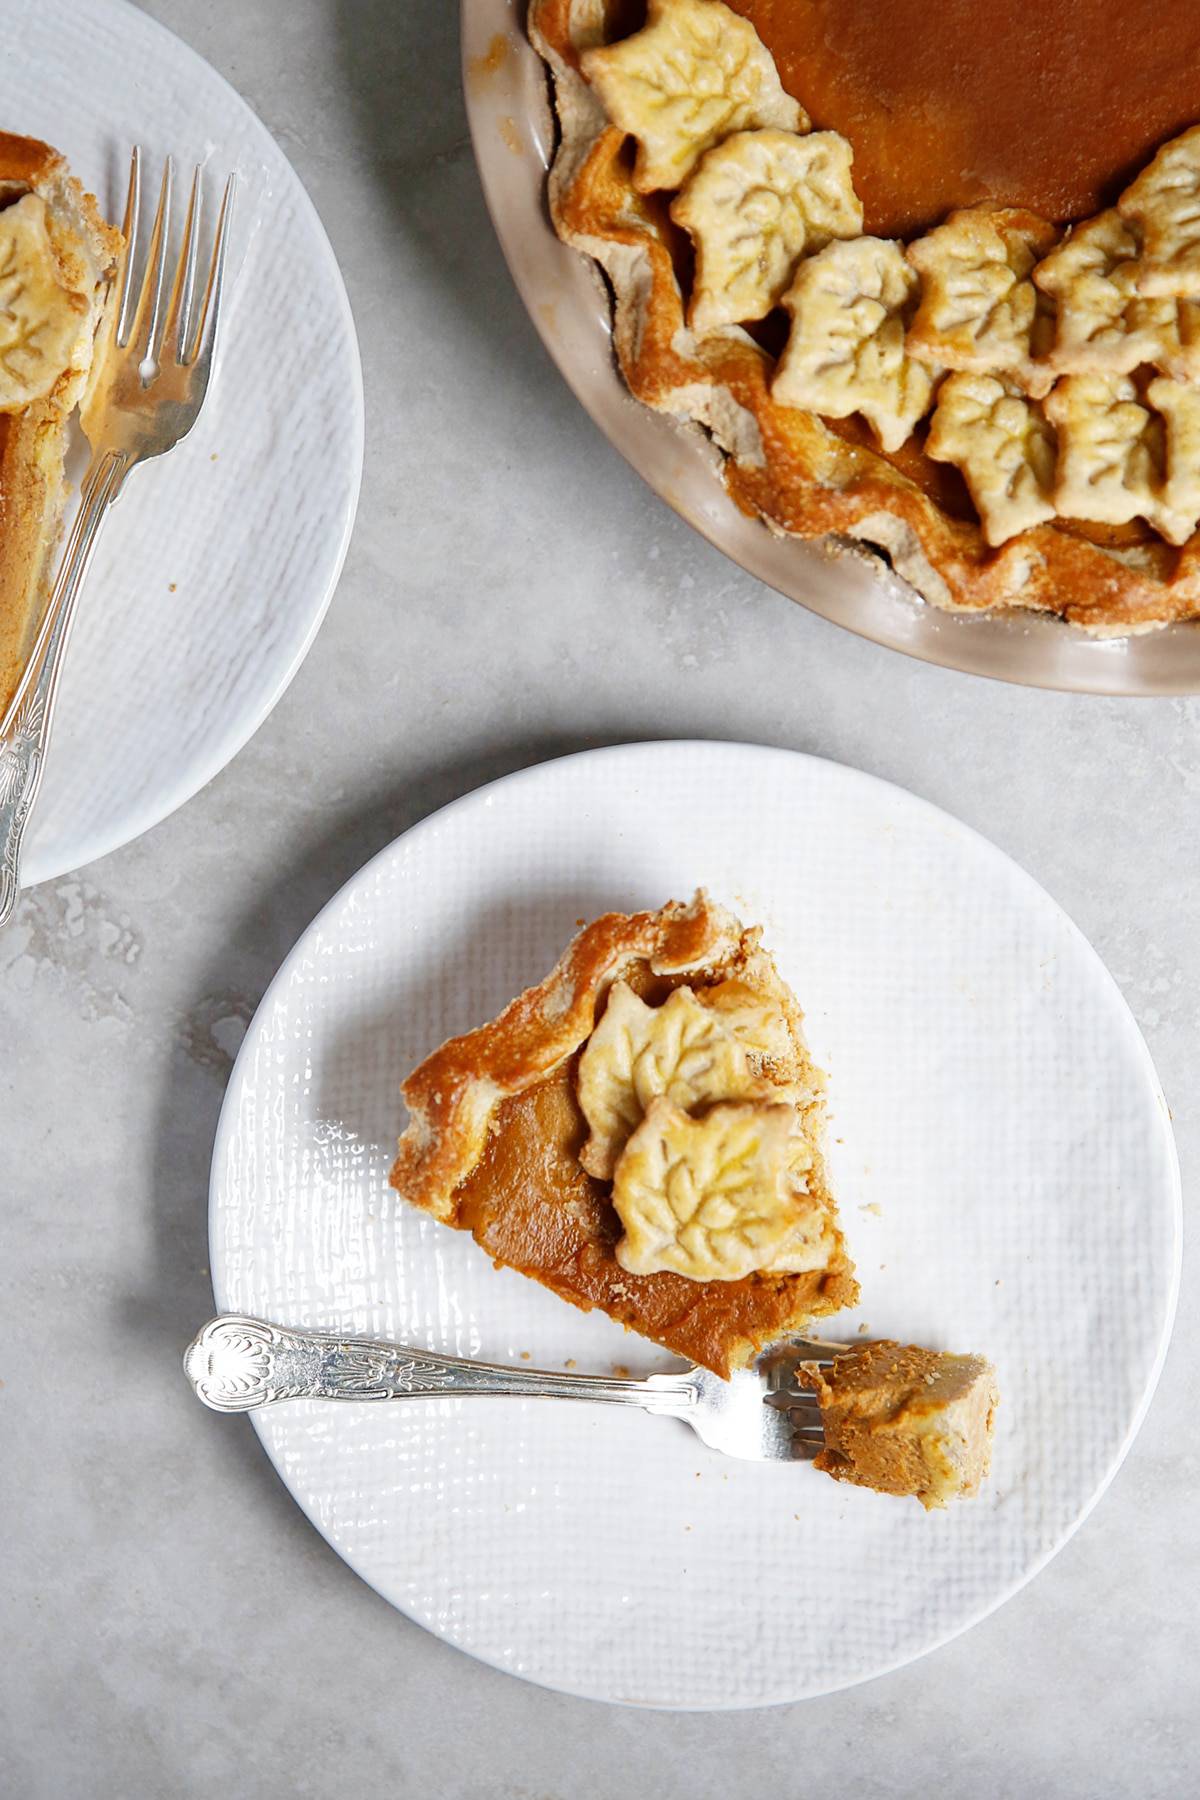
Gluten Free Pumpkin Pie
Thanksgiving is coming and I think you’d be hard pressed to find a Thanksgiving dessert table without a Pumpkin Pie on it. We’re excited to share our Gluten Free Pumpkin Pie recipe with you today, introducing our new NUT-FREE crust that so many of you have been asking for. If you don’t need to be nut-free and would rather avoid oats, feel free to use our classic pie dough, found here. The pie filling is dairy-free (but the crust isn’t as we use butter, but we offer a few subs in the notes) and the pumpkin flavor really shines through in the filling!
How to Make Gluten Free Pumpkin Pie
Typically our crust recipe, featured in our Gluten Free Apple Pie recipe, among others, uses almond flour as the base. So many of you have reached out to ask for a replacement because of nut allergies so we worked hard bringing you this nut-free crust. You may have noticed that we don’t develop a lot of recipes that use gluten-free mixes and flour blends because we love to be able to control what is added to our food. While they certainly have their place in the gluten-free world, here at LCK we would rather start with one type of gluten-free flour and build a recipe off of that to minimize what is added to our food.
Usually, that is almond flour first and foremost, so we really had our work cut out for us when we began developing a nut free crust for you. We started working on nut-free recipes by switching over the Best Paleo Bread to the best Nut-Free Bread using a 1-1 sub with store-bought oat flour. It worked so well we knew we wanted to start there.
After we got the proportions down, we needed to adjust the moisture level since oat flour can suck liquid up (like oatmeal does). For this recipe we found that adding in the right level of salt, maple syrup, and egg and a touch of water did the trick. In the future we are going to experiment with adding in different spices and flavors with this crust to see if it works in other recipes, but for now we are super happy with how this works for our Gluten Free Pumpkin Pie.
How To Make Gluten-Free Pie Crust
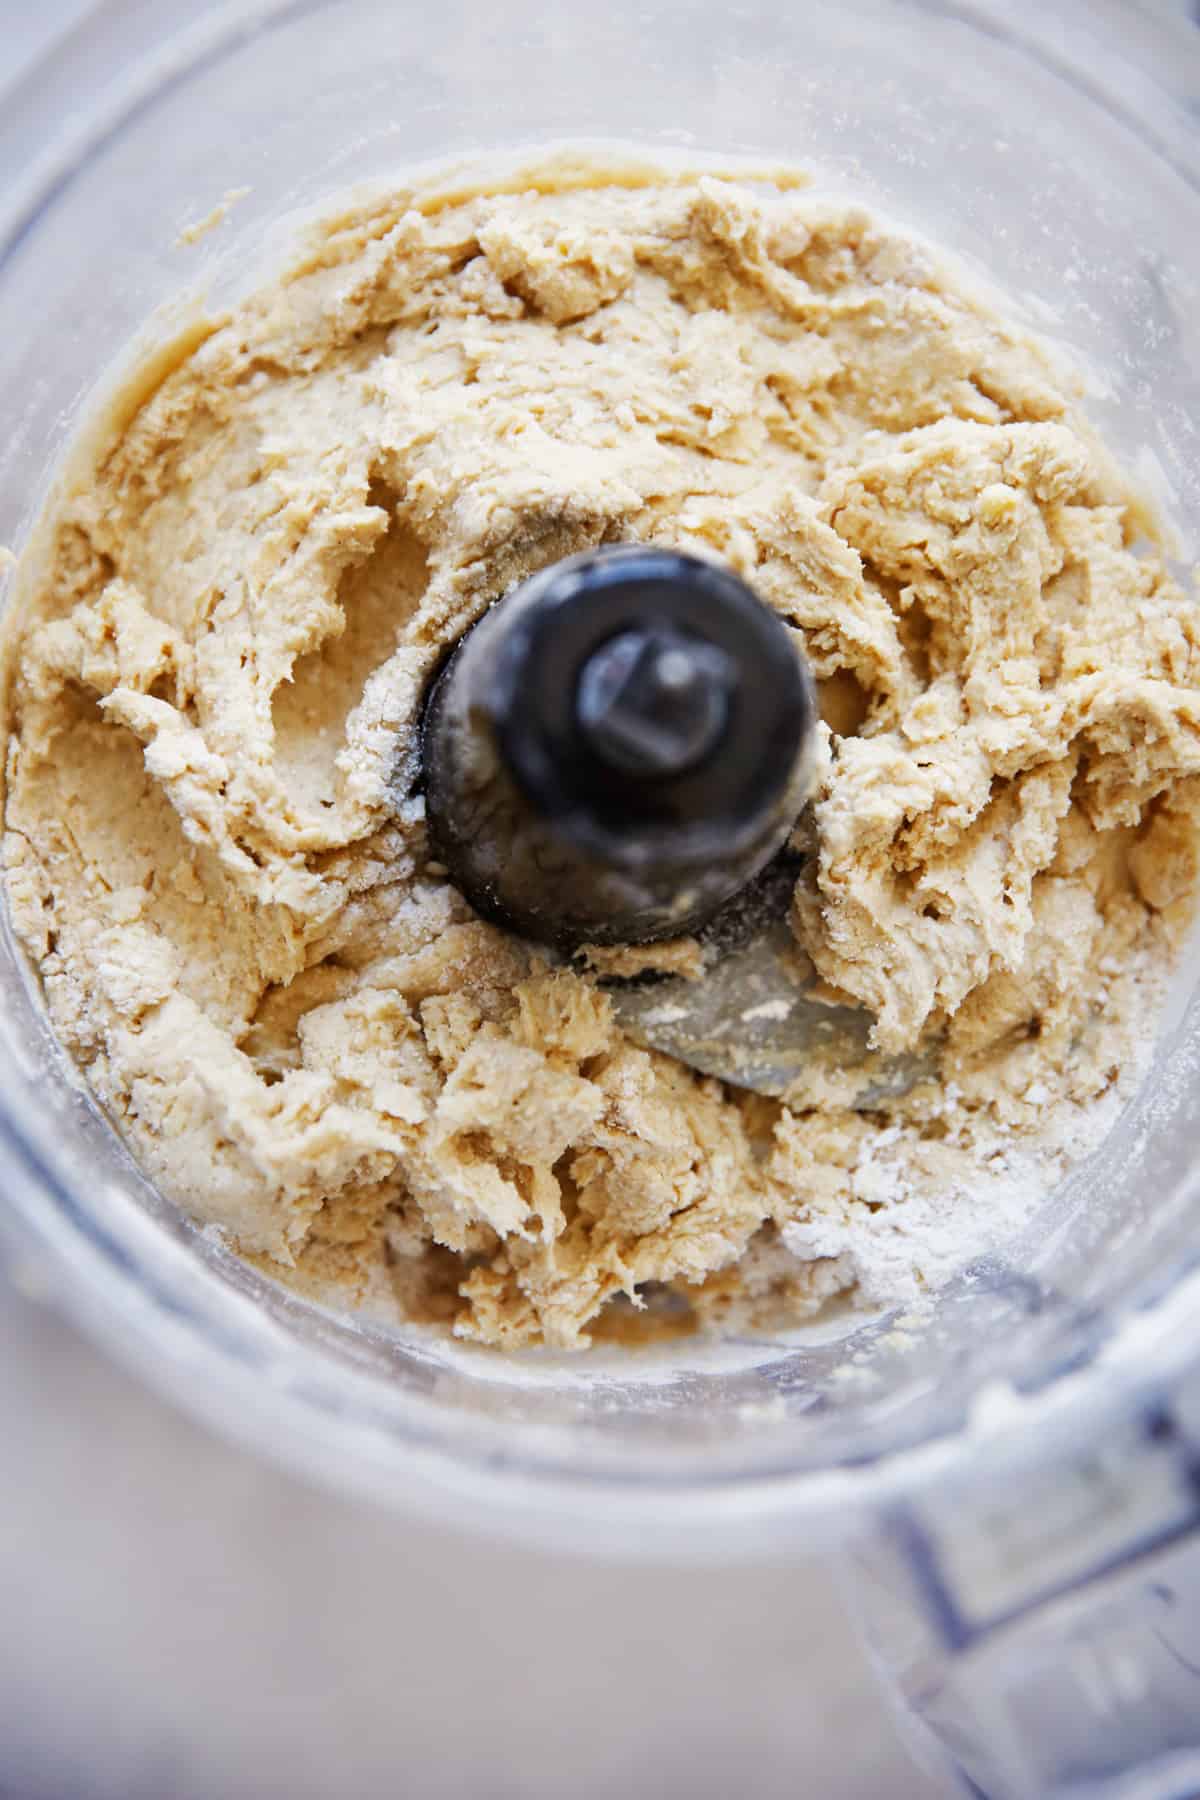
The best part about this crust is that it is SO EASY to put together. The dough comes together in a food processor in a few minutes. Just make sure that you don’t overprocess the dough: Once it has come together stop running the processor. After it’s made you CAN roll out the dough right away, which we love. This is unusual for pie crusts, that usually need to wait to rest and firm up. We found it easiest to roll the dough between two sheets of plastic. Normally we shy away from plastics, but in this crust it really is easiest if you use that vs. parchment paper. But if you don’t keep plastic in your home (we get it!), parchment will do in a bind!
We really loved working with this dough and found it simple. It should look similar to the photo above. We worked with this dough over a dozen times and have always found it super simple to work with, but we’ve gotten some feedback that some people making the dough found it wet. After testing it some more, while we never have been able to accidentally make a wet dough when following the recipe, we’ve discovered that oat flour is a bit difficult to measure out properly in the cup measurement because sometimes it is more densely packed in the bag than others. For fool proof measuring you can weigh out the oat flour instead. If you find your dough a bit more wet than the above photo add in oat flour a tablespoon at a time until it feels workable.
Blind Baking the Pie Crust
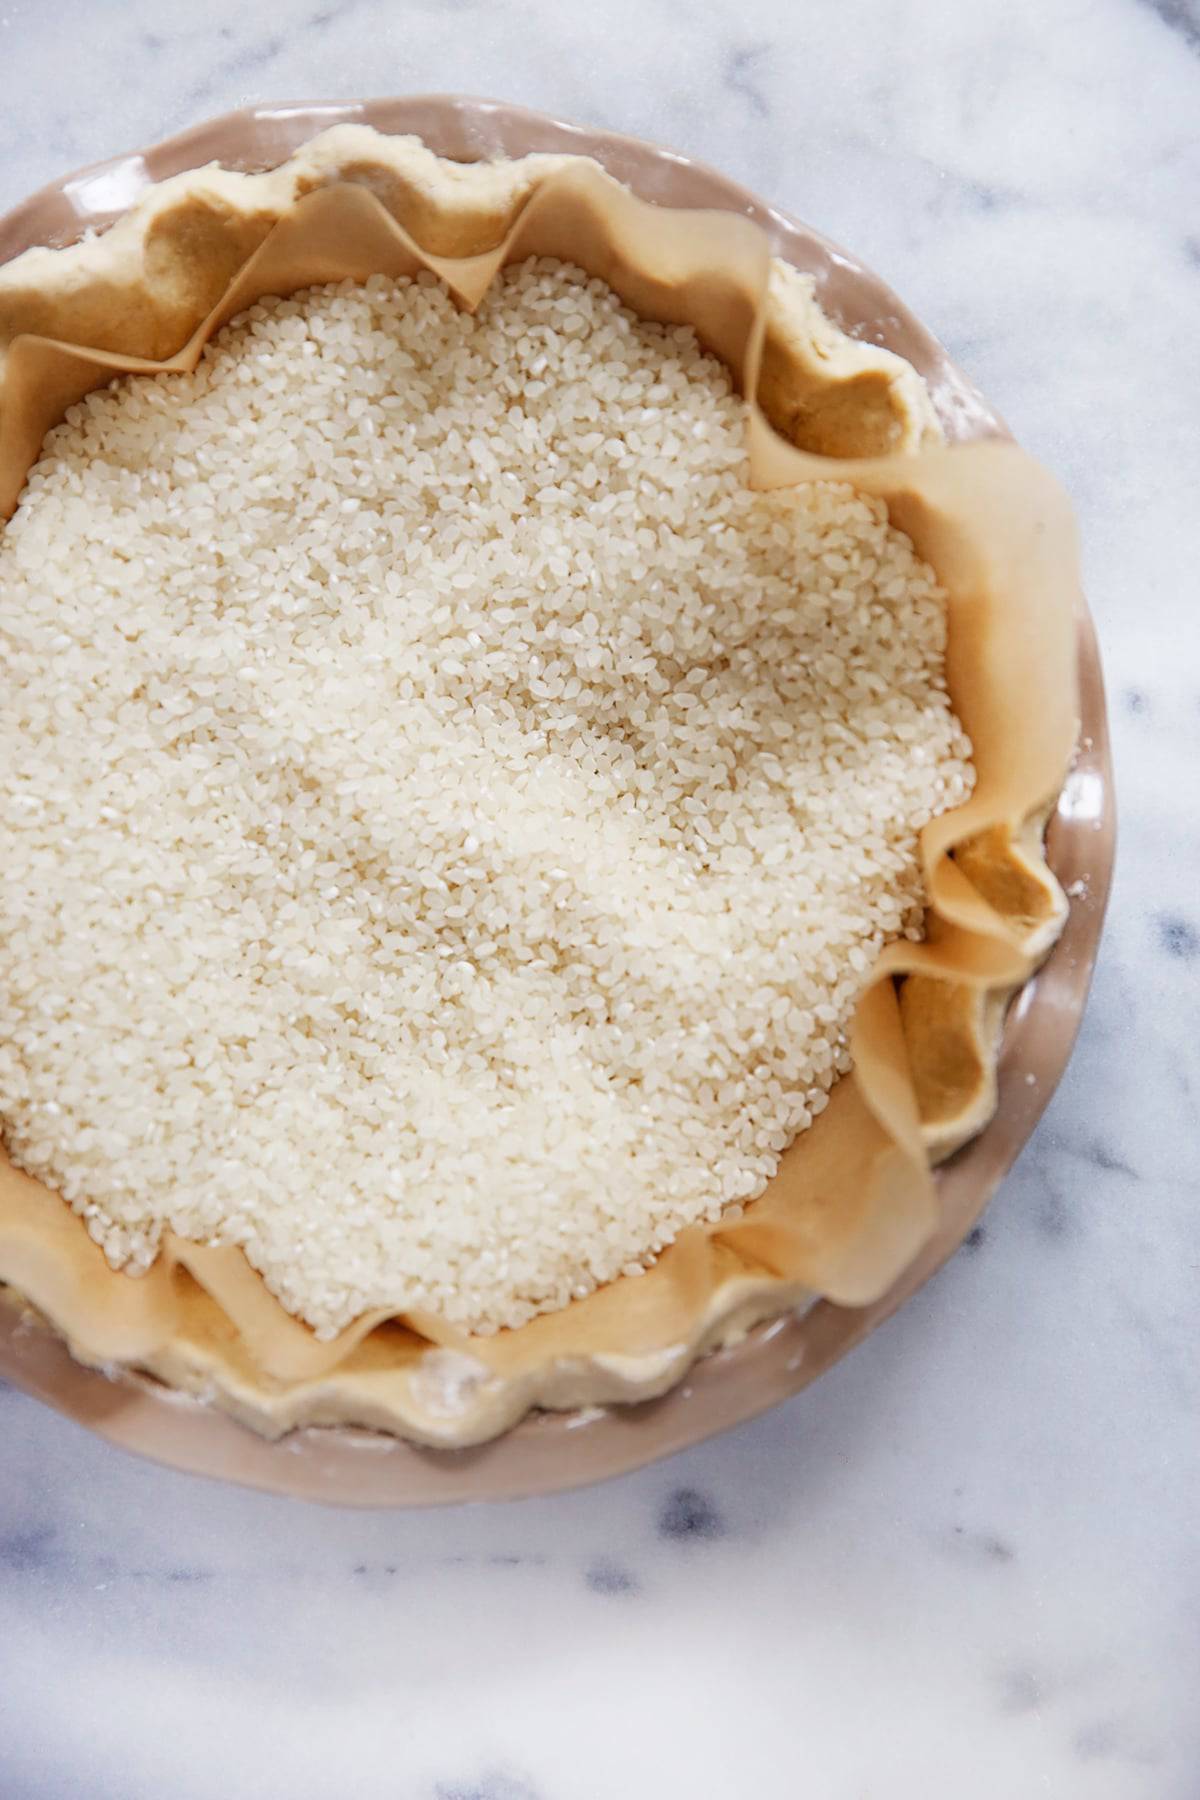
Once the dough is rolled out, invert into the pie pan right way and parbake the crust to ensure no soggy bottoms! If you’d rather wait to roll the crust you can store the pastry, wrapped in plastic, in the refrigerator for two days, but let it warm up a tiny bit before rolling (about 5-10 minutes depending on how warm your kitchen is). Once you have par-baked the pie you MUST bake it with the filling immediately after. If you wait in between par-baking and filling the shell there is a chance the crust can crack a bit. It’s not the end of the world if it does, as the pie will still bake up alright, but it’s an easy mistake to avoid by making sure you par-bake the crust and bake the filling together without waiting in between those two steps. If it does crack a bit, which we did see happen in testing if we waited in between par-baking and filling, the slight cracks magically came back together the next day.
Tips for Rolling Out Dough and Baking
- Don’t overwork the dough in the food processor! Once it “comes together” stop! Take it out.
- You can roll the dough right away! The oat flour crust works best when it is made, rolled and baked all at the same time. Luckily it really doesn’t take too much time! If you need to make the pie in steps it is better to make the dough ahead of time (up to 2 days) and then let it warm up a bit before rolling. But you must par-bake and bake the filling all at once.
- Don’t over whip the eggs in the filling. Whisk the eggs until they are combined with the filling. One classic mistake people make when baking pumpkin pie is to over whisk the eggs. This creates air in the custard and can lead to the custard rising too quick and then falling or cracking.
- Want to avoid a big crack in the filling? Don’t overbake the pie! Your pumpkin filling (or custard) should be just starting to set up when you take it out of the oven. The edges of the filling should be slightly puffy, but the center should still wiggle. The pie will continue cooking after it has come out of the oven and sets up in the refrigerator. Don’t worry if you do get a crack, it won’t affect the flavor but it is prettier without it.
- Cool the pie completely before placing in the refrigerator, and then let it set up completely in the refrigerator before slicing, at least 3 hours.
For this recipe we used these tools:
- Food Processor
- Rolling Pin
- Pie Tin
- Essential items: Bowls, Whisk, Spatula
Like this gluten free holiday recipe, check out these others?
- Pork Chop Holiday Dinner
- Maple Roasted Brussels Sprouts with Bacon
- Cranberry Walnut Roasted Acorn Squash
- Thanksgiving Stuffed Acorn Squash
- Green Bean Casserole
Watch the video:
Gluten Free Pumpkin Pie (Nut-Free, Too!)
Ingredients
For the Nut-Free Gluten-Free Crust:
- 1 cup 120g store-bought oat flour (see note)
- 1 cup 116g tapioca flour
- ½ teaspoon salt
- ½ cup butter cold, cut into 8 pieces
- 1 egg
- ¼ cup cold water
- 1 tablespoon maple syrup
For the Pumpkin Pie:
- 3 whole eggs
- 15 ounce pumpkin puree
- 1 cup full fat coconut milk
- ½ cup maple syrup
- 1-½ teaspoon cinnamon
- 1 teaspoon vanilla
- ½ teaspoon nutmeg
- egg wash optional
Instructions
- Pre-heat oven to 350ºF.
- In a food processor combine oat flour, tapioca flour, salt, and cold butter and pulse until the butter is broken down into pea-sized pieces.
- In a small bowl whisk egg, water and maple syrup together. With the food processor running, add egg mixture and process until the dough just comes together.
- Roll out your dough immediately: Place dough on a large piece of plastic wrap and top with another piece of plastic wrap. Roll out into a 12" circle and take off the top piece of plastic. Invert into a 9" pie pan and crimp the edges. If desired, brush with egg wash for a more golden crust, but this is not necessary.
- Par-bake the pie crust by placing a piece of parchment inside the crust and fill with pie weights (or dried beans or rice). Place in the oven and bake for 10 minutes.
- Meanwhile make the filling by combing all the filling ingredients and whisk to combine.
- Once par-baked remove the pie weights and parchment paper and pour the filling into the shell and bake in a preheated 350 degree oven for 50 minutes, or until the filling is set on the edges but still slightly wobbly in the middle (see note). If crust is browning too quickly cover it with foil.
- Let cool briefly, about 1 hour before placing in the refrigerator to continue to set for another 3 hours.



Perfect how it is, but wondering if you could substitute honey for the maple syrup? If so, would it be same measurement? Thank you.
Oh my goodness this gluten free pumpkin pie was so so good! With clean ingredients I felt no guilt enjoying bite after bite. Even my skeptical husband said it was really good. Definitely making this one again!
This makes me so happy.
Honestly, 10/10! I made this for Thanksgiving, and subbed butter for vegan butter due to a dairy allergy, and it worked! I let the crust firm in the fridge for a bit before rolling, and only made the crust go slightly above the filling (it was a little crumbly because of the vegan butter), but if you make a short crust it works well. Everyone loved it, and the people without allergies! And… it was even better the next day (extra bonus that you can make the day before!) Thank you, Lexi and team!
I made this last night and ate some today, is there a way to make it taste more pumpkin-y and less coconut flavor? It had nice texture and color and the crust was good too just need more pumpkin ? any suggestions?
Hi there! Can I use something like palm shortening or soy-free earth balance instead of butter? Thank you!
I made this pie a few days ago and it’s already gone ? SO DANG GOOD. It came together really fast and was so delicious. My boyfriend loved it too, and I am making it again for thanksgiving. The pie dough did come together a little too wet for me, but I just added a couple of tablespoons of rice flour and it firmed right up.
Hi Lexi! Do you think the nut free crust would work for an apple or berry pie too? Or would it only work for cream pies that are blind baked first??? ?
Do you think the filling would bake well if made crustless?
We haven’t tried it, but let us know if you do!
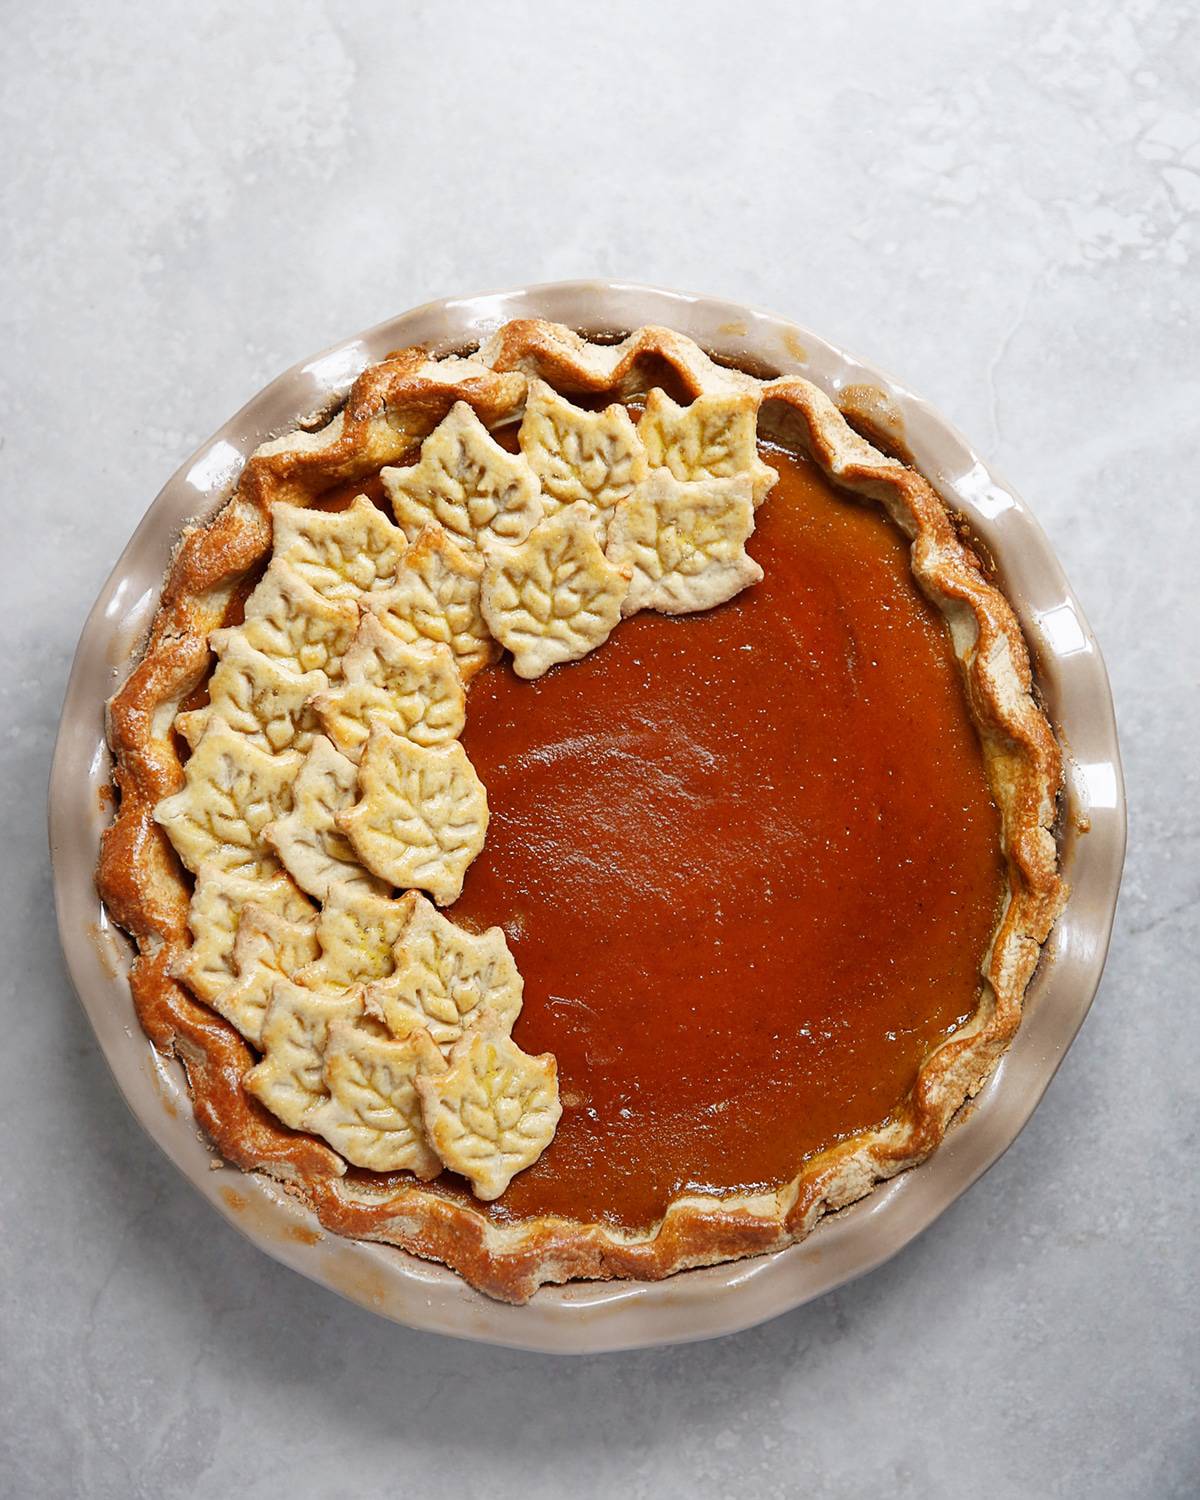
OMG, those dough leaves!