This post may contain affiliate links. Please read my disclosure policy.
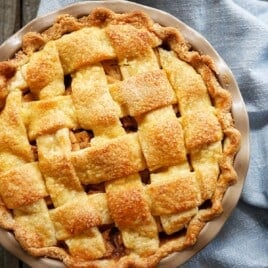
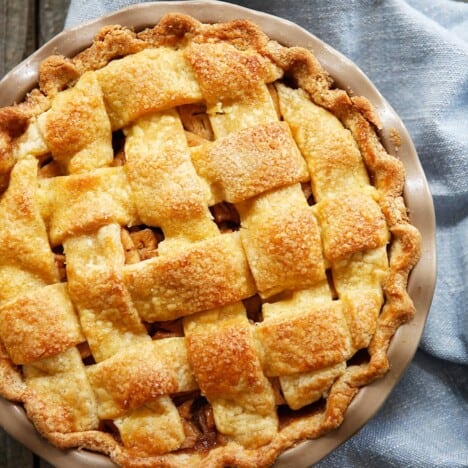
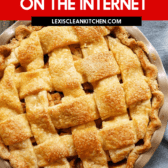
This Gluten Free Apple Pie has all the markings of the classic apple pie we know and love: buttery flaky pastry crust, a warm, gooey filling made with soft, juicy apples, and a perfect lattice top! It’s made using unrefined sweeteners and the best gluten-free crust for a Fall dessert everyone will love!
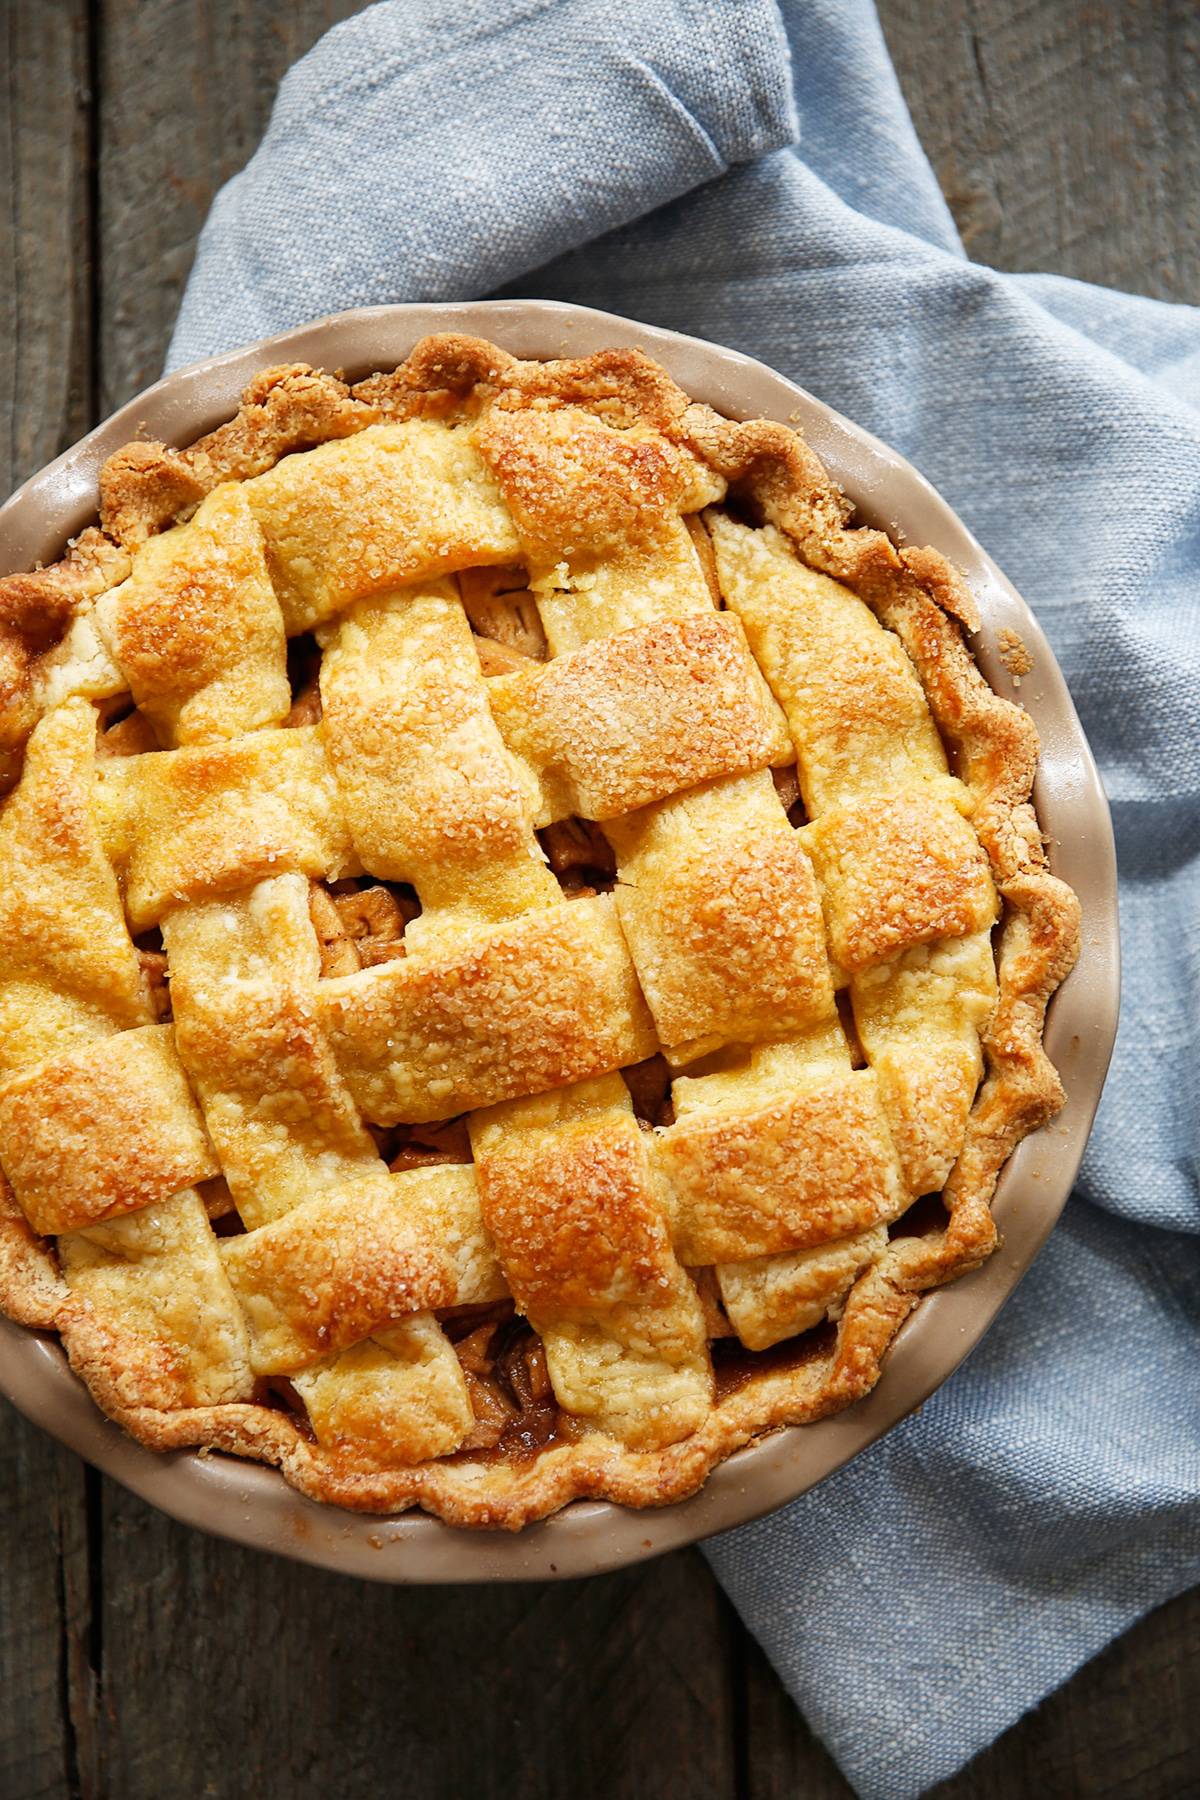
Gluten Free Apple Pie Recipe
If you were picking one apple pie recipe to make for all time, then congratulations. You have found it! Apple pie is a must-make during the fall season: at least once! This apple pie recipe is the perfect fall dessert for Thanksgiving, Friendsgiving, or a cozy Sunday night.
This gluten-free apple pie recipe stays true to what we believe: a classic apple pie should be bursting with spiced apples, warm notes of cinnamon, and a beautiful lattice pie crust. Piping hot from the oven, your entire house should smell divine. However, our apple pie recipe is gluten-free and made without refined sugar. Meaning, it’s slightly more wholesome than your traditional pie—without compromising on taste and texture! If you love apple desserts, take a peek at our other gluten-free apple recipes. The more the merrier.
What Is Gluten-Free Pie Crust Made Of?
Glad you asked. Our favorite gluten-free pie crust uses a combination of almond flour, tapioca flour, and butter. Almond flour provides a fluffy texture while tapioca flour helps thicken the pie. The result is flaky and irresistible. If you’re also dairy-free (or someone in your family is!), you can sub the butter for palm shortening or a non-dairy butter. It does alter the flavor of the pie crust, but it works otherwise.
Note: We have two crusts you can use:
Ingredients Needed
For the Gluten-Free Pie Crust
We used the almond flour pie crust. Here are the ingredients we needed for that:
- Blanched Almond Flour: A common grain-free flour, it’s made from ground, blanched almonds (the almond skins have been removed).
- Tapioca Flour/Starch: Tapioca helps add crispness to the pie crust. It’s an extremely smooth flour.
- Salt: Brings out all of the pie’s flavors.
- Butter: You can sub ghee or coconut oil if preferred, but I prefer to use grass-fed butter. If you are dairy-free, you can substitute the butter for palm shortening or non-dairy butter. Keep in mind this will alter the flavor a bit.
- Eggs: Add structure, richness, and color to this gluten-free apple pie.
- Honey: For a touch of natural sweetness!
- Optional:
- Egg Wash: This gives the lattice a nice shiny finish. An egg wash is a mixture of 1 egg mixed with 1 teaspoon of water.
Coarse Raw Sugar: An optional topping for the pie to give it a sweet, slightly crunchy finish.
For the Healthy Apple Pie Filling
- Apples: We use a combination of Granny Smith and Gala. Be sure to peel, core, and thinly slice the apples.
- Lemon Juice: Lemon juice prevents oxidation of the apples!
- Coconut Sugar: Not only is coconut sugar a healthier option, but it adds a caramel-y flavor that goes so well with the other warm flavors in the filling.
- Tapioca Flour/Starch: This helps thicken the filling to give it that classic gooey texture.
- Vanilla Extract: A baking must!
- Fine Sea Salt: Regular table salt will work as well.
- Ground Cinnamon, Nutmeg, and Ginger: This trio creates an easy apple pie spice blend and provides depth of flavor for perfectly spiced apples. Use fresh nutmeg for the best flavor.
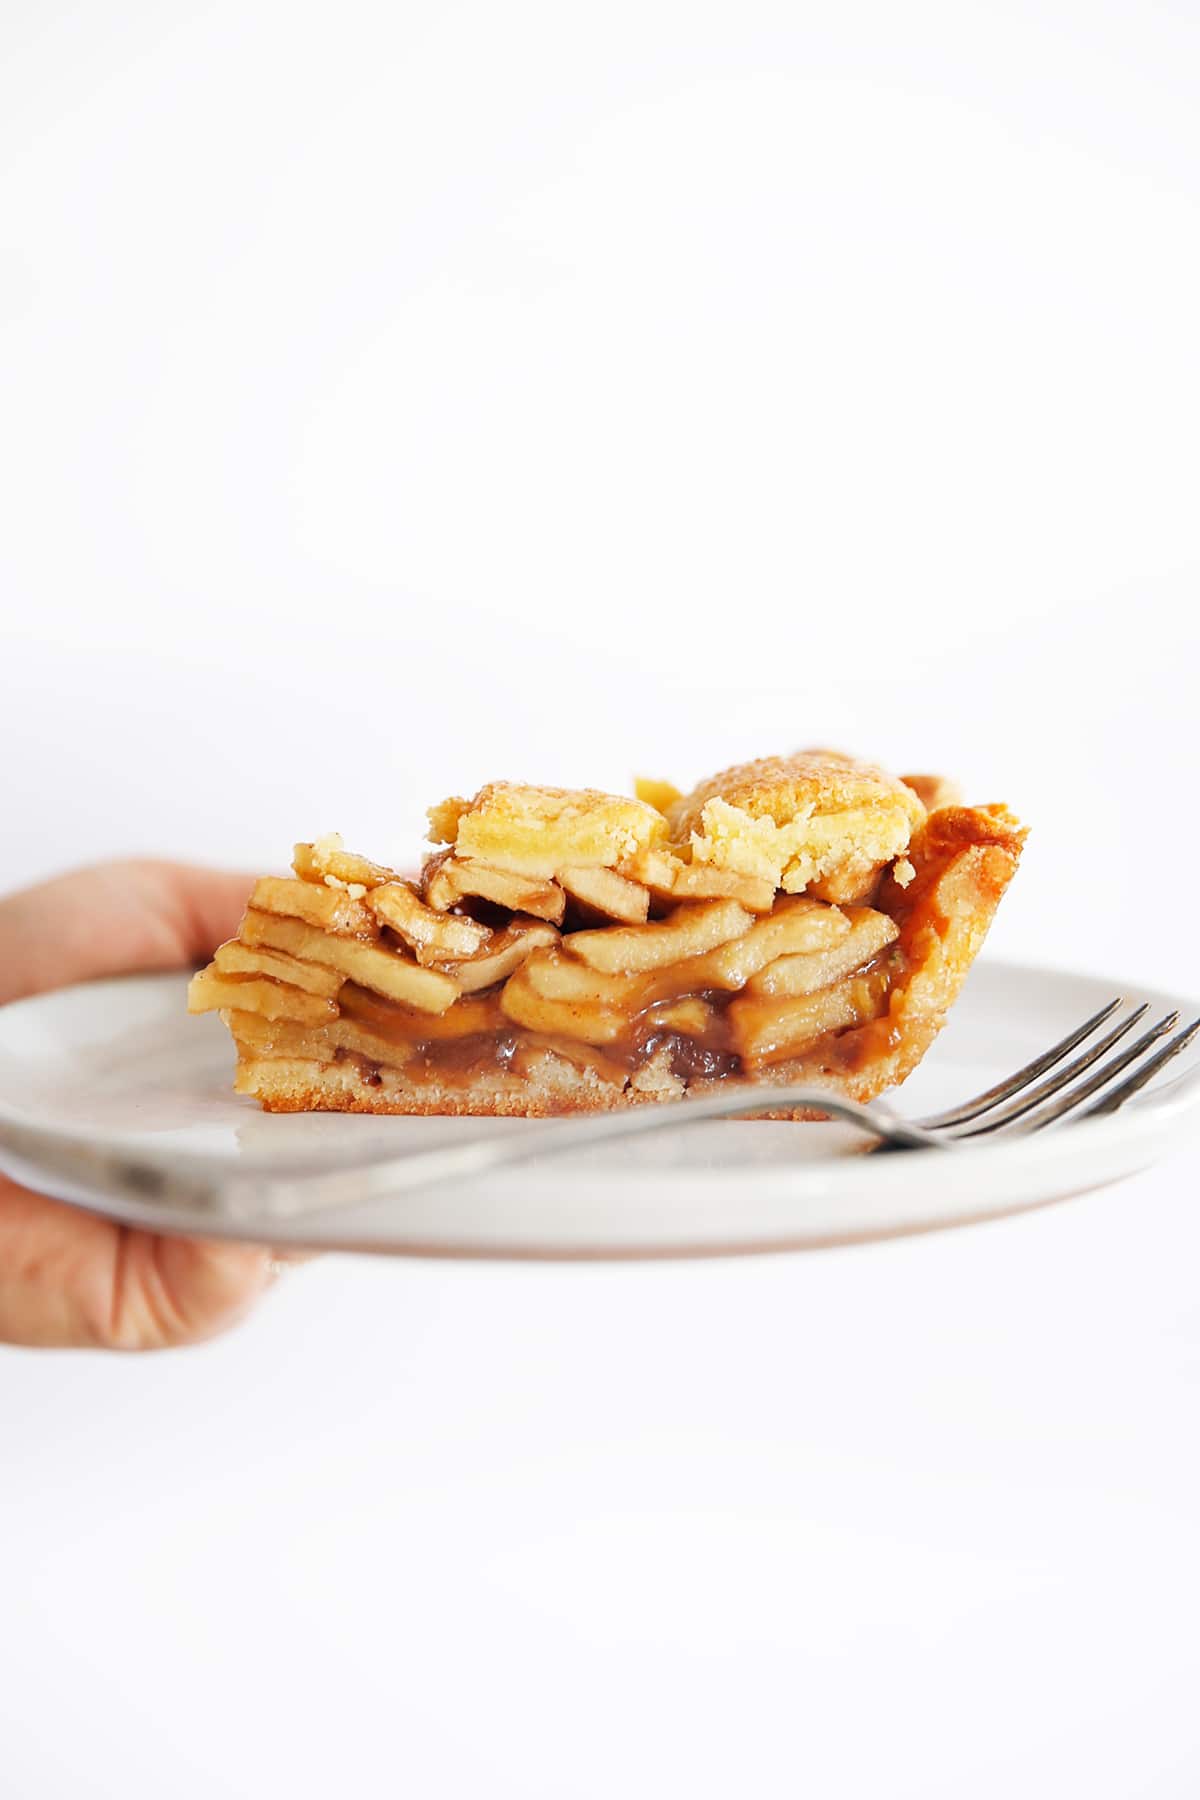
Kitchen Tools We Used:
If you don’t have all of these kitchen tools, that’s totally okay, but these are the tools we used to make this recipe simple and easy!
- Food Processor: you can mix the dough by hand, but a food processor does make it easier.
- Apple Peeler and Slicer: this is such an easy way to peel and thinly slice the apples at the same time. If you don’t have one though, you can use a vegetable peeler and a sharp knife.
- Rolling Pin: Or if you don’t want to buy one and have a wine bottle, that’ll work, too!
- Pizza Wheel: I used this to make the lattice, but you can easily use a knife as well.
- Apple Stamps or Leaf Stamps
- Pie Tin/Plate
- Pastry Brush
How to Make Apple Pie
With a homemade crust and filling, this gluten free apple pie recipe is surprisingly simple to put together! See the recipe card below for more detailed instructions!
- Mix the dough: Combine the flour, salt, and butter in a food processor, then add in the eggs and honey. Process until the dough comes together.
- Shape and chill: Shape the dough into two round disks, wrap in plastic, and refrigerate for at least 4 hours. I usually make it the night before and refrigerate it overnight.
- Form the crust: Remove one dough disk from the fridge. Between two sheets of parchment, roll the dough out to fit the size of a 9” pie tin. Remove one sheet of parchment, then invert the pie dough into the tin.
- Make the healthier apple pie filling: Combine sliced apples, lemon juice, coconut sugar, tapioca, vanilla, salt, and spices in a large bowl. Spoon the mixture into the crust.
- Top it off: Roll the remaining dough disk into an 11” circle. If you’re making a lattice, cut the dough into 8-10 strips and weave on a sheet of parchment. If you’re using the dough to cover the pie without the lattice, simply place it on top, seal the top pastry with the crust, and slice a few holes to vent.
- Bake: Brush the crust with egg wash and coarse sugar. Place on a rimmed baking sheet and bake until the apples are tender and the filling is bubbly.
How Do I Know When My Apple Pie Is Done Baking?
The time can depend on your oven, the thickness of your apple slices, etc. You’ll be able to tell if the pie is done baking when the filling is bubbly and the apples are tender, but not mushy. You’ll bake the pie at 350ºF for about one hour.
If the crust is starting to get too brown but the filling isn’t quite done, tent the pie with aluminum foil then continue to bake!
What are the Best Apples for Apple Pie?
We use a combination of Granny Smith apples and Gala apples. The tart, almost sour flavor of the Granny Smith goes so well with the sweeter flavor of Gala apples.
If those two varieties aren’t available, check out this apple guide to figure out which apples are best for baking!
Should You Peel Apples for Apple Pie?
Yes, we recommend peeling the apples before incorporating them into the pie. This tool makes it super easy. When cooked, apple peel can become slightly chewy which can be unpleasant in the sweet, gooey filling.
If you do decide not to peel your apples, make sure that you wash them thoroughly.
Do You Cook Apples Before Putting Them in a Pie?
Nope! There’s no need. If the apple pieces were bigger, maybe, but since we’re thinly slicing the apples they have plenty of time to soften into the perfect apple pie filling.
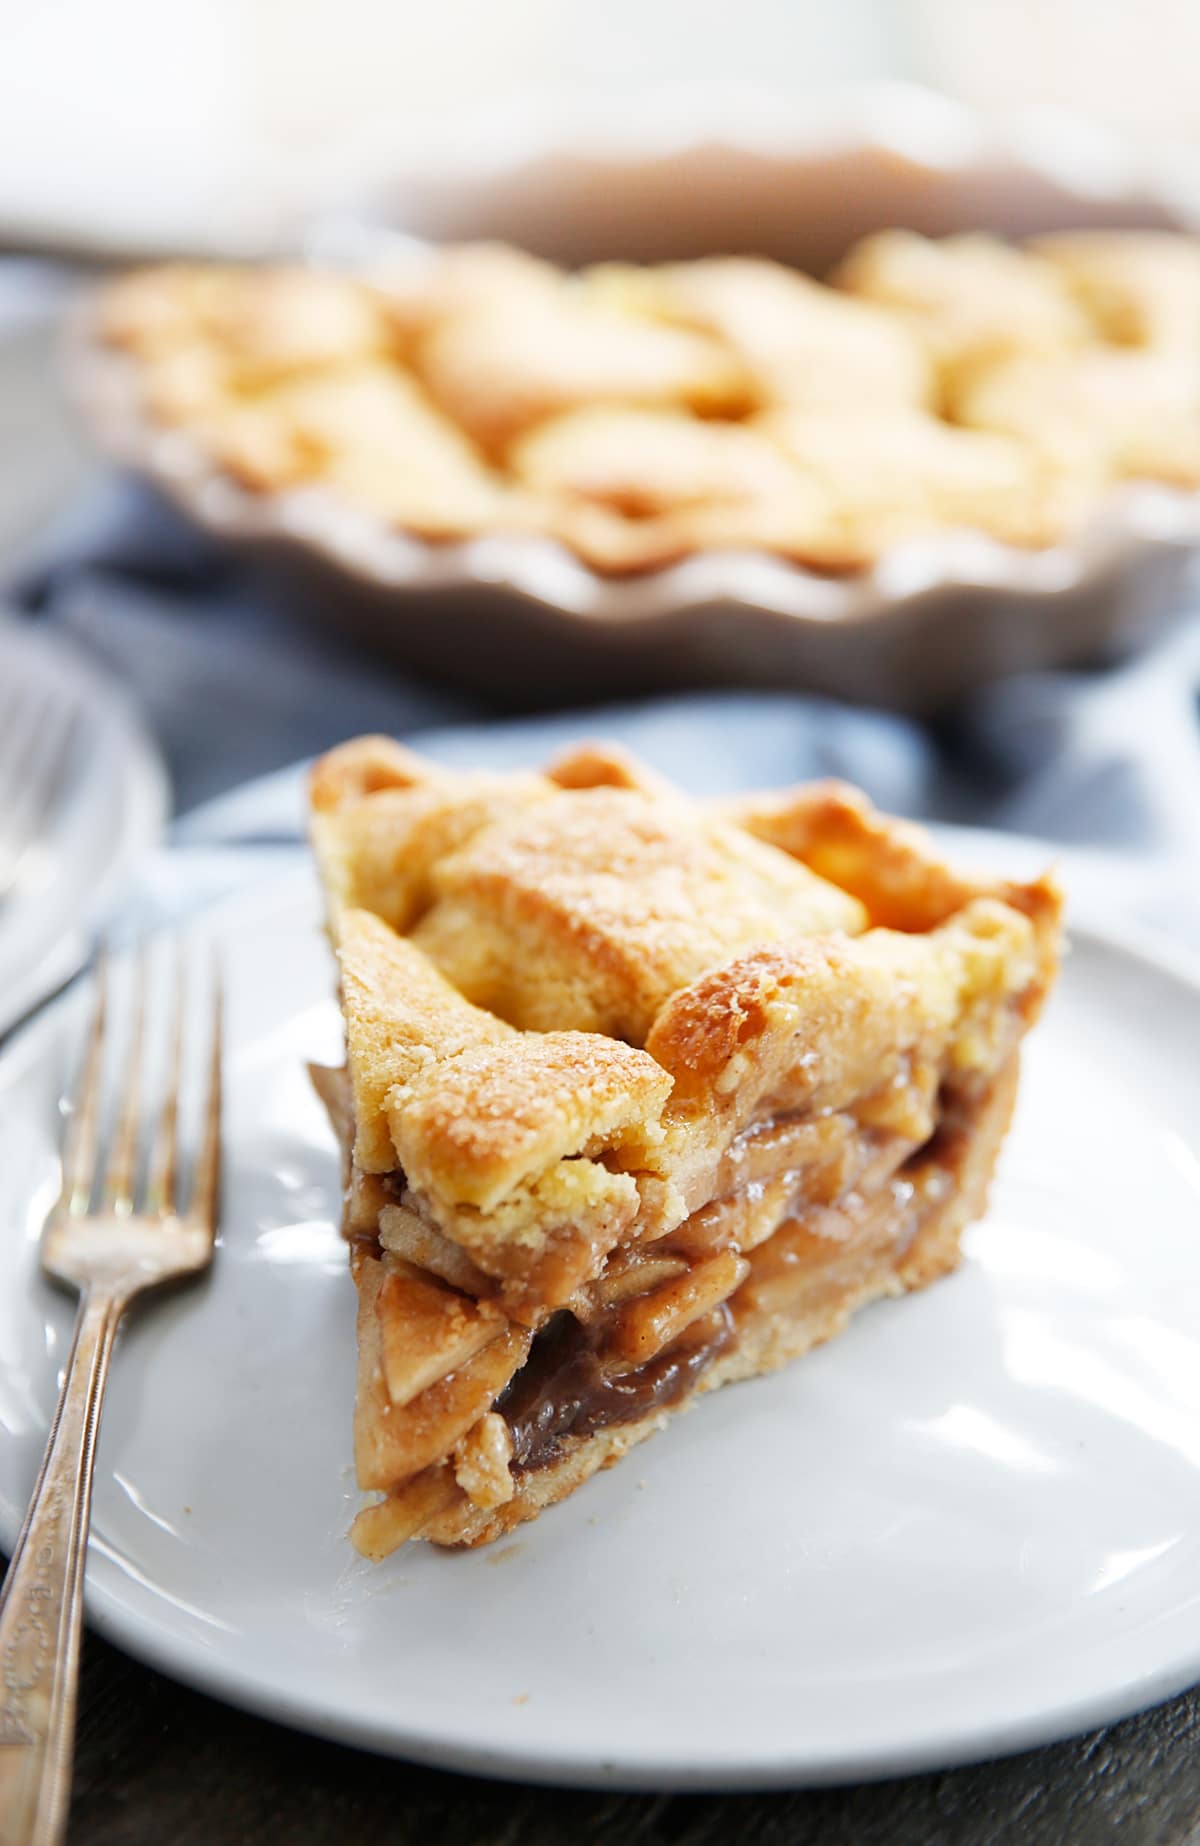
Tips For Making The Best Gluten-Free Apple Pie Crust
If you’re new to making homemade pie, it can feel overwhelming. I promise it’s not that difficult! Use these tips as a checklist.
- Don’t over-work the dough. Mix the ingredients until just combined for a lighter, flakier crust. If you over-process the ingredients, the crust will be chewier and denser.
- Use cold butter. The cold butter in the dough steams slightly and leaves little pockets of air which gives the crust that lighter, flakier texture.
- Chill the crust. After you make the pie dough, chill it in the fridge for at least 4 hours, but ideally overnight. The cold dough holds up better next to the filling as it bakes and is easier to work with. Tip: If it’s getting too warm, place it back in the fridge for 10-15 minutes.
- When you’re placing the apples inside the dough, be sure to pack them in tightly. This reduces the chance that the filling will shrink when baking which will leave a gap between the apples and top crust.
- Let it cool. After the pie is baked, let it cool for at least an hour and up to 4 hours before slicing into it to give the filling time to set. If you slice into it too soon, the apple pie filling will be runny and the pie won’t hold its shape.
- If you’re making a lattice, be sure to chill the dough to make it easier to work with.
- If you’re covering the pie with a crust, don’t forget to cut a few slits in the top to allow steam to escape.
Prepping Ahead of Time
- Bottom crust: You can prep the dough 1-2 days ahead of time and store it in the fridge. You can also prep and roll out the dough, place it into the pie dish, and store it in the fridge for a few hours or up to a day ahead of time.
- Top crust: Place the top crust on a parchment-lined baking sheet and cover it with plastic wrap. If you’re making a lattice, do so on a piece of parchment paper, cover with plastic wrap, and store it in the fridge for a few hours or for up to a day. When you’re ready to place it on top, invert the lattice from the parchment paper onto the filled pie.
- The pie: You can make the whole pie a day ahead of time and leave it at room temperature for up to 24 hours. When you’re getting closer to serving it, simply warm it in the oven for 10-15 minutes at 350ºF.
How to Decorate Your Pie
We chose to weave a lattice to top the apple pie because, first of all, it looks pretty. We also wanted to show that it can be done with a gluten-free crust! If you do want a lattice, it’s easier with this crust if you use bigger strips of pastry. Also, make sure the pastry is cold while you’re working with it so it’s easier to work with. When in doubt, stick it in the fridge for 10 minutes!
If you don’t want to mess with the lattice, no problem! It’s totally not necessary. You can simply place a rolled-out crust on top of the pie with a few slits for the steam to escape. As-is is totally fine, but feel free to decorate that further with a few designs from stamps or apple cuts.
You really can’t go wrong. No matter how you choose to decorate or not decorate your pie, it’s going to taste delicious!
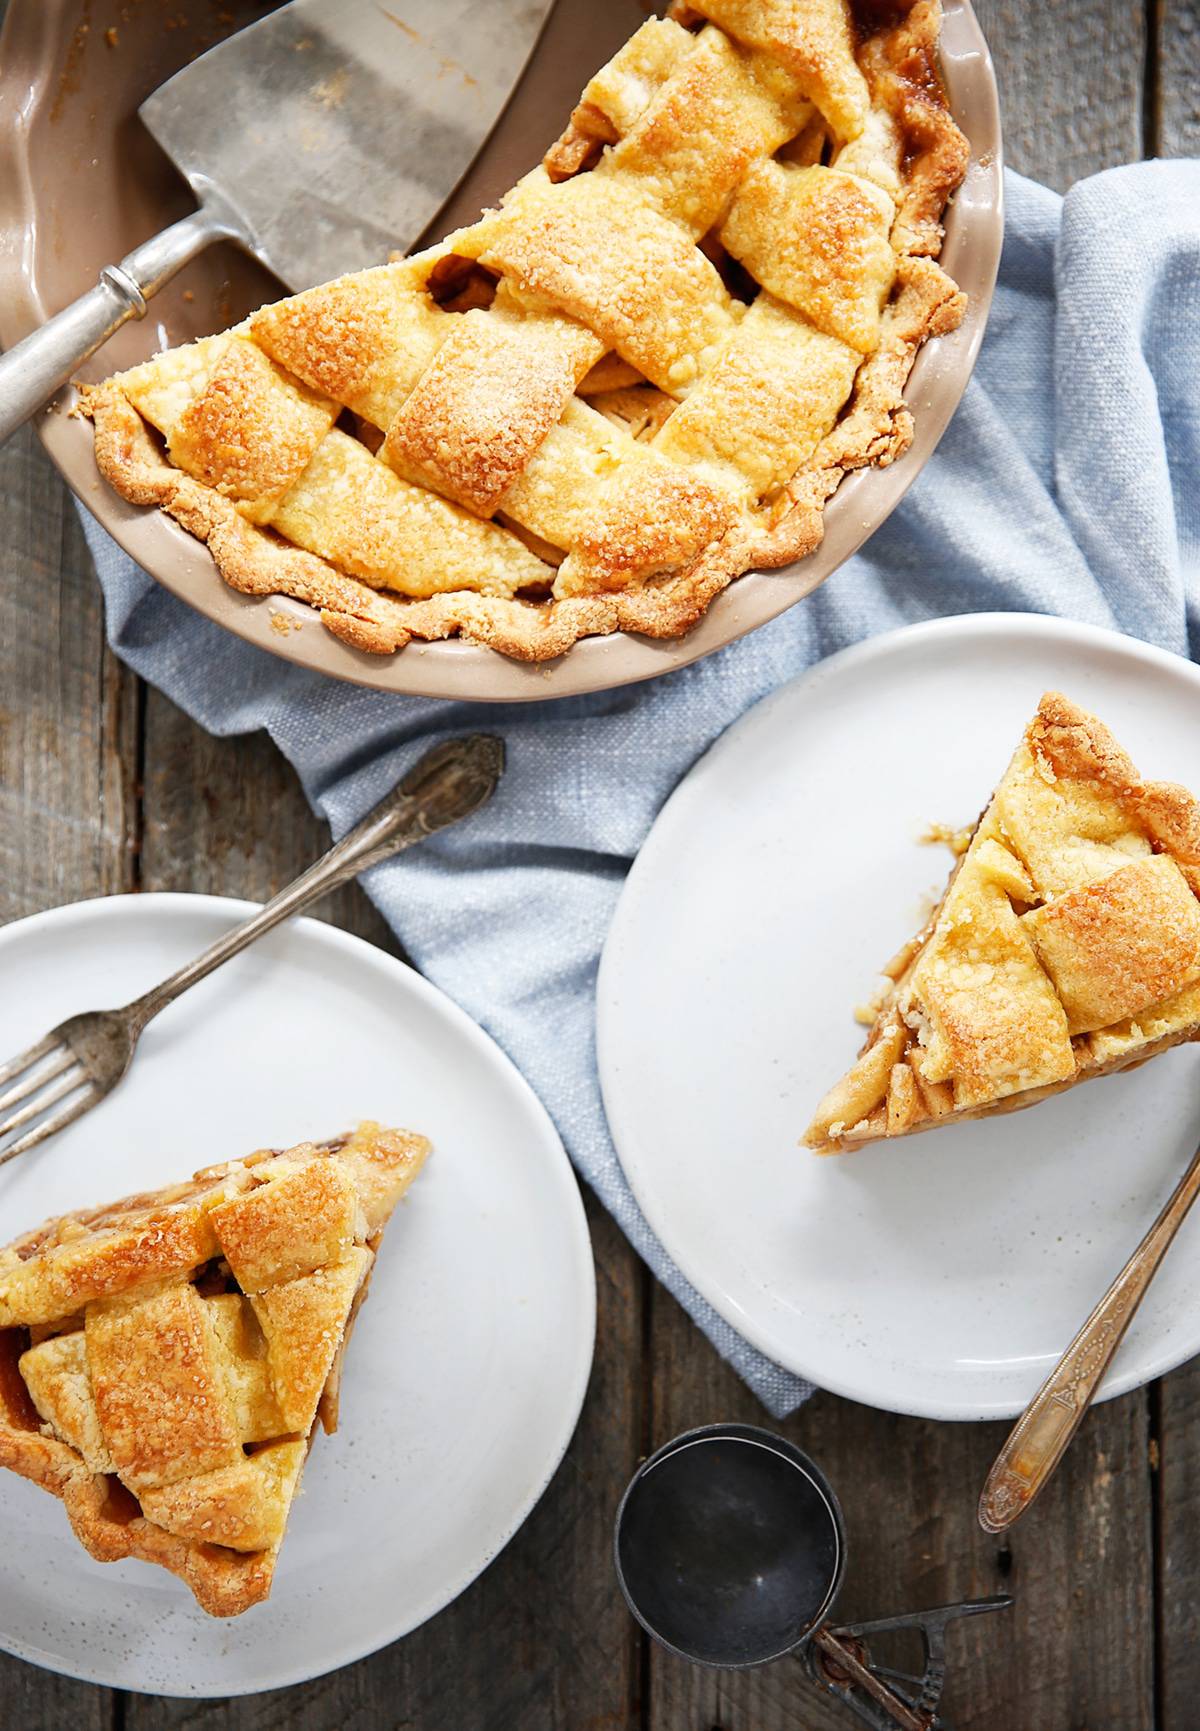
How To Store Leftover Apple Pie
Because you can totally make your pie a day before serving it!
Refrigerating:
You can leave the apple pie at room temperature for up to 24 hours, but it should be stored in the fridge if you’re storing it any longer than that. It will last in the fridge for up to 5 days.
Freeze Your Baked Apple Pie:
Yes, you sure can! Baked apple pie can be frozen for 3-4 months. When you’re ready to serve, thaw at room temperature, then bake at 350ºF for roughly 30 minutes or until the pie is heated all the way through.
What To Serve With Apple Pie
Although delicious on its own, apple pie à la mode is my favorite! Serve with a scoop of vanilla ice cream (dairy or non-dairy). Even a maple walnut or butter pecan ice cream would be divine. You can also add a dollop of coconut whipped cream.
More Gluten-Free Pie Recipes to Try:
- S’mores Pie
- Pecan Pie Tarts
- Key Lime Pie Tarts
- Gluten-Free and Nut-Free Pumpkin Pie
- Gluten-Free Blueberry Pie
- Apple Hand Pies
Watch the Video:
Gluten Free Apple Pie
Ingredients
For Crust:
- 2 cups 192g almond flour
- 2 cups 240g tapioca flour / starch
- 1 teaspoon salt
- 1 cup 2 sticks butter, cold, cut into cubes
- 2 eggs
- 1 tablespoon honey
For Filling:
- 8 small to medium apples peeled, cored and sliced thin
- 1 tablespoon lemon juice
- 3/4 cup coconut sugar
- 3 tablespoons tapioca flour / starch
- 2 teaspoon vanilla extract
- 1/2 teaspoon fine sea salt
- 1 teaspoon ground cinnamon
- 1/2 teaspoon ground nutmeg fresh, if you can
- 1/4 teaspoon ground ginger
- egg wash see note
- coarse raw sugar
Instructions
To Make Pie Crust:
- In a food processor combine almond flour, tapioca flour, salt and cold butter and pulse until the butter is broken down into pea-sized pieces.
- Add in eggs and honey and process until the dough comes together.
- Shape dough into two round disks, wrap in plastic wrap and transfer to refrigerator until cold, at least 4 hours or overnight.
To Prepare Crust and Filling:
- Preheat the oven to 350ºF. Remove one dough disk from the refrigerator (leave the other chilling). Between two sheets of parchment, roll out dough to fit the size of a 9 inch pie tin, about a 12 inch circle. Removing one sheet of parchment and invert the pie dough into your tin.
- To make the filling: In a large mixing bowl combine the sliced apples, lemon juice, coconut sugar, tapioca, vanilla, salt and spices and toss until combined. Spoon apple mixture inside pastry lined tin and place back in refrigerator while rolling out the top crust. (See note)
- Roll out the remaining dough disk to an 11" circle. If you are making a lattice, cut the dough into 8 or 10 strips (depending on your lattice ability!) and weave the lattice on a sheet of parchment.
- Remove chilling filled pie from refrigerator and either invert lattice on to the top of the pie, or place the whole rolled pastry on top. Seal the pastry pieces together, and crimp the crust, if desired. If covering the pie make sure to slice in a few holes to let the pie vent. If at any point during the process of making a lattice or placing on the pastry the pie crust gets too warm and is difficult to work with place in the refrigerator on sheet tray until cool enough to handle 10-15 minutes.
To Bake Pie:
- Brush crust with egg wash, and coarse sugar, if using and place on a rimmed baking sheet and bake until apples are tender and filling is bubbly, about 1 hour. If crust is browning too quickly, tent with aluminum foil.
- Let cool at least 1 hour before serving, but best to wait at least 4 hours.

I’ve been using your recipe for the last few years for my Thanksgiving pies and they always turn out amazing and no one notices that they’re gluten free. I’ve also always subbed potato flour for the tapioca flour since it’s easier for me to get and have had no issues. Thanks again and looking forward to making it again this year!
So love hearing this! Enjoy!!
I’ve made this pie a few years in a row and it’s always a winner! Everybody loves it and asks for the recipe. Thank you so much for putting so much thought, knowledge and effort into creating these amazing dishes ❤️
Thank you for this recipe! My husband is gluten free and never gets to enjoy pie like the rest of us. I made this for Thanksgiving this year and it was a hit with everyone! No one could even tell the crust was gluten free. Amazing!
Can you use date sugar instead of coconut sugar?
I made this today. My crust wasn’t pretty but it tasted great! Will definitely make for Thanksgiving
I Bake TONS but never Gluten Free and this was the BEST crust!!! SOOOOO happy to have found it!!
I am SO happy!
Hi, Lexi! Can I substite tapioca starch for arrowroot starch? Thanks!
In theory it should work – see this post: https://lexiscleankitchen.com/gluten-free-pie-crust/
Hey there! I’m very exited to make this, as it’s the second day of autumn and I’m exited to get the vines flowing! I just have a few questions! So a( what can I use instead of a food processor? Would a blender or electric mixer work? And b( can I use a gluten free flower blend? Thanks so much! <3, TheLittleMerbaker
LOVE this pie. It’s a staple in the fall and around the holidays in our house.
YES! So happy.
This is the second time I’ve tried this recipe and the crust is a bit of a challenge to work with, but keeping it chilled certainly helps! But my crust is very dark…even if I cover with some foil. It tastes good, not burnt, but definitely looks overdone.
Also, do you have any advice using frozen apples. We have a wonderful apple tree and freeze a lot of apples in the fall, so I like using those apples in my pies.
This was a great recipe and so delicious. I tried the lattice pattern and chilling it as suggested was key!
Hi again! I used half the amounts, in other words (I took notes) 96g almond meal, 120g tapioca starch, 1/2 tsp salt, 120g butter, 1 egg and 1/2 TBSP honey. I pulsed as directed and, as I said, the dough looked good. I baked at 175°C for an hour or so. I did make a double crust pastry, as a matter of fact it was my first attempt at making a lattice pattern! Pulsing to get pea-size butter pieces was a good idea. Even though I am not planning to make this dough again, I am saving the technique for future attempts. I understand you feel disappointed at my failure, but I really cannot figure where I went wrong. Maybe my palate was expecting something else? Anyway, I can see that other people enjoyed this recipe, so don’t worry about me ?
This pie has been absolutely fantastic! all my friends love it!! Winner for Thanksgiving!
Well, I am one of those people for whom the crust didn’t come out right. Yet I followed the instructions, using raw organic butter, almond meal, organic tapioca flour/starch, an egg and honey, and got a dough that looked promising: I could see the pea size pieces of butter in it. However, after baking, the crust ended up more like a « pâte sablée » or a crumble than a flaky pastry dough. It fell apart. I wonder if tapioca starch was the best option (maybe cassava flour would have done a better job, although I doubt it) and if using an electric oven rather than a gas one was a mistake. I also used a thick Pyrex type dish. I did like the use of tapioca starch in the filling. Finally, a note on the proportions: with only HALF of the amounts I had plenty of dough to make an 8” size apple pie. I don’t believe I will be making this crust again.
Hi Joelle! I’m sorry this didn’t work out as you expected. It does sound like something went wrong if the crust fell apart! Is there a chance one of the flours was mismeasured? Though I can’t imagine an electric oven made a difference, except if the oven wasn’t hot enough! I’m also curious to hear how you had too much dough, as we’ve never had that happen. Did you make a double-crust pie?
Thank you for the quick reply about blind baking. I just made the dugh and waiting for it to chill. I think I may have overmixed it. Will that cause any issues?
Hi there, My good friend made this pie and it was amazing. So delicious and loved the crust. Was wondering if I could blind bake the crust to make pumpkin pie? Thoughts?
Hi Lori! Check out this recipe (it’s the same crust) and it gives info for blind baking:
https://lexiscleankitchen.com/gluten-free-pie-crust/
what are the nutrition breakdown?
Definitely the best gluten free apple pie recipe. Mine turned out perfect! Nobody could tell its gluten free. Thank you! ???