This post may contain affiliate links. Please read my disclosure policy.
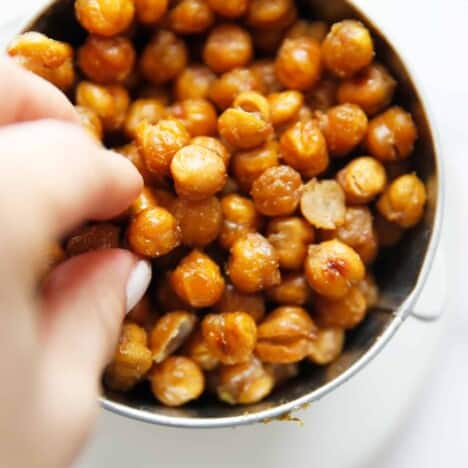
These Crispy Chickpeas are the perfect healthy and salty snack. They’re gluten-free, dairy-free, vegan, crunchy, and take just 5 minutes to prep!
Sharing both air fryer chickpeas and oven roasted in this tutorial!
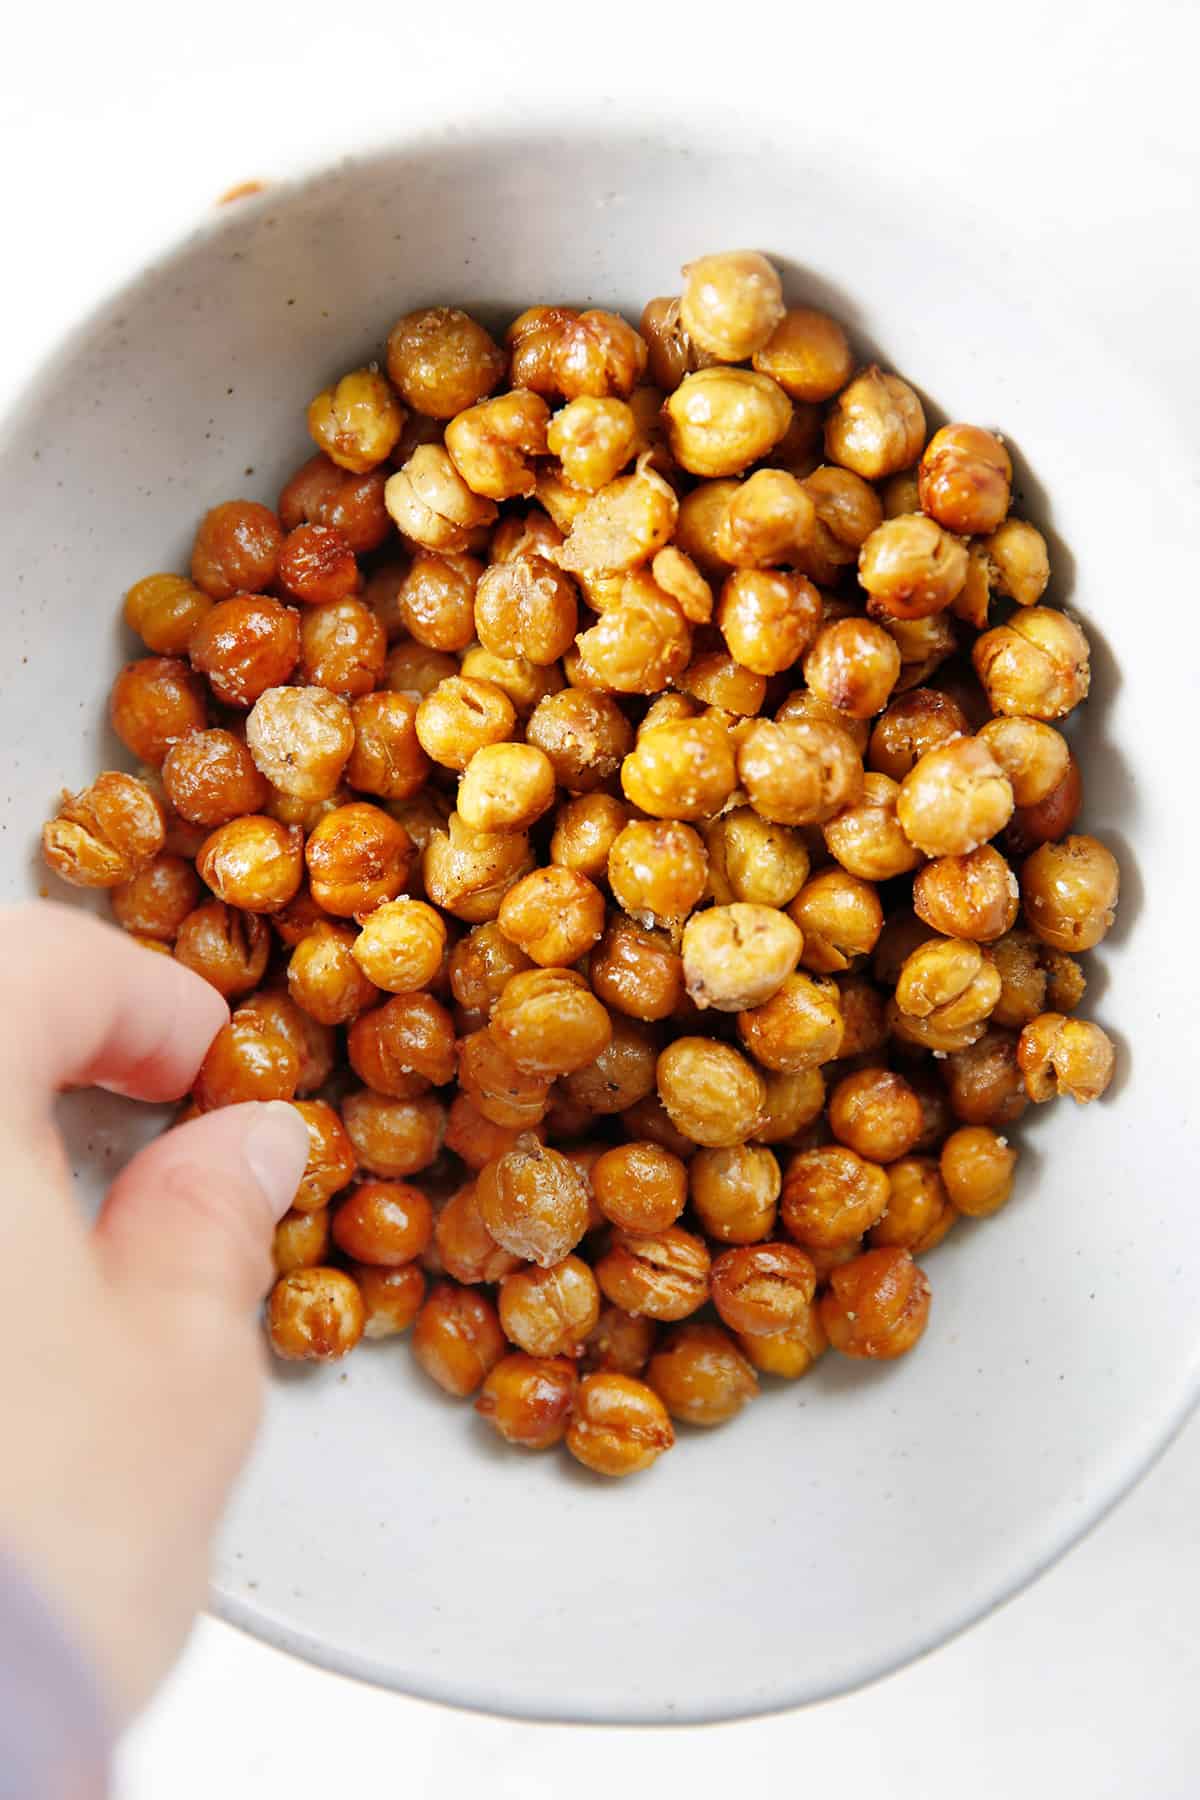
Easy Crunchy Chickpeas
Chickpeas, or garbanzo beans, are one of those pantry staples that are so versatile. I mean, you can add them to soups, stews, or salads, transform them into baked goods, blend them into hummus, you name it!
Well, these Crispy Chickpeas are another great way to use that can of garbanzo beans you’ve had sitting in your pantry. Just toss them in a little bit of oil and seasonings and roast them until they’re golden and crunchy.
These chickpeas make the perfect salty and savory snack or soup or salad topping! Whether making air fryer chickpeas or oven roasted chickpeas, these will be a hit with all!
Ingredients Needed:
- Chickpeas: I use canned chickpeas to keep this recipe quick and simple!
- Oil: the oil helps crisp up the chickpeas and helps the seasonings stick.
- Salt and Pepper: used to season the chickpeas before roasting.
- Cumin, Garlic Powder, and Lemon Zest: optional seasonings to add after baking!
How To Prep the Chickpeas
This is the most tediuos part of the recipe! The chickpeas need to be:
- Rinsed
- Drained
- Dried
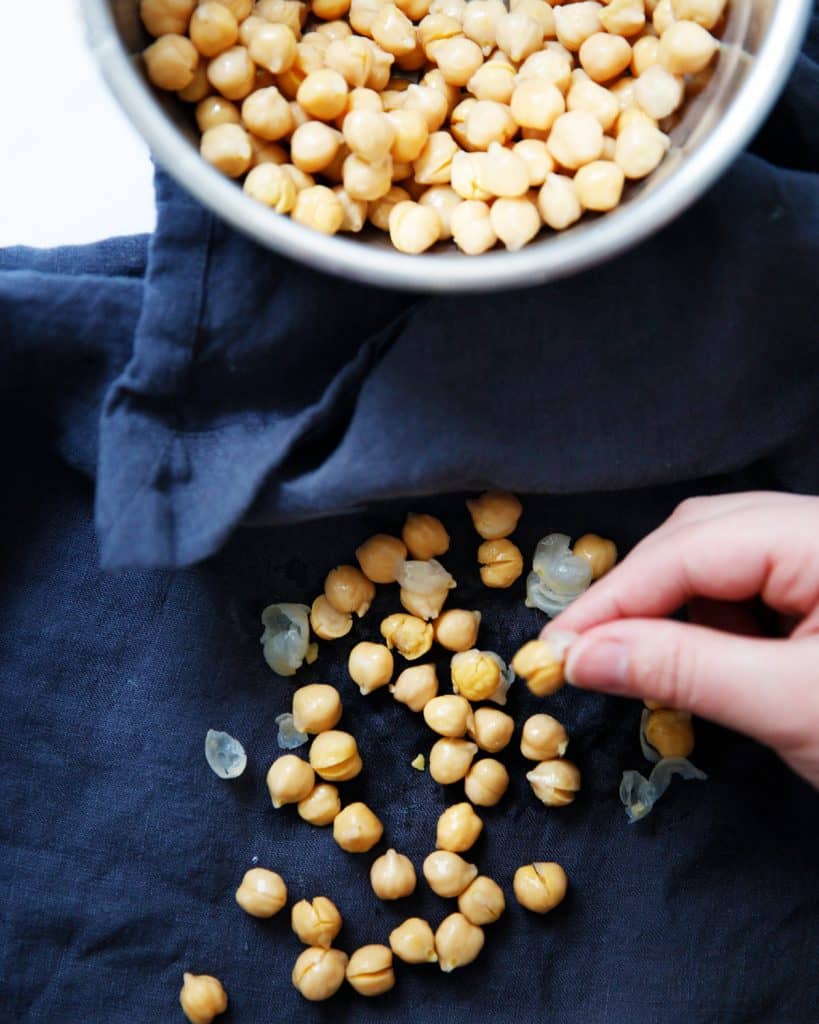
- Take off any loose skin
What that means is that after you’ve rinsed and drained the chickpeas you’ll want to rub them dry between two clean kitchen towels. When you do this, most of the skins from the chickpeas will come loose. Discard those. If you feel so inclined you can take a minute or two to take off the rest of the skins from the chickpeas that didn’t come loose. You pick up the chickpea and lightly pinch it and the skin will come loose. This isn’t strictly necessary but it does allow the chickpea to get ultra crispy in the oven.
How to Make Crispy Chickpeas in the Oven
Since we’re using canned chickpeas, this easy and healthy salty snack takes just 5 minutes to prep!
- Prep the chickpeas: Drain and rinse the chickpeas, then rub them dry between two kitchen towels.
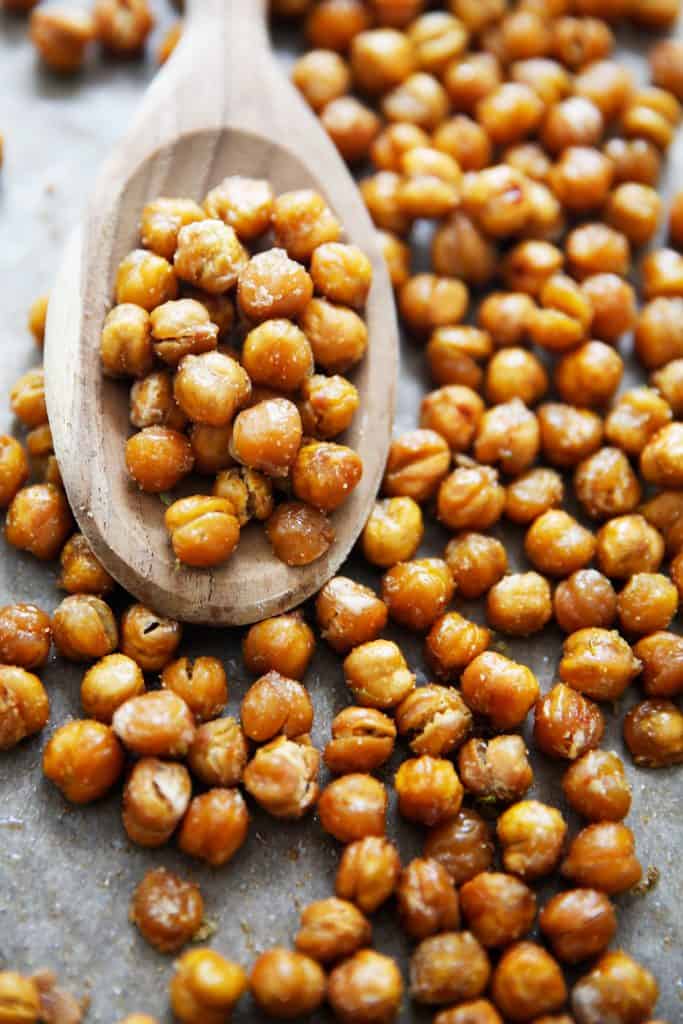
- Bake: Place the chickpeas on a baking sheet and toss with oil, salt, and pepper. Bake at 350ºF for 40 minutes.
- Season: Pull the chickpeas out of the oven, add additional oil, cumin, garlic powder, and lemon zest, and bake for another 5 minutes.
- Cool and serve: Cool and serve or store.
How to Make Crunchy Chickpeas in the Air Fryer
Turns out, you can also make roasted chickpeas in the air fryer! Here’s how:
- Prep the chickpeas: Prep the chickpeas as instructed. Drain and rinse the chickpeas, then rub them dry between two kitchen towels.
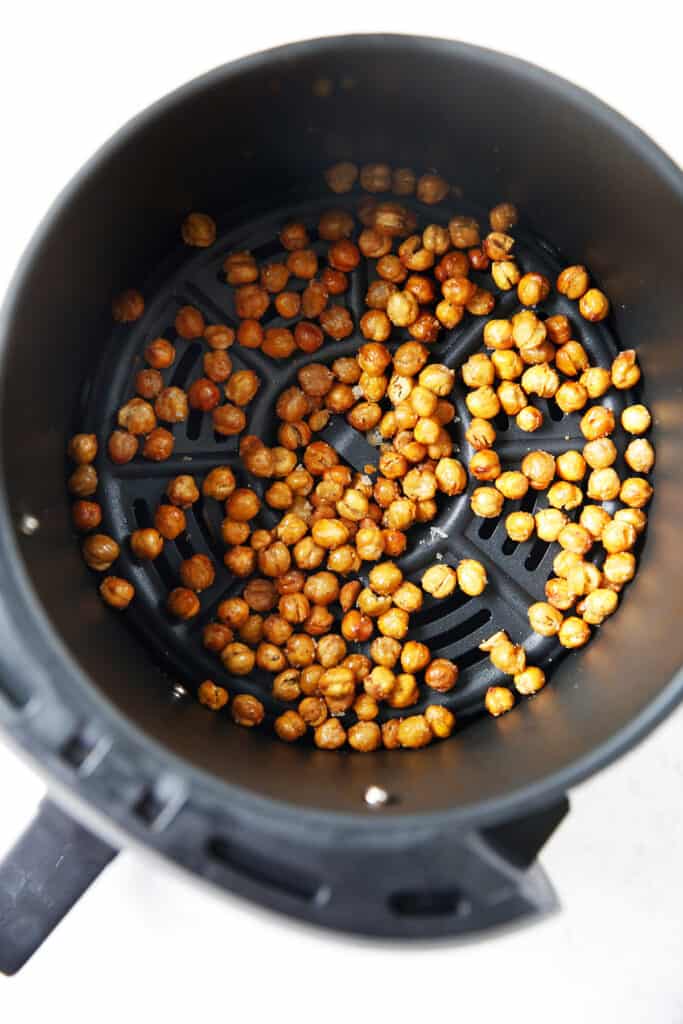
- Air fry: Air fryer the chickpeas at 390ºF for 15 minutes, shaking the basket every 5 minutes to redistribute. You want them very crunchy and golden-brown!
- Season, cool, and serve: Pour the chickpeas into a bowl, spray or drizzle with olive oil, then season with salt, pepper, and optional additions.
The key to air fryer chickpeas is to season them after they cook. Seasoning them before air fryer can result in burnt spices.
What Kind of Chickpeas to Use?
We use the canned version! They’re so cheap and you might already have some stored in the back of your pantry. Plus, there’s no extra prep involved. Just drain, rinse, dry, and roast!
Do Chickpeas Need to Be Cooked Before Roasting?
Yes! I keep this recipe simple by using canned chickpeas (which are cooked already). However, you can totally use dried chickpeas if preferred. You will just need to cook them first.
Why Won’t My Chickpeas Get Crunchy?
There are a couple of reasons your chickpeas aren’t getting crunchy. Here are a few things you can do to make sure they do!
- Dry them well. If there’s too much moisture on the chickpeas when they go into the oven, they’ll steam rather than roast. This will prevent them from crisping up like we want them to.
- Remove the skins. The chickpea skin can hold in moisture on the chickpeas. Towel drying will naturally remove some of the skins quickly, but if you feel so inclined you can take a minute or two to take off any skins that didn’t come off during drying. Just pick the chickpea up and lightly pinch it and the skin will come loose.
- Use oil. Oil increases the surface temp of the chickpeas which helps give them that delicious crunchy texture.
- Bake or air fry longer. Chickpea brands can vary, so while 45 minutes (in the oven) is usually perfect for me, you may need a few more minutes to get them nice and crunchy. For the air fryer, since they are all a bit different,, keep an eye on the chickpeas towards the end and cook for an additional 2-3 minutes for an extra crisp if needed!
- Save the seasoning for later! Roast the chickpeas with just oil and salt, and once they’re crispy add the seasoning and return to the oven for a few minutes. If you season them first, the spices can burn in the oven.
How to Store
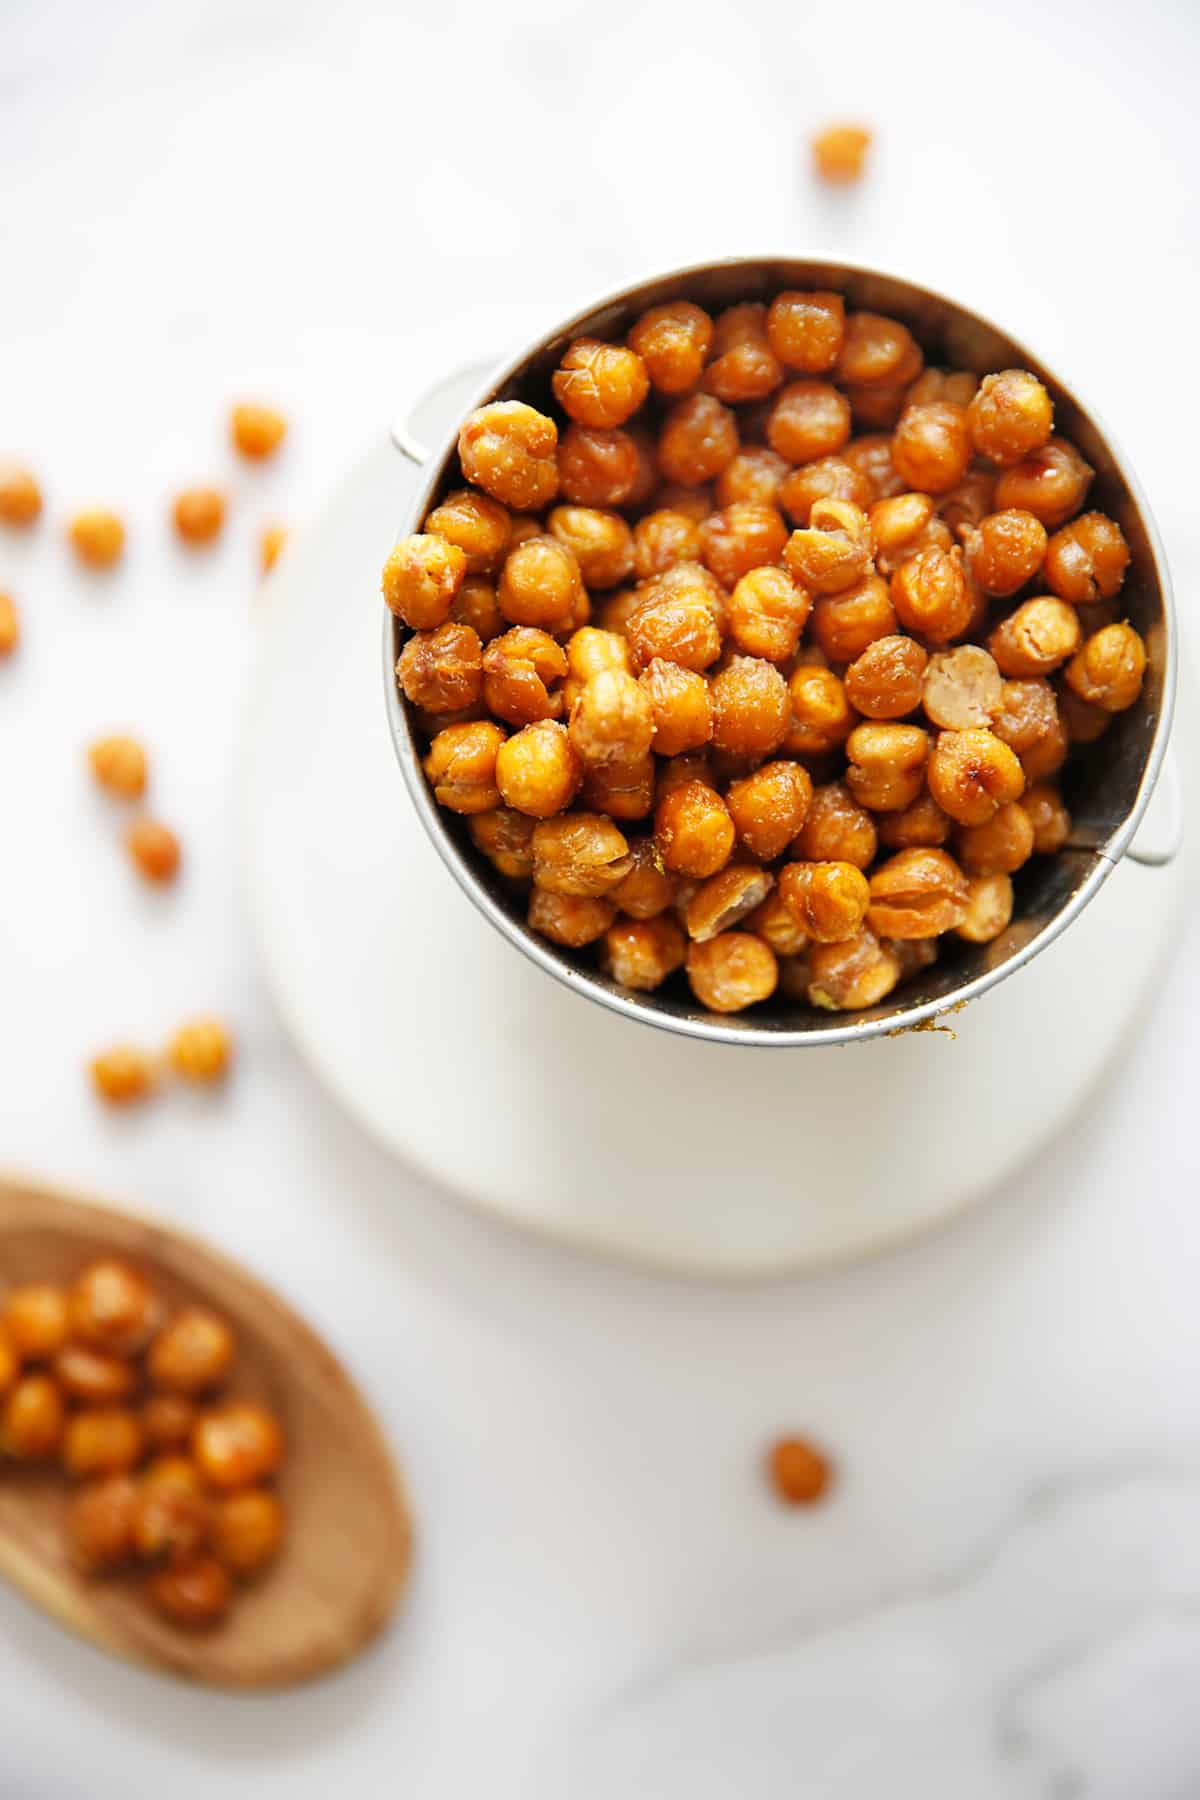
These crunchy chickpeas are best hot out of the oven the day they’re made. But they do have the potential to get crispier as they cool!
We’ve found the best way to store them is to cool them outside of the oven, then leave them on the baking sheet uncovered inside of the closed oven.
The reason you take them out and then put them back in is because you don’t want to keep cooking them. You just want to leave them inside of the oven to dry out further. This isn’t essential, but a trick we accidentally discovered! After the overnight stay in the oven, place the chickpeas into a storage container. Or skip this and simply store!
Otherwise, the chickpeas will last for up to 5 days in a breathable container like a paper bag or storage container with a loose seal. They will become chewier, but will still be delicious.
Other Seasoning Ideas:
I love my classic version with some lemon zest for fun, but these would also be great!
- Cajun Seasoning
- Taco Seasoning
- DIY Everything Bagel Seasoning
- Even go sweet and use DIY Pumpkin Pie Spice
- Ranch Seasoning would be great!
- Za’atar!
More How To Guides:
- How to Make Yogurt in the Instant Pot
- How to Make Cashew Cream
- Easy Hummus Recipe
- How to Make the Best Rice (Instant Pot or Stove Top)
- How to Cook a Whole Chicken in the Instant Pot
- Perfect Scrambled Eggs
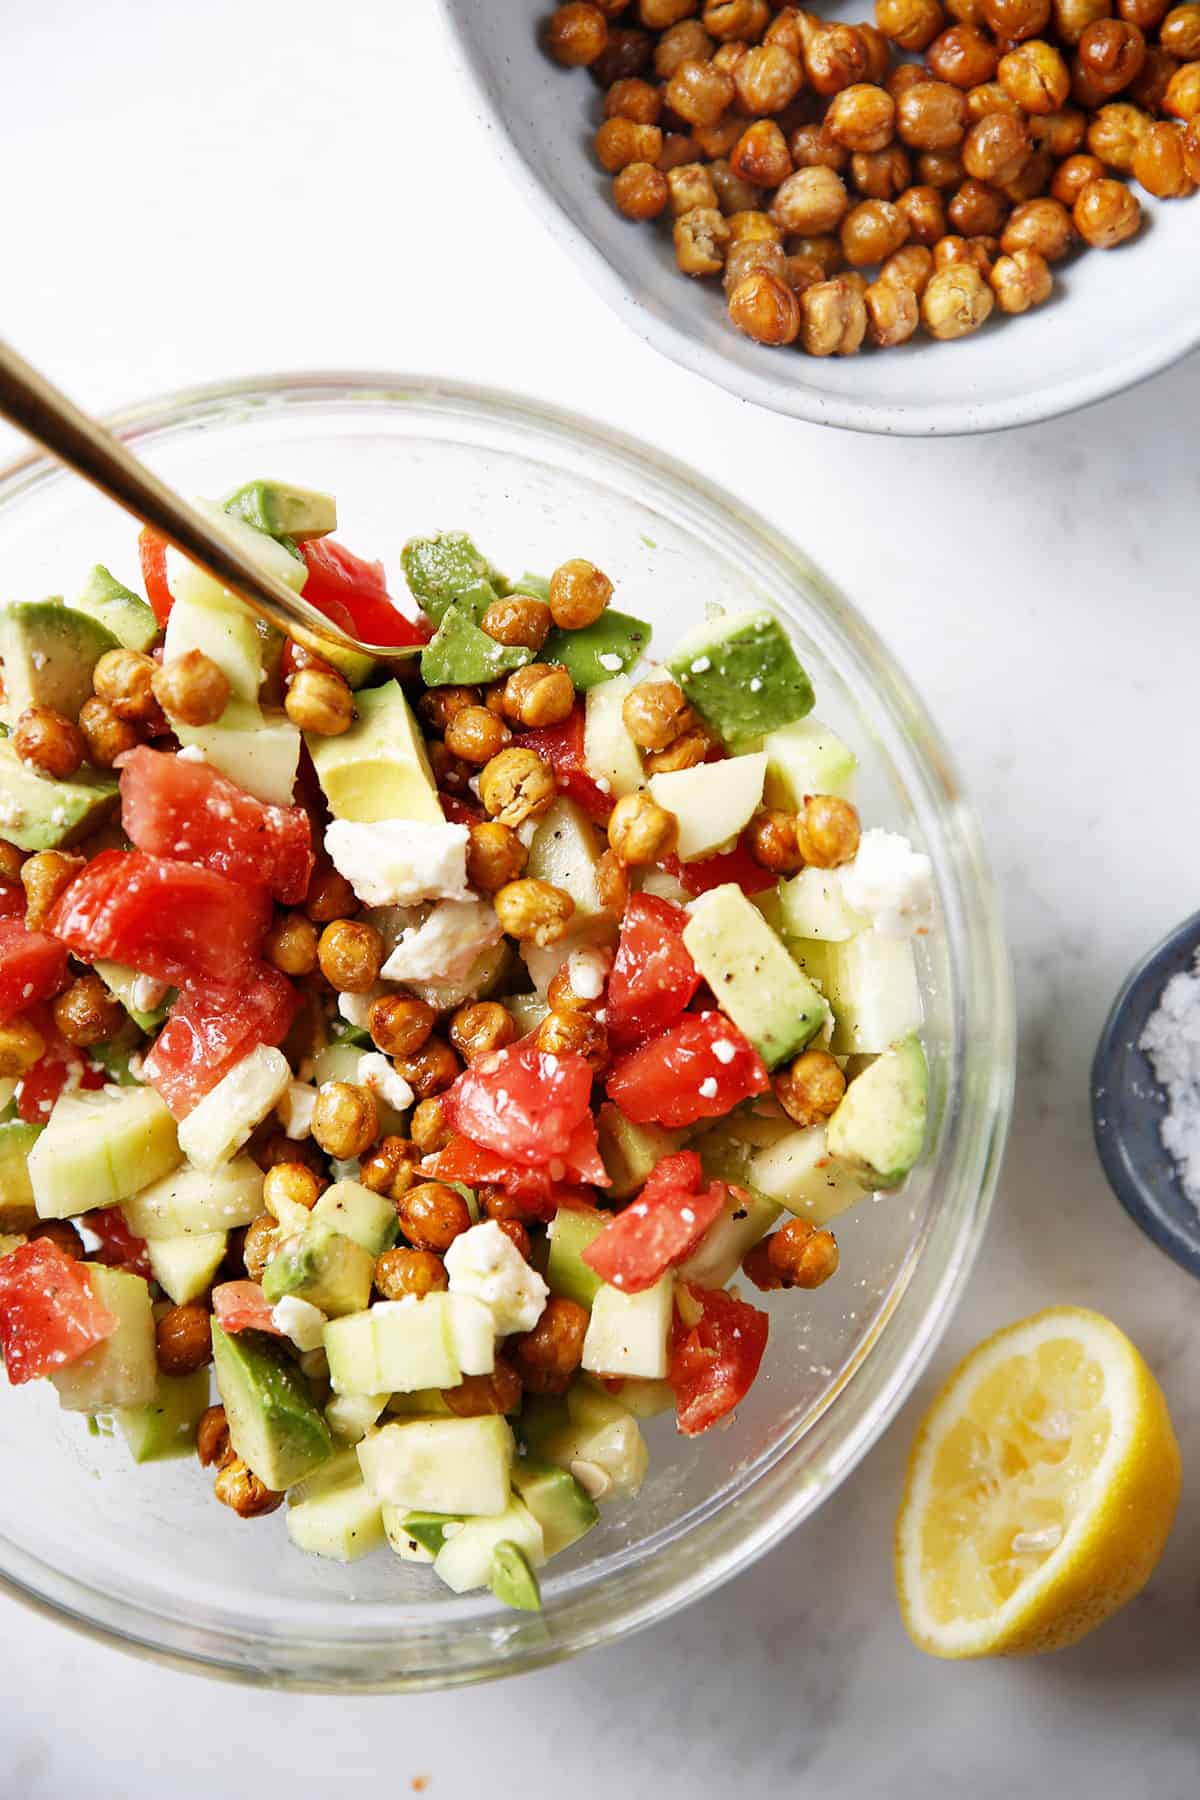
How to Serve Your Crunchy Chickpeas!
- As a snack!
- On a Greek Salad
- Sheet Pan Greek Meatballs with Veggies and Chickpeas
- Easy Homemade Caesar Salad
- Tomato Cucumber Salad with Crispy Chickpeas (& Green Yogurt Dressing)
Watch The Video:
How to Make Crunchy Chickpeas
Ingredients
- 2-15 oz cans chickpeas
- 2 tablespoon oil divided
- 1 teaspoon salt
- 1/2 teaspoon ground black pepper
- 1/2 teaspoon cumin optional
- 1/2 teaspoon garlic powder optional
- Zest from 1 lemon optional
Instructions
- Oven Directions
- Pre-heat oven to 350 degrees.
- Drain and rinse the chickpeas well. Place on a clean kitchen towel and rub the chickpeas dry. The skins will start to loosen. If desired you can remove any leftover chickpea skins still intact, but this is optional.
- Place dried chickpeas on a rimmed baking sheet. Add 1 tablespoon oil, salt and pepper and move around to evenly coat this chickpeas. Bake for 40 minutes.
- Add remaining 1 tablespoon oil, cumin, garlic powder and lemon zest. Continue baking for 5 minutes and remove from oven.
- Let cool.
- Store at room temperature in a breathable storage container (like a brown paper bag, or in a jar with a loose seal) for 3-5 days.
- Air Fryer Directions
- Drain and rinse the chickpeas well. Place on a clean kitchen towel and rub the chickpeas dry. The skins will start to loosen. If desired you can remove any leftover chickpea skins still intact, but this is optional.
- Heat air fryer to 390ºF and spray with avocado oil spray.
- Air fry the chickpeas for 15 minutes, shaking the basket every five minutes until golden brown and crunchy!
- Place your crunchy chickpeas into a bowl, drizzle with a teaspoon or so of olive oil, and season while they are still hot. Seasoning them before cooking can result in burnt spices (for oven and air fryer).
- Let cool.
- Store at room temperature in a breathable storage container (like a brown paper bag, or in a jar with a loose seal) for 3-5 days.
Notes
- Read post for extra tips.
- We've experimented with storing them a few different ways. We have found the best way to store them is to cool them outside of the oven and then once the oven has cooled a bit, leave them on the baking sheet uncovered inside of the closed oven overnight. The reason you take them out of the oven and then put them back inside is because you don't want to keep cooking them, you just want to leave them inside of the closed oven to dry out. This isn't essential, but a trick we accidentally discovered. Otherwise you can store them for a few days at room temperature in a breathable container. This means a brown paper bag or a storage container with a loose seal. They become chewier (but still delicious) after they are cool. If you want to leave them in a sealed container they will soften slightly.





So good. First time I tried them they weren’t crunchy enough. Second time I cooked them longer and they were perfect. Just needed to adjust the time because of my oven. Will be making these regularly. Thank you for an amazing recipe.
My whole family loved these, even my 2 and 4 year olds. I’ll definitely make them again. I loved the addition of the lemon zest.