This post may contain affiliate links. Please read my disclosure policy.
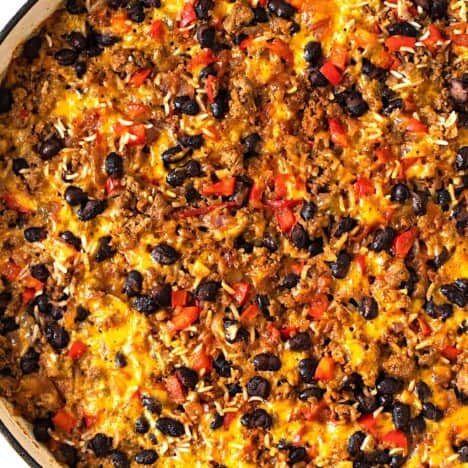
A crowd-pleaser if there ever was one, this Taco Rice Casserole will be loved by everyone! This freezer-friendly baked rice dish is made with ground beef, beans, peppers, and salsa and it’s so delicious. It’s optionally dairy-free and customizable based on what toppings you add to it after it’s cooked. Trust us, you’re going to want to make this one.
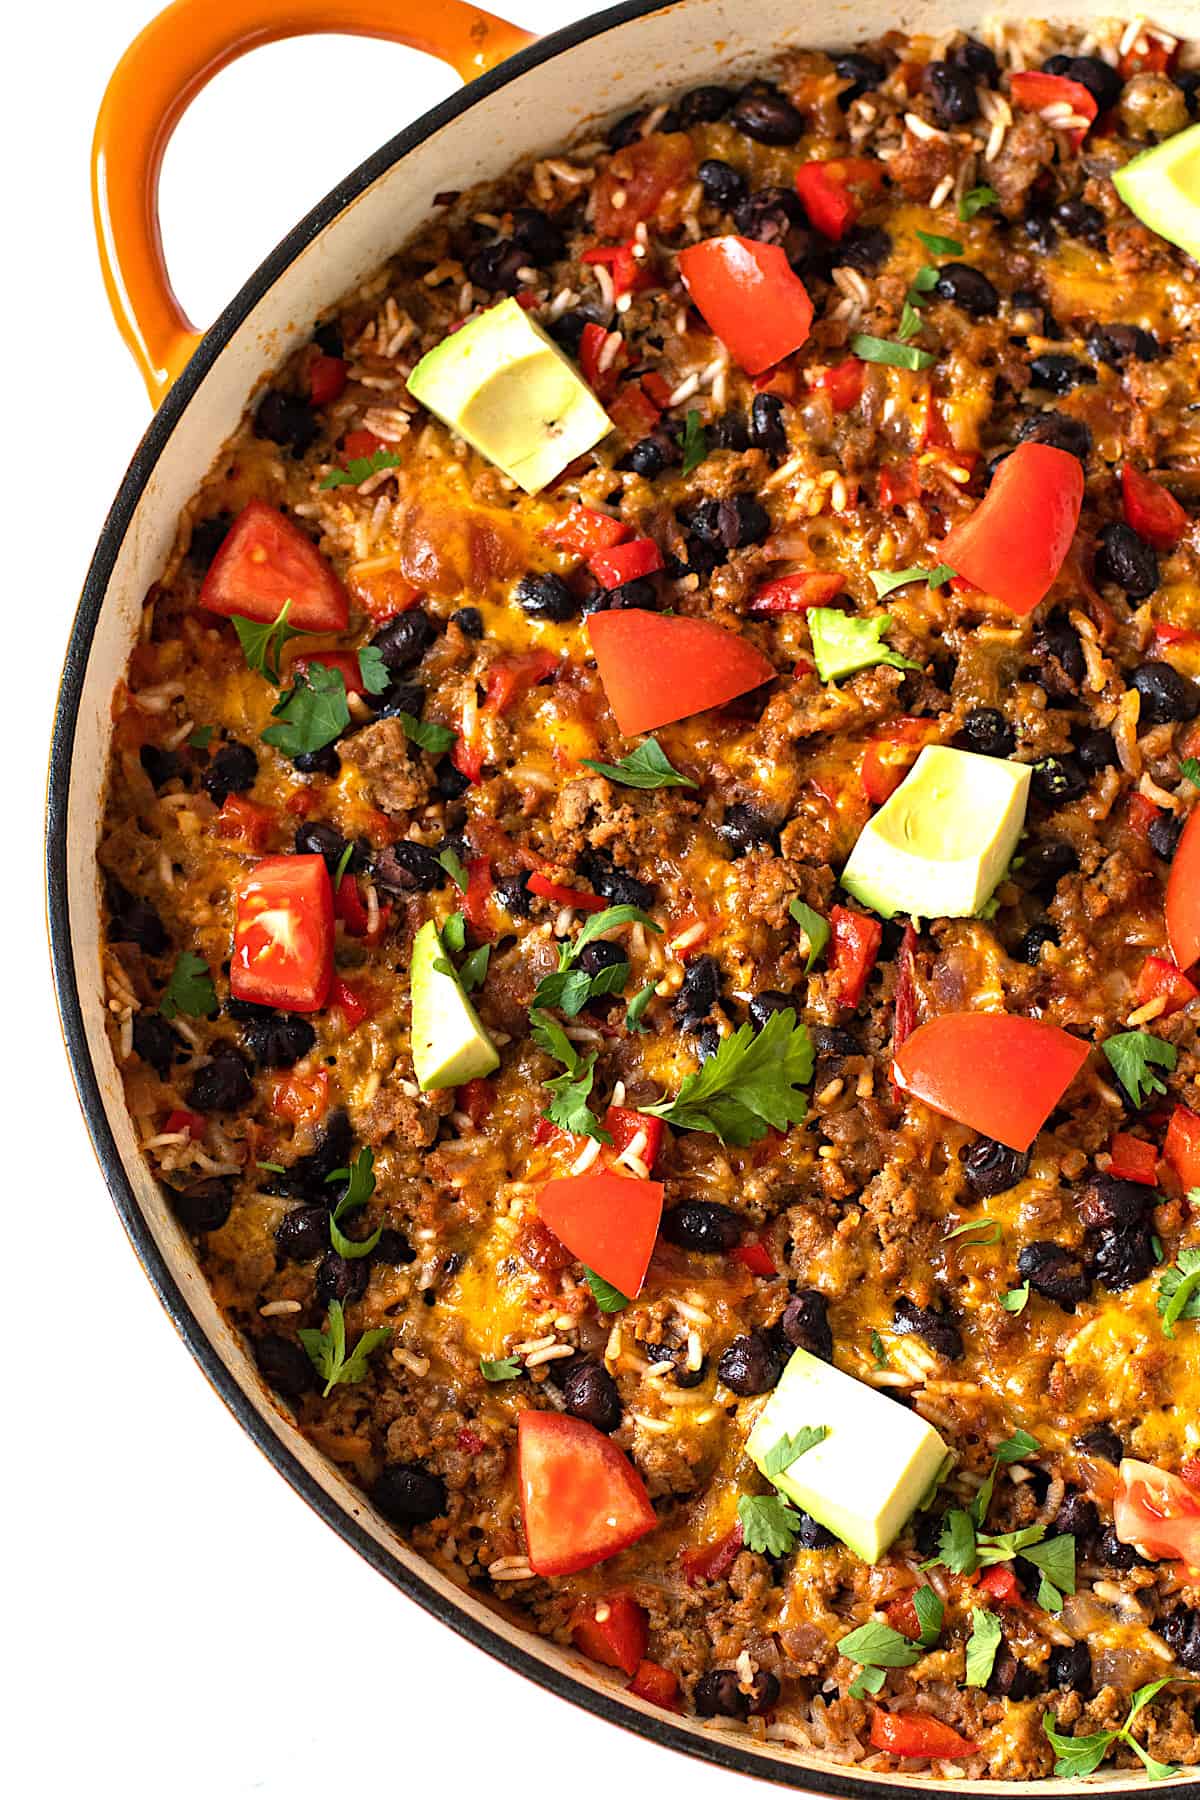
Easy Taco Casserole
As the due date neared for the birth of our baby girl, I planned all the meals to stock the freezer with for after her arrival, and I’m so glad to have this Taco Rice Casserole on-hand now that she is here and my hands are full doing everything but cooking! And let me tell you, homemade casseroles are the perfect freezer-friendly dinner! Unlike the casseroles of the 70’s, modern casseroles can be healthy and nutrient-dense. Plus, they’re simple to make, and so so comforting.
Making this Taco Casserole couldn’t be simpler. I love that it’s made with uncooked rice, so you don’t have to plan ahead, and it’s largely hands-off cooking time. White rice is cooked up with ground beef, bell peppers, beans, salsa and my famous homemade taco seasoning. It is optionally finished off with a bit of cheese, but it’s totally fine to skip it to keep this dairy-free. Top that finished casserole with your favorite taco fixin’s, or if you are like me and have your hands-full, keep it simple and eat it as is!
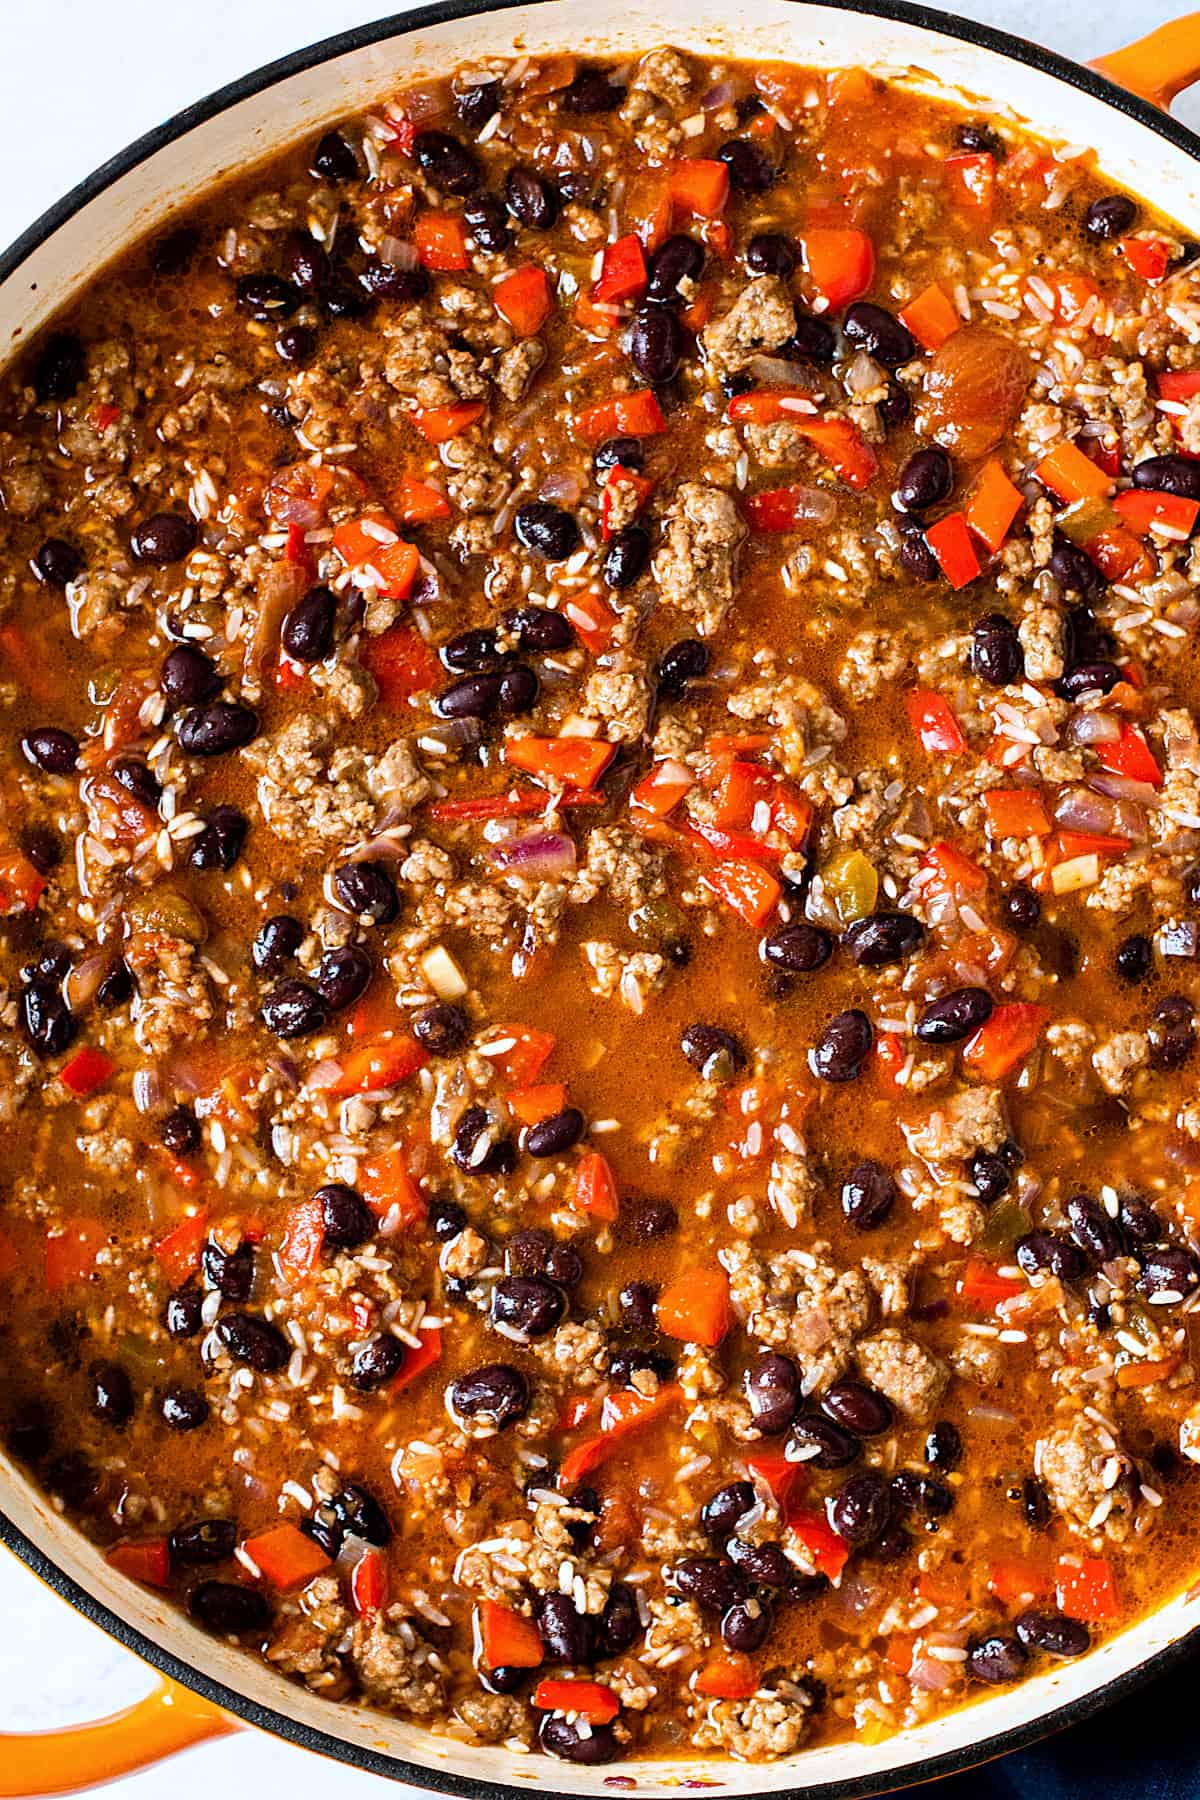
Ingredients Needed
- Ground Beef
- Onion + Garlic
- Bell Pepper
- Canned Black Beans
- Homemade Taco Seasoning
- Salt + Pepper
- Long Grain White Rice
- Store-Bought Red Salsa
- Chicken or Beef Broth
- Cheddar Cheese (optional)
Casserole Baking Times
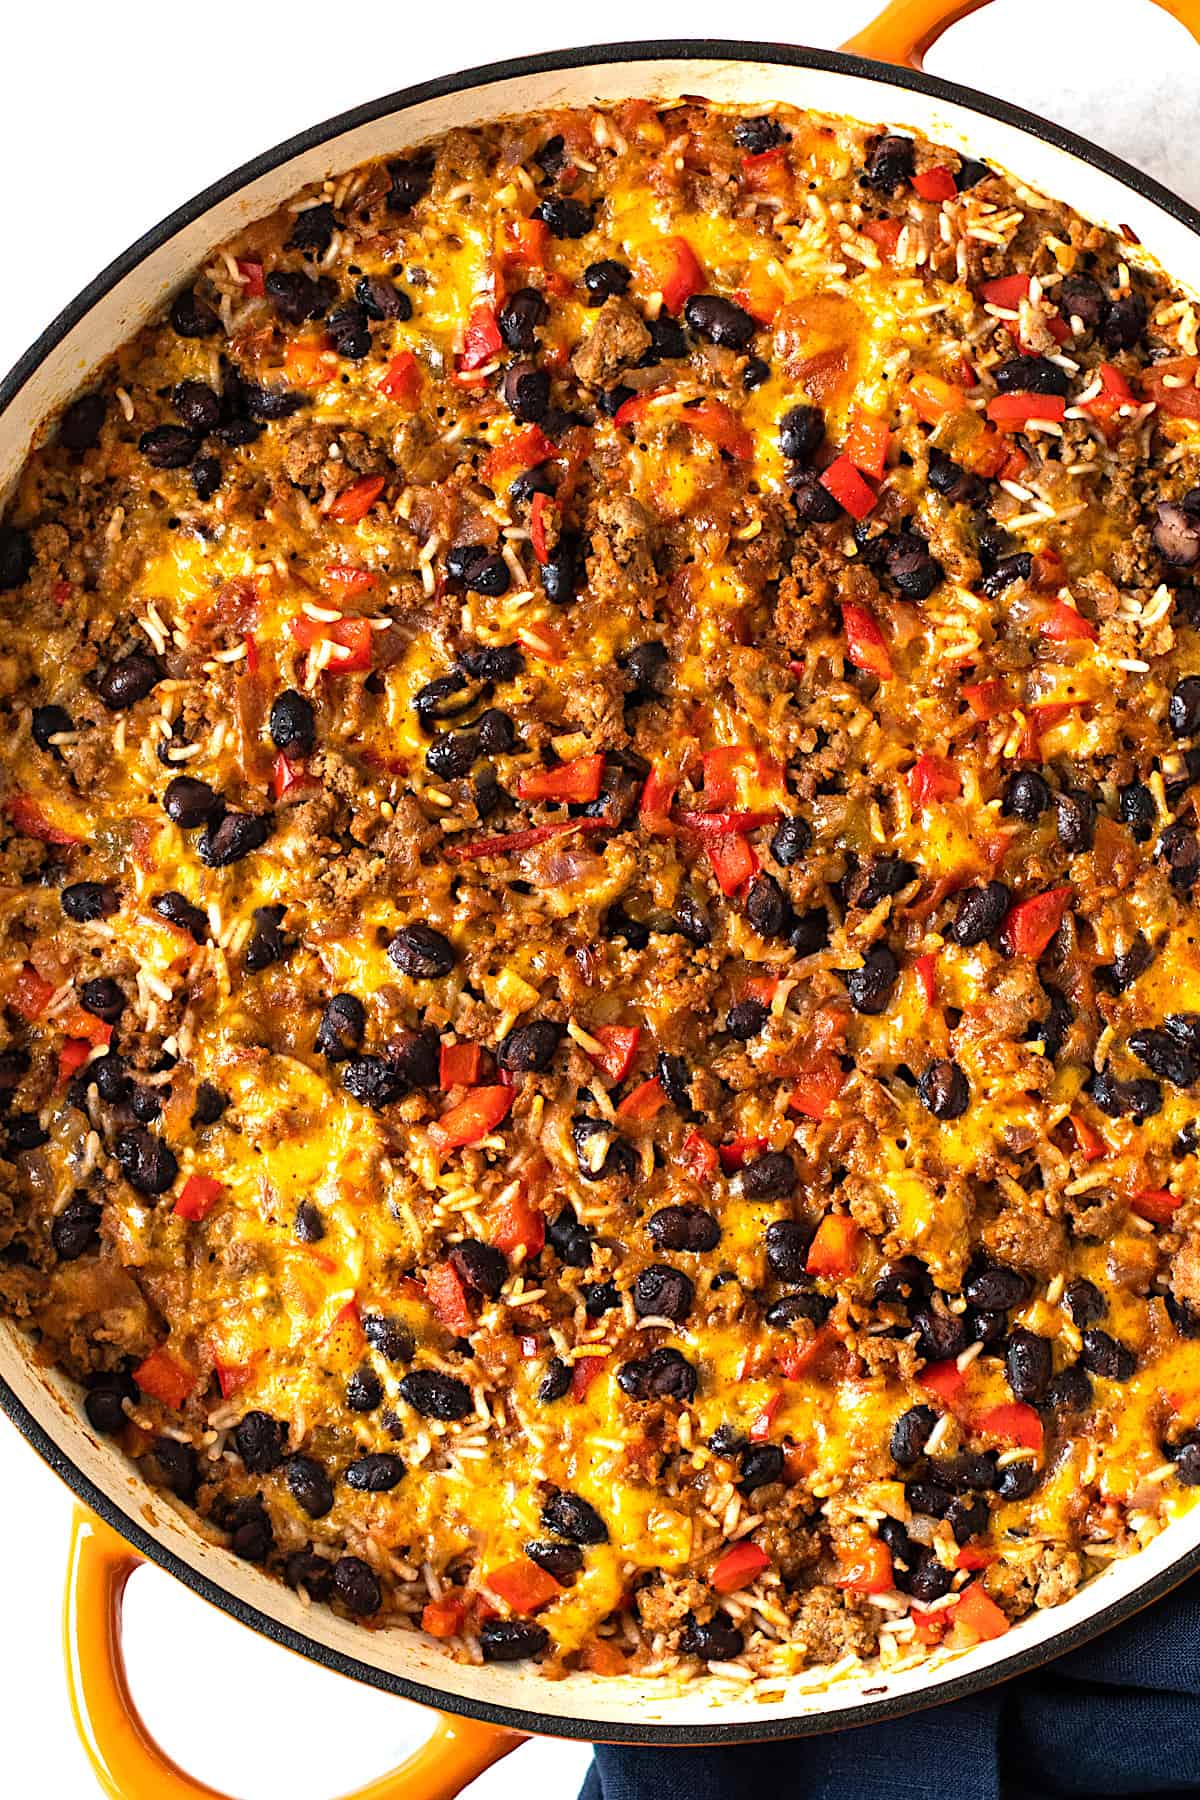
With all the casserole testing I’ve been doing, I’ve noticed that the baking time can vary a bit based on what container the casserole is cooked in. Our recipe calls for baking this dish for a range of time between 35 and 45 minutes. When the container we used had good conduction of heat, such as the oven-proof cast iron skillet pictured here, the dish cooked faster. When the dish was baked in a disposable aluminum dish (which is great for storing freezer meals) it took a lot longer, closer to 45 minutes.
We recommend checking the rice at the 35-minute mark to check that the rice is no longer hard. If the rice is al dente, let it cook longer. The rice will continue to cook and absorb liquid for a few more minutes after it has come out of the oven, but you want to ensure it is just nearly cooked all the way before pulling it out of the heat.
Taco Casserole FAQs
Can leftover cooked rice be used?
Technically if you wanted to use cooked rice for this casserole, it would be a different recipe. This recipe is based on the fact that the rice needs to absorb a certain amount of liquid. However, if you wanted to give it a go with cooked rice, you could try to omit the added broth here, and bake for 20-30 minutes until heated through. Though a full discloslure that we have not tried it that way.
Can brown rice be used?
Similarly to the question about cooked rice above, the short answer is no. This amount of liquid and cooking time is based upon the use of uncooked white rice. If you wanted to use brown rice, you’d have to adjust the cooking time and the amount of liquid.
Can the cheese be omitted?
Absolutely! The cheese is added in at the very end and just adds a nice finish to the dish, but it’s fine to leave it off.
Taco Casserole Toppings
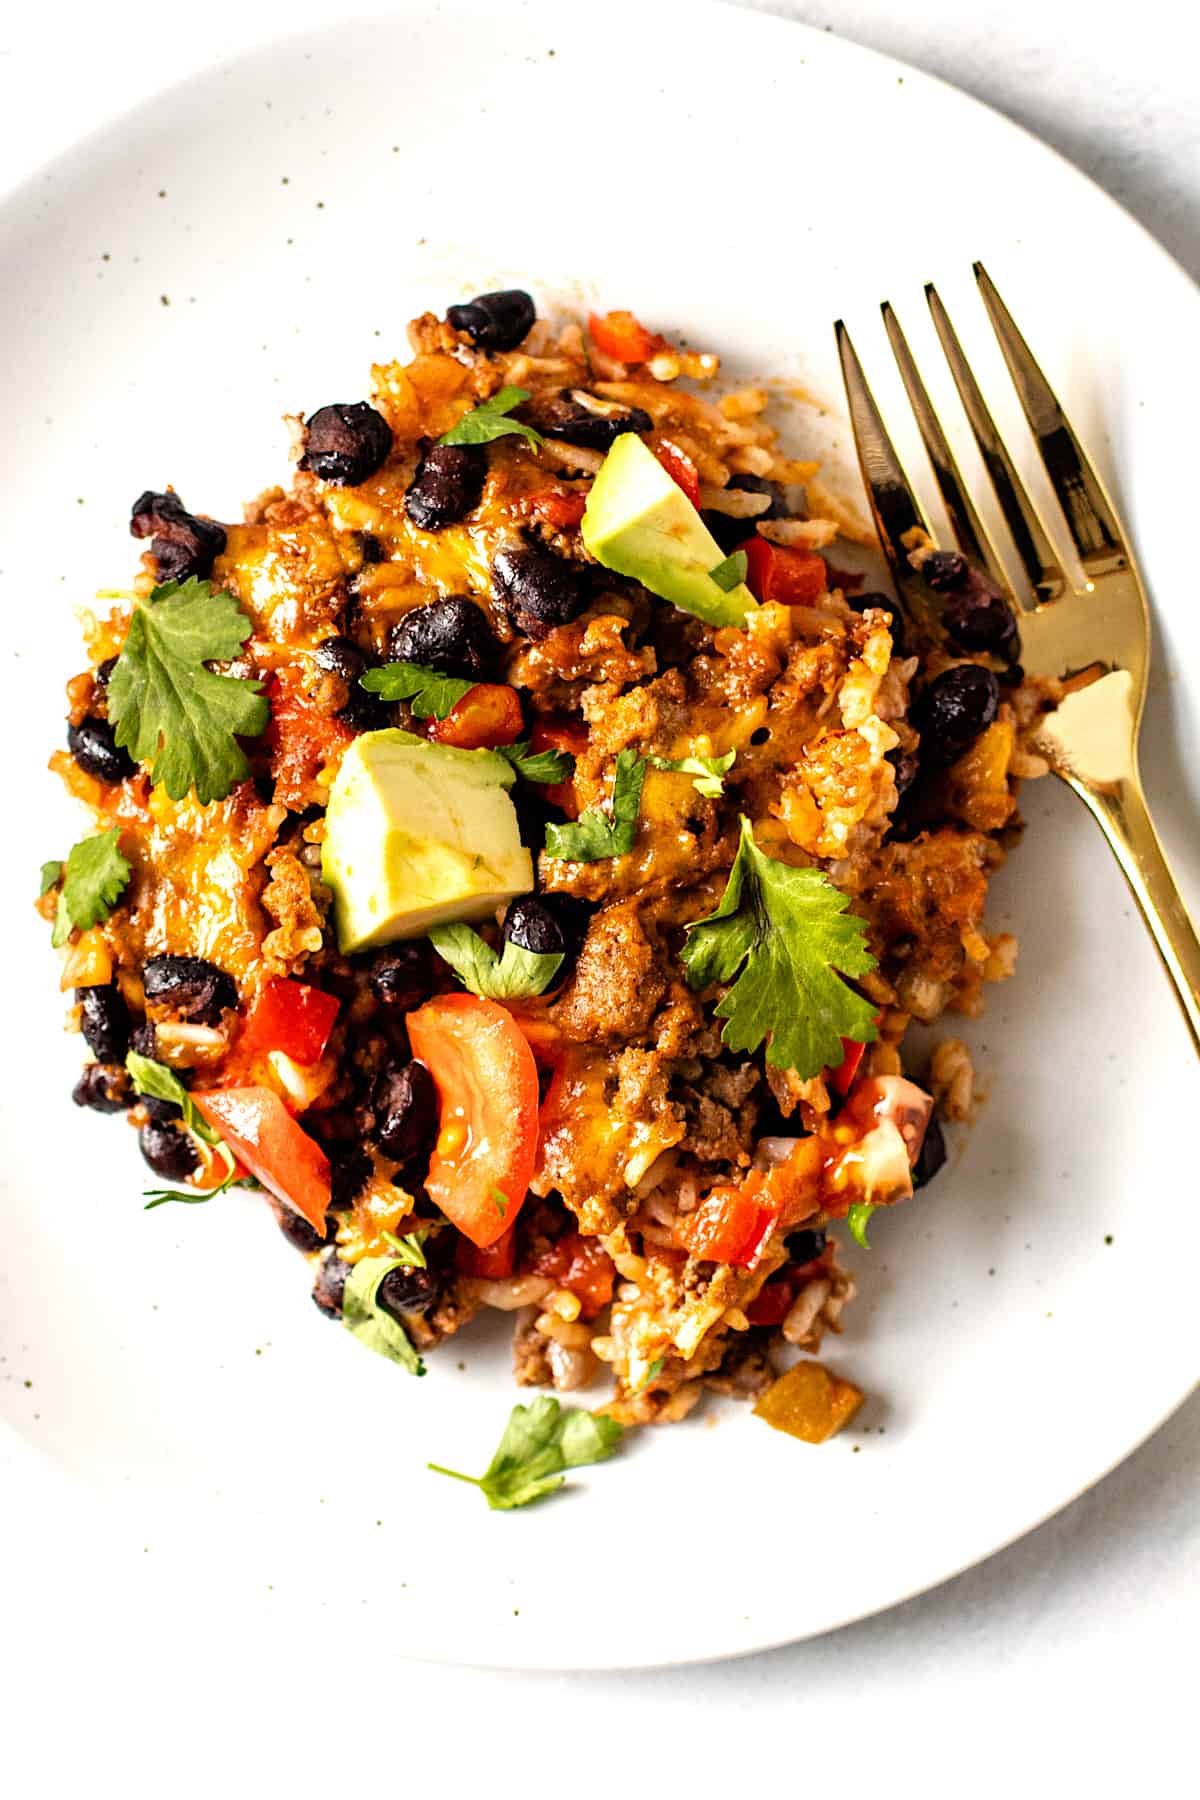
We topped ours with fresh diced tomato, cilantro and avocado but the options are limitless for topping this casserole. Here are some more options:
- Scallions
- Avocado Slices
- Diced or Marinated Onions
- Guacamole
- Tortilla Chips
- Shredded Lettuce
- Sour Cream
How to Freeze Taco Rice Casserole
Casseroles are famously easy to make ahead of time and freeze and this Taco Casserole is no exception. To freeze it, bake it fully without cheese in a freezer-friendly container, according to the instructions in the recipe. Then, let the fully cooked casserole briefly cool at room temperature (remember, without cheese) before cooling completely in the refrigerator. Then wrap tightly in the container with plastic wrap twice and transfer to the freezer.
Once frozen, use within 3-4 months.
Ideally, you’ll need to plan at least 12 hours in advance before you want to reheat the casserole to defrost it properly. Hands down, the best way to defrost food is in the refrigerator, overnight. This is ideal in terms of food safety, but it’s also your best bet in preserving the taste and integrity of the food.
Once the casserole is defrosted add the recommended about of cheese, if desired, loosely cover it with foil and bake at 350ºF, for about 20-30 minutes until the center of the food reaches at least 165ºF.
How to Prepare it As a Gift
Bringing this to somebody as a gift? You can cook the ingredients on the stovetop in any skillet, and then transfer everything to a disposable oven-safe container.
Watch the video here:
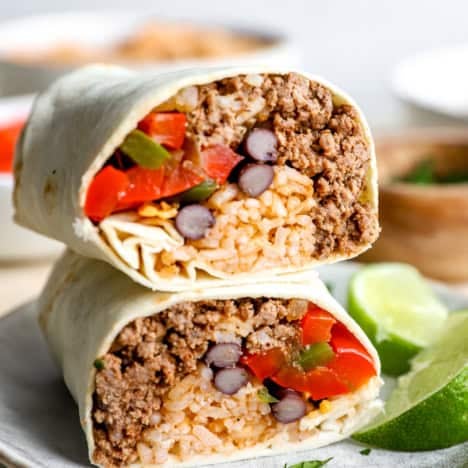
If you like this taco-inspired meal, check out these others:
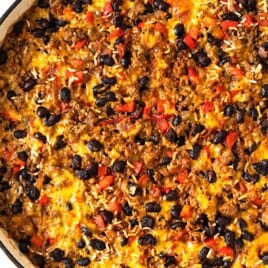
TACO RICE CASSEROLE
Ingredients
- 2 tablespoons avocado oil divided
- 1 onion diced
- 3 garlic cloves minced
- 1 bell pepper stem removed and diced
- 1 pound ground beef
- 1 15-ounce can black beans, rinsed and drained
- 1 tablespoon taco seasoning
- 1 teaspoon fine sea salt
- 1/2 teaspoon ground black pepper
- 1 cup long grain white rice rinsed well and drained
- 1 cup red salsa
- 1 1/2 cup chicken or beef broth
- ½ cup shredded cheddar cheese optional
For serving:
- Avocado
- Diced Tomatoes
- Cilantro
Instructions
- Pre-heat oven to 400ºF.
- Heat oil in a large oven-safe skillet over medium heat. Once hot, add onion, pepper and garlic. Cook, stirring often, until softened, about 5 minutes.
- Add ground beef, and continue cooking until no pink remains, about 5 minutes.
- Add in the black beans, taco seasoning, salt, pepper, white rice, salsa and chicken broth and stir together until it is completely combined.
- Cover the skillet and cook in the preheated oven for 35-45 minutes, until the rice is no longer hard, and nearly cooked through. Remove from the oven and let the casserole sit, covered for 5 minutes. If using cheese, preheat the broiler. Then, top with cheese, and place under the broiler for 2-3 minutes, until melted.
- Once ready to serve, top with optional garnishes.

It’s in the oven now! Hopefully it’s delicious. However I’m hoping the recipe can be edited so no others follow my silly mistake. While trying to make this corralling two toddlers I read it as “add the onion, pepper and garlic” meaning the BLACK pepper not the RED pepper. Silly mistake but I’m hoping it is an easy fix.
This is, hands down, an absolute favourite in my house. Even the kids love it despite claiming that they don’t like beans, or rice, or capsicum. It’s easy to put together and then the oven takes care of the rest. It works perfectly ever single time!
What size aluminum pan should I use?
You need to make this one in an oven safe skillet as you start the recipe on the stovetop then transfer to the oven!
What of you don’t have an oven safe skillet. What size pan?
use the best oven safe option you have. you may need to adjust time accordingly.
Okay! great!
Hi,
Is there a different type of oil I can use instead of avocado oil?
Renee
Any!