This post may contain affiliate links. Please read my disclosure policy.
A DIY mini crepe bar is a fun and unique breakfast or brunch idea that everyone will love! These gluten-free crepes are super easy to make, are dairy-free, and so delicious when served with your favorite toppings; whether sweet or savory! Today’s post is made in partnership with our friends at Stonewall Kitchen.
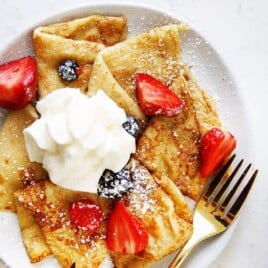
Gluten-Free Crepe Recipe
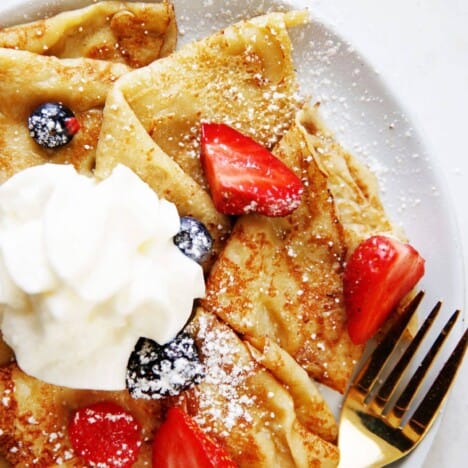
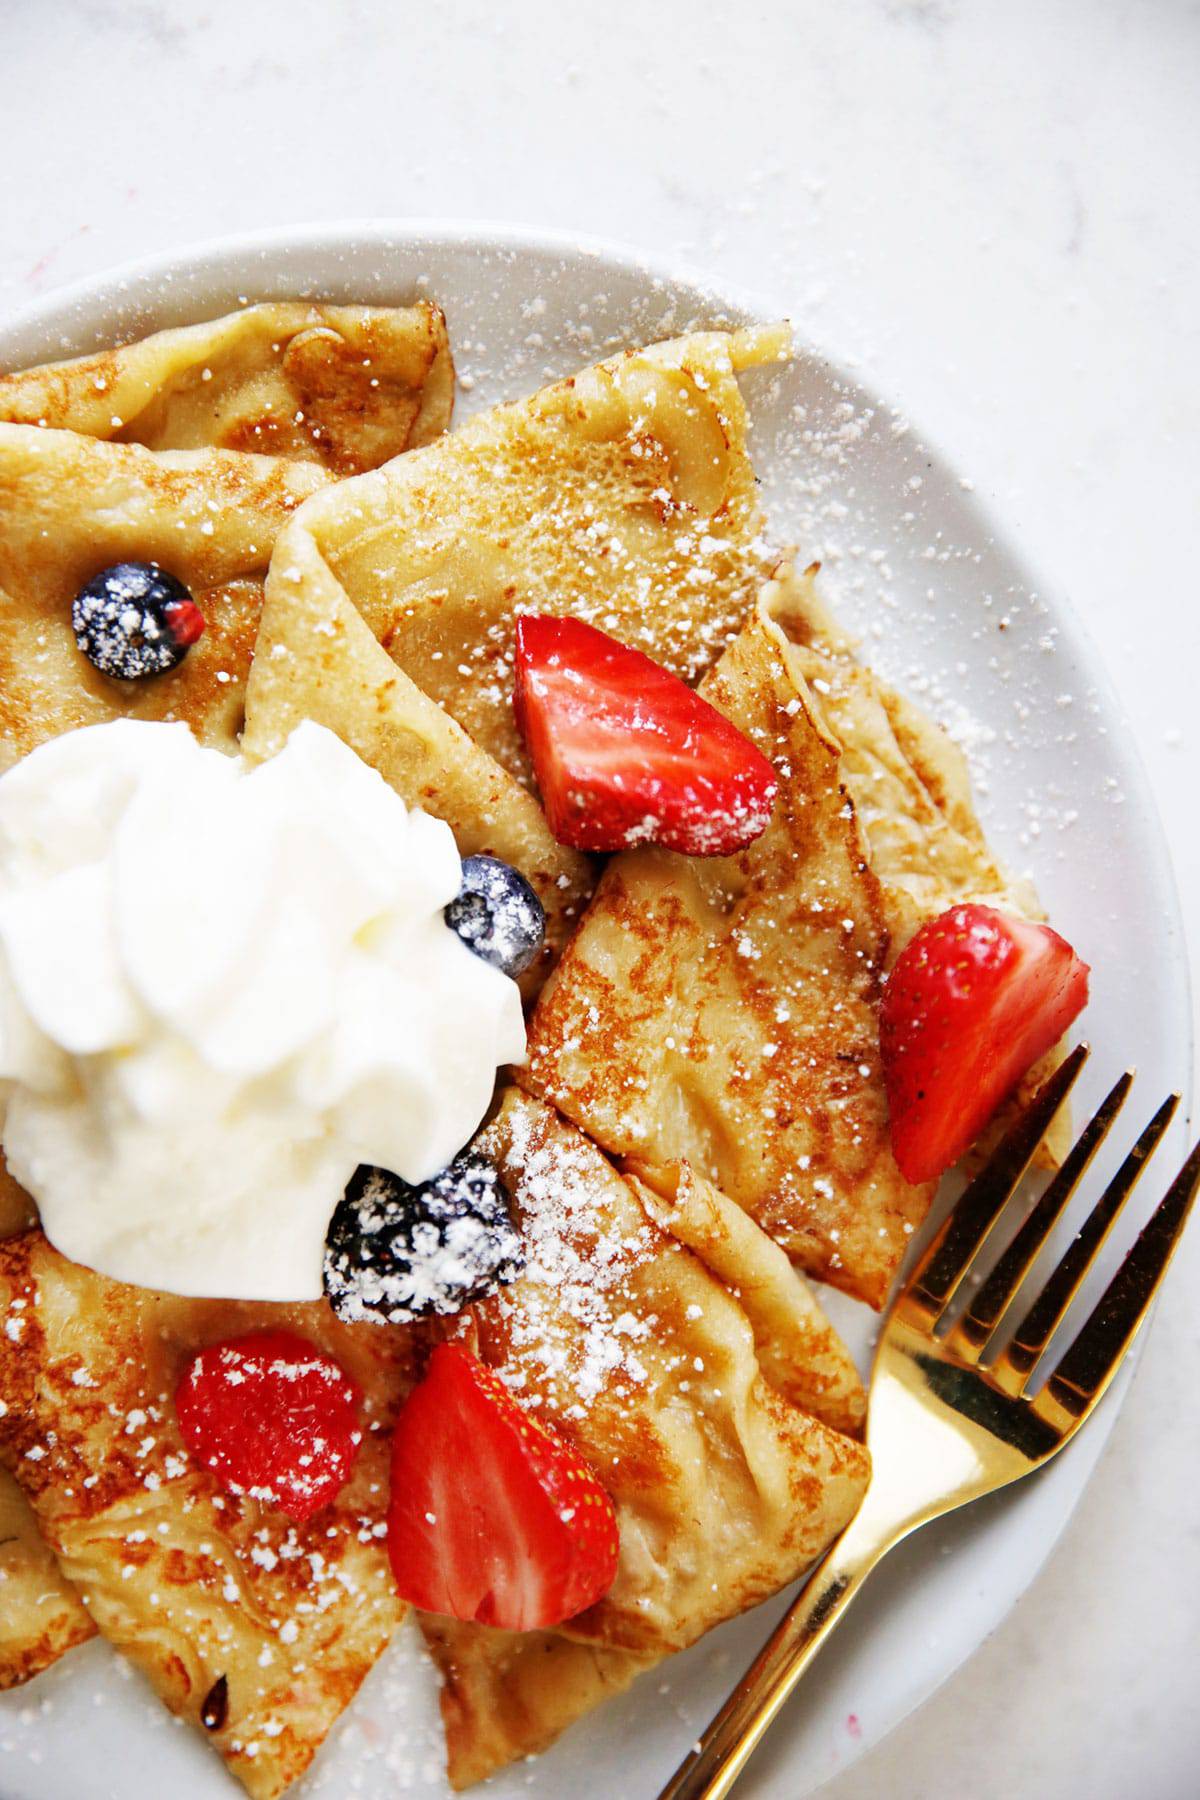
A good crepe should be thin, lightly browned with some crisp edges, and have the perfect chew to it. We think we nailed it with this recipe! It’s hard to believe that these crepes are gluten-free because they are so similar to the traditional ones! Made easily in 1-bowl, these are bound to be a new family favorite, especially when put together as a fun DIY crepe bar! Switch up your weekend pancakes or waffles for some crepes and you won’t be disappointed.
Ingredients Needed
- Tapioca Flour (also known as tapioca starch)
- Coconut Flour
- Eggs
- Milk (homemade or store-bought, we used almond or oat!)
- Maple Syrup
- Sea Salt
- Ghee or Butter (for frying)
Substitutions
Gluten-Free Flours: This recipe was developed specifically for the use of tapioca flour and coconut flour. It’s nut-free! We cannot recommend any other replacement, other than possibly arrowroot flour in place of the tapioca.
Milk: Feel free to use any milk that you and your family enjoy!
Eggs: You cannot use an egg replacement for this recipe.
Sweetener: Feel free to omit the sweetener if you’d like, though we recommend it. Even for the savory, we recommend a touch of sweetness. You can replace the maple syrup with honey, or another sweetener of choice though.
Ghee: We recommend that if you have ghee, you use it to cook up the crepes. Ghee has a higher smoke point and is less likely to burn. If you don’t have ghee, butter will work too, but you’ll have to pay closer attention to the heat of the pan. You could theoretically use another oil such as avocado or coconut, but the traditional flavor of crepes is partly due to the flavor the ghee/butter imparts on them while they are cooking!
What Type of Pan to Use
We found it super helpful to make thin, round crepes by using a non-stick 8″ pan. This is because the small 8″ pan we recommend to make this helps keep the crepe circular by swirling the batter to the edges of the pan.
Here are some safer non-stick pan options:
If you are using a larger pan than the recommended 8″ one, your crepes may come out slightly irregular in shape, as opposed to a perfect circle. This isn’t that big of a deal though because most of the time crepes are folded or rolled up.
Tips for Making Gluten-Free Crepes
Crepes are pretty simple to make. But if you are a first-time crepe maker, these tips will get you started on the right foot!
- Use a scale! We always recommend using a kitchen scale to measure gluten-free flours. This recipe is a little more forgiving than say a cookie or a cake, but if you have one, use it here!
- Use a small 8″ non-stick skillet. It makes it easier to get the correct thinness needed for the crepe, and the circular pan shape translates to easily made circular crepes!
- Get those crepes thin! The thinner the crepe, the better the final product.
- Watch the heat of the pan: you want it to be on medium heat. However, all cooktops are different and your stove may be more or less powerful than the average. Also, once you are halfway through the cooking of the crepes, you may notice your pan can become too hot due to the retained heat. Adjust the temperature as needed. The pan is at the correct temperature when your crepes are taking about 2-3 minutes to cook!
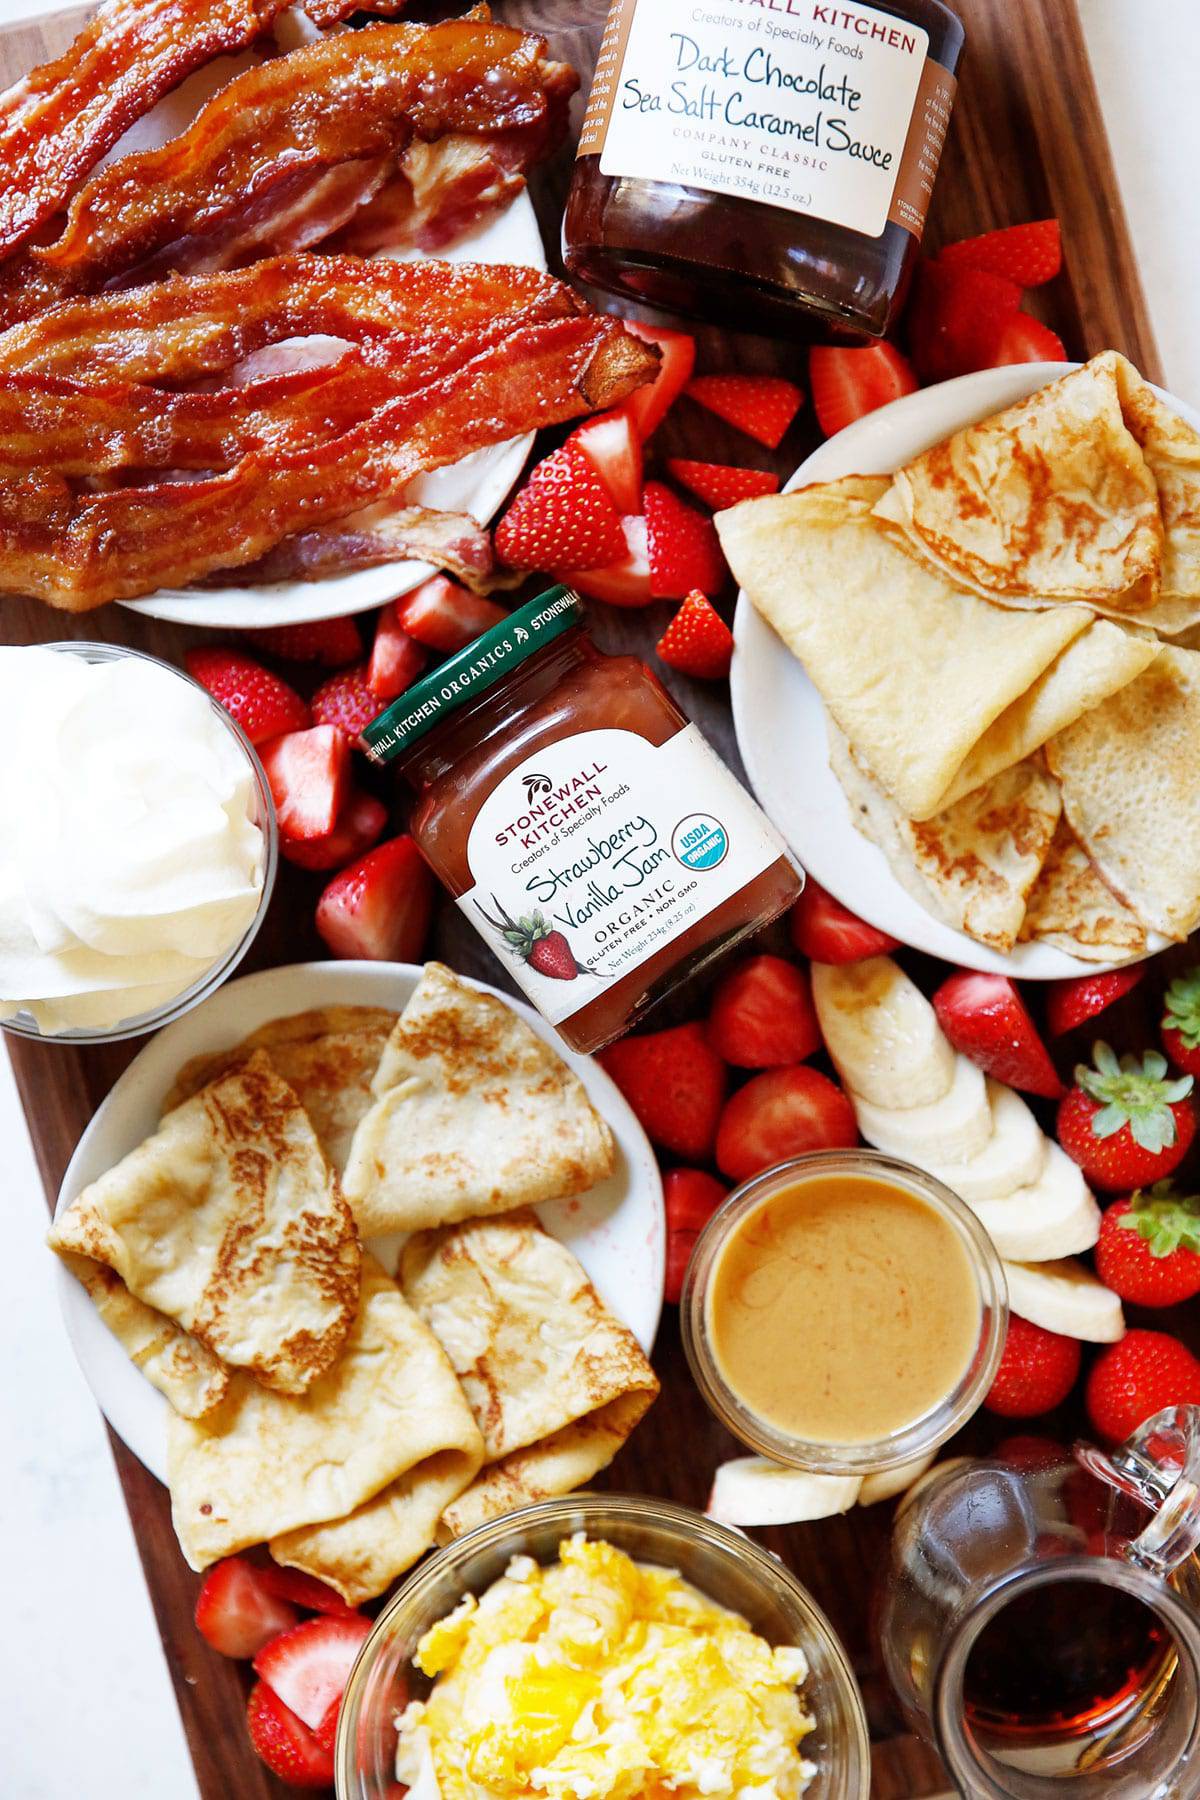
How to Make a DIY Crepe Bar
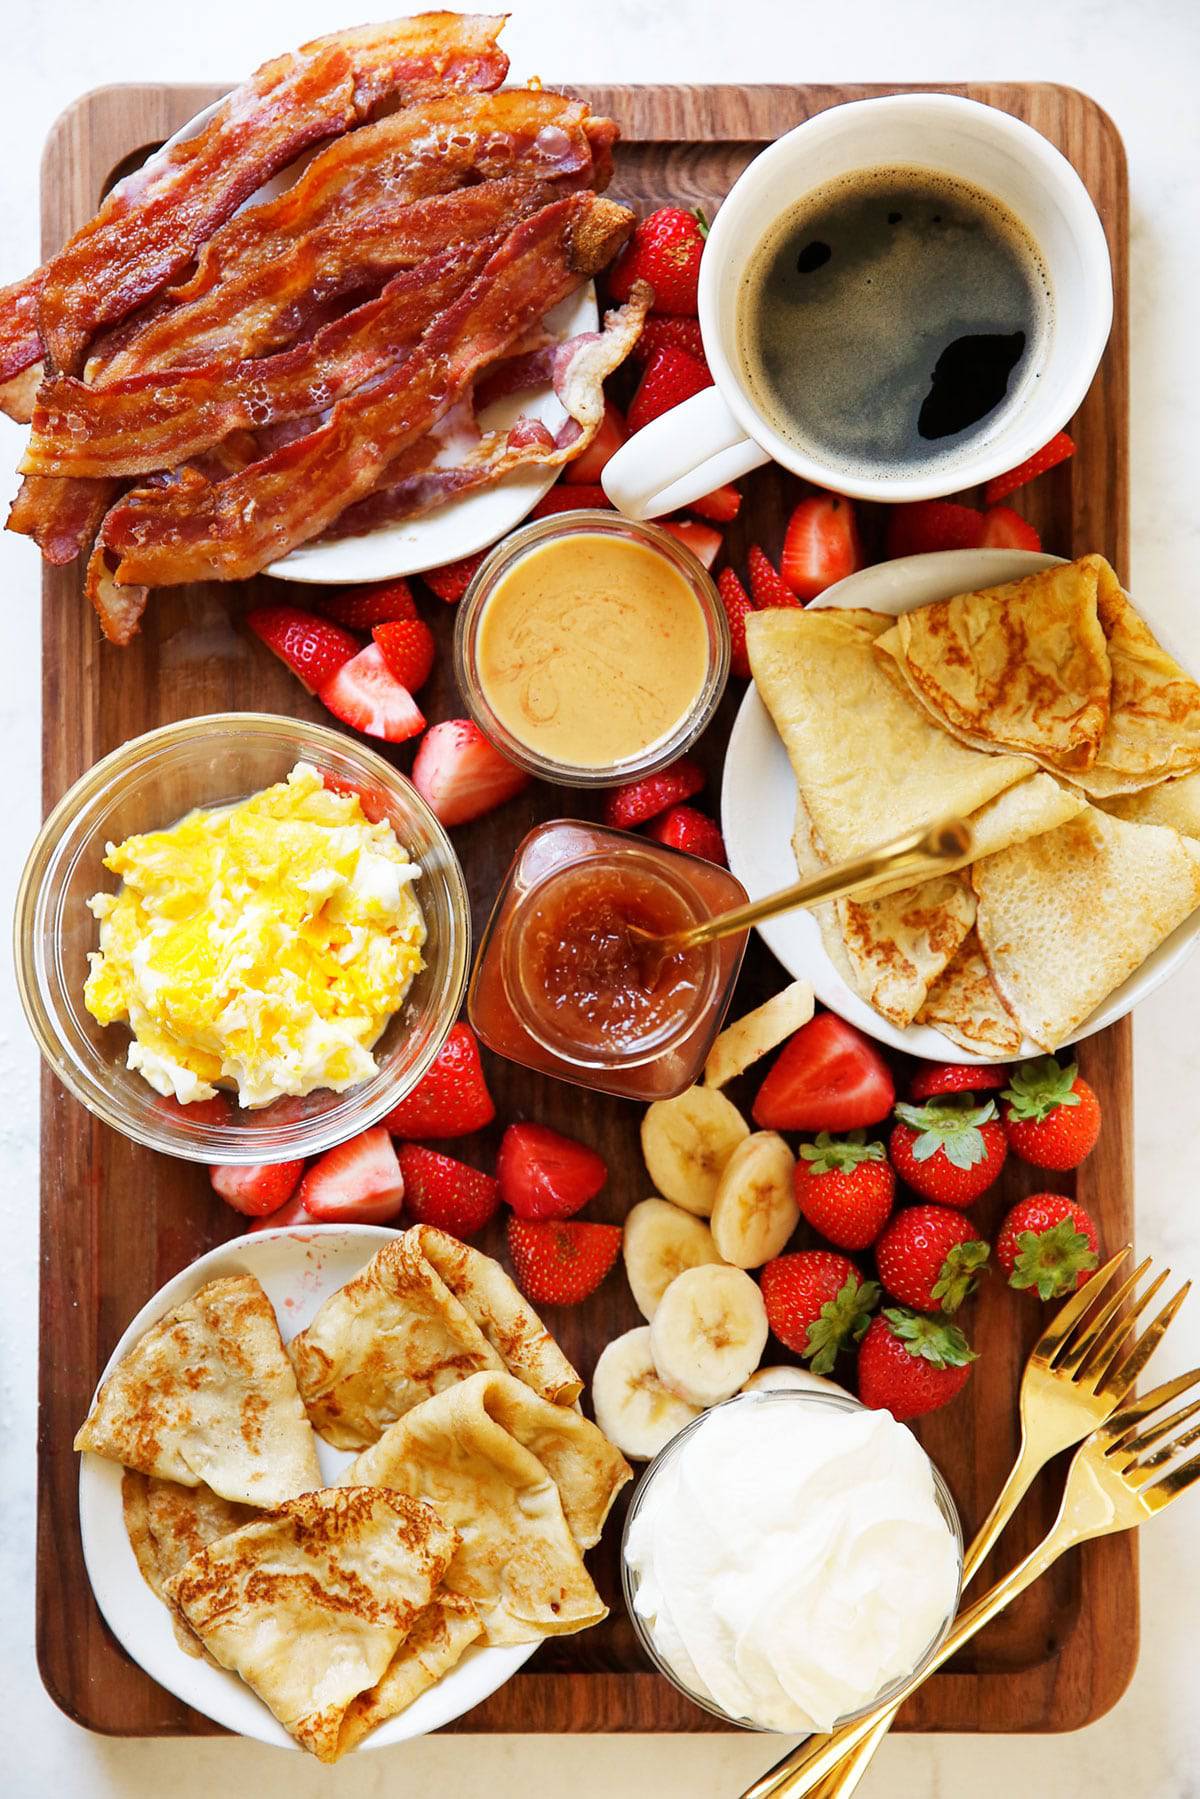
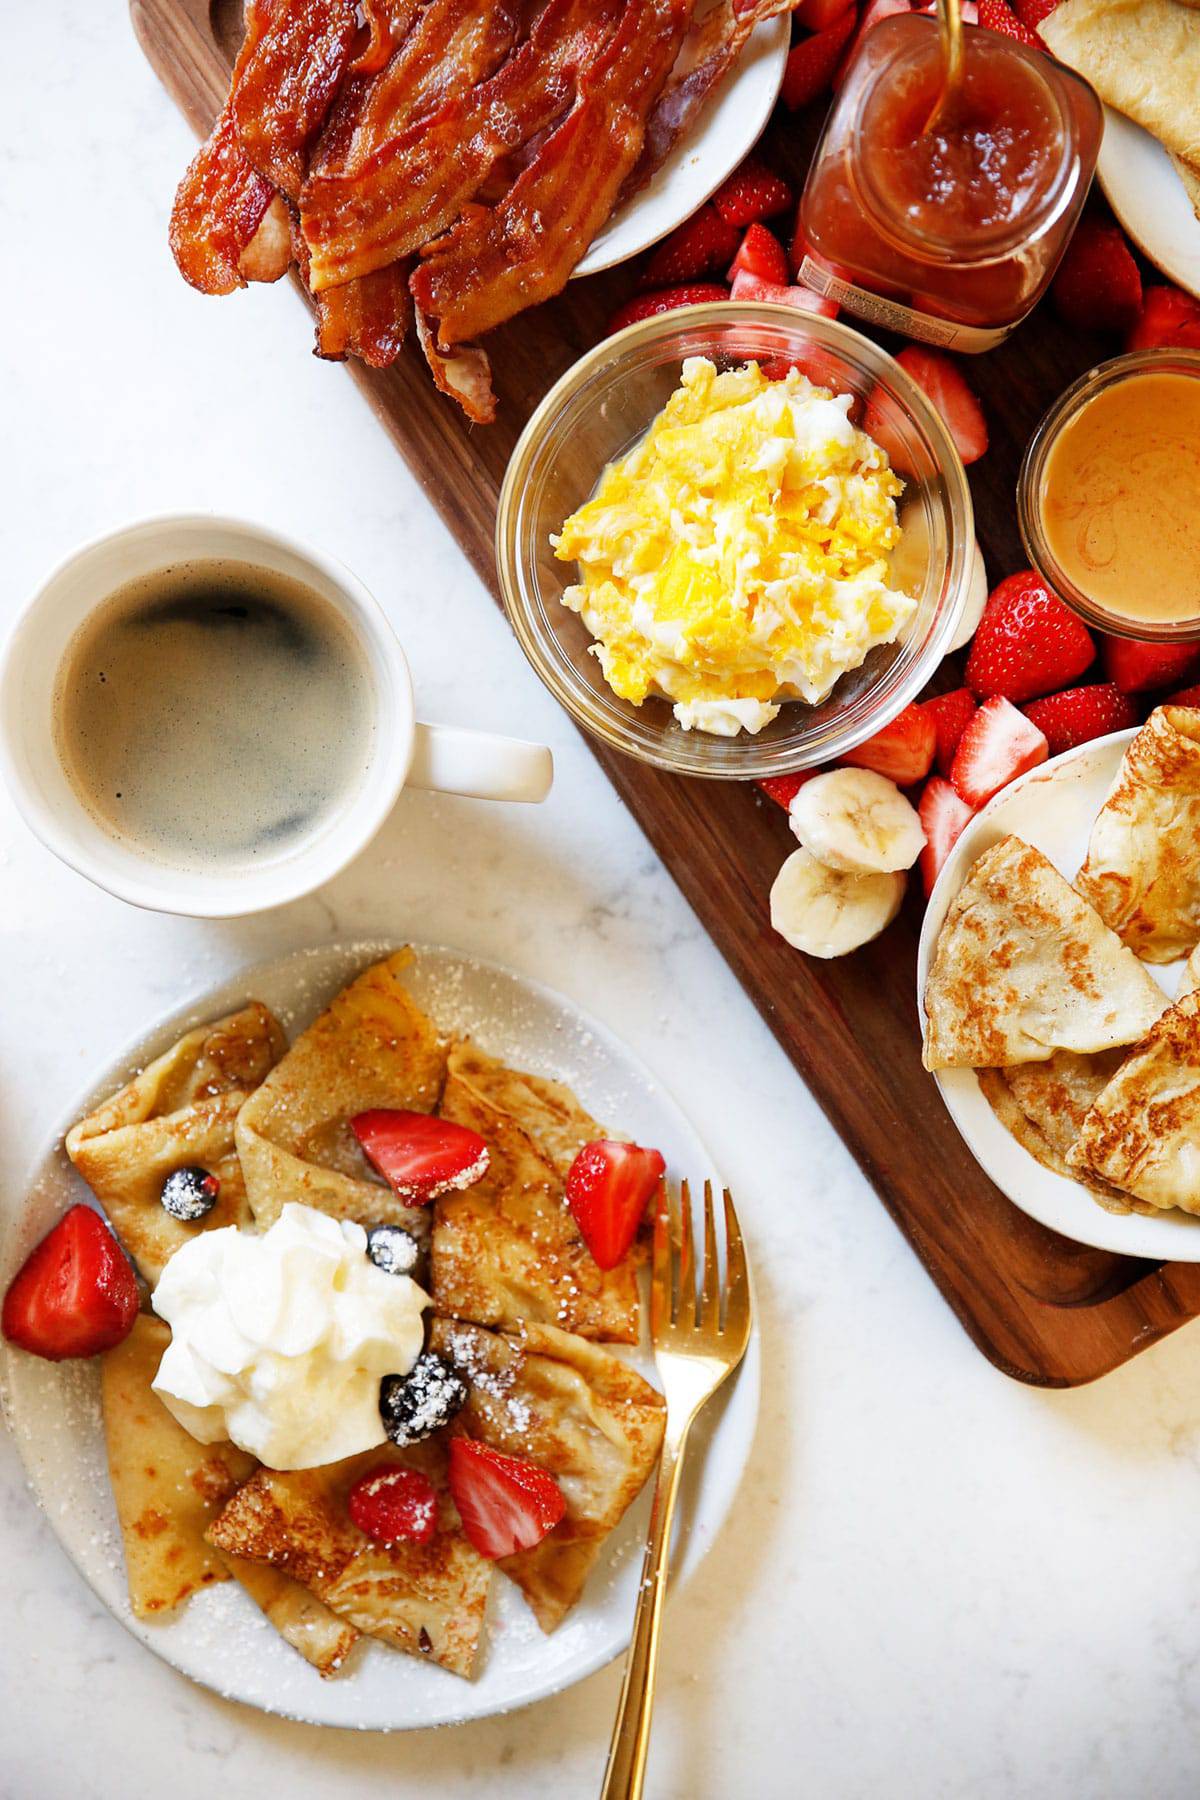
When the entertaining season rolls around, or you are just in need of a festive weekend brunch idea, a DIY crepe board can be such a festive spread to make for your guests! Crepe boards are customizable, gorgeous, and simple to put together.
To Make a DIY Crepe Board:
- Start with the platter! Grab one or two platters or another unique serving idea You may be surprised to find that you may already have things to use at home like wooden boards, wood cutting boards, slate or chalkboard, or even a marble slab!
- Next, move on to the crepes: You’ll need approximately 2-4 crepes per person! Go ahead and make those, and if you want, you can keep them warm in the oven on very low heat (around 200ºF).
- Cook any side dishes: Think bacon, scrambled eggs, cooked fruit, or sauteed vegetables! Get all of that ready. Similarly anything you need to keep warm, place in the oven with the crepes.
- Then move on to the toppings: Pick out and prepare any toppings you’d like to use and lay them out on the board.
- Once you have everything, assemble it together! Make sure to add any serving utensils to the board.
- Set aside plates, napkins, utensils and beverages.
Why I love Stonewall Kitchen Products
For the easiest crepe board, I love to use well-prepared, store-bought items that will pair perfectly with your homemade crepes!
I often get asked for tips to maintain a clean-eating lifestyle without having to make every pantry item from scratch. We always recommend reading labels and grabbing items with minimal or good quality ingredients. Keeping a wide range of products in your pantry allows you to whip up a quick dinner or snack at a moment’s notice. This is a big part of a cleaner lifestyle.
Keep on hand pantry items that don’t compromise on ingredients and that you can feel good about eating and serving, even with a busy lifestyle.
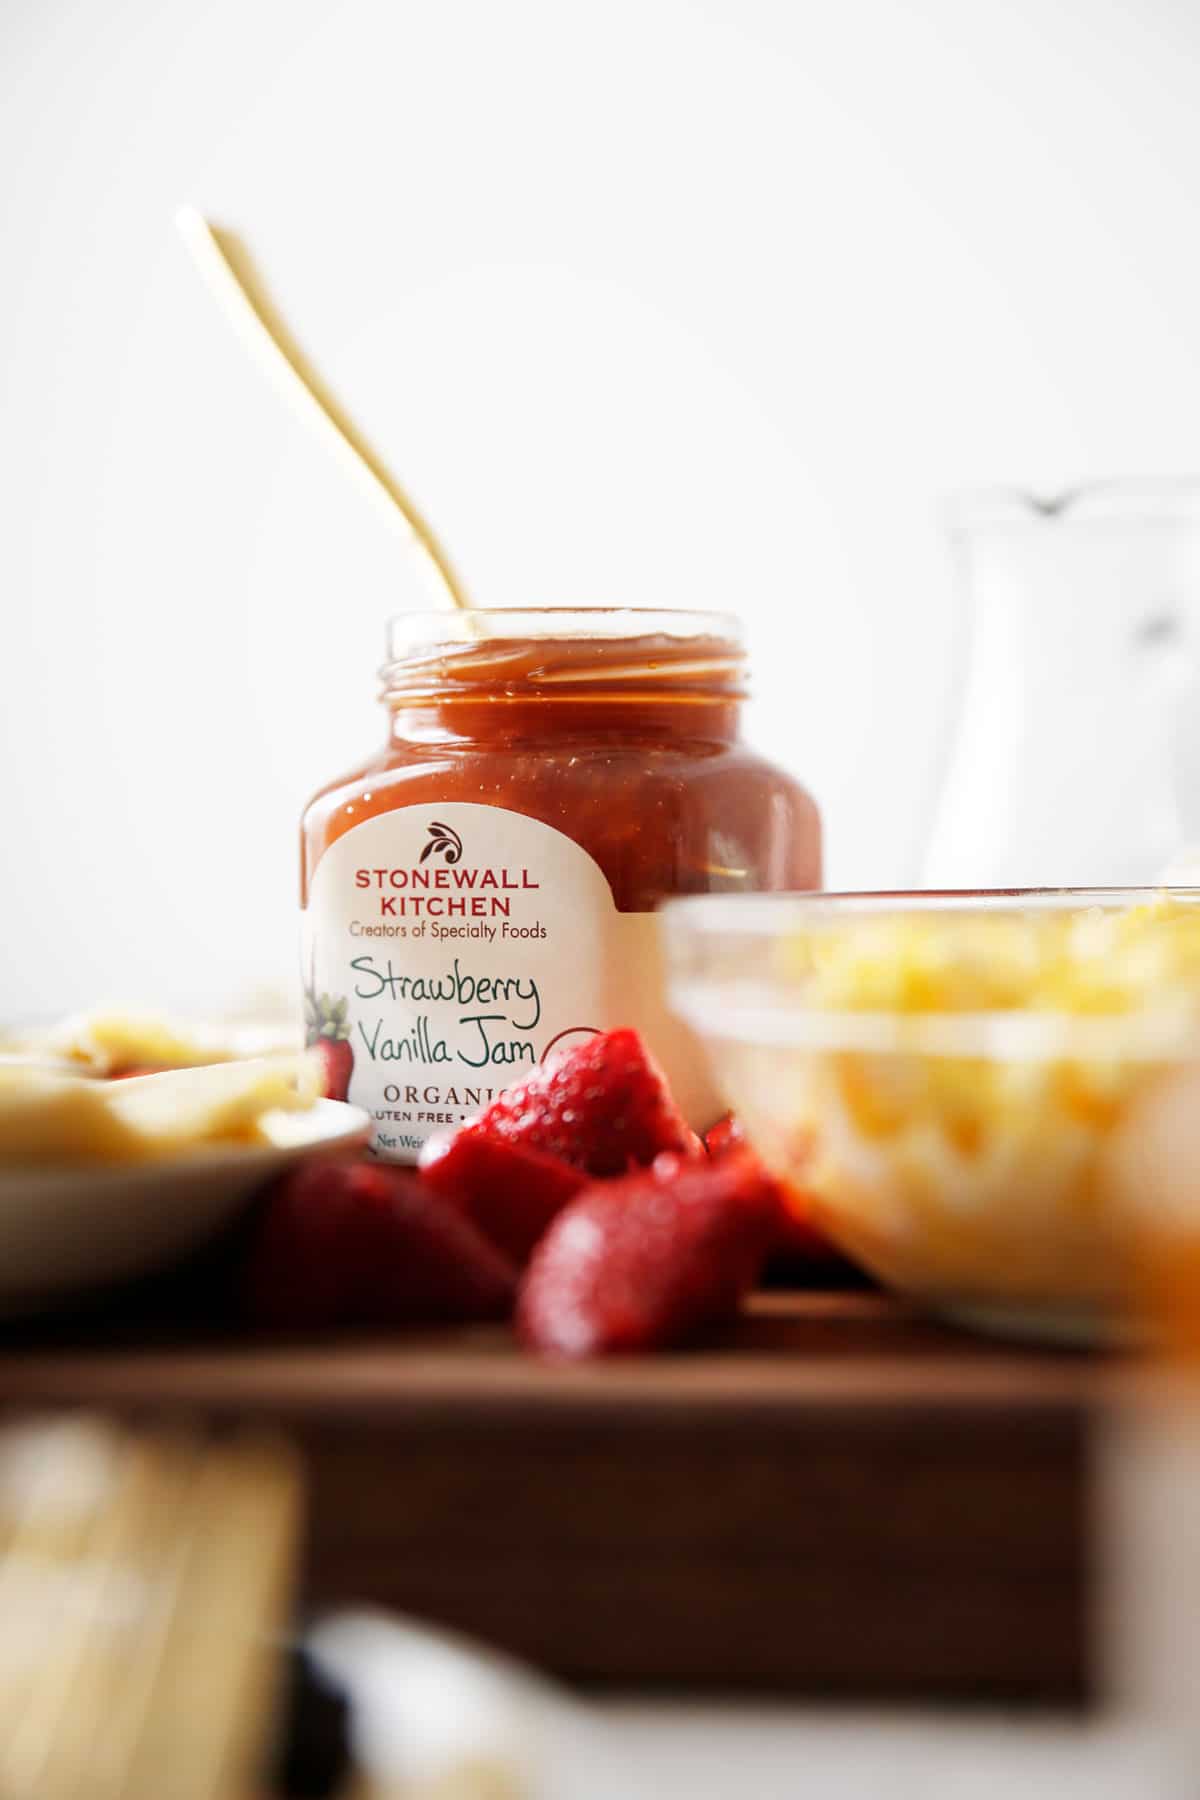
This is exactly why I turn to Stonewall Kitchen! Stonewall Kitchen is the maker of some of my favorite gourmet specialty foods that always have a place in my pantry.
Chances are, you’ve likely seen their famous jam in a grocery store near you (even Costco has it right now!). But in case you didn’t know, they have a wide range of healthy products that make it easy to maintain a good-for-you diet.
Bonus: They are headquartered in York, Maine (the cutest place ever), so if you’re ever passing through, stop by! Did you know their label font is handwritten by one of the founders? So many sweet little touches throughout the brand.
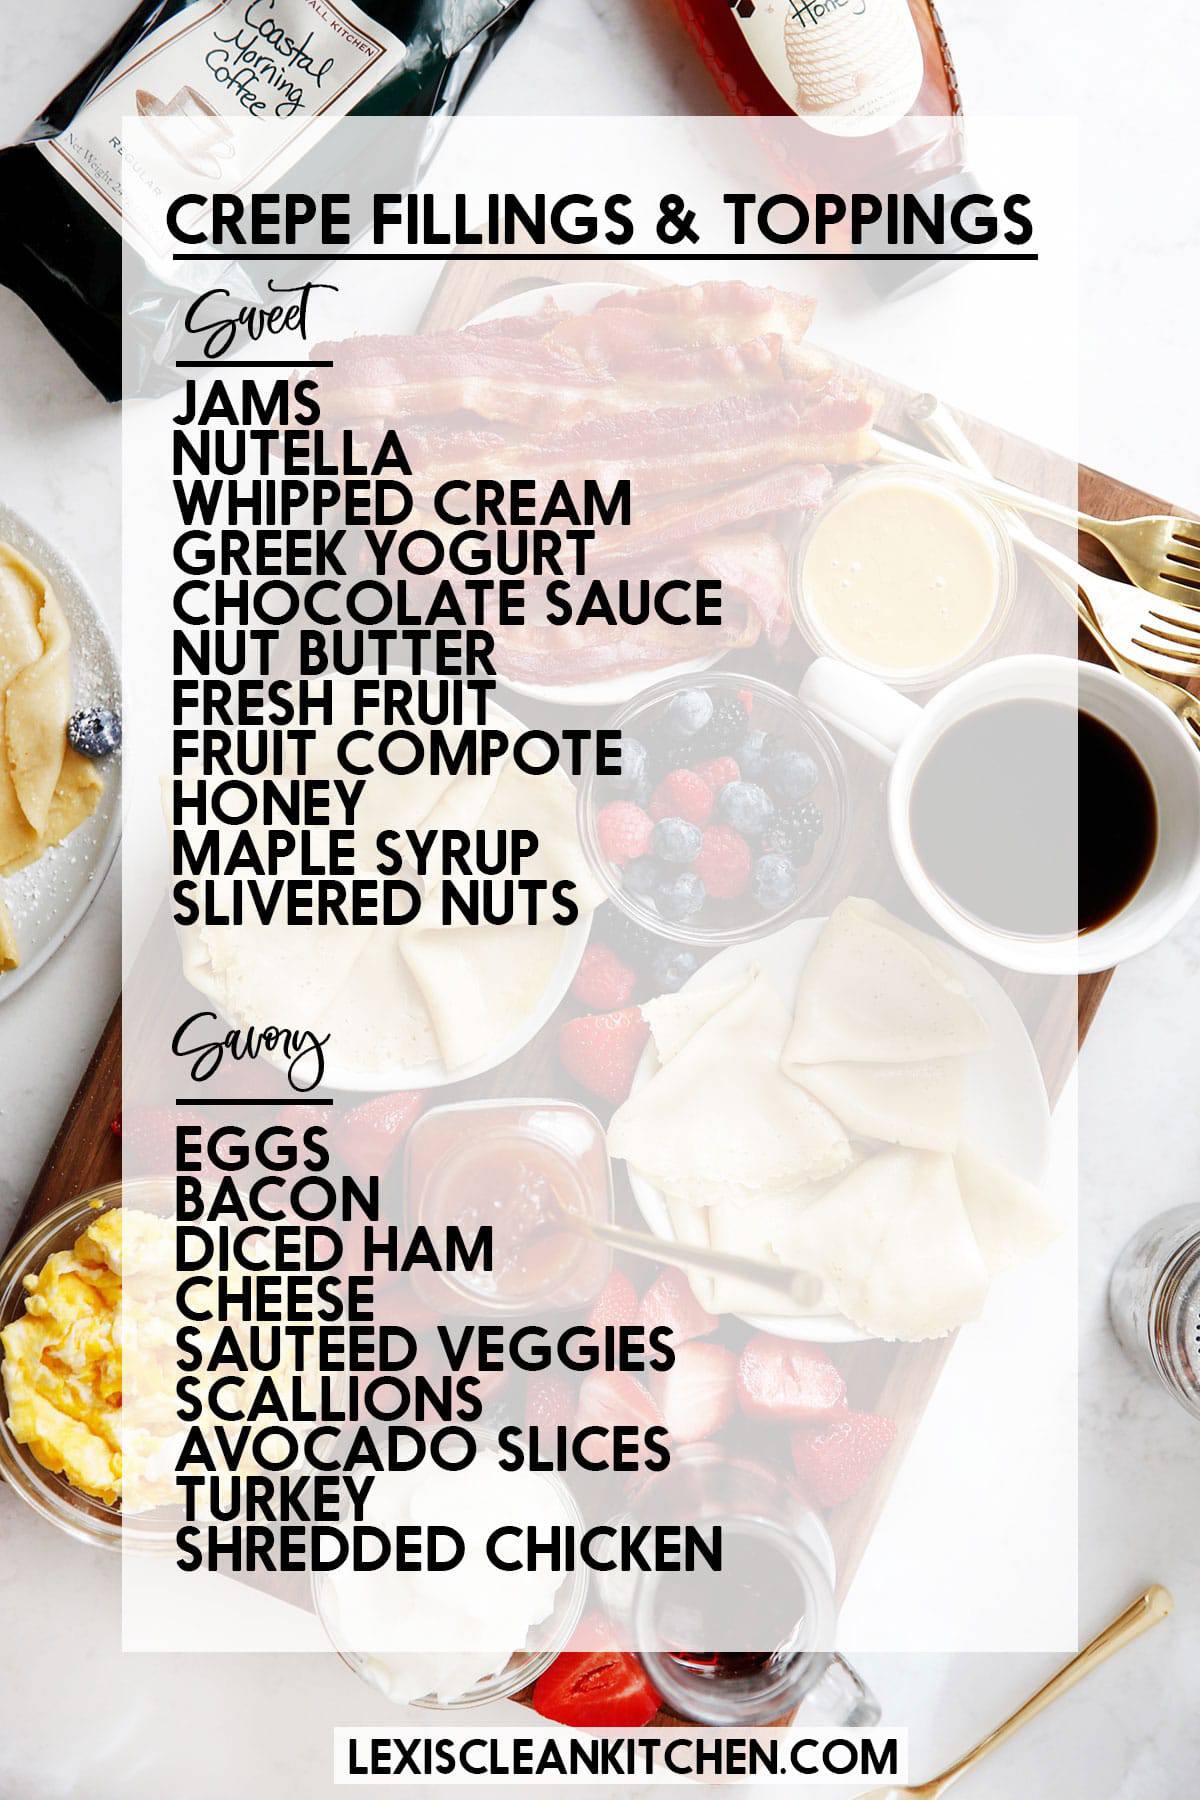
Build your Crepe Bar
Mix it up with some fresh ingredients, some sweet and some savory, and some easy store-bought items. Like my Charcuterie Guide, it becomes a fun art-like breakfast!
Stonewall favorites for our DIY Crepe Bar include:
- Creamy Peanut Butter
- Maple Pumpkin Butter
- Strawberry Vanilla Jam, Bellini Jam, or any flavor jam!
- Wild Flower Honey
- Dessert Sauce Collection
- Various Syrups
- Pair it all with a pot of their Coastal Morning Coffee
Other Ideas:
- Homemade Nutella
- Caramel
- Dairy-Free Whipped Cream
- Greek Yogurt
- Almond Butter
- Fresh Fruit
- Scrambled Eggs
- Cheeses
- Sautéed Veggies
Can You Make GF Crepes Ahead of Time?
Yes! While we don’t recommend making the batter ahead of time, the fully cooked crepes are easily made ahead of time. Once they are cooked and cooled, you can stack the gluten-free crepes on top of one another, with a small piece of parchment paper in between. Cover them entirely with plastic wrap, or store in an air-tight container.
- Store in the refrigerator for up to 2-3 days.
- When ready to use, you can reheat in a pan until hot, or in a toaster or microwave!
How to Freeze Gluten-Free Crepes
To freeze crepes, once they are cooked and cooled, stack the gluten-free crepes on top of one another, with a small piece of parchment paper in between. Cover them entirely with plastic wrap and freeze for up to 2-3 months. Defrost overnight in the refrigerator and then reheat in a pan, toaster oven or microwave.
Gluten-Free Crepe FAQ
How thin should crepe batter be?
Crepe batter shouldn’t be the consistency of pancake batter. It should be extremely thin, almost like a thin milkshake.
Can I make the crepe batter ahead of time?
Unfortunately, we don’t recommend making this gluten-free batter ahead of time. While traditional crepe batter can and should be made ahead of time (to hydrate the wheat flour) this gluten-free recipe doesn’t work that way. We recommend making your crepe batter right before you plan to cook it.
What if I don’t have a crepe pan or small non-stick pan?
If you are using a large pan, your crepes may come out slightly irregular in shape, as opposed to a perfect circle. This is because the small 8″ pan we recommend helps keep the crepe circular by swirling the batter to the edges of the pan. This isn’t that big of a deal though because most of the time crepes are folded or rolled up.
My butter is burning!
We recommend first and foremost to use ghee to cook crepes. Ghee doesn’t burn as easily, but it still has the butter flavor you expect to have with crepes. If you don’t have ghee and are using butter, your heat may be either too high or not high enough. If it’s too high it will burn immediately (as opposed to browning) when it hits the pan. If the pan is too low, it will take too long for the crepes to cook, and will burn the butter. When your pan is correctly heated the butter may turn a golden brown color in the time it takes to make the crepe, but it shouldn’t burn. Crepes really only need about 2-3 minutes to cook.
What temperature should my pan be?
Your pan should be on medium heat to start. However, all cooktops are different and your stove may be more or less powerful than the average. Also, once you are halfway through the cooking of the crepes, you may notice your pan can become too hot. Over time the pan will retain the heat more, so you may have to adjust the cooking temperature halfway through.
Why are my crepes rubbery?
There are a few possibilities for this. You may have added too much tapioca to your batter. Or you are adding too much batter to the pan. Crepes are intentionally incredibly thin, if you pour too much batter into the pan, the crepe will be too thick and can become rubbery. You also may be cooking them too low! Gluten-free crepes rely on that quick cook in the pan to give the outside the correct color and texture.
I’m having trouble flipping the crepe, any tips?
The most important part to cook of the crepe is the first side. You want to ensure that all of the batter is nearly cooked through before attempting to flip. Shimmy your spatula (make sure to use a nonstick one if you are using a nonstick pan) underneath the crepe and then confidently flip it. If you are nervous about flipping that crepe, and move slowly, you’ll be more likely to have it scrunch up or tear. Confidently flip it!
If you like this special breakfast recipe, check out these others:
- Breakfast Pizza
- The Best Paleo Pancakes
- ATX Inspired Breakfast Tacos
- Gluten-Free Chocolate Banana Waffles
- Sheet Pan Classic Breakfast Bake (Eggs, Bacon, & Home Fries!)
- Sheet Pan Chorizo and Egg Bake
Gluten-Free Crepes
Ingredients
- 2 eggs
- 1 cup milk we use almond milk for dairy-free
- 2 tablespoons maple syrup see note for savory
- 3/4 cup 90 grams tapioca flour
- 1/4 cup 28 grams coconut flour
- Pinch sea salt
- Ghee or Butter for frying (see note)
Instructions
- Add eggs, milk and maple syrup to a bowl and whisk together. Add in tapioca, coconut flour and salt and whisk until combined. Alternatively you can use a blender to mix this batter together.
- Heat a small 8 inch (or similar sized) non-stick skillet over medium heat. Add ghee and add 2-3 tablespoons of batter in the center of the pan, and then swirl the pan to spread the batter around. Cook for 1 minute, or until the top looks dry, and then flip and cook for 30 seconds. Transfer crepe to a plate.
- Repeat the process, starting with adding more ghee to the pan. Continue until all crepe batter is gone.
- Fill the crepes with your desired toppings, while warm. They will also work at room temperature too.
Notes
This post is sponsored by Stonewall Kitchen! All thoughts and opinions are always 100% my own! I love the integrity of their products and think you’ll love them too. Thank you for continuing to support LCL and the brands I work with!

I love all of your recipes! I do request that you do not support companies, however, that use GMO’s in their products such as Stonewall Kitchen. Since your focus is on healthier ways to eat, this is a contradiction.
Thank you.
When you adjust the recipe from 3 to 2 or 1, the measurements in grams for flours does not change. I tried the one serving recipe twice and was wondering why it didn’t work as well as last time when I did the full recipe.
Should be all set!
Delicious! Does not task eggy and gluten free!
Is there a way to replace the coconut flour with all-purpose flour? I heard it is possible but would need more all-purpose flour and eggs. so in this case 3/4 all-purpose flour = coconut flour? and how many egss do I need? Can someone help me out, I’m a beginner and would really use some help thank you.
Coconut flour is not a 1 for 1 sub as it is very dense.
Hi Lexi! I was wondering what Gabbi’s take is on tapioca starch and arrowroot starch. I’ve recently had to go gluten free. Mostly I’ve been relying on whole grains and avoiding these kinds of delicious looking recipes because I assumed these starches were highly processed and not very nutritionally dense. But I don’t have a nutrition background at all, so I was hoping for a more informed opinion. Are these starches something we can have daily, or should we be saving it for an occasional treat? Thank you for this great site!
Love these crepes! The best recipe I have tried! They have the perfect consistency and take great.
The foods looks so good I cant wait to try the crepes platejoyhealth has me doing gluten-free
Seriously the BEST crepes I have ever had- even better than traditional ones. They hold together perfectly, have a great texture, and even a very light sweetness to them! We had them savory with eggs and the works, but are looking forward to eating some dessert crepes later. They’re even good plain!
We also found, we didn’t need to add butter every time if you’re using a good pan (we used always pan)
Run to make these!!