This post may contain affiliate links. Please read my disclosure policy.
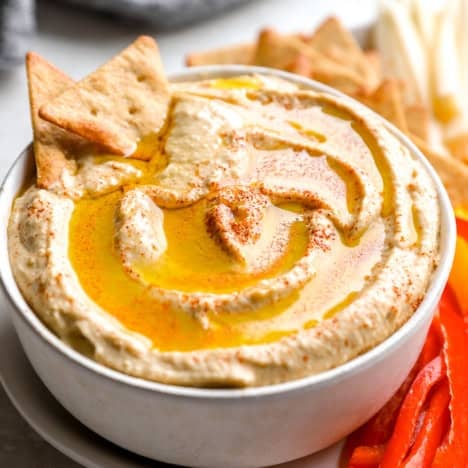
If you’ve never made your own hummus at home, you’re in for a treat. This classic, Easy Hummus recipe is creamy, dreamy, and comes together with just a few simple ingredients — most of which you likely already have on hand. It’s quick enough for weekday snacks, but wholesome and delicious enough for appetizers, lunches, or any upcoming parties.
This easy recipe is naturally gluten-free, dairy-free, and plant-based, something for all to enjoy!

The Best Hummus Recipe
If you’ve never made your own hummus, then I hate to be the one to break it to you, but you’ve totally been missing out. It may seem easy to grab it in the store, but often, the ingredients aren’t so simple, and good hummus can be expensive for the size! It really just doesn’t compare to some homemade hummus!
And this is just the best hummus recipe! I’m all about keeping things clean and uncomplicated — and this hummus recipe embodies that. Not only are we using simple, minimal-ingredient foods that are nourishing and totally satisfying.
This recipe is also incredibly quick to whip up! We are talking like five minutes! So, whether you’re here with a dietary restriction or just trying to eat more real foods, this recipe is for you – and you likely have all of these ingredients in your pantry.
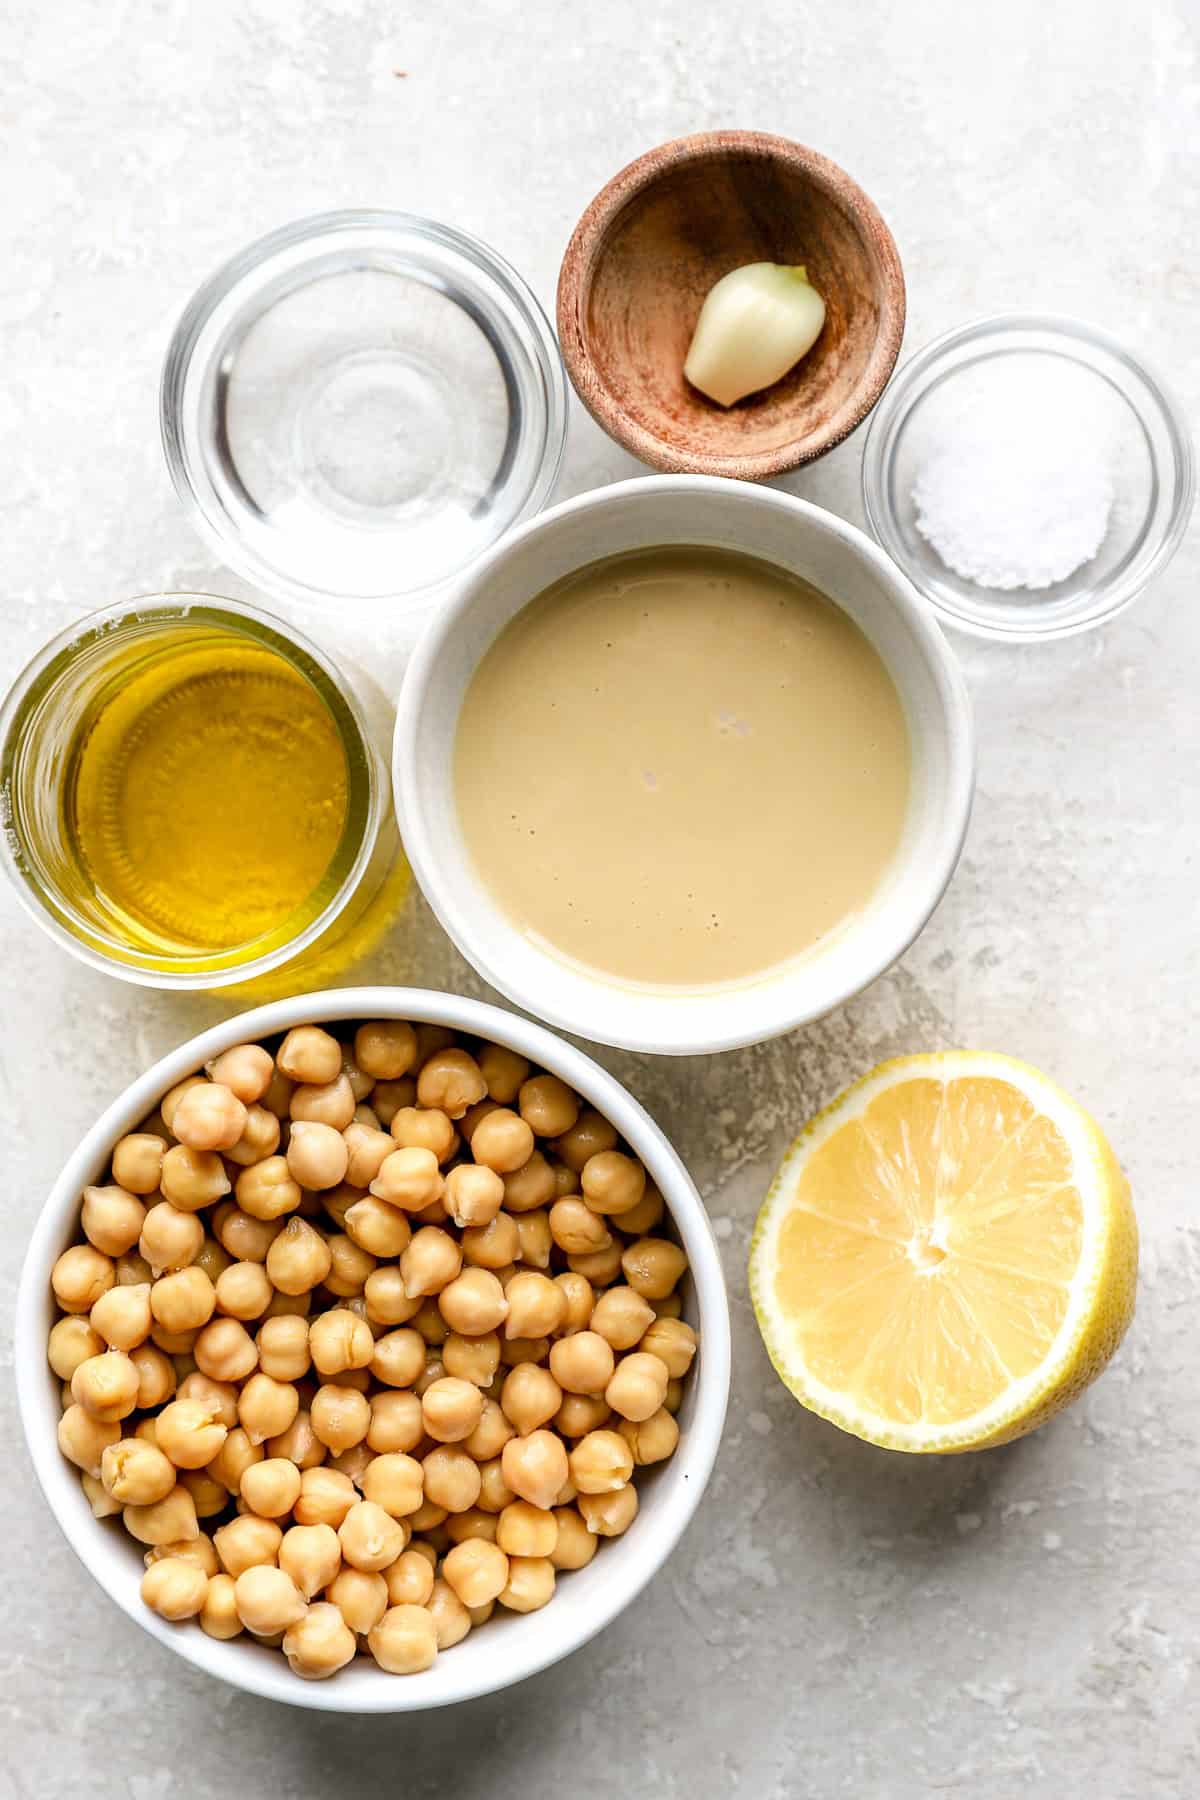
- Clean, simple ingredients, no weird stuff. Just chickpeas, lemon, tahini, garlic, olive oil, water, and salt — classic, wholesome, and reliable.
- Quick + no-fuss. Once chickpeas are ready, blending takes five minutes. Great for busy days or spontaneous cravings.
- Customizable. Once you’ve got the basic recipe, you can get creative — add roasted red peppers, spices, herbs, or even mix in different beans for new flavor twists.
- Healthy & versatile. Hummus brings plant-based protein and fiber; use it as a dip, spread, sandwich topper, or salad boost.
Hummus Key Ingredients
*Scroll down for the full recipe and details, but in short, here’s what you’ll need:
- Chickpeas: Also known as garbanzo beans, are blended to create a creamy base for the hummus. Obviously, the star of the show here, though see below for a bean-free option!
- Fresh Lemon Juice: Fresh always! While sometimes you can get away with store-bought lemon juice, in a homemade hummus, you really want fresh. Plus, this adds a bright, tangy flavor and cuts the raw garlic.
- Tahini: Adds smoothness to the texture, tons of flavor, along with a bonus: a wide variety of vitamins and minerals!
- Garlic: Use fresh garlic for the best flavor! But see my note on garlic below (it’s easy to overdo it)!
- Extra Virgin Olive Oil: Rounds out the brighter, tangier flavors from the lemon and garlic. Plus extra for a drizzle on top, for good measure!
- Salt: Essential finishing touch! More to your taste, of course!
- Cold Water: A liquid added as needed to thin the hummus for the perfectly desirable smooth texture.
- Garnishes: I like to top mine off with an extra drizzle of good olive oil and a sprinkle of paprika for a pop, but see more ideas below.

What is Hummus?
Hummus is a Middle Eastern dip or spread made from blended chickpeas, lemon, tahini, oil, and, traditionally, garlic and spices. It’s so simple to make and a great source of plant-based protein. It’s vegan, gluten-free, nut-free, and incredibly delicious!
How to Make It – Simple & Quick
This easy hummus recipe could not be more straightforward!
- Prep the Chickpeas — Drain and rinse your canned chickpeas. (If you have homemade/cooked chickpeas, that works too.)
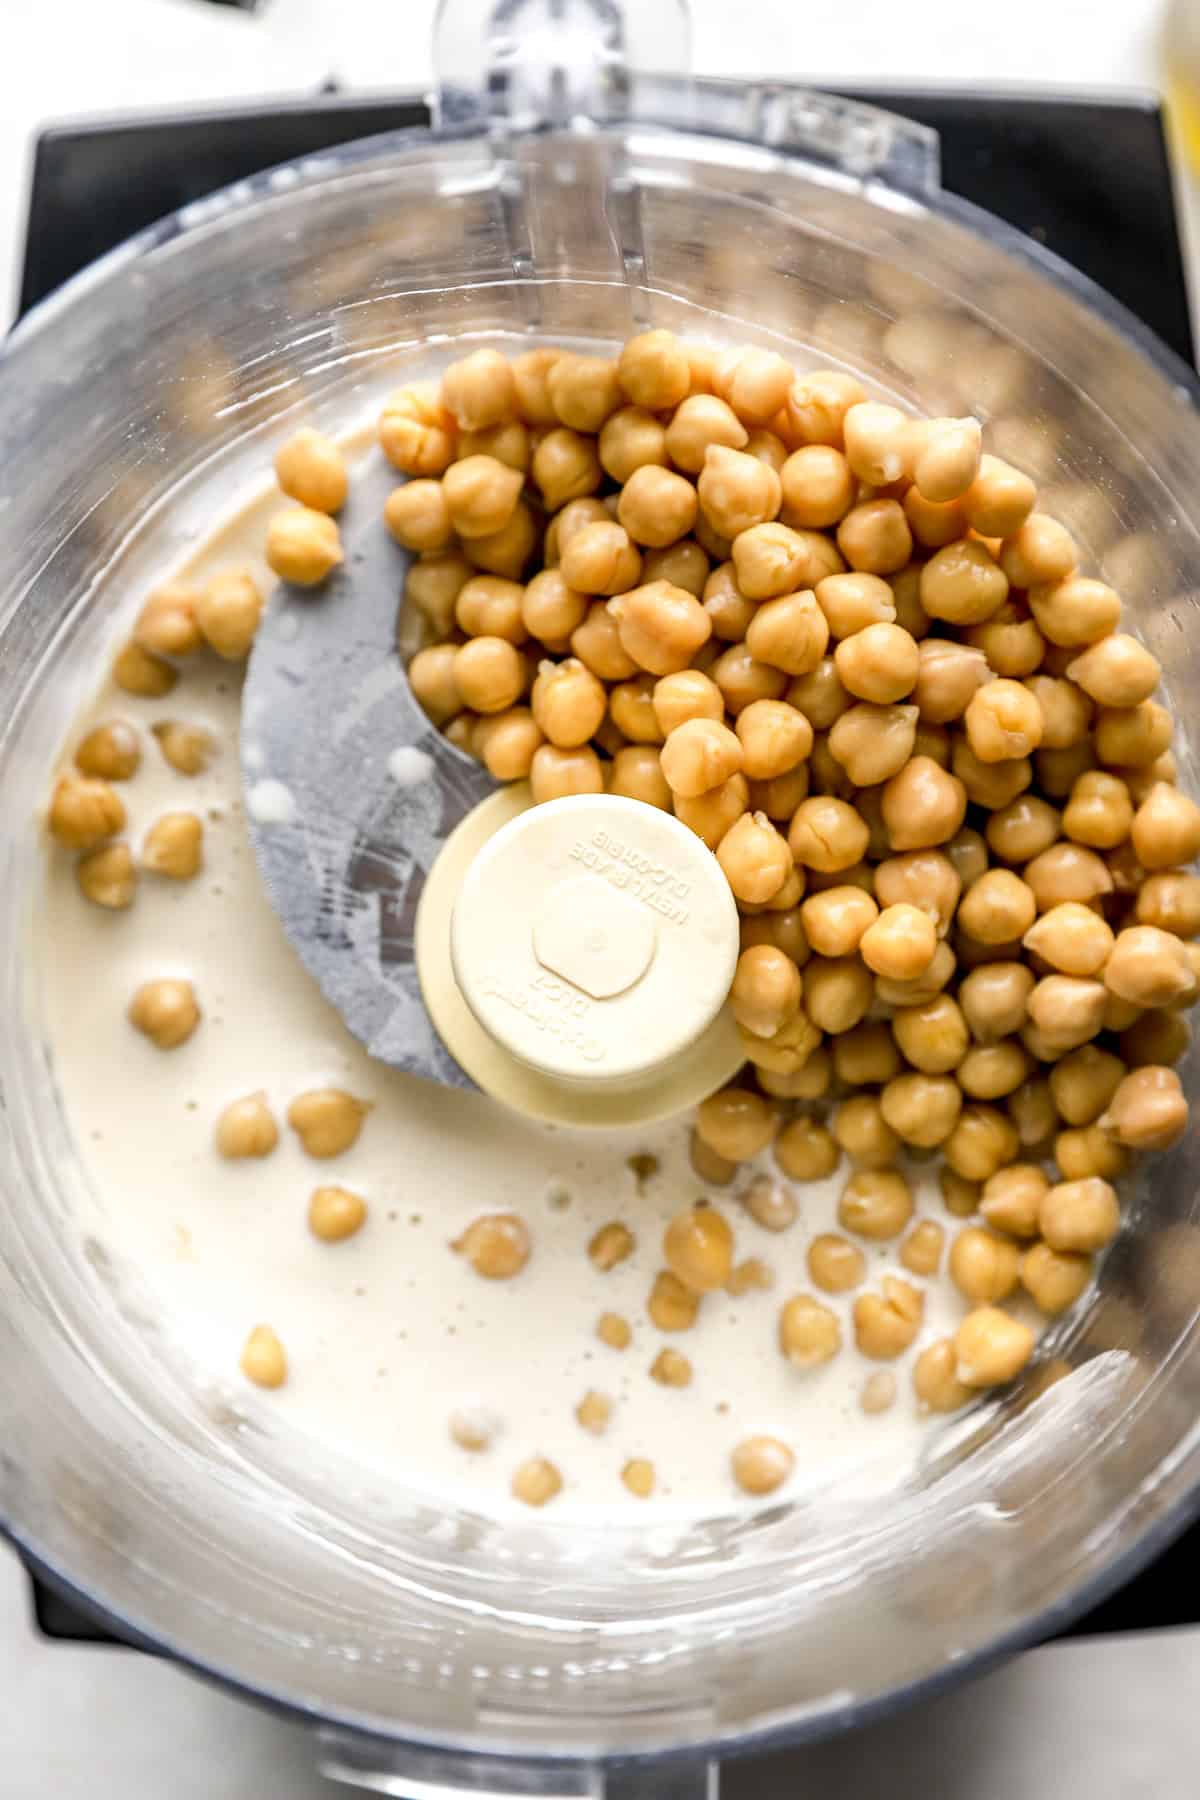
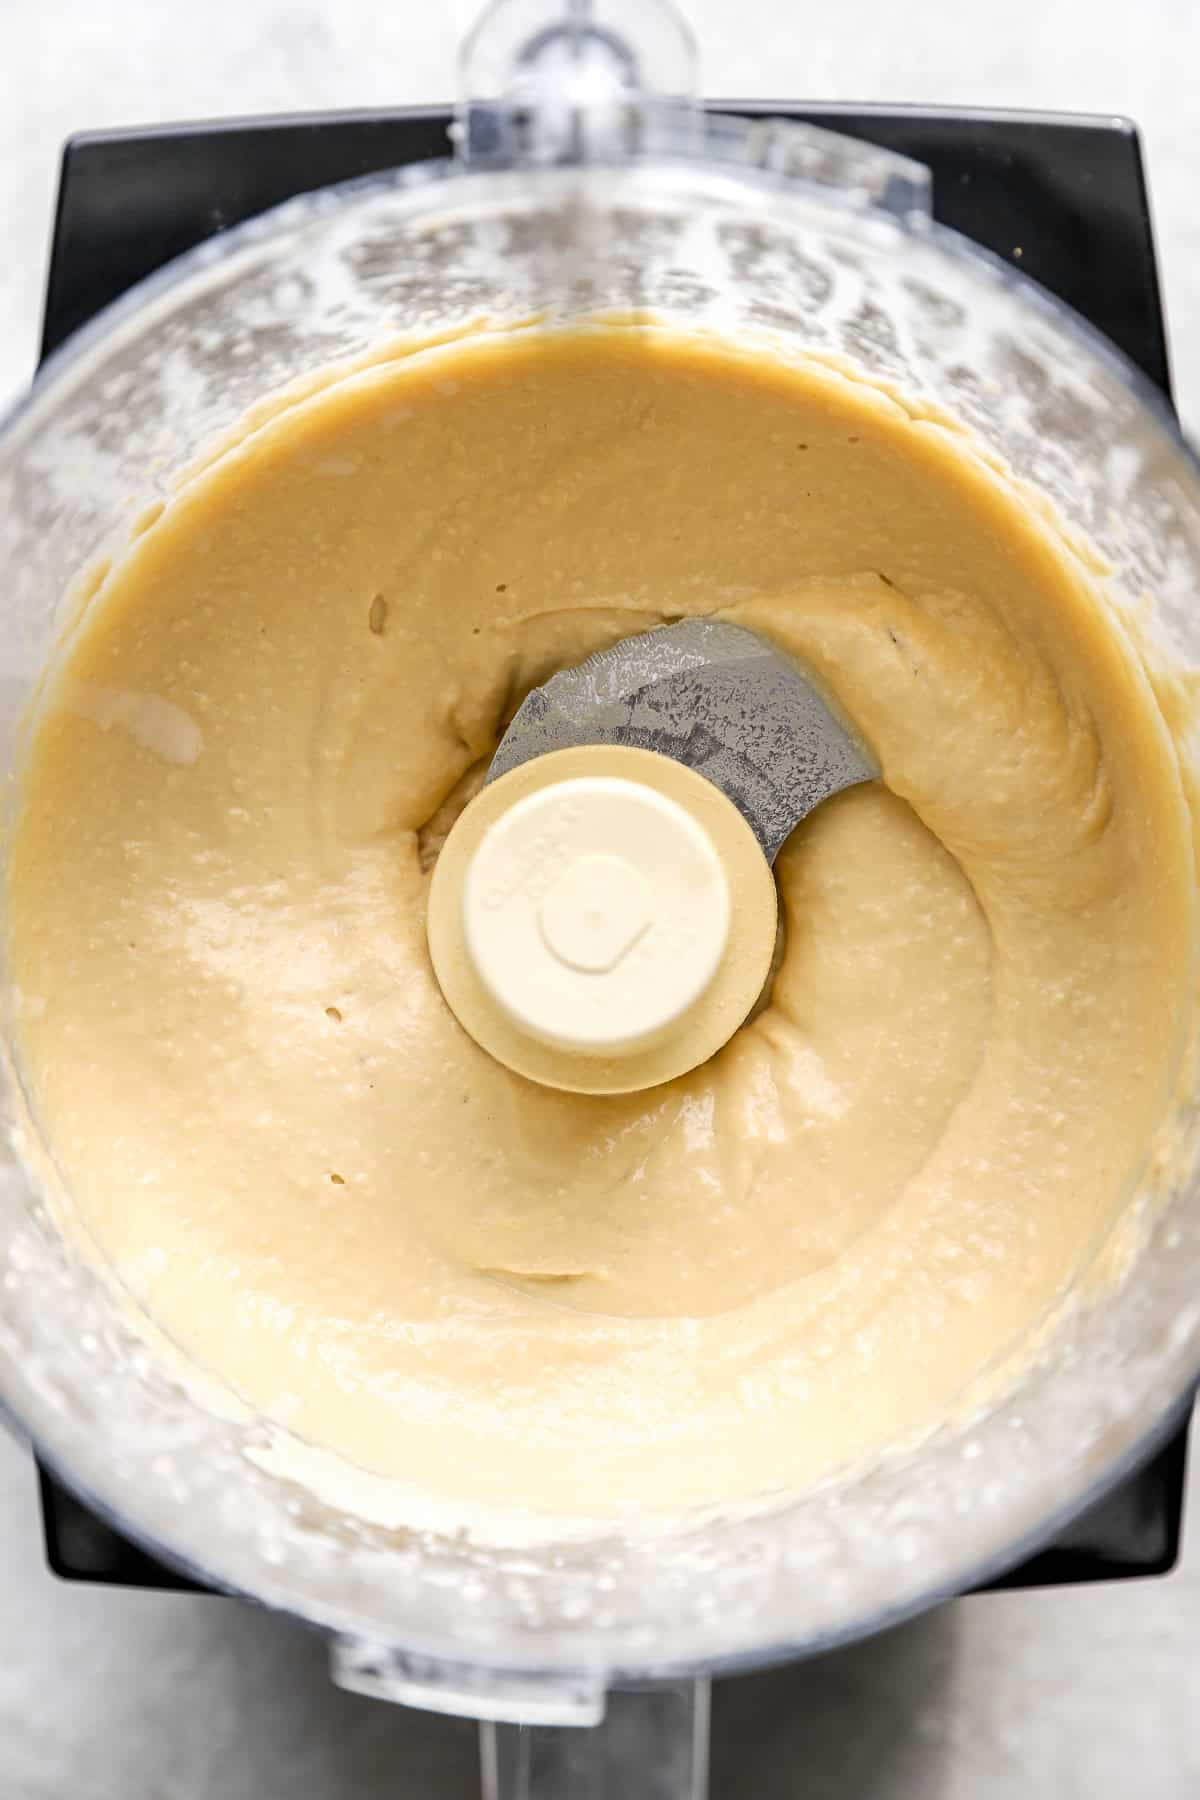
- Add everything to your blender — As it’s processing, you can drizzle in a little more cold water to reach your preferred consistency.
- Taste and Adjust — Give it a taste and adjust salt or lemon as needed. That bright lemon tang and balanced saltiness are what make the flavor pop.
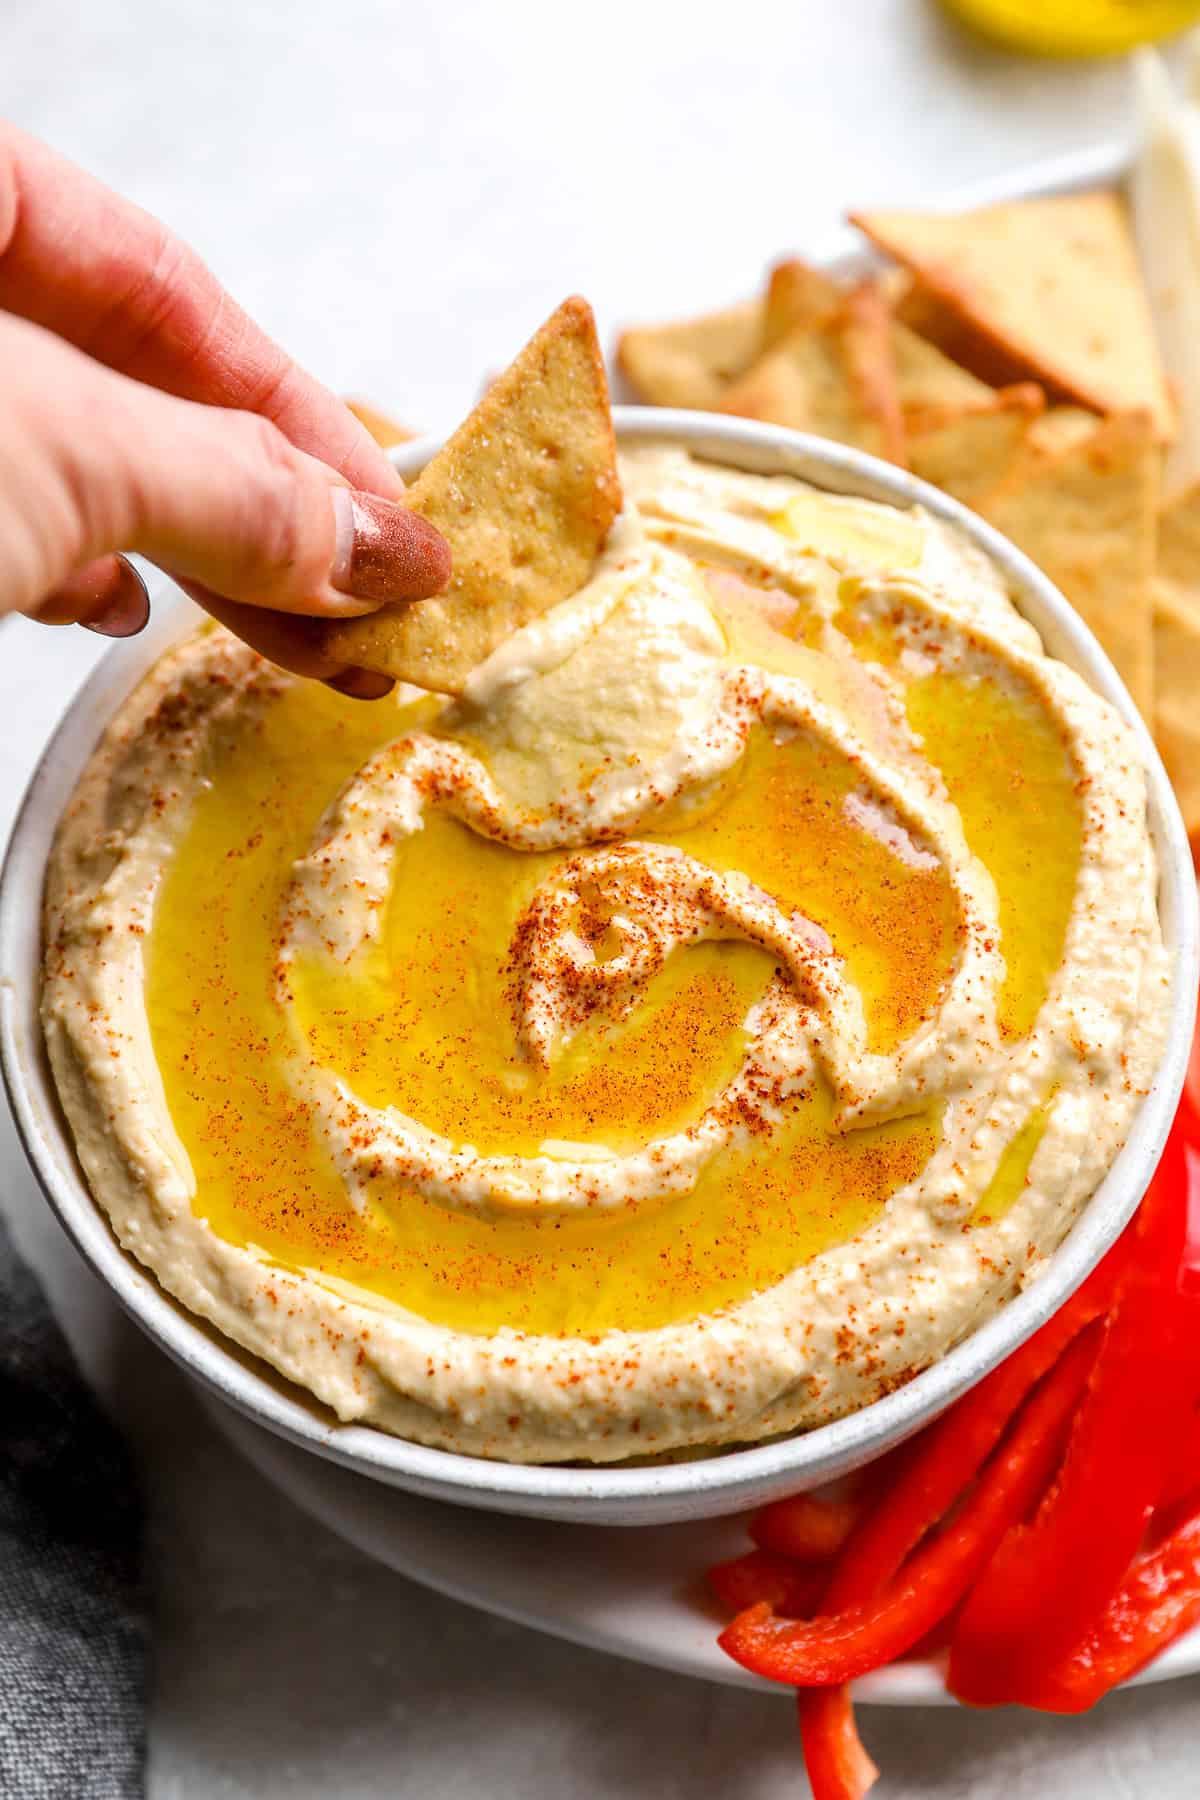
- Serve and Garnish — Scoop into a bowl, create little “swirls” on top with a spoon, then drizzle with olive oil and sprinkle paprika (or your favorite seasoning). Serve with veggies, pita, crackers, toast — whatever you love.
Garlic Tip
I just throw everything into my food processor and blend, but if you blend the lemon, garlic, and salt first it can help mellow out the raw garlic bite.
Tips
Boil Canned Chickpeas. If using canned chickpeas, give them a fast 20-minute boil in a pot of water! This will help soften them further and make the texture more consistent with that of hummus made with dried beans. You can ditch this step, I usually do, haha.
Try peeling them. Let me start by saying, I do not think you need to do this! But, while this is a bit annoying, and in my opinion, not fully needed, it does make slightly creamier hummus.
Garlic is always the best (in any recipe!), but don’t overdo it! It’s raw, so the flavor will build. I like using one garlic clove. Start small! You can always add more, right?
Remove the garlic bite. I just throw everything into my food processor and blend, but if you blend the lemon, garlic, and salt first it can help mellow out the raw garlic bite.
Use good-quality tahini! As with anything, quality matters, and that holds true with your tahini!
Play with the flavor! Now that you have your base recipe, it’s easy and fun to season the hummus. I love following this base recipe, then experimenting with seasonings to create fun hummus flavors.

Hummus Recipe FAQ’s
Here’s the deal: you can go either way, but let’s chat about it quickly. Let me start by saying, dried chickpeas have a more natural flavor because they aren’t soaked in preservatives. They’re also more economical, so you get more bang for your buck.
This homemade hummus recipe will last in an airtight container in the fridge for 3-4 days. To enjoy again, serve straight from the fridge!
You can. However, you should keep in mind that the texture of hummus when it’s frozen and thawed will change. It’s definitely best fresh, and honestly, it’s easy to make, so can I say just make it fresh?
To freeze, store in a freezer-safe container for up to 4 months. I recommend freezing with a drizzle of olive oil on top to help preserve the moisture. When you’re ready to serve the hummus again, simply thaw it in the fridge, stir it up, and serve.
Not necessarily, but peeling them does result in extra creamy and fluffy hummus. If you have the time, go for it. I have found I get great results just by boiling the can of chickpeas!
Well… yes. If you want to make the real dip using an authentic hummus recipe, you should definitely not substitute anything else for tahini. It’s one of the main ingredients!
However, if you want to turn your chickpeas into a dip but you don’t have tahini, you can get a similar result in consistency, but not in flavor, by using a nut butter such as cashew, almond, or Brazil nut butter. You can also use Greek yogurt.
Keep in mind that each will 100% give you a different flavor profile. So basically, in the absence of tahini, you can create a chickpea dip, not necessarily hummus.
Likely a result of either too much tahini, too much garlic, or too much lemon juice, so start with the quantities listed here!

Kitchen Tools I Used

Serving + Toppings Suggestions:
Roasted red pepper hummus. Add a handful of diced, roasted red pepper when blending, and on top!
Olives. Please give it a salty twist with chopped black olives, green olives, or Kalamata olives.
Cheese. A sprinkle of feta is a great addition to hummus. Goat cheese would also be delicious.
Top with other spices. Everything bagel seasoning or a za’atar blend are great options.
Serve with: With fresh veggie sticks — carrots, cucumber, bell peppers, celery, broccoli. With pita bread, pita chips, or gluten-free crackers. Spread on toast or in wraps — hummus makes a great sandwich base, replacing mayo, and it’s a dip or condiment for grilled veggies, roasted meats, or falafel.
Other Fun Hummus Recipes I Love Serving
- Southwestern Hummus Dip
- Chicken Bacon Ranch Hummus Dip
- Cauliflower Hummus
- Chocolate Hummus Dip
- Buffalo Chicken Baked Hummus Dip
More Easy Dip Recipes
- Healthy Spinach and Artichoke Dip
- Roasted Eggplant Dip
- Jalapeño Popper Dip
- Healthy Buffalo Chicken Dip
Watch The Video

Quick & Easy Hummus Recipe
Ingredients
- 1 15- ounce can chickpeas drained and rinsed (or 1 ½ cups cooked chickpeas)
- 1/2 lemon juiced
- 1 teaspoon fine sea salt more to taste
- 1 garlic clove
- 1/3 cup tahini
- 3 tablespoons cold water see note
- 2 tablespoon extra-virgin olive oil more for serving
- Optional: Drizzle of olive oil and a dash of paprika for serving
Instructions
- Cook the Chickpeas (Optional): Place the drained chickpeas in a medium pot and cover with plenty of water. Bring to a boil over high heat, then continue boiling for 20 minutes, or until the chickpeas are very soft and the skins begin to fall off. Drain and set aside.Note: This step is optional. You can skip it if you prefer.
- Make It! In a food processor, combine the chickpeas, lemon juice, garlic, tahini, ice water, and salt. While the machine is running, slowly pour in the olive oil. Continue blending for 2–3 minutes, or until very smooth.If the hummus isn’t becoming super creamy, add an additional tablespoon of ice water, adding more as needed. Process the mixture is smooth.
- Season: Taste and adjust with additional salt or lemon juice as desired.
- Serve: Transfer the hummus to a serving bowl. Use the back of a spoon to create swirls or wells on top. Garnish as desired (olive oil and paprika work well) and serve. Store leftover hummus in an air-tight container for 5 days.
Notes
- Add more water as needed until creamy! Go slow to avoid too water-y.
- Store leftover hummus in an air-tight container for 5 days.
- Garlic is always the best (in any recipe!), but don’t overdo it! It’s raw so the flavor will build. I like using one garlic clove. Start small! You can always add more, right?
- Boil Canned Chickpeas. If using canned chickpeas, give them a fast 20-minute boil in a pot of water! This will help soften them further and make the texture more consistent with that of hummus made with dried beans. You can ditch this step, I usually do, haha.
- Try peeling them. Let me start by saying, I do not think you need to do this! But, while this is a bit annoying, and in my opinion, not fully needed, it does make slightly creamier hummus.
- Garlic is always the best (in any recipe!), but don’t overdo it! It’s raw, so the flavor will build. I like using one garlic clove. Start small! You can always add more, right?
- Remove the garlic bite. I just throw everything into my food processor and blend, but if you blend the lemon, garlic, and salt first it can help mellow out the raw garlic bite.
- Use good-quality tahini! As with anything, quality matters, and that holds true with your tahini!
- Play with the flavor! Now that you have your base recipe, it’s easy and fun to season the hummus. I love following this base recipe, then experimenting with seasonings to create fun hummus flavors.