This post may contain affiliate links. Please read my disclosure policy.
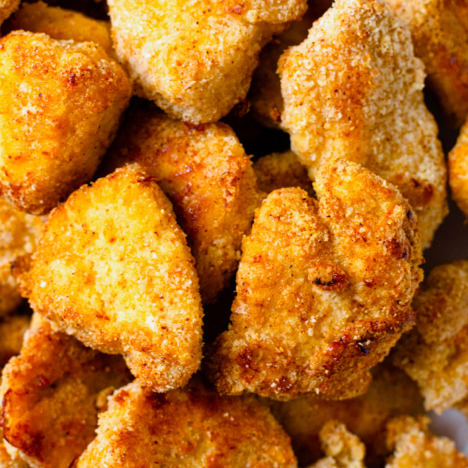
Looking for the best Gluten-Free Chicken Nuggets that everyone is going to love? This recipe uses a blend of almond flour and spices to make a crunchy and delicious chicken nugget that also happens to be gluten-free and easy to make! With instructions for making in the oven, air fryer or stovetop, these healthier chicken nuggets will make for a perfect quick dinner or meal prep that will make the whole family happy.
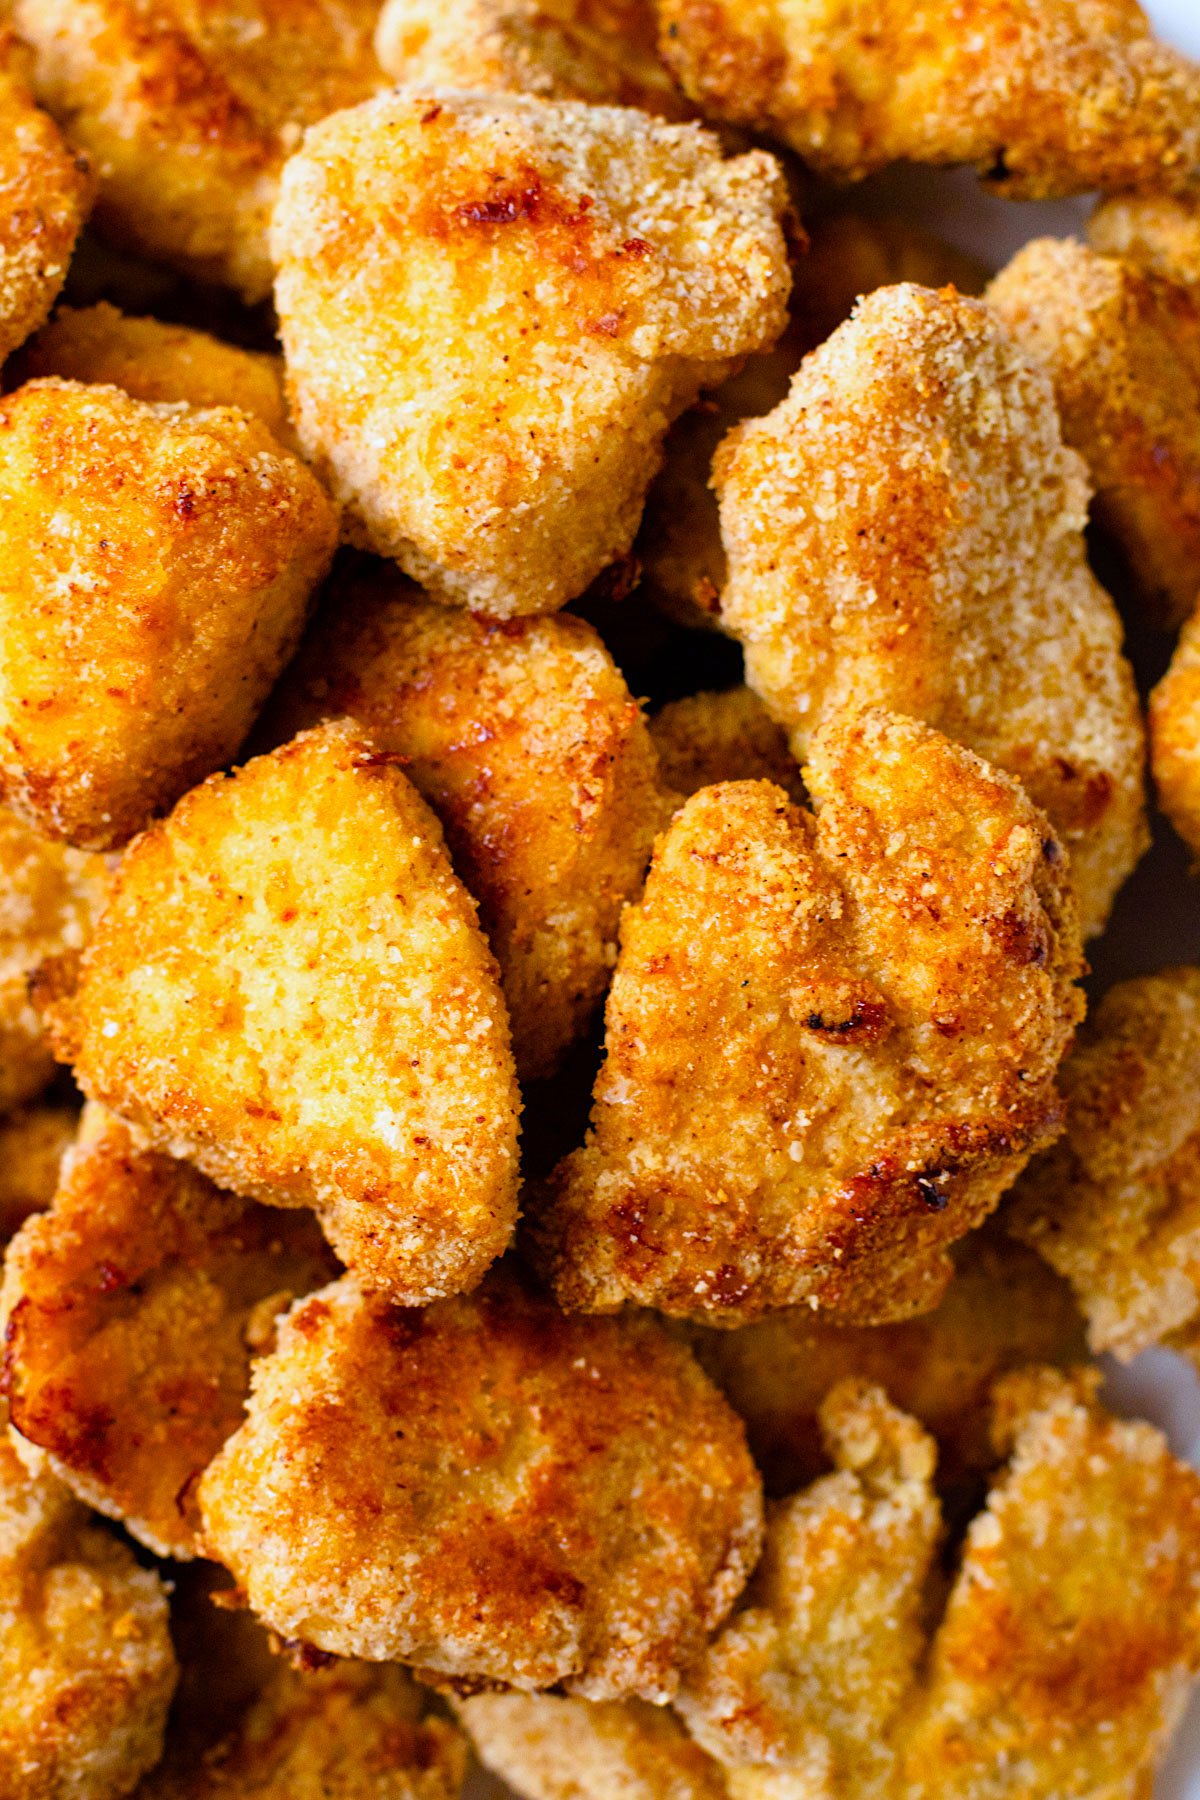
Our Favorite Healthy Chicken Nugget Recipe
These Gluten Free Chicken Nuggets are the perfect healthier version of everyones favorite hand held chicken recipe! They are low carb, flavorful, and completely gluten-free and grain-free. A reader favorite and loved by adults and kids alike! We originally published this back in 2014, but we thought it was time take new photos so more of you can find these on our site!
So many of you have made this recipe (check out the comments below) and have loved these perfectly crispy healthier chicken nuggets. Serve them up with your favorite dipping sauce (we’re partial to honey mustard) and everyone is going to be happy!
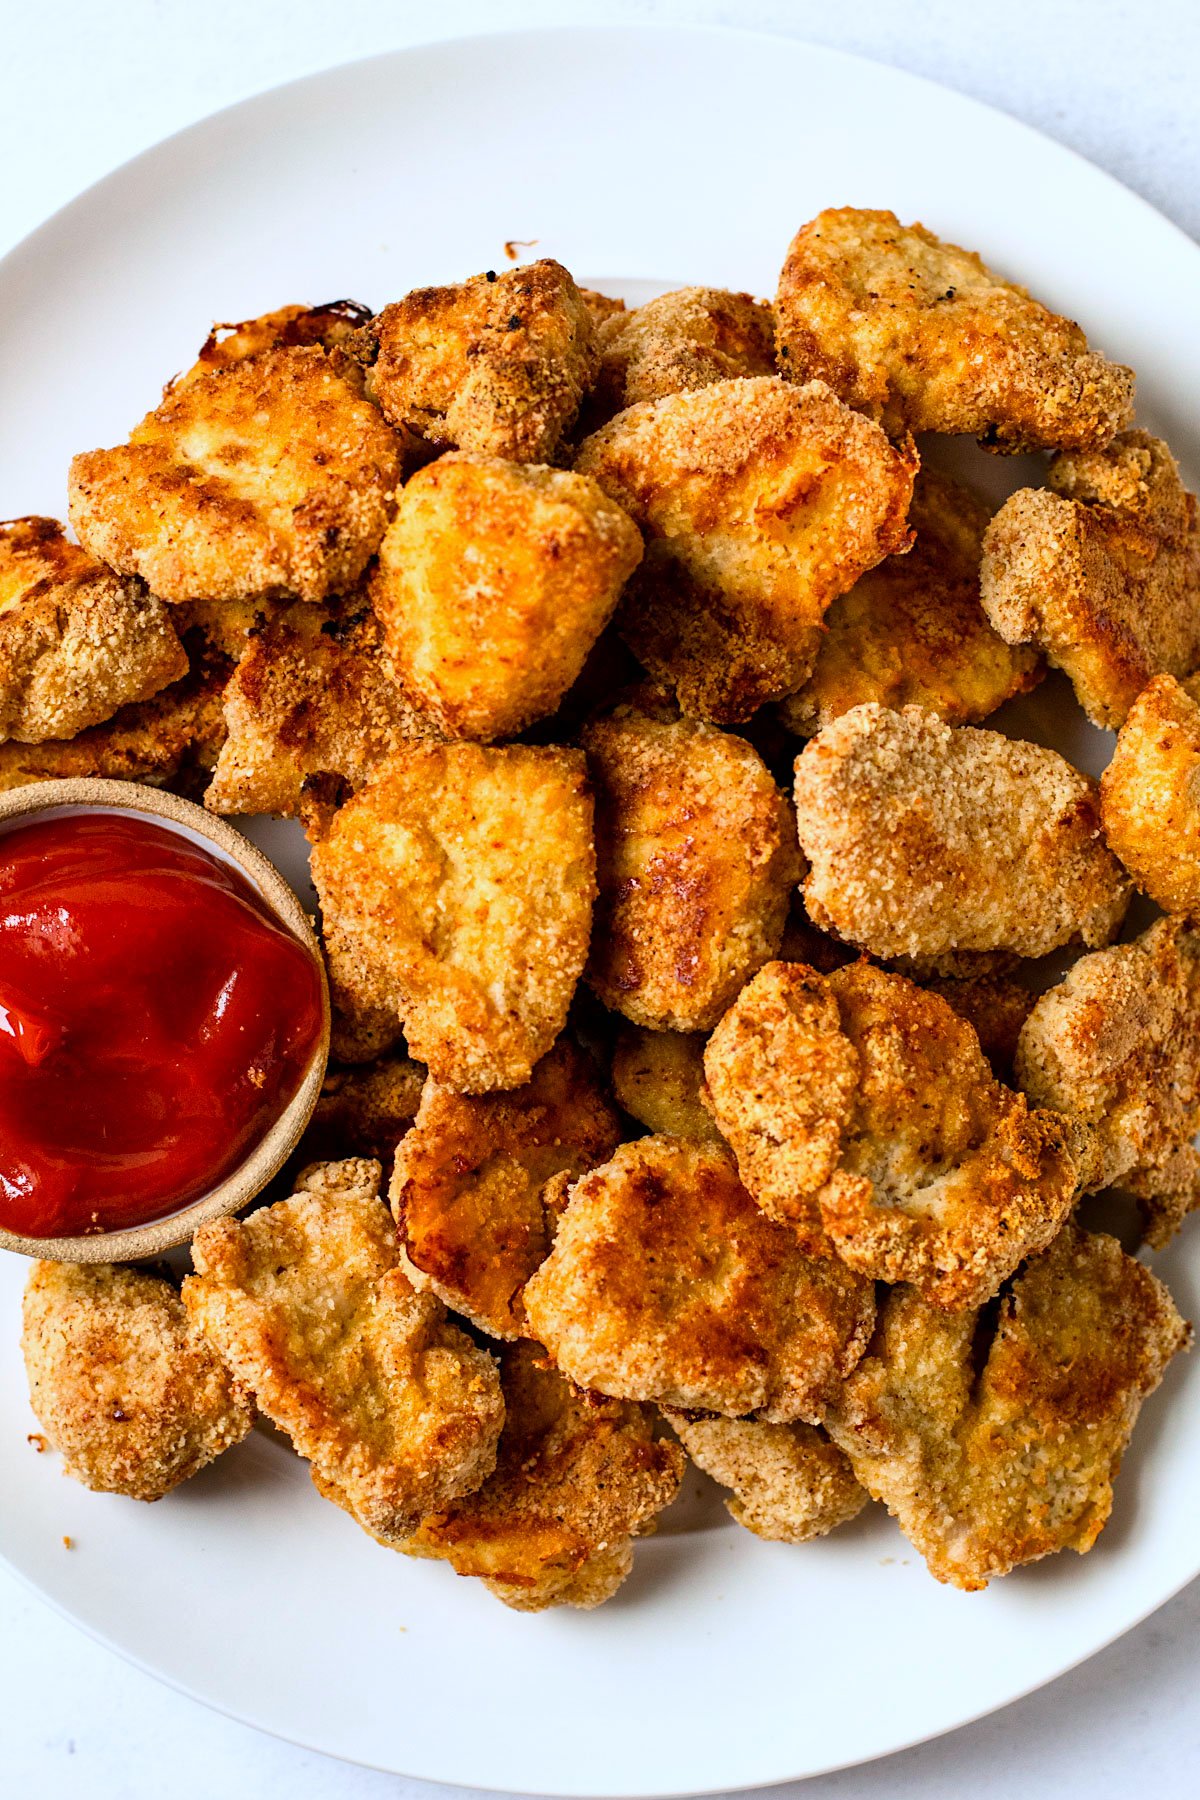
Ingredients Needed
Here is an overview of the ingredient list. Keep scrolling for the full recipe.
- Boneless Skinless Chicken Breasts
- Eggs
- Almond Flour
- Spices: Garlic Powder, Italian seasoning, Paprika, Chili Powder and Cayenne (optional)
- Salt and Pepper
- Avocado Oil Spray, or Avocado Oil (for cooking the chicken)
Substitutions
Eggs: We haven’t tried this, but you might be able to use an almond milk to wet the chicken to get the breading to stick.
Almond Flour: Can’t have nuts? Check out this Nut-Free Chicken Tender breading option.
How to Cook Gluten-Free Chicken Nuggets
We’ve included instructions for pan-frying, oven baking and air frying depending on your own needs and time.
They all take roughly the same amount of time to make, but we are partial to pan-frying them. They are obviously more crispy this way! But they do require more hands on cooking.
Air-frying them results in a crispy exterior as well, but with a much less oil and less hands-on cooking.
If you do bake them, be sure not to skip the step of using the parchment paper and to lightly grease the uncooked breaded chicken. Using the parchment paper prevents the chicken from sticking to the sheet pan.
Tips for Working with Gluten-Free Breading
Over the years, one of the most common complaints we’ve received when it comes to working with paleo and gluten-free chicken breading is that the breading falls off. Truthfully, we really haven’t had that happen to us during our years of making them, and I think the reason why is that we treat these delicately while breading them and while cooking them.
The biggest tip we can give for pan-frying is to make sure you use enough oil, and also don’t flip the chicken before it is ready. This tip doesn’t just apply for this chicken nugget recipe, but generally speaking, if a piece of meat isn’t fully cooked when you try to flip it, it can stick! So just test one and make sure it easily comes off the pan before flipping. If you’ve found it stuck, let it cook longer before you try to flip it.
Also, we’ve found using a thin spatula works best to flip these instead of a pair of tongs, that way there is less chance of breaking the coating.
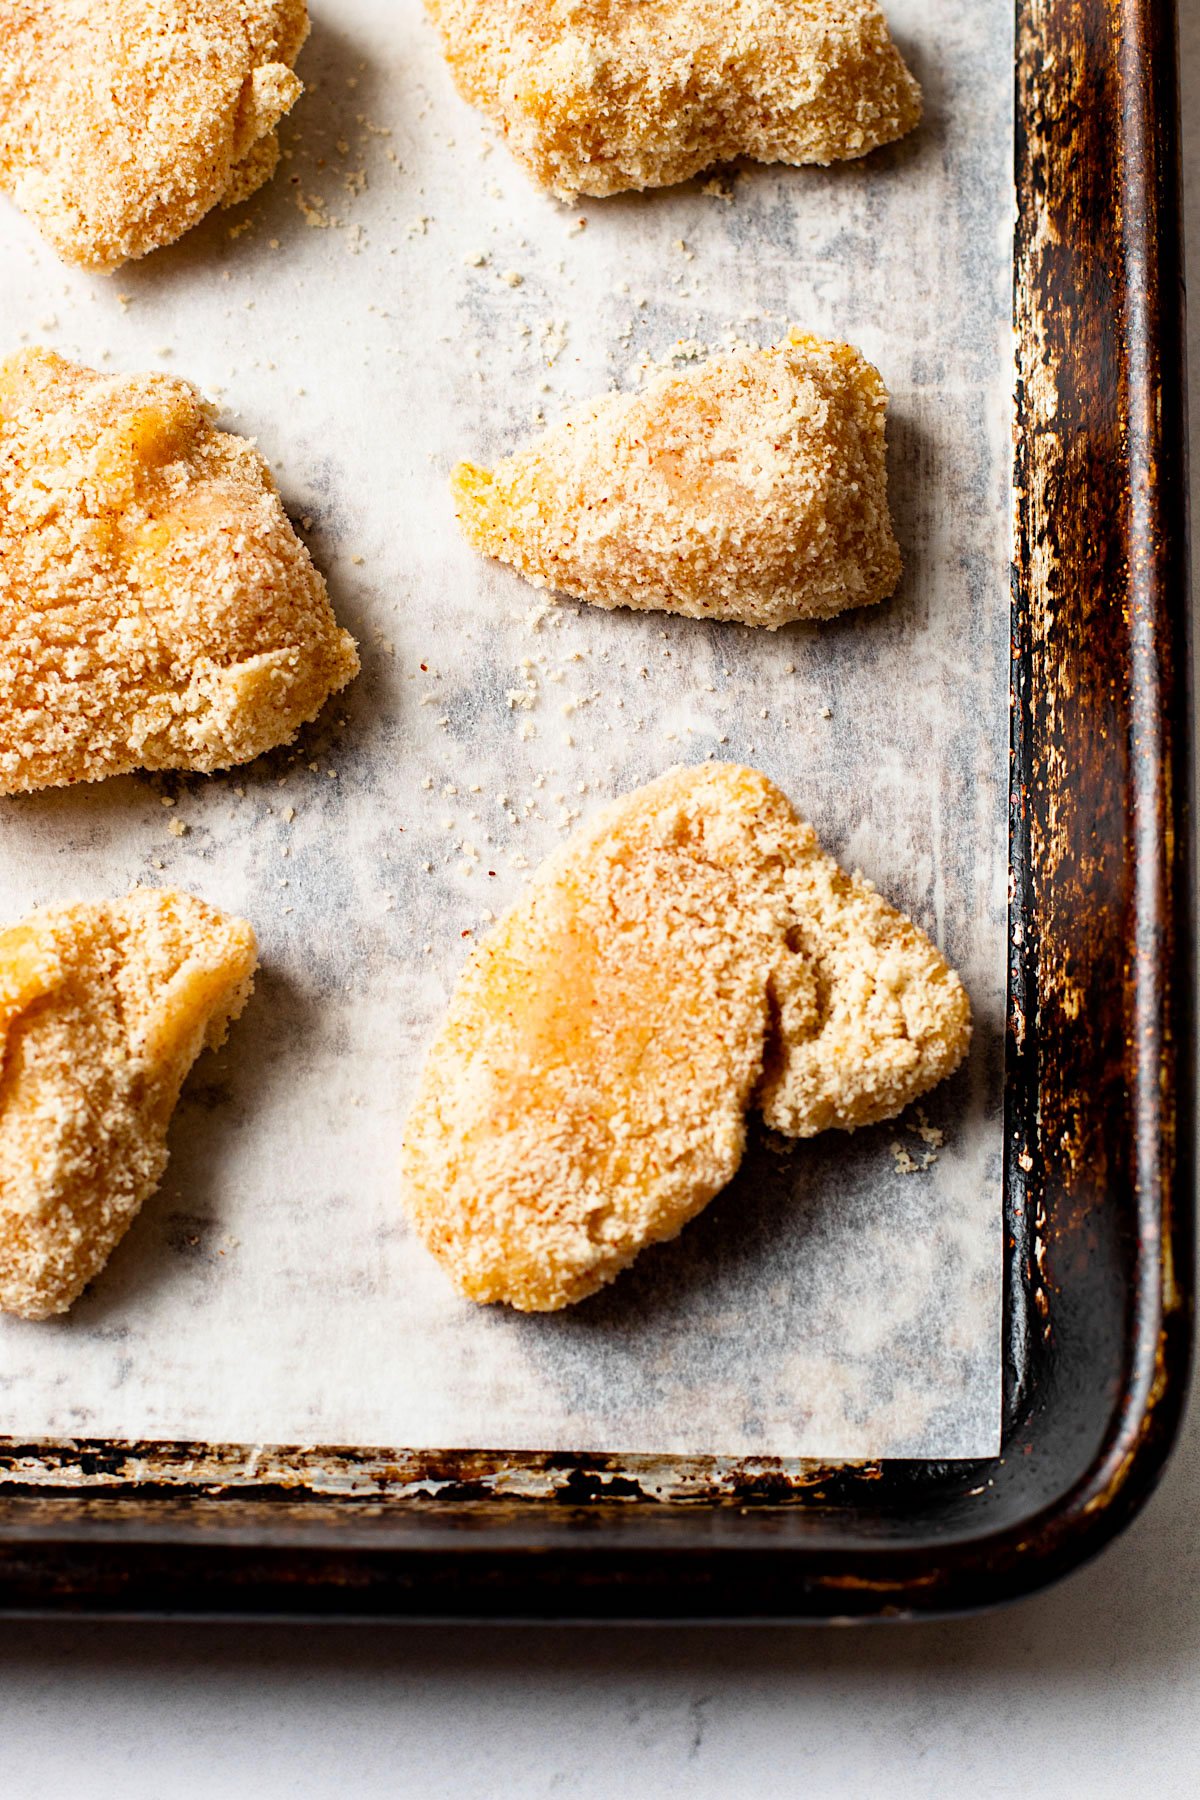
And a tip if you are baking, don’t skip the parchment paper! It’s essential to make sure these don’t stick to your baking sheet. Make sure to coat the paper and the breading with a bit of oil (we’ve found a spray oil to work the best here) to ensure nothing sticks.
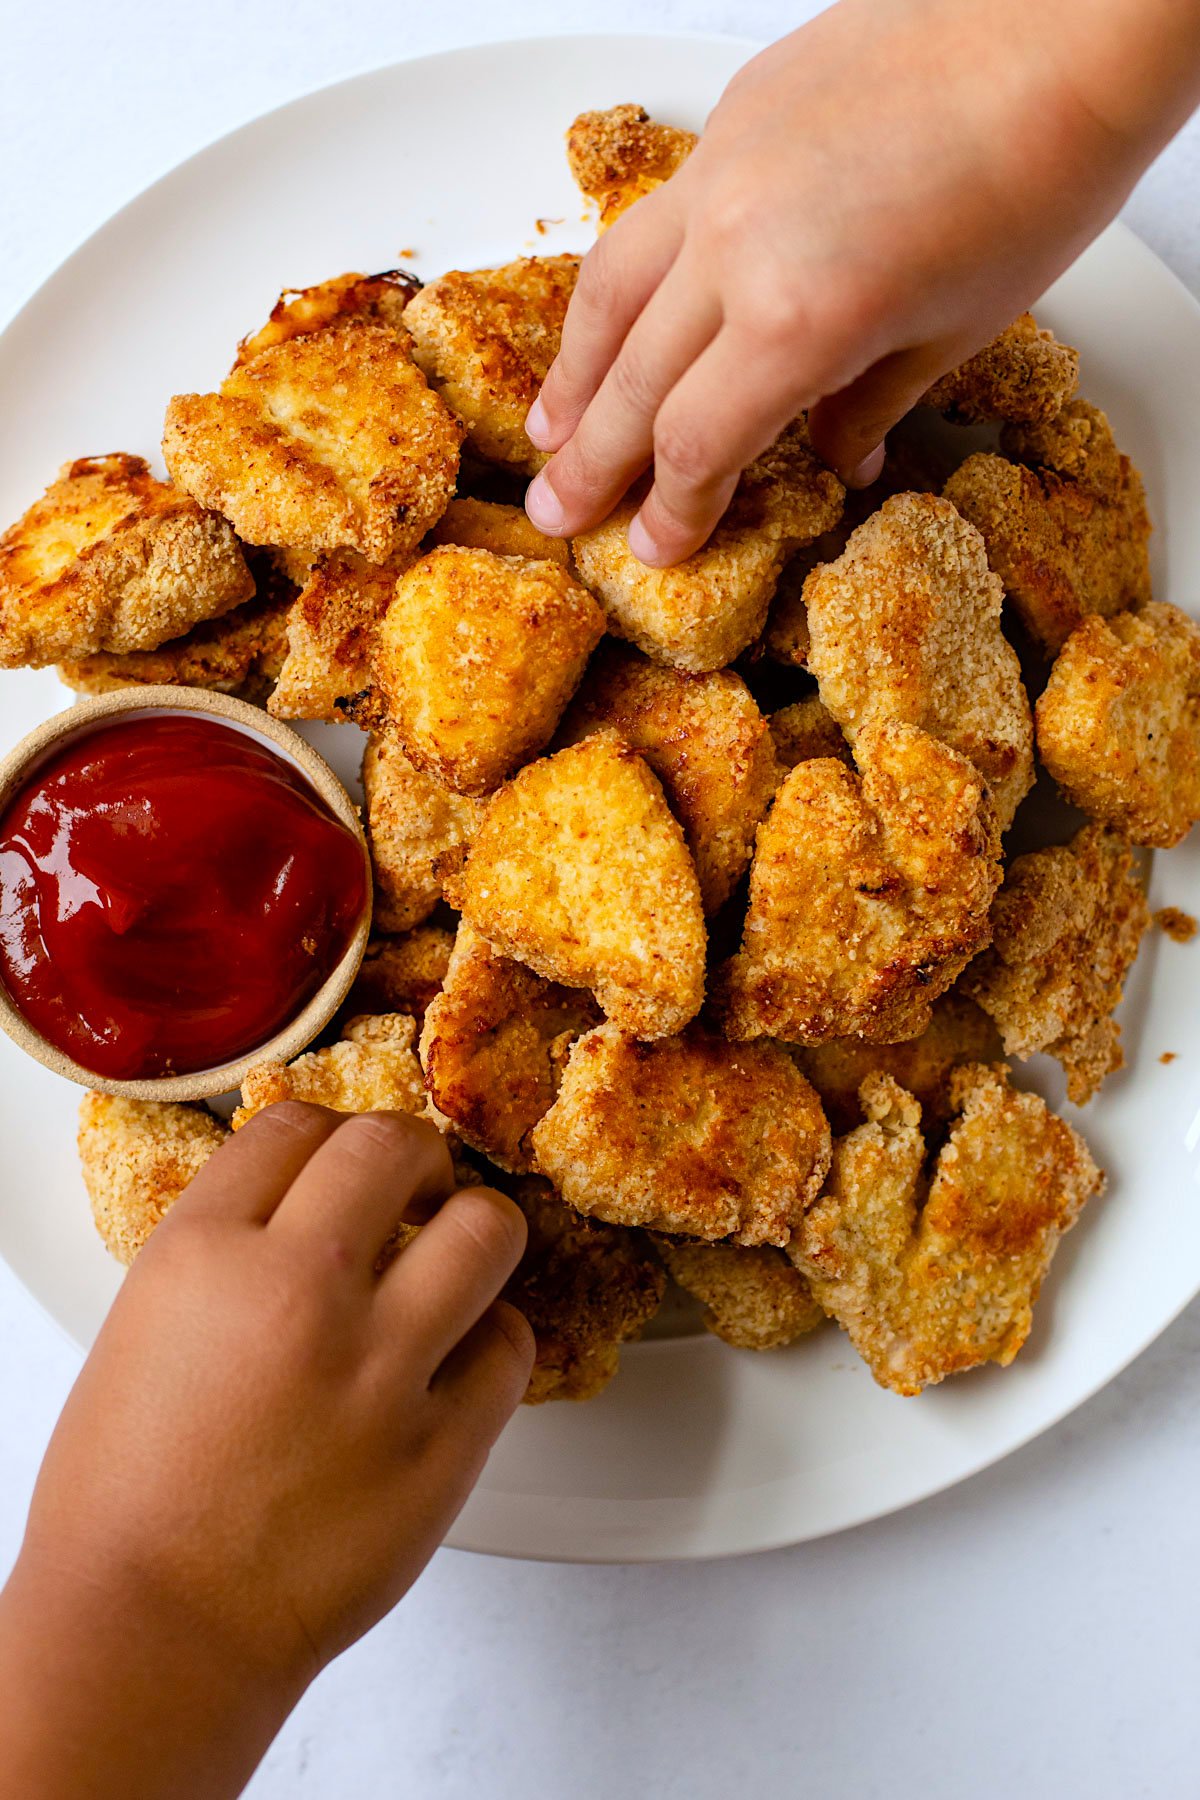
Can I Freeze These?
Absolutely! You can make a big batch of these and keep them in the freezer whenever you need a quick bite to eat for the kids (or yourself)!
My biggest tip is to freeze them initially on a parchment lined sheet tray first for about 24 hours. Then transfer to a bag for easy storing. This ensures they don’t all stick together.
You can defrost them overnight and reheat in a toaster or oven, or you can reheat them straight from frozen. I recommend 350ºF until they’re warmed through. I’m guessing you can reheat in a microwave too, but I’ve never tried!
Sides to serve with these gluten-free chicken nuggets:
- Roasted Potato Wedges
- Avocado and Corn Salsa
- Healthy Cole Slaw
- Dairy Free Mashed Potatoes (Paleo + Vegan)
- Oven Roasted Vegetables
Looking for other chicken recipes? Check these out:
- Air Fryer Chicken Tenders
- Buffalo Chicken Tenders (Keto)
- Crispy Buffalo Chicken Bites
- The Best Baked BBQ Chicken Breast
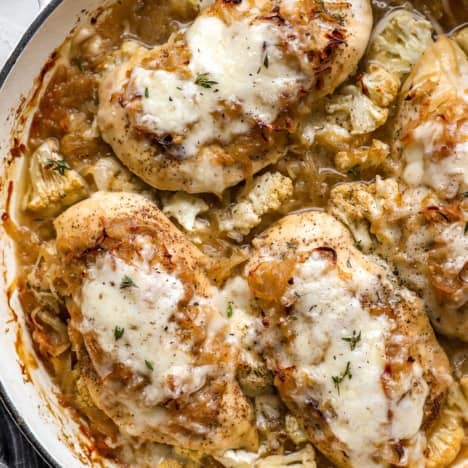
- French Onion Chicken Bake
Watch the video:
Gluten-Free Chicken Nuggets
Ingredients
- 1-½ pounds chicken breast cut into bite sized pieces (about 1-½”-2” pieces)
- Salt and ground black pepper
- 2 eggs
- 1 tablespoon water
- 1-½ cups almond flour
- 1 teaspoon garlic powder
- 1 teaspoon Italian seasoning
- 1 teaspoon paprika
- 1 teaspoon salt
- ½ teaspoon chili powder
- ¼ teaspoon cayenne optional
- Avocado Oil Spray or Avocado Oil (for cooking the chicken)
Instructions
- Pat chicken dry and season with salt and pepper.
- In a shallow container whisk together eggs with a big pinch of salt and pepper
- In a separate shallow container, whisk together almond flour, garlic powder, Italian seasoning, paprika, salt, chili powder, and cayenne.
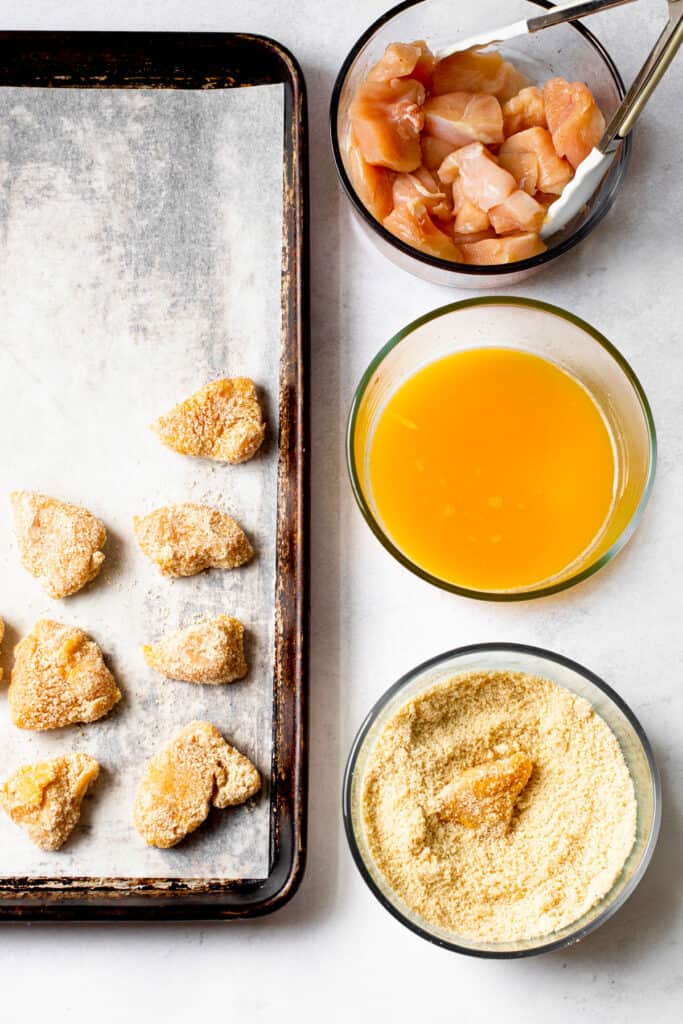
- Dip sliced chicken into the egg, then dredge in flour mixture, being sure to coat it evenly. Repeat until all chicken is coated. Make sure to handle the chicken delicately to not disturb the coating.
To Pan Fry:
- Heat oil over medium heat in a large skillet. Once hot, cook chicken in the skillet, in batches, for 3-4 minutes on each side depending on how thick your chicken is. Cook until chicken is crispy and golden-brown and cooked through. Place on towel to drain excess oil.
- Sere immediately or let cool for meal prep.
To Air-Fry:
- Preheat air-fryer to 400ºF (if necessary, not all air-fryers need to pre-heat).
- Lightly spray the air fryer basket with avocado spray (or similar spray without additives) and place the prepared chicken in one layer, with spacing in between each piece. You may need to do it in multiple batches if your air-fryer is small. Lightly spray the chicken with additional avocado spray.
- Air fry for 12-14 minutes, turning the chicken at the 5 minute and 10 minute mark. The outside should be lightly golden and crispy, and the internal temperature of the meat should be 165º
- Serve immediately, or let cool for meal prep.
To Bake:
- Preheat oven to 400 degrees. Line a rimmed baking sheet with parchment paper.
- Lightly spray or brush the sheet tray with oil. Place the chicken on the sheet tray and lightly spray or brush with oil.
- Bake in the preheated oven for 10 minutes. Flip the chicken and bake for an additional 5-7 minutes, or until the chicken is cooked through and the coating is crispy.
- Serve immediately or let cool for meal prep.




These look amazing! Question: can these be frozen for cooking later or reheating? At which step would you freeze them? Thank you! Can’t wait to try them!
I’d make them per the recipe and then freeze – you can reheat like you would any other frozen pre-made dish. We haven’t reheated from frozen, so I don’t have a time for you. But they’ll be great (air fryer will be quick for a reheat).
These are a winter staple in our house. Make them alongside a bowl of tomato soup and it’s a perfect nightly dinner!
In the nutrition section is says “Serving size: As Served” Does that mean that is the info for the whole 1lb of chicken bites?
This recipe is fantastic and I have been making it for the past 3 years. I double the recipe and serve it with tahini dressing as a dipping sauce for me and ketchup for my girls (5 and 9). It’s so flavorful and I love having leftovers for lunch throughout the week. One tip to add. I usually have a little egg and breading mixture leftover after doubling because I don’t always have exactly 2x the chicken. I put both the leftover egg and breading mixtures in a mixing bowl, add a package of ground chicken or turkey, some extra of the spices used and make mini meatloafs. They taste similar and then there’s no waste.
These chicken bites are pretty much the only chicken nuggets (or strips!) that we make at home! The breading is SO scrumptious – just the right amount of spice and flavoring.