This post may contain affiliate links. Please read my disclosure policy.
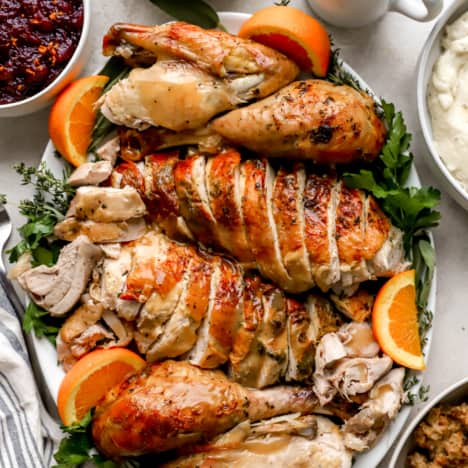
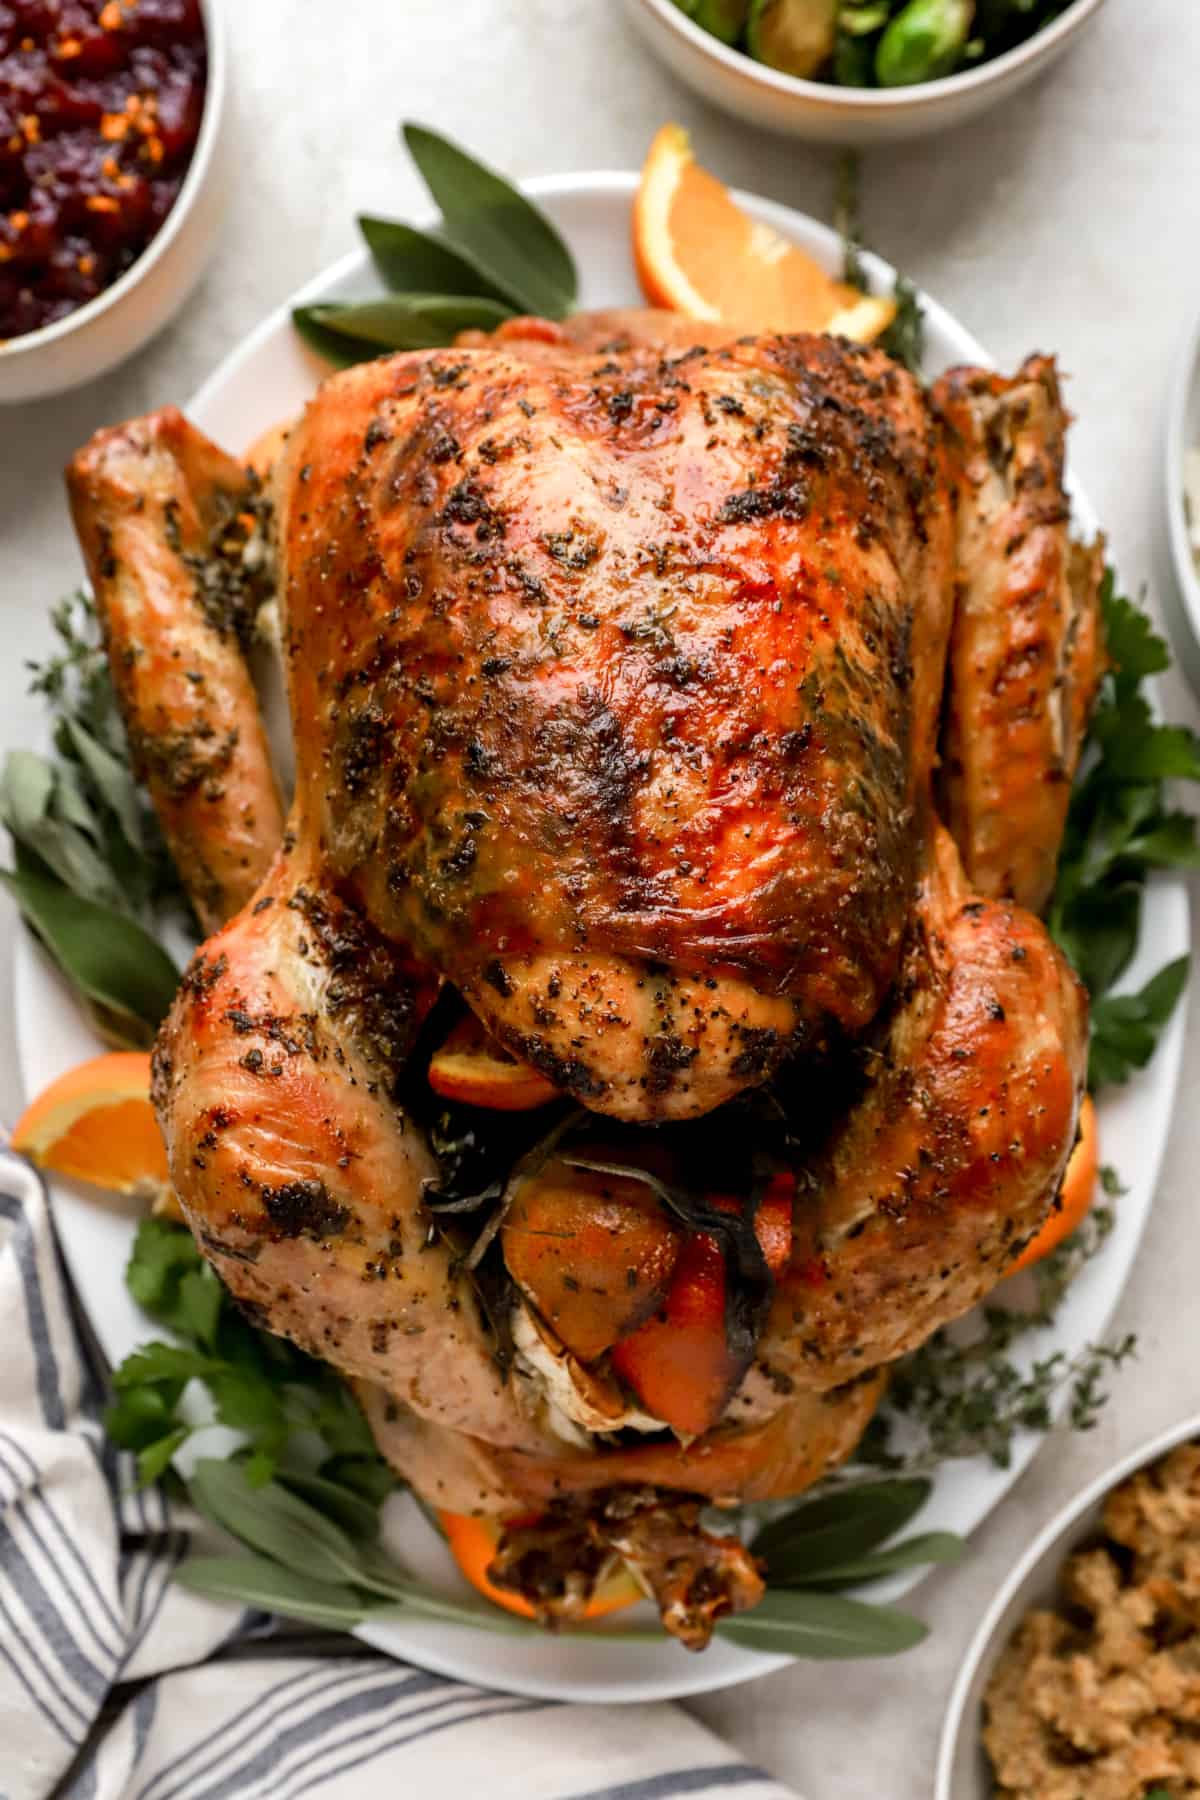
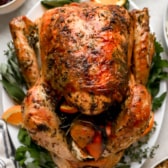
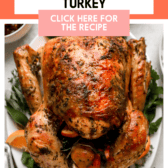
A step-by-step guide on How to Roast a Thanksgiving Turkey! This roast turkey recipe is full of citrus and herbs and topped with rich homemade gravy. It’s an easy, fool-proof recipe that’s sure to be a hit at this year’s Thanksgiving feast!
This is the turkey recipe I’ve made for our Thanksgiving feasts for years now! It’s delicious, not complicated, and everyone leaves asking for the recipe!
Ingredients Needed
- Turkey: I use a 12-14 pound turkey for this recipe. If your turkey is bigger or smaller, then the cooking time may be affected slightly! See below for info on that!
- Turkey Broth: Chicken stock will also work if that’s what you have on hand.
- Butter: I recommend letting the butter soften at room temperature for a little bit before starting your turkey. This makes it easier to spread it around on the bird!
- Herbs and Seasonings: We’re infusing the meat with tons of flavor using fresh sage, parsley, and thyme, and then plenty of salt and pepper.
- Citrus: Orange and lemon slices and zest add the perfect bright, citrusy flavor to the salty and savory meat.
- Garlic: You’ll need a whole head of garlic divided into cloves and sliced horizontally.
- Gravy: We’re making homemade gravy using broth, some of the turkey fat, and cornstarch to thicken.
How to Buy a Turkey for Thanksgiving
When buying your Thanksgiving turkey, you should plan on about 1-1.5 pounds of turkey per person. I buy mine here from ButcherBox and I am proud to get you a discount code because they are the best!
As far as purchasing your turkey goes, you have a couple of options:
Farm or Meat Share. Hands down, the best turkey is going to be from your local trusted farm or meat share. Yes, going this route is definitely more expensive but I think it’s so worth it to buy better quality and better-tasting meat—especially for the holidays! If you’re buying this way, the sooner, the better! People tend to order these birds ahead of time.
Store-bought. You can purchase a good quality bird at most grocery stores, preferably organic and heritage breed. You can buy either fresh or frozen, but if it’s frozen, you’ll want to leave plenty of time for it to thaw in the fridge before you cook it.
Pro Tip!
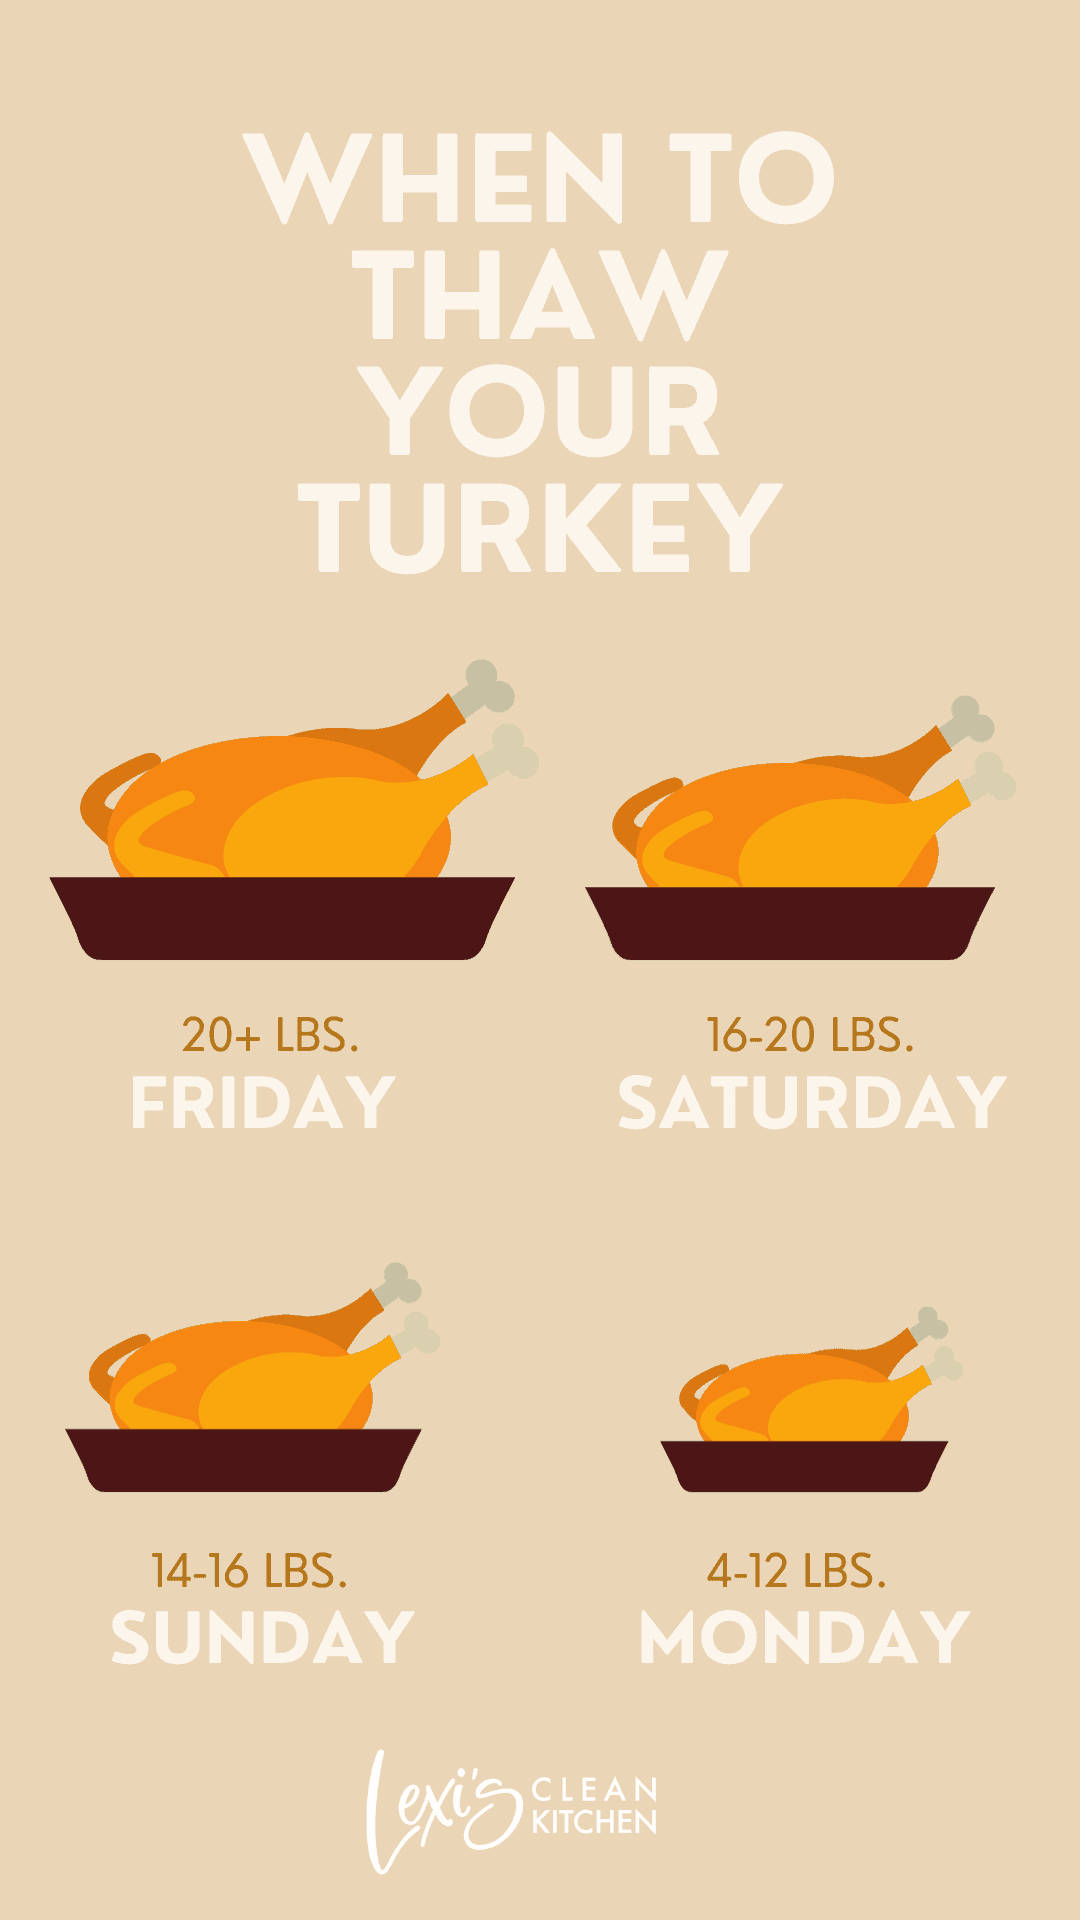
If you are buying a frozen turkey, make sure that you leave plenty of time for it to thaw in your fridge before the big day. Plan for 1 full day of thawing for every 5 pounds of turkey. With an average turkey weighing about 12-14 pounds, that would require 3 days of thawing time.
Make sure that you place the turkey in a container that will catch any exuding liquid as the bird thaws.
How Do You Prepare a Turkey for Thanksgiving?
- Thaw it. First, if your turkey is frozen, you’ll need to thaw it in the fridge. Plan on 1 full day for every 5 pounds of turkey. The turkey I used was 12-14 pounds, so I needed 3 days to thaw mine. Make sure you plan ahead!
- Brine it. An easy dry brine, in this case! Remove the giblets and neck, then dry the turkey off as best you can. Season the cavity generously. (Seriously, use more salt than you think.) Next, rub the citrus herb butter under and on top of the skin. Stuff the remaining citrus, herbs, and garlic inside the turkey.
- Truss it. Tuck the wings underneath so they don’t burn, then tie the legs together with kitchen twine.

How to Roast a Turkey
This roast turkey recipe takes a little bit of planning and time but is really simple to put together overall!
Here’s a breakdown of the recipe. Scroll to the recipe card below for the ingredient amounts and full instructions.
NOTE: Check the above and account for thawing time, which if you have a frozen bird, will take a few days!
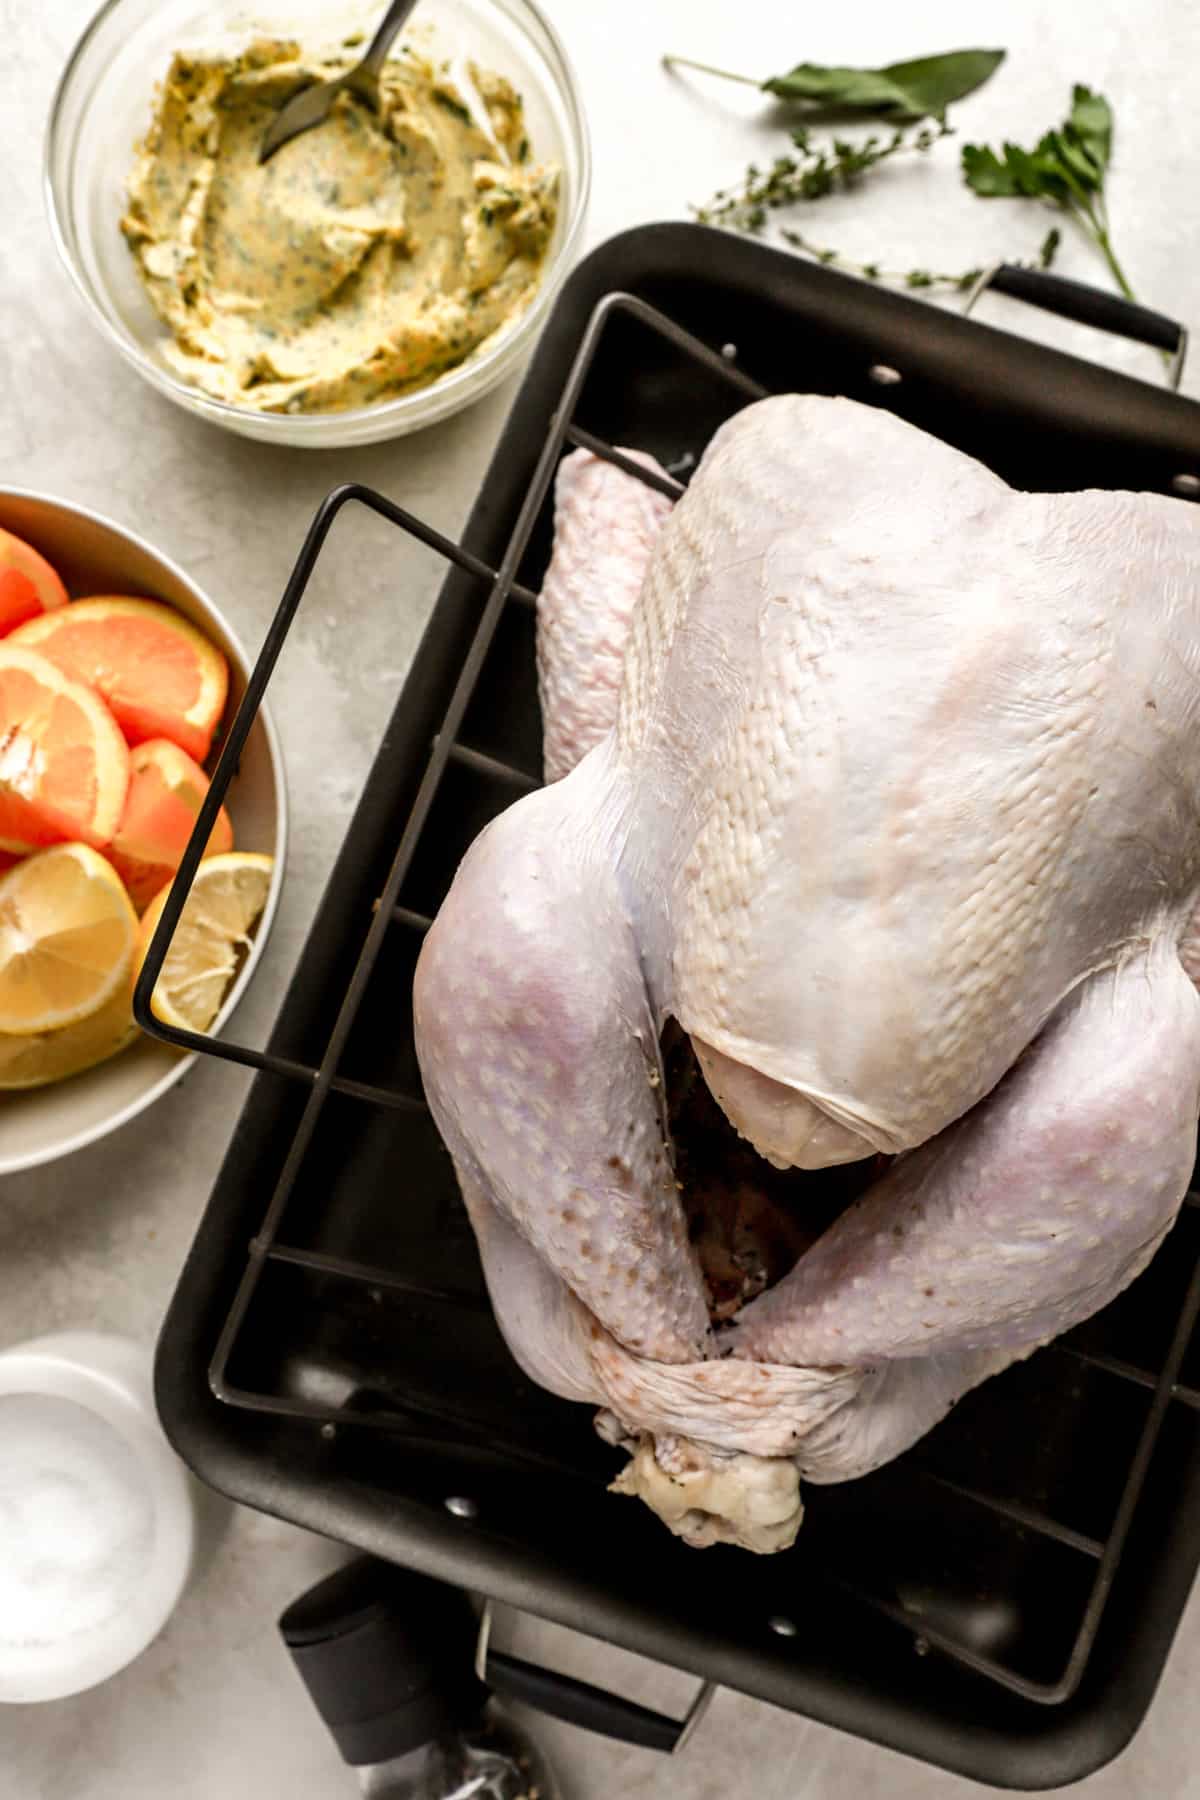
- Prepare the herbs and seasonings: In a small bowl, mash together softened butter, chopped sage and parsley, thyme leaves, citrus zest, salt, and pepper. Set aside.
- Prepare the bird: Remove the neck and giblets from the turkey, then place the turkey onto a large roasting pan. Gently pat dry with paper towels, then run your fingers under the skin of the turkey breast to separate it as far back as you can. Dry between the skin and meat with a paper towel, then season generously with salt and pepper.
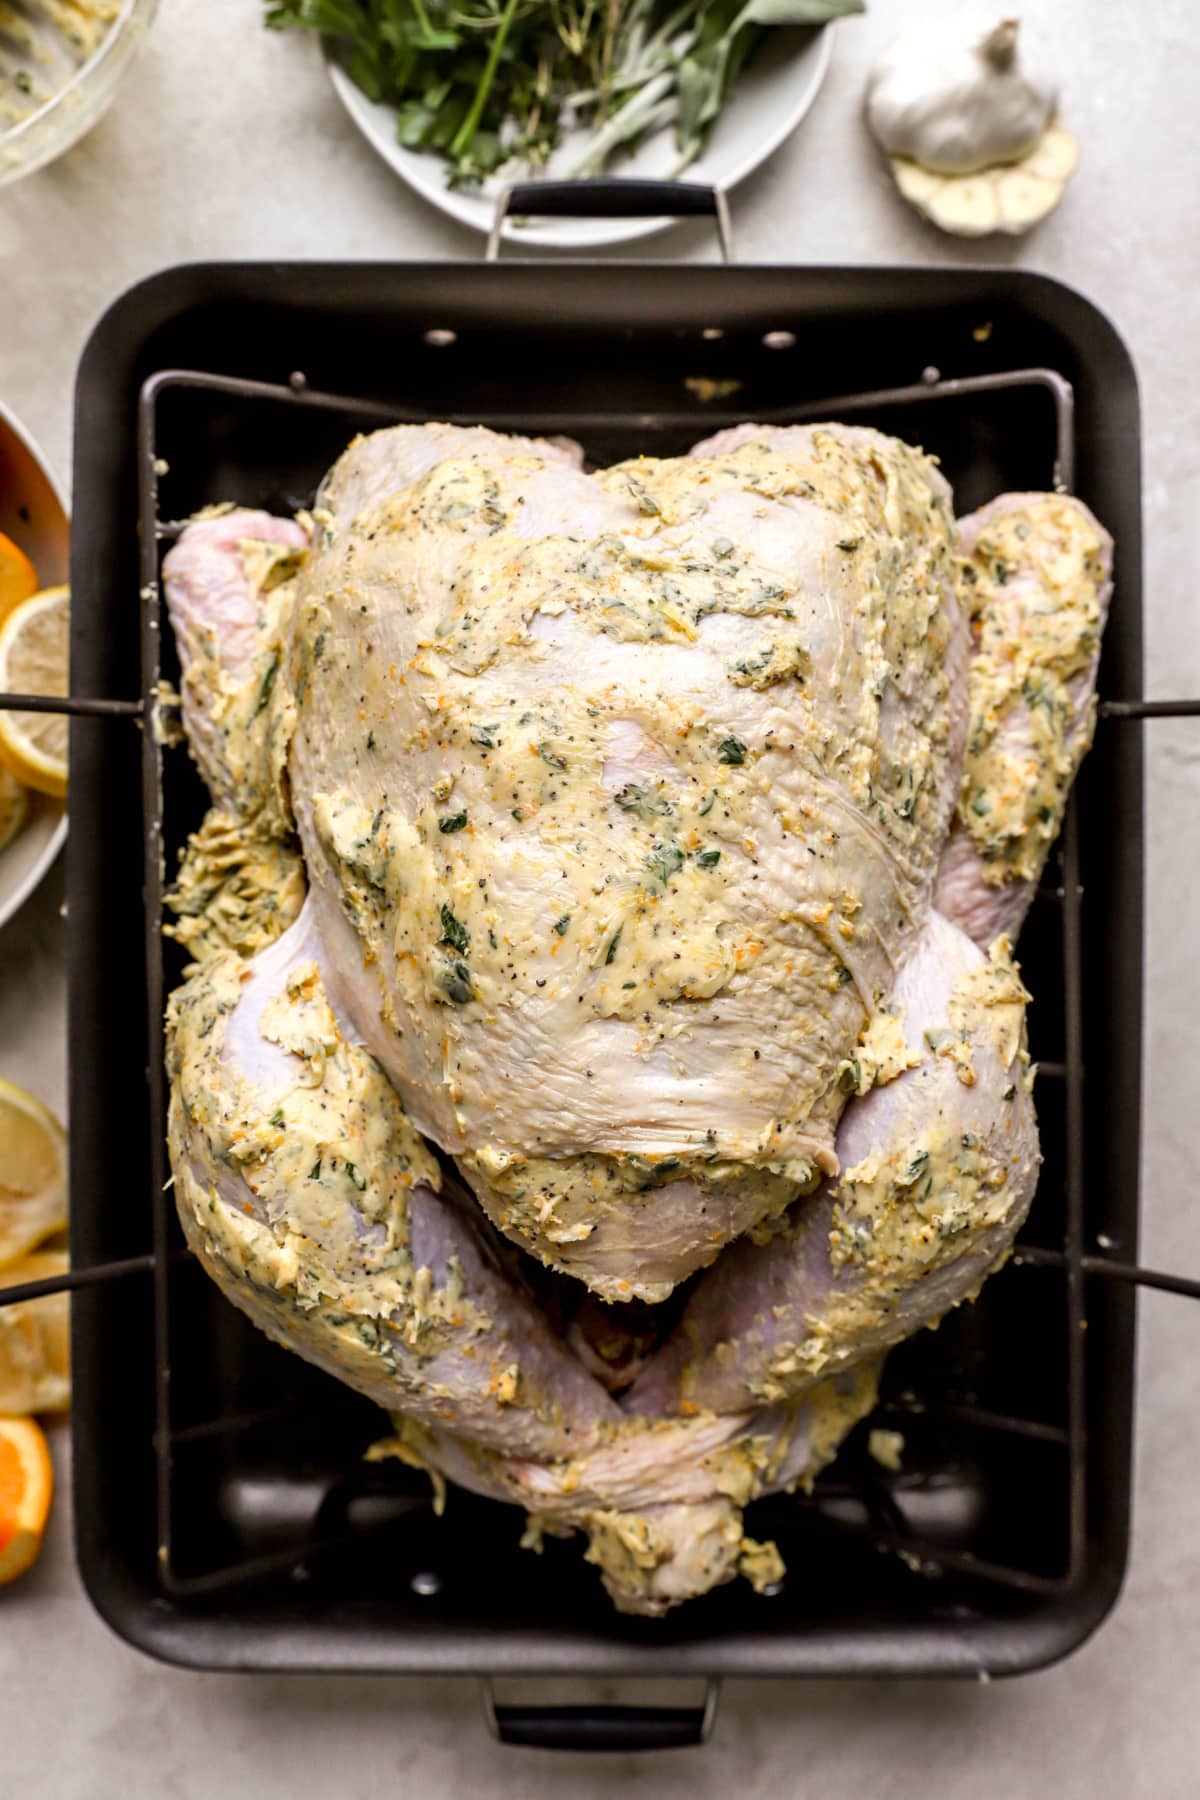
- Season, stuff, and truss: Rub half of the citrus herb butter under the skin of the turkey breast, then rub the rest of it all over the top of the bird. Season the outside well with salt and pepper. Stuff the cavity with lemon and orange wedges, sliced garlic, and herbs. Tuck the wings underneath the turkey, tie the legs together with kitchen twine, then transfer to the fridge. Let sit, uncovered, for up to 1 day.
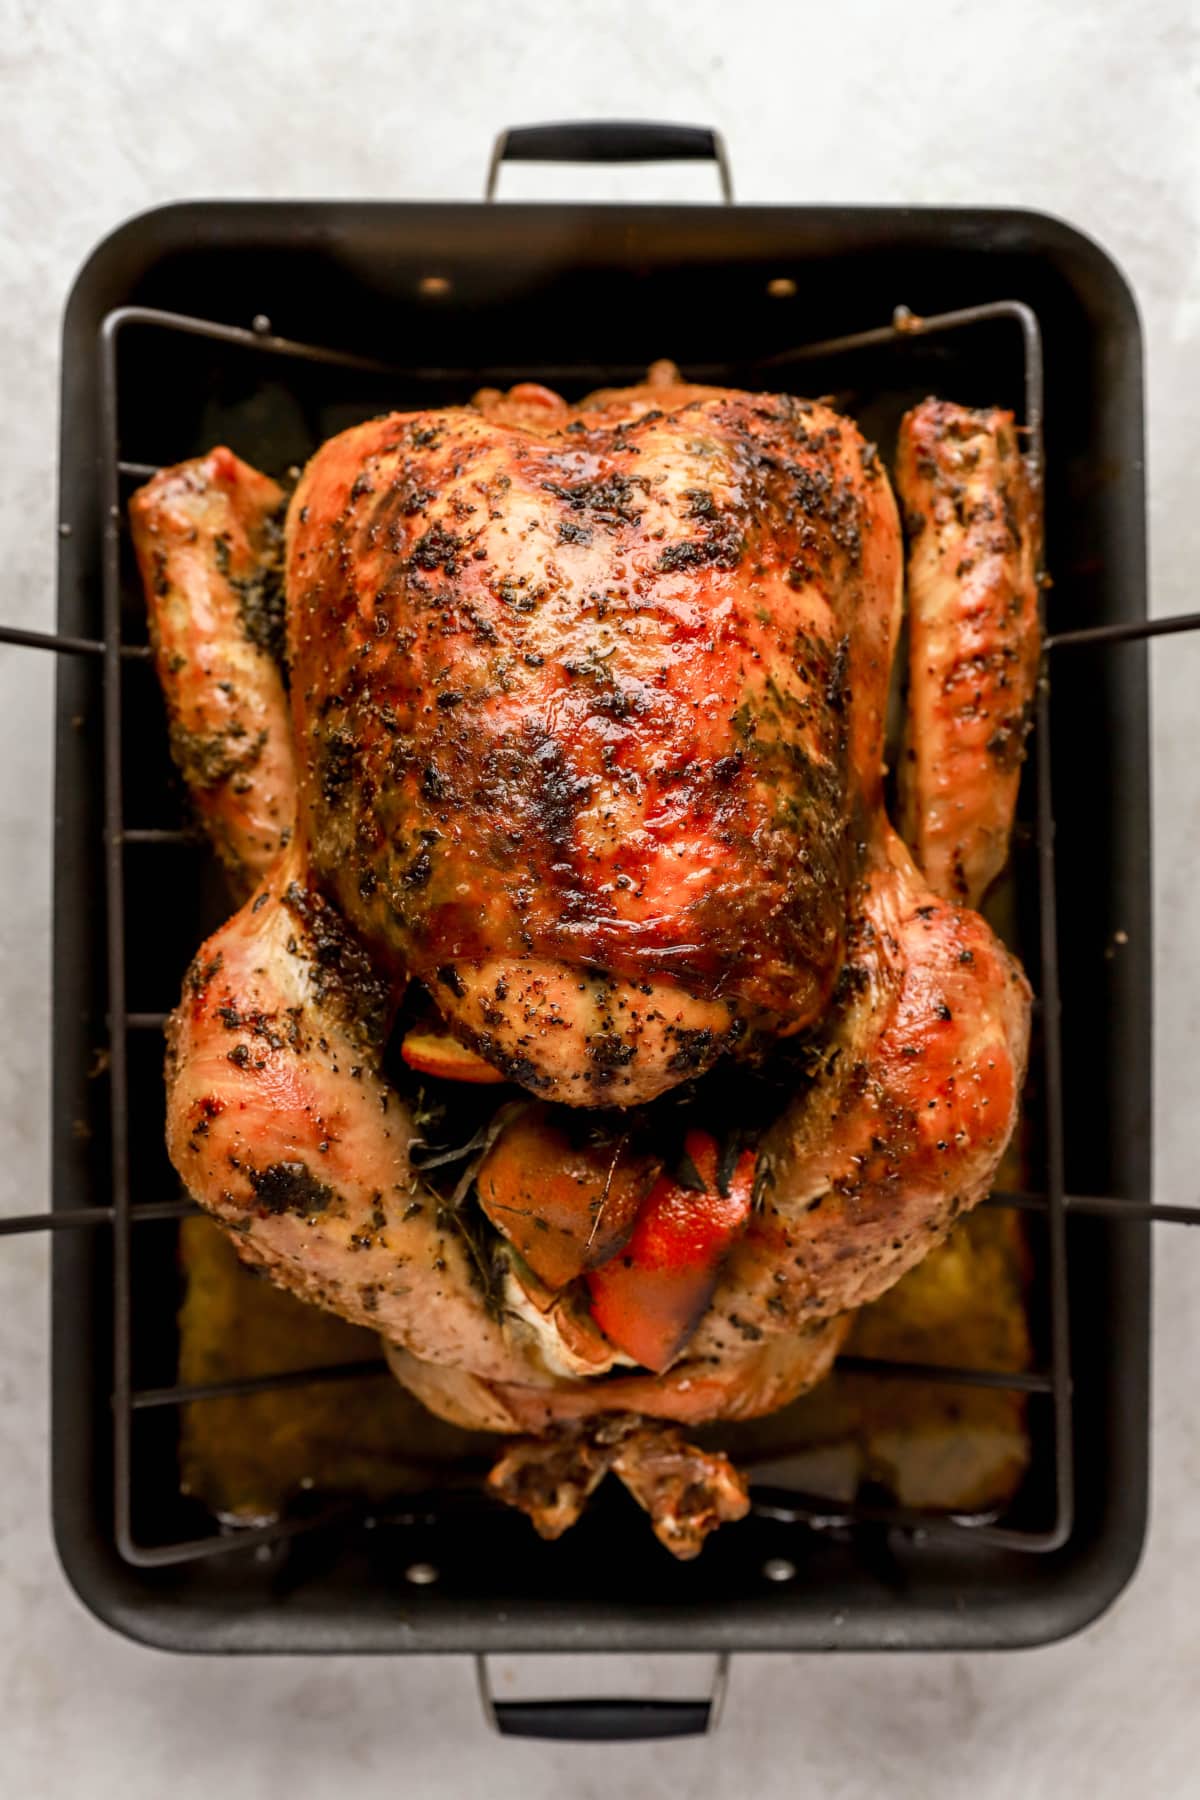
- Roast: Before cooking, let the turkey come to room temperature for an hour. Pour 4 cups of water into the bottom of a roasting pan, add in the turkey, then bake, uncovered, at 450ºF for 30 minutes. Reduce the heat and bake at 325ºF for another 2.5-3 hours, basting with broth as needed. Once the turkey is cooked through, let it rest for at least an hour.
- Make the gravy: Once the turkey is cool enough to handle, tip any juices from the cavity into a roasting pan, then set the turkey aside onto a cutting board tented with foil. Set the roasting pan over two medium flames, add 1 cup of water, and scrape any browned bits from the pan. Strain the broth into a large glass or measuring cup, then set it in the refrigerator. Once cooled, the fat will have risen to the top, then you can scoop the fat off the broth. Reserve 3 tablespoons of fat, but discard the rest. Measure out the rest of the broth and add turkey stock until you have 4 cups of liquid. Add the 3 tablespoons of fat to a saucepan along with cornstarch. Whisk in the broth/stock until smooth, bring to a boil, and cook until thickened.

FAQ’s
Not necessarily, but we like to! Brining helps the meat retain moisture and adds flavor.
Our brining method doesn’t involve dunking the whole turkey in a saltwater bath. We find it easiest to use a dry brine method that involves a simple combination of citrus and fresh herbs! Simply follow this recipe as directed, and your turkey will be deliciously juicy and flavorful!
For the best results, we recommend brining the turkey the day/night before roasting. This allows the meat time to soak in all the flavor!
I recommend 325ºF! Since turkey is a lean meat, it does better at a lower temperature. The longer cooking time at high heat can cause the outer areas of the turkey to dry out before the middle is even cooked all the way through.
Uncovered (usually)! I don’t tend to cover the roasting pan as the turkey cooks. This allows the skin to stay nice and crispy.
Yes! Adding water to the bottom of the pan keeps the meat extra juicy and tender as it roasts. Without that added moisture, the turkey is much more likely to dry out as it cooks.
How Long to Roast a Turkey
You’ll roast your turkey for a total of 2½ – 3 hours
(depending on the size)!We like to give the turkey a big blast of heat at the beginning of the cooking time to get a nice crisp skin. We start at 450ºF for 30 minutes, then reduce the heat to 325ºF for another 2-2½ hours.
The best way to check that the turkey is done cooking is to use a Thermapen. It’s a bit of an investment, but it lasts nearly forever and is a surefire way to know that the turkey is perfectly cooked. Simply insert it into the thickest part of the thigh without touching the bone. It should read 165ºF, and the juices that run out should be clear as opposed to pink.
If you do notice that the top of the turkey is browning too quickly, then I recommend covering the top with aluminum foil to prevent burning.
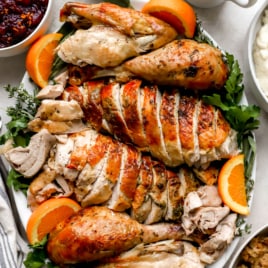
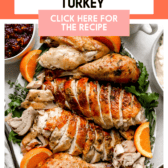
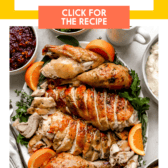
How to Carve a Turkey
To carve your turkey, you’ll need a sharp knife and a big cutting board. It’s best to wear a pair of kitchen gloves and to have a clean kitchen towel or a roll of paper towels handy to sop up the juice that inevitably runs out.
Aside from the breast meat, you always want to deconstruct the bird at the joint. A perfectly cooked turkey will be easy to deconstruct, and the joints will break apart easily. We like to remove the pieces in this order:
- Breast meat: Carve the breast meat out and remove it with tongs. Slice it against the grain and lay it on a platter.
- Drumsticks: Slice through the skin and bend the drumsticks back until you can cut through the joint.
- Wings: Flip the turkey over and slice through the skin on the wing. Bend them back until they break, then cut them off.
- Thigh meat: Cut the thigh meat toward you, then bend backward until the joint is exposed. Cut through it to remove it. Cut out the bone and joints, then slice against the grain.
- Extra meat left on the bones: Pick off any remaining meat and set it aside to use as leftovers or serve with the rest of the turkey!
Once you cut the turkey into smaller pieces, it will cool off pretty quickly, so you’ll want to serve it right away!
Tips and Notes
- Thaw completely. Make sure that you plan ahead and leave enough time for the turkey to thaw before you cook it. You’ll need 1 day for every 5 pounds of turkey. That’s 3 days for a 12-14 pound one.
- Bring to room temperature before roasting. I recommend setting the turkey out on the counter about an hour before cooking. This helps it cook more quickly and more evenly. DO NOT leave it out for more than 2 hours.
- Baste often. As the turkey cooks, make sure to baste it every 45 minutes to prevent it from drying out. You can use a turkey baster or pastry brush.
- Check the temperature. The best way to tell that the turkey is done cooking is to use a meat thermometer to check the temperature. Once it reaches 165ºF, then remove it from the oven immediately so it doesn’t over-cook.
- Let it rest. After the turkey is done cooking, let it rest for at least an hour before slicing into it. This gives the moisture and juices time to redistribute back into the meat. If you slice into it too soon, all of that moisture and delicious flavor will seep out.
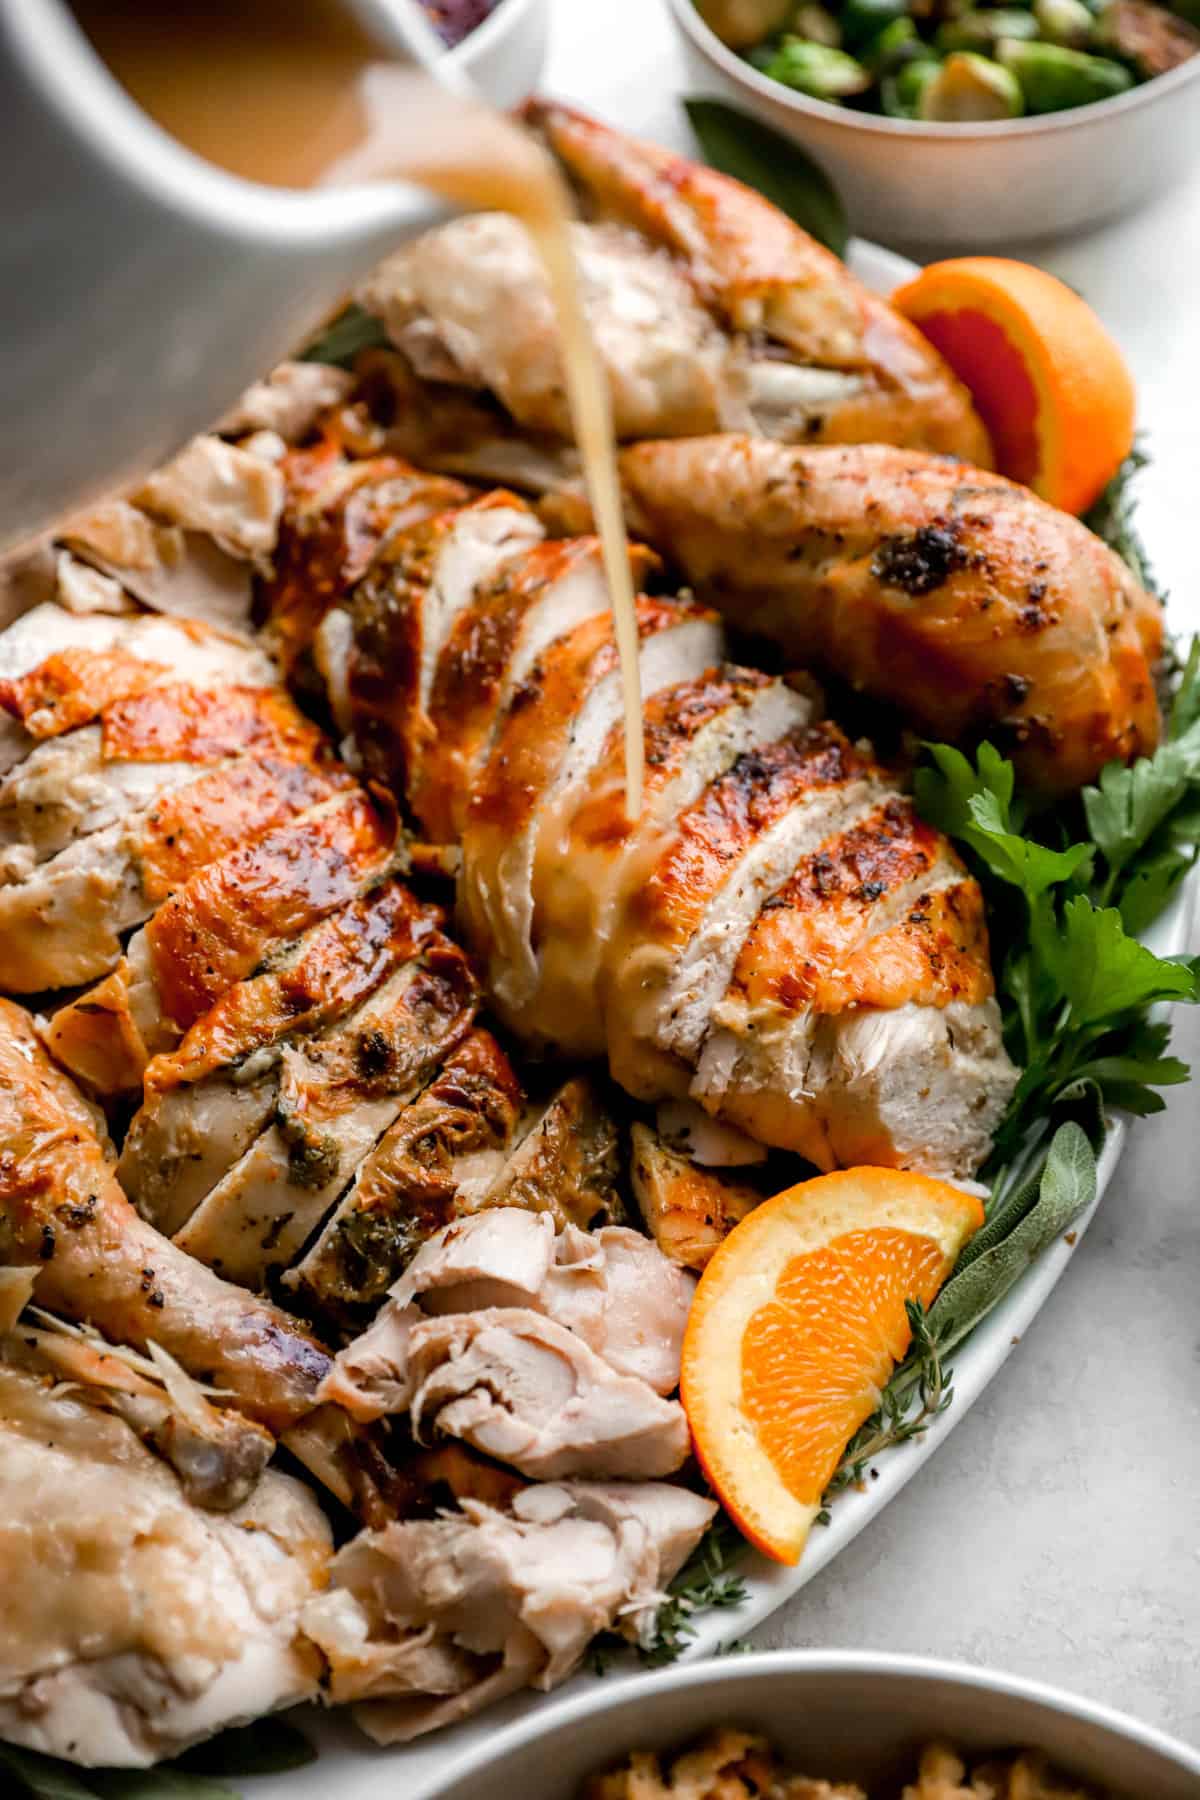
- Save the juices! These will be used as the base for the homemade gravy, which is a version of our easy Gluten-Free Gravy recipe!
- Save the bones. They can be used to make homemade turkey stock.
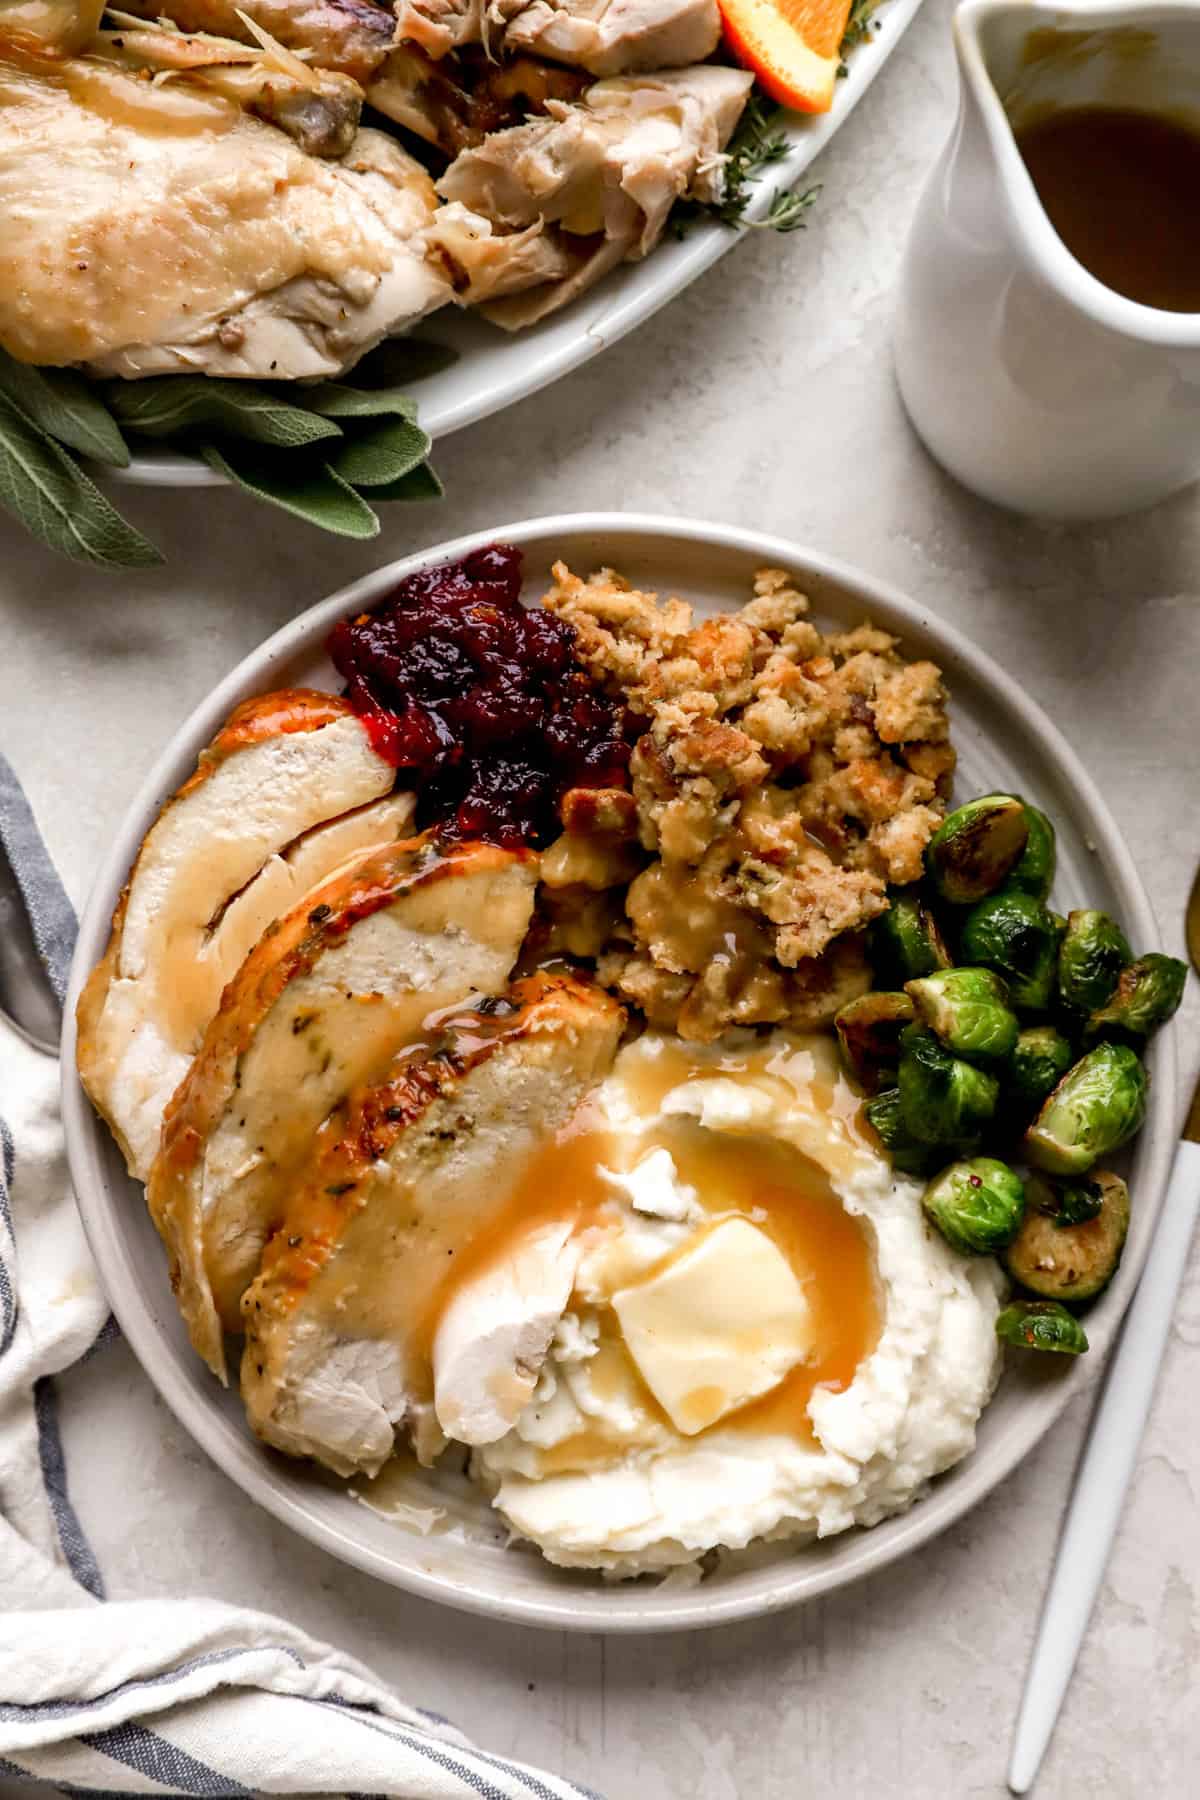
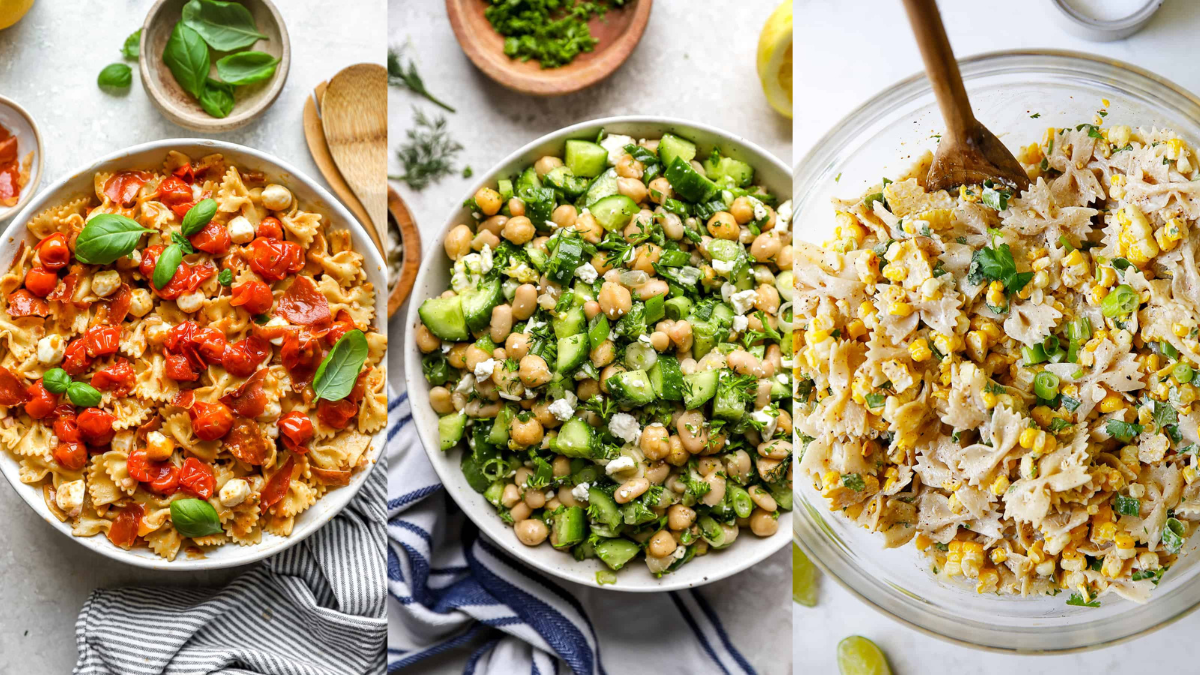
Thanksgiving Side Dishes to Pair with Oven-Roasted Turkey
A turkey dinner isn’t complete without all of your classic holiday side dishes! Here are a few favorites:
- Green Bean Casserole
- Instant Pot Mashed Potatoes
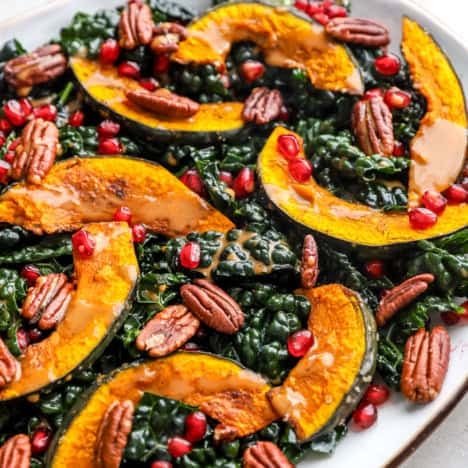
- Harvest Salad with Maple Balsamic Dressing
- Honey Glazed Carrots
- Crockpot Cranberry Sauce
- Garlicky Blistered Green Beans
Looking for more? Check out all my Thanksgiving recipes here!
How to Store Leftover Turkey
Leftover cooked turkey will last in an airtight container in the fridge for 3-4 days or in the freezer for 2-3 months.
To reheat, thaw in the fridge if frozen then reheat in the oven at 300ºF for 20 minutes or until heated through. We recommend reheating the turkey with a splash of chicken or turkey stock to prevent it from drying out!
How to Use Leftover Turkey
Second to the actual Thanksgiving meal, one of the best parts of Thanksgiving is the leftovers! If you’re looking for a few fun ways to use up any leftover turkey, here are some ideas:
- Thanksgiving Leftover Breakfast Hash
- Thanksgiving Stuffed Acorn Squash
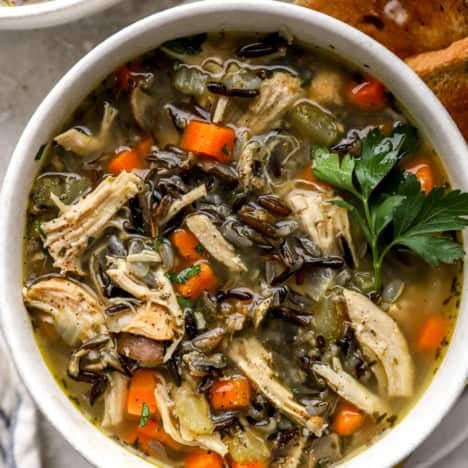
- Turkey Kale Soup
- Turkey Wild Rice Soup
- Mediterranean Turkey Salad
Tools I Use For Making My Turkey
- Turkey Roasting Pan
- Turkey Baster
- Thermapen MK4
- Carving Knife
- Kitchen String
- Essentials: bowls, saucepan, whisks
Watch The Video:
How to Roast a Thanksgiving Turkey (with Herbs and Citrus)
Ingredients
- 1 -12 to 14 lb turkey
- Salt and pepper
- 1 small bunch of sage
- 1 small bunch parsley
- 1 small bunch thyme
- ½ cup grass-fed butter softened
- 2 oranges zested and sliced into 4 pieces each
- 2 lemons zested and sliced into 4 pieces each
- 1 head garlic sliced whole horizontally
- 4 cups water
- 2 – 3 cups turkey broth divided
- 2 tablespoons cornstarch
Instructions
The day/night before:
- Prepare the herbs by finely dicing 1 tablespoons of each sage and parsley and picking 1 tablespoon of thyme leaves. Set aside the remaining herbs.
- In a small bowl mash together softened butter, chopped sage and parsley and picked thyme leaves, zest of lemons and oranges and 1 tablespoon of salt and 2 teaspoons of ground black pepper and set aside.
- To prepare the bird: Remove the neck and the giblets from inside the turkey and discard or save for another use. Place the turkey on a rack in a large roasting pan and using paper towels dry the skin. Gently run your fingers underneath the skin of the turkey breast to separate it as far back as you can, without breaking through the skin. Dry in between with a paper towel. Generously season the cavity of the bird with salt and pepper.
- Rub half of citrus and herb butter underneath the skin of the turkey breast as far back as you can and rub the remaining all over the top of the bird. Season again the outside of the bird generously with salt and pepper.
- Stuff the cavity with the remaining lemon wedges, orange wedges, horizontally sliced garlic head and herbs as much as you can fit.
- Truss the turkey by tucking the wings underneath the turkey and tie together the legs with kitchen twine as tightly as you can.
- Transfer the turkey to the refrigerator, uncovered, overnight or for a maximum of 24 hours
The day of:
- Take the turkey out of the refrigerator an hour before you plan to roast it.
- Pre-heat the oven to 450ºF.
- Add 4 cups of water to the bottom of the roasting pan.
- Bake the turkey, uncovered for 30 minutes.
- Reduce the heat to 325ºF and continue to bake. Bast the turkey occasionally and add any broth to make sure the liquid stays about 1/4″ high, if needed. Cover the top with aluminum foil if the turkey is browning too quickly. Roast until the turkey is cooked through (with an instant-read thermometer registering 165ºF in the thickest part of the turkey), for about 2-1/2 to 3 hours total. (see note)
- Once done, let the turkey rest for a least an hour.
To make the gravy:
- When cool enough to handle tip any juices from the cavity of the bird into the roasting pan and set bird aside on a cutting board to cool, tented with foil. Set the roasting pan and accumulated juices over two medium flames, add 1 cup of water and scrape up any browned bits from the pan.
- Carefully strain out the broth into a large glass measuring cup or medium glass bowl and place in the refrigerator to separate the fat from the broth. You should have about at least 2 cups of broth.
- Once cooled down, the fat should rise to the top and you should be able to separate most of it out. Reserve 3 tablespoons of fat and discard the rest. Measure out the remaining broth and add turkey stock until you get 4 cups total of liquid.
- In a medium sauce pan add 3 tablespoons fat and whisk in cornstarch. Slowly whisk in broth/stock until it is nice and smooth and bring to a boil and cook for 5 minutes. Season to taste with salt and pepper.
- Serve warm! Enjoy.
To carve the turkey:
- It’s best to wear a pair of kitchen gloves and have a clean kitchen towel or paper towels handy during carving. With a carving knife and tongs remove the breast meat first by carving it out. Slice the breast meat across the grain and lay on a platter.
- Slice through the skin of the drumsticks and bend them back until you can cut through the joint. Set on platter.
- Flip the bird over slice through the skin on the wing and bend back until they break, and cut them off.
- Cut the thigh meat toward you and bend back until the joint is exposed and cut through it to remove it. Cut the bone and all the joints out of it, and then slice through the meat against the grain, like you do the breast meat.
- Pick off any remaining meat from the bird and set aside for leftovers the next day, or to serve.
Notes
- To baste the turkey either use a turkey baster, or use a pastry brush.
- If you do notice that the top of the turkey is browning too quickly, then I recommend covering the top with aluminum foil to prevent burning.
- We truly recommend a high quality instant-read thermometer, like the Thermapen. It’s a little bit of an investment, but it lasts forever and it is a surefire way to know that a big bird like this is done. To tell if a turkey is done insert and instant read thermometer into the thickest part of the thigh without touching the bone. It should read 165ºF and the juices the run out of the bird after you remove the thermometer should be clear.

Best Turkey ever! Second year our family has made it and got multiple comments on how delicious and moist it is. Turkey is typically my least favorite and I go back for seconds with this one. It’s a must make on thanksgiving!
This was my first time roasting a turkey and it came out amazing! This will now be my go to recipe. The flavor was great and the turkey stayed juicy. People who don’t even like turkey were loving it.
Hello,
I am so looking forward to trying this. Curious if the gravy will have the taste of the citrus?
Thanks again!
It will not!
I followed this recipe for a 13.5 lb turkey for our family Thanksgiving this year and OH MY GOODNESS it was SO GOOD. Seriously, every adult commented on how delicious it was and everyone had a second serving. My dad ate the wings and my sister and brother-in-law tackled a drumstick for seconds. I am now considering making turkey for Christmas again since this went over so well. No more bland, dry turkey for us, this is now going in my recipe binder as my go-to Thanksgiving turkey recipe. Thank you!
Made my day!
I followed this recipe last year for my first big turkey – it was THE BEST turkey I’ve ever eaten! Your instructions made me feel like a confident turkey pro!! It was so good that my mom tossed her turkey recipe of 40+ years and tried the Herb & Citrus Turkey this Thanksgiving – she loved it! Thank you! 🍋🍊
I’ve followed this turkey recipe for the past few years and it is spot on! Such a moist and delicious turkey.
This was the best turkey I ever made! All my guests were raving about it. I was thrilled. This is the only recipe I will follow for my turkey moving forward. Due to number of people I did get a turkey twice the size – but I doubled everything and it worked out great! Appreciated the step by step instructions.
Best review ever!
Hello and thank you for this post! I was wondering if you recommend baking the turkey on conventional bake or to use the convection roast or convection bake oven setting? If convection, would you reduce the temperature? Thank you!
Hi Kacie! This really depends on your oven, to be honest. If you typically use the convection/convection roast to cook roasts, and it comes out well, then yes I suggest using it. Reduce it by 25 degrees for the long cook time only. You can keep it on the normal temp for the first part of the bake. In theory, convection will help brown the turkey evenly. But I have found that all convection ovens act a little differently, which is why we never give directions to use that setting. So I really think this needs to be more of a personal decision. If you’ve never used your own convection oven or aren’t familiar with how well it works, then skip using that setting.
Are the Butcher’s Box Turkeys fresh or frozen? Sorry if the answer is obvious.
Frozen 🙂
This is awesome, it makes me not as nervous to try it out! Can I just say I wish I was at this photoshoot so I . could help eat everything in the picture, seriously drooling!!!!