This post may contain affiliate links. Please read my disclosure policy.
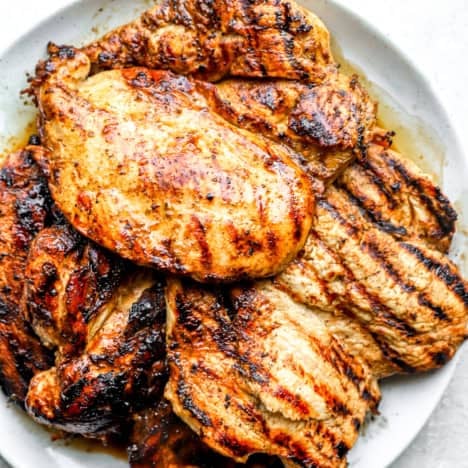
If you’ve ever wondered How to Cook a Whole Chicken in the Instant Pot, this post has you covered. It tastes just like a rotisserie chicken you buy at the store, only you get to control the ingredients! It’s largely hands-off cooking time and the chicken is so juicy! This chicken is perfect to serve as is for dinner, or you can use for meal prep or for other chicken recipes.
 How to Cook a Whole Chicken in the Instant Pot
It’s How to Wednesday and today we’re talking about: How to Cook a Whole Chicken in the Instant Pot! The rotisserie chickens you find in the grocery stores often have such tender juicy chicken, and they definitely are convenient, but we always love to be able to control the ingredients in our food. When you cook a whole chicken in the Instant Pot, using our blend of spices, it comes out just as tender and juicy as a store-bought whole rotisserie chicken. It’s great to serve as-is with a few sides like Mashed Potatoes, Herbed Cucumber Salad or Honey Glazed Carrots or you can use it for meal prep for the week. You can turn it into Chicken Salad, Soup or Chicken Bacon Ranch Baked Hummus Dip.

Now we aren’t saying we don’t enjoy an Oven Roasted Chicken, because we do, but there are definitely a lot of advantages of cooking a whole chicken in the Instant Pot.
- The first is that it is quicker. It takes about an hour to roast a chicken in the oven, but then you also have the prep time, the time it takes to heat up an oven and the cooling time. Cooking in the Instant Pot does speed up the time.
- The second advantage is because there is no guess work as to when your chicken is done! Roasting a chicken in the oven can have so many variants, and if you leave it in too long it will be dry. But in the Instant Pot, that is much less of a worry.
- And third, the chicken is SO JUICY and fall-off-the-bone tender. Hands down a chicken that is cooked in the Instant Pot is way more tender and juicy than one that is brined and roasted in the oven, because that is what makes cooking in a pressure cooker so magical.
How do I cook a whole chicken in the Instant Pot?
Here is an overview of the steps needed to cook the chicken. Find the full recipe below!
And the best part is, it’s so easy to do!
- Season the chicken
- Sear the chicken
- Add onion and remaining seasoning to chicken
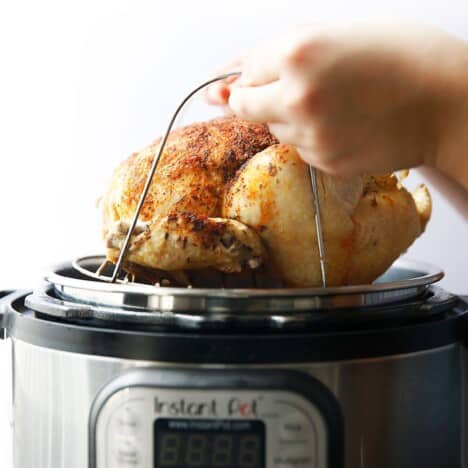
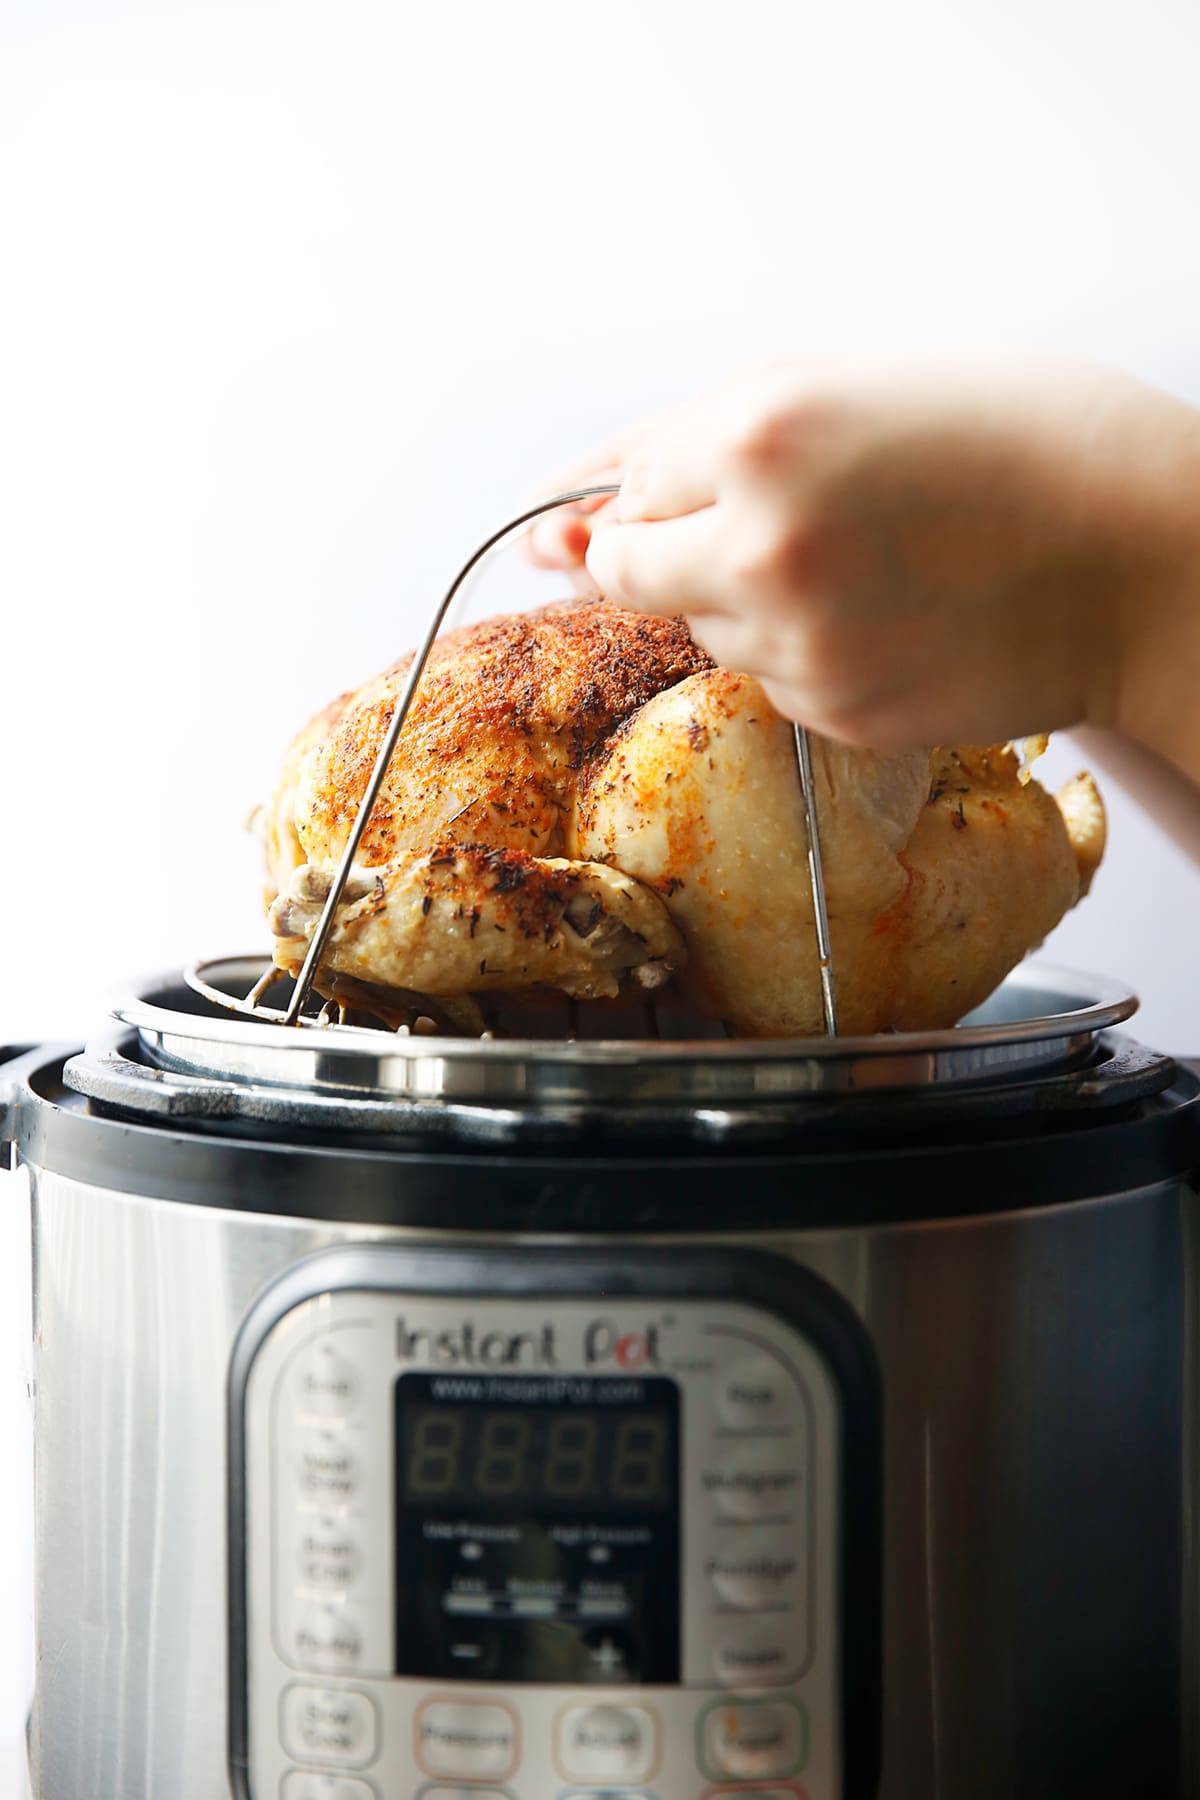
- Place trivet inside of the Instant Pot with chicken broth
- Cook on manual pressure for 24 minutes (or 6 minutes per pound)
- Natural release for 15 minutes and then release remaining pressure
- And then your chicken is READY!
P.S. you can also cook a chicken in the slow cooker or in the oven!
If you like this How to Recipe, check out these others:
- How to Make Oatmeal
- How to Make Cashew Cream
- How to Make Homemade Vanilla Extract
- How to Make Cold Brew Iced Coffee
- Homemade Mayo
- How to Make a Lettuce Wrap Sandwich
Watch the video:
What to do with leftover chicken bones/carcass? Reuse them and make HOMEMADE BROTH!
How to Cook a Whole Chicken in the Instant Pot
Ingredients
- 1-4 pound whole chicken giblets removed
- 2 teaspoons fine sea salt
- 1 teaspoon garlic powder
- 1 teaspoon ground black pepper
- 1 teaspoon paprika
- 1 teaspoon dried thyme
- 2 tablespoons avocado oil divided
- ½ onion
- 1 cup chicken stock
Instructions
- Using a paper towel, dry off chicken.
- In a small bowl mix together all of the spices. Place half of the spices in another small bowl and add 1 tablespoon avocado oil to create a paste.
- Carefully rub the paste underneath the skin on the chicken breasts. Take care not to break the skin.
- In a 6 or 8 quart Instant Pot press the saute function.
- Once hot add remaining oil and sear the whole chicken, breast side down about 3-4 minutes. Then flip and sear on the other side. Press cancel on the saute function.
- Remove chicken, and season the inside of the cavity with salt and pepper and place ½ an onion inside of the cavity. Rub the remainder of the dry spices all over the chicken breasts and thighs and set aside.
- Place the trivet inside of the Instant Pot and pour in chicken stock. Place chicken back inside on the travel and close the lid with the vent set to sealing.
- Cook on manual high pressure for 24 minutes (or 6 minutes per pound)
- Natural release for 15 minutes, then use the manual release function to release any remaining pressure. With an instant-read thermometer check the temperature of the chicken in the thickest part of the breast and make sure it is at least to 160ºF. It will continue to cook as it rests. See notes for troubleshooting if it is below 155ºF.
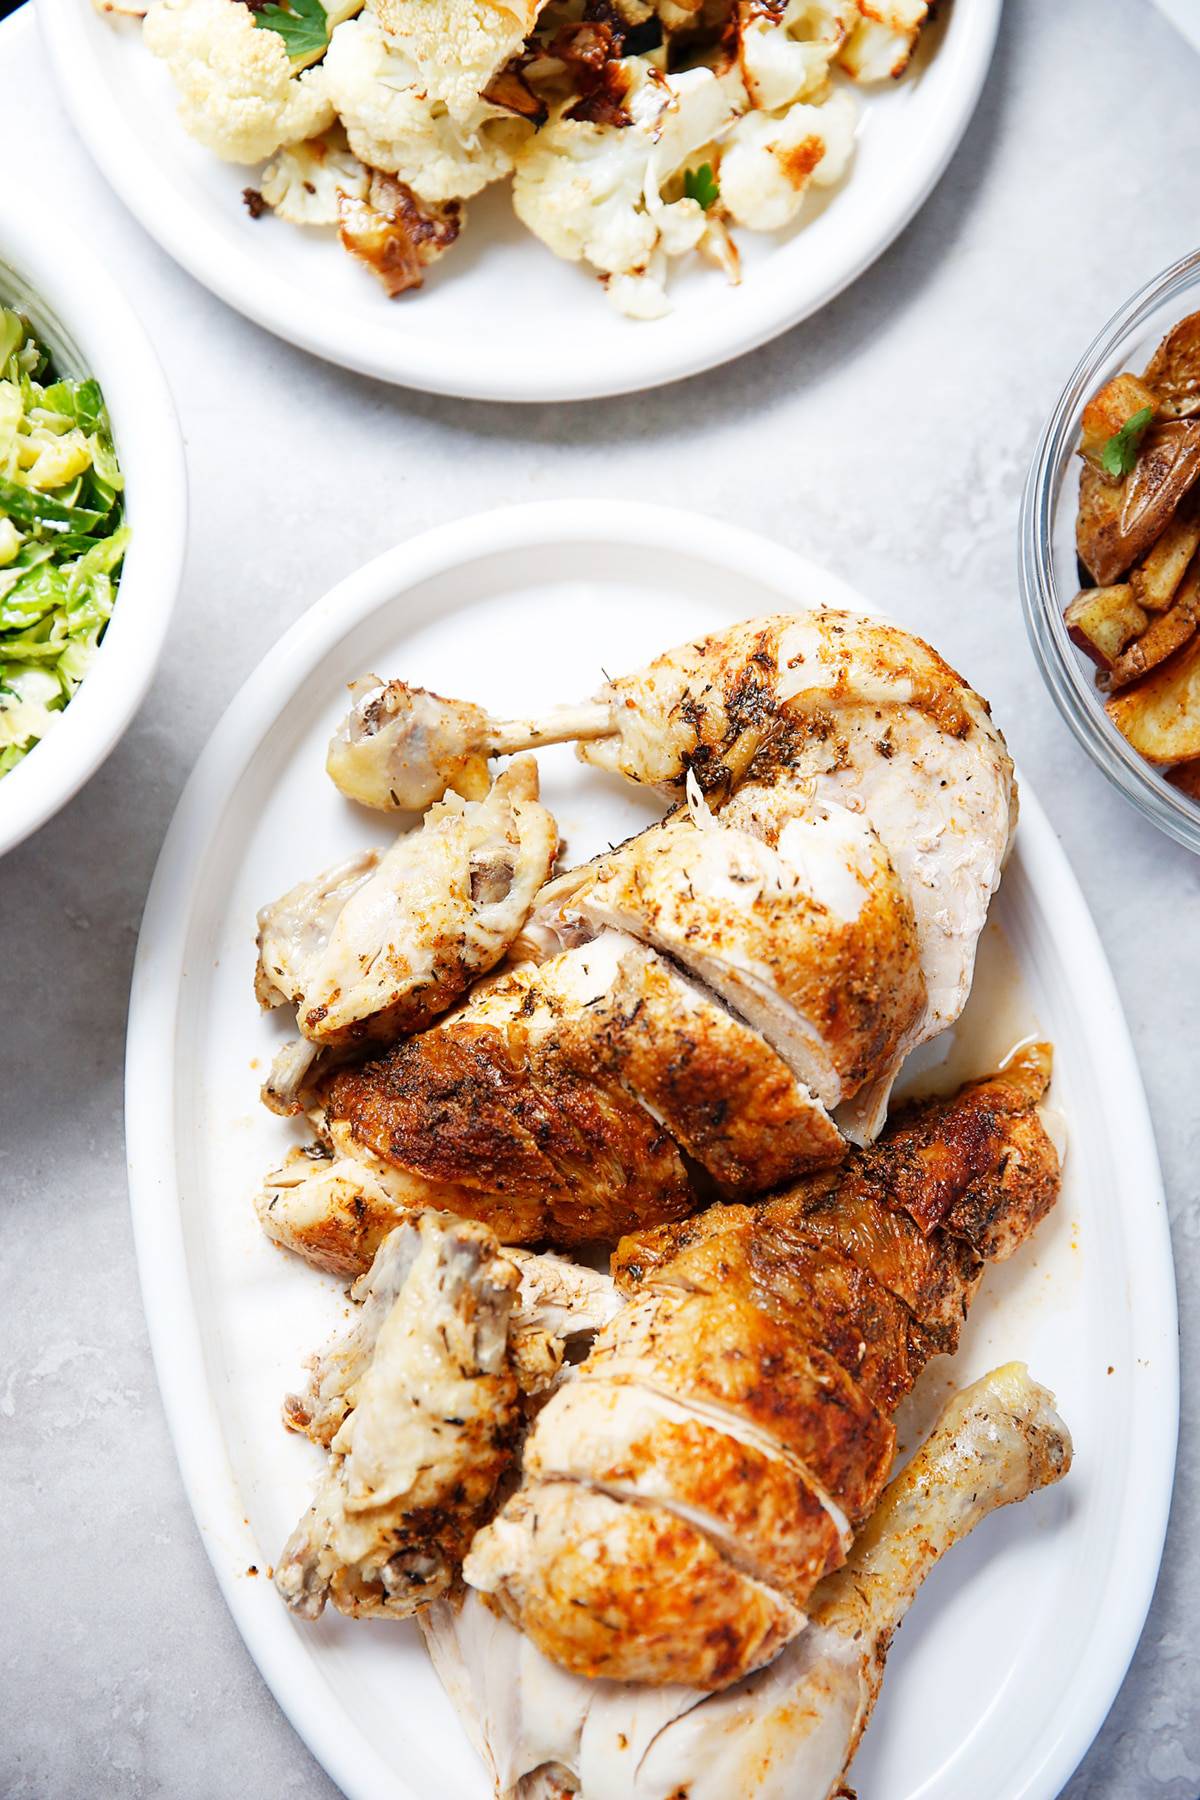
- Let chicken sit until it has cooled down slightly, about 10 minutes. Butcher the legs, wings and finally the breasts and serve along with your favorite sides!
Just wanted to share that I followed this recipe as a guideline for cooking time, but with slightly different spices and without searing, and even though I erred on the side of caution timewise it came out very obviously underdone (pink meat when cutting into the breast and drumstick, red meat juice pooling on the plate under the chicken once removed). I did stick a meat thermometer in right after the 15 minute natural release and it didn’t get above 140F. I see that a few others have mentioned similar results, and this could obviously have serious repercussions, so maybe it warrants looking into why this is happening for some of us? For reference, my chicken was somewhere just under 5 lbs and had only been in the refrigerator so absolutely not frozen. I also used about 2 cups chicken broth to make sure it got up to pressure.
Hi Ben! What time did you cook the chicken at, given yours was about 5 pounds?
Haven’t tried this particular recipe yet, although I have cooked whole chickens in my Instant Pot numerous times. Since there’s limited space for searing the bird in the Instant Pot, I usually season and cook the bird first. Then I put it on a rimmed baking sheet covered with foil and stick it under the broiler, trivet and all. A few minutes is enough to brown the chicken and crisp up the skin. Also, there’s no skin stuck to the bottom of the pot, which one person had trouble with.
It tastes just like a rotisserie chicken I buy at the store
i have tried various chicken in instant pot recipes and it hasn’t ever been juicy. Just looking for solutions, if you could help it would be appreciated
Have you read through the blog post or cooked our recipe? If a chicken isn’t juicy it means it is overcooked.
This worked out great on my 6 pound chicken at 36 minutes and 15 minute natural release. It was at 167°, so just right. I added a small bag of little Yukon gold potatoes on the top sides around the chicken, as per another comment, and they were cooked perfectly. Winner, winner, chicken dinner!
Amazing! So glad you enjoyed 🙂 This recipe is one of our favs too!
Delicious! My family loves this – I add a small bag of small potatoes with the one cup of broth and dinner is done. The guys make sandwiches and my daughter and I have it plated with the potatoes, and the remaining broth makes a great gravy. Thanks for the recipe!
This is my first time cooking this. But it was perfect. That is thanks to your recipe. Everyone in my family loves it. Thanks you!
So happy it was a hit!
Can you cook the bag of giblets in the instant pot along with the chicken in this and in other recipes? Is it safe? If yes, how do we do this correctly? I have a Duo Plus 6 Quart Instant Pot. I am an Instant Pot Virgin, an Instant Pot Newbie Thus, since this will be my 1st time using my Instant pot, I am scared, intimidated, have a mental block about it and am disoriented about how to use it. Thanks.
Hi Tamboliya! I get it, it can be scary to cook in the Instant Pot for the first time. Why don’t you check out this post and read though it and maybe pick a simple recipe to make: https://lexiscleankitchen.com/easy-instant-pot-recipes/
As for the giblets, why are you wanting to cook them with this recipe? I personally would not suggest that.
Well I love to eat chicken. Your Whole Chicken dish looks so delecious. I can’t wait any more. Tonight, I will try to do it. Thanks you!
Great recipe. Can you provide a good soup recipe to use with the remaining broth and onion?
https://lexiscleankitchen.com/feel-good-veggie-soup/
https://lexiscleankitchen.com/roasted-poblano-chicken-soup/
https://lexiscleankitchen.com/game-day-white-chicken-chili-recipe/
Amazing! Used my new Instant Pot air fryer lid to crisp it up a bit more at the end. Best homemade chicken yet!
My very first attempt to cook anything with a new Instant Lot and it is amazing. Came out perfectly!
Congratulations! You are an Instant Pot Pro now 🙂
Thanks for sharing a mouthwatering recipe. Recently I bought an instant pot. I would definitely try this.
Came out RAW. Did 28 min for 4.5lb bird with 15 min NR and 10 min rest. Trying to salvage dinner with my oven….
Hi Anna. Sorry to hear that happened. Where was the chicken raw (ie. breasts and or legs? Is there any chance your chicken was very cold / slightly frozen in the middle? And you did sear the chicken on both sides as the recipe indicated? Throughout our testing this was the perfect time, but clearly something went wrong on your end and we’d like to try to help you figure that out. -Kelli
Is there a substitution for avacado oil that I can use for this recipe?
Oil of choice!
I see a lot of comments about the skin sticking… I used my non-stock insert and it was perfect! I also deglazed a little to get the browned bits off the bottom before pressure cooking and no burn notification! Oh, and I also threw the bird under the boiler for a few mins to crisp up the skin. Great recipe!
Just made this tonight and it turned out perfect. Used a 4.5 lb chicken and added double the amount of oil and kept turning the chicken every 3 minutes with large thongs for about 10 minutes total time,, after taking the chicken out I used a wooden scraper and got all the particles up that were on the bottom then I placed broth and trivet in pot. Heated on hi presssure for 40 minutes and also added 2 quartered potatoes on top …. perfect.
This is the best chicken recipe in the world!!!!
I just put the chicken into the IP and NOW am asking….I took the skin off. Should I have left it on?
Read the post – all the info is in there!
Searing the chicken in the IP resulted in all of the skin ripping off the chicken and sticking to the pot. Next time I will try searing in a separate pot, or maybe skip that step altogether. Also, seems odd to apply the dry rub *after* the chicken has been seared. Didn’t go on too well to the exposed, partially cooked flesh of the chicken. Hopefully the chicken will cook ok without its protective skin covering…..
Hi Elizabeth. Sorry to hear you had trouble with that step. Definitely if you aren’t comfortable searing meats, feel free to do it in another pot. The reason your broke off was because it wasn’t finished searing. When meat is properly seared all the fat will be rendered and will easily loosen from a pan, if it hasn’t seared for long enough it will stick–this is true for any meat. If you aren’t sure in the future, give the meat you are cooking a wiggle, if it moves easily it’s done…if not let it go a bit longer. And the reason we season the chicken AFTER is because if you season it before you sear it, it will burn. Hope you still enjoyed the finished product. We love the results of this one!